
How to Tell When a Tire Is Fully Inflated
Use a calibrated gauge to check cold tire pressure and set each tire to the vehicle’s recommended PSI (found on the door placard or owner’s manual). Don’t use the tire’s maximum PSI on the sidewall as your target. A properly inflated tire will feel firm, hold a rounded profile, show even tread contact, and lack bulges or soft spots. Recheck after temperature shifts and after adding air.
Key takeaways
- Check pressures when tires are cold (parked at least ~3 hours, or driven only a very short distance).
- Inflate to the vehicle placard/owner’s manual PSI, not the tire sidewall “max PSI.”
- Recheck monthly and before long trips; investigate rapid pressure loss, bulges, or uneven wear.
Quick Answer: How to Tell When a Tire Is Fully Inflated
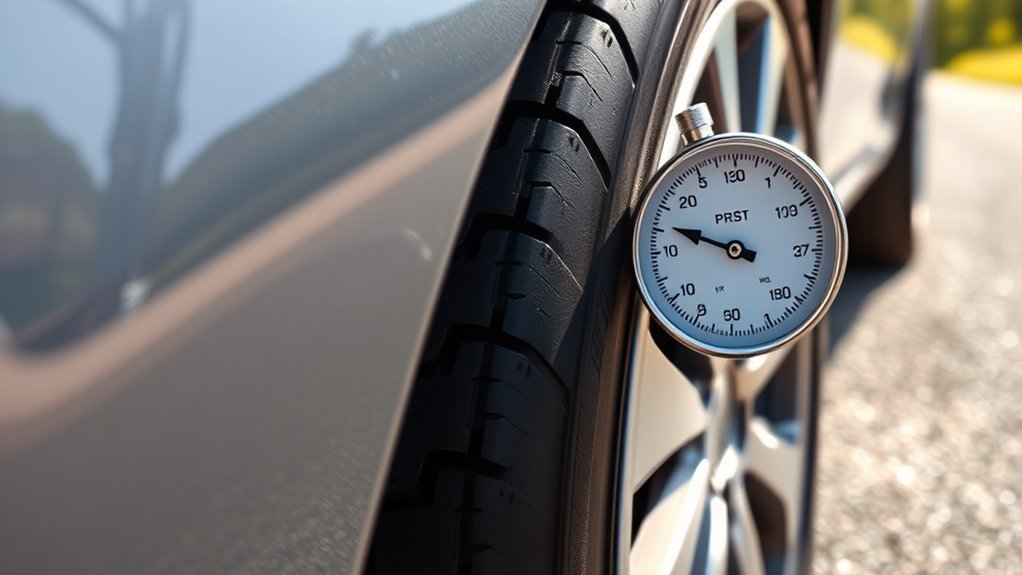
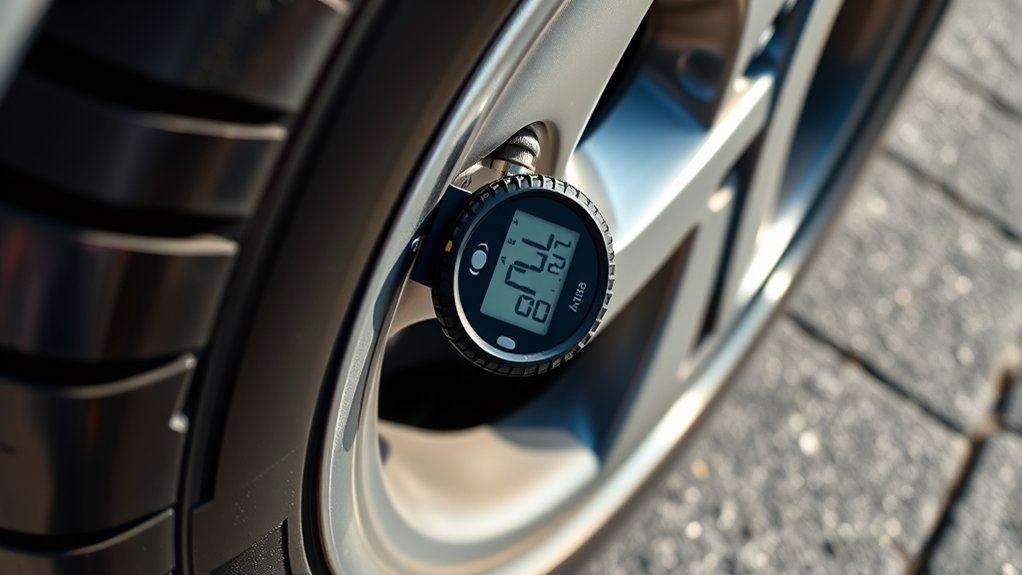
How can you quickly tell a tire is fully inflated? Use a tire pressure gauge and compare the reading to the vehicle’s recommended PSI. Remove the cap from the tire’s valve stem and press the gauge firmly to avoid a hissing leak; a good seal gives you an accurate reading. If the number matches the placard/owner’s manual, you’re at proper pressure. If it’s low, add air, then recheck until you hit the target. As a quick backup check, a properly inflated tire should feel uniformly firm (not soft or squishy), but measurement beats guesswork.
For additional consumer guidance, you can review NHTSA tire safety tips.
Where to Find Your Vehicle’s Recommended PSI
When you need the correct tire pressure, check the tire placard on the driver’s side door jamb first — it lists the manufacturer’s recommended PSI for front and rear tires and may include notes for normal vs. heavier loads. If the placard’s absent or faded, consult the owner’s manual; it repeats PSI specs and any axle-specific notes. Unequal front/rear settings are common, so follow what your vehicle specifies.
| Source | What you’ll find | Purpose |
|---|---|---|
| Tire placard | Vehicle-specific PSI | Primary reference |
| Owner’s manual | Vehicle-specific PSI | Secondary verification |
| Tire sidewall | Max inflation limit | Not your target PSI |
How to Tell by Sight and Touch When a Tire Looks Properly Inflated
You can get a quick read on tire inflation by inspecting shape and feel: a properly inflated tire looks rounded without an obvious bulge, bubble, or pronounced flat spot at the contact patch. Pressing the sidewall should give noticeable, stiff resistance — if it compresses easily or shows sag at the bottom, it may be underinflated. Also look for even tread wear across the surface: shoulder wear can indicate chronic underinflation, while faster center wear can indicate overinflation. Visual checks help, but don’t substitute for a gauge.
Measure Tire Pressure: Cold-Tire Step-by-Step

Although tires can seem fine after a short drive, check pressure when they’re cold — ideally after the vehicle’s been parked at least three hours (or driven only a very short distance). Locate the recommended tire pressure on the driver’s door jamb or in the owner’s manual, then confirm you have an accurate air pressure gauge. With cold tires, remove the valve stem cap and press the gauge firmly to the valve stem, holding steady until the reading stabilizes.
- Use a calibrated air pressure gauge for consistent results.
- Record readings for all four tires and compare to the placard/owner’s manual values.
- If below the recommended PSI, inflate to spec; recheck with the gauge.
- Replace valve stem caps to help protect the valve from dirt and moisture.
[Products Worth Considering]

Enhanced Visibility in Low Light: Features a green backlit LCD screen and integrated flashlight, allowing for clear reading of tire pressure even in dark or dimly light conditions.

Upgraded Power Supply: Instead of 3 coin cell batteries, this tire pressure gauge comes with 2 AAA batteries. These AAA batteries provide a longer service life and are easier to remove and replace.

Advanced accuracy: Professionally calibrated tire pressure gauges for cars. Accurately measures from 0-100 PSI with a resolution of +/-1 PSI.
What the Gauge Reading Should Mean: Recommended PSI vs. Max PSI
Check the gauge against the recommended PSI on your driver’s door jamb or owner’s manual, since that target is designed for the vehicle’s handling, load, and tire wear. Compare that number to the max PSI stamped on the tire sidewall; the sidewall value is a structural limit, not a fill target. Inflate to the vehicle’s recommended PSI and recheck when temperatures change.
Recommended Tire Pressure
Your vehicle’s placard/owner’s manual lists the target PSI for cold tires. Treat that number as the correct reading on your gauge (front and rear may differ). If you’ve changed tire sizes or load conditions significantly, follow the vehicle manufacturer’s guidance and don’t guess.
- Verify the door sticker or owner’s manual first
- Measure with a calibrated gauge when tires are cold
- Adjust to the recommended PSI
- Recheck monthly and before long trips
Understanding Tire Sidewall Max
The number stamped on the tire sidewall for max PSI is the tire’s maximum inflation pressure limit (typically tied to maximum load). It is not the recommended operating pressure for your vehicle. For correct inflation, use the vehicle’s specified PSI from the placard/owner’s manual and measure pressure when tires are cold.
How Temperature Affects Tire Pressure and When to Recheck
Temperature and PSI are linked — a common rule of thumb is about a 1 psi change per 10°F shift. Always check pressures cold to get an accurate baseline. Recheck after significant day/night swings, seasonal changes, or whenever you see a TPMS warning.
Temperature And PSI
- Recheck after significant temperature swings (day/night or seasonal).
- Use a calibrated gauge; check pressure when tires are cold.
- Adjust to the recommended PSI after the cold measurement.
- If you must add air while tires are warm, recheck again when cold.
Cold-Start Checks
When checking tire pressure, do it when tires are cold—ideally in the morning or after at least three hours of rest—because driving heats the tire and raises pressure readings. For reliable checks, carry a calibrated gauge, remove the cap, press the gauge snugly, and record pressure. If using an air compressor, add air in short bursts and re-measure until you reach the vehicle’s target PSI.
Seasonal Pressure Adjustments
During seasonal changes, pressure can drift without a leak. Keep your routine simple: measure cold, inflate to the placard, and recheck after major weather shifts. Use TPMS as an alert tool, but verify with a gauge.
- Measure cold pressure for accuracy.
- Use TPMS alerts to prompt a manual check.
- Inflate to the manufacturer’s PSI after temperature shifts.
- Recheck again after the vehicle has sat and cooled.
Signs of Underinflation or Overinflation (Wear, Ride, Handling)
A clear sign of improper inflation is abnormal tread wear: underinflation often shows faster wear on both shoulders, while overinflation often shows faster center wear. You may also notice ride quality changes — underinflated tires can feel sluggish and soft, while overinflated tires can feel harsh and bouncy.
If you see a bulge or bubble, treat it as a safety issue (it can indicate internal damage). Don’t rely on pressure checks alone—inspect sidewalls and tread regularly.
Safely Add or Release Air at Home or at a Gas Station
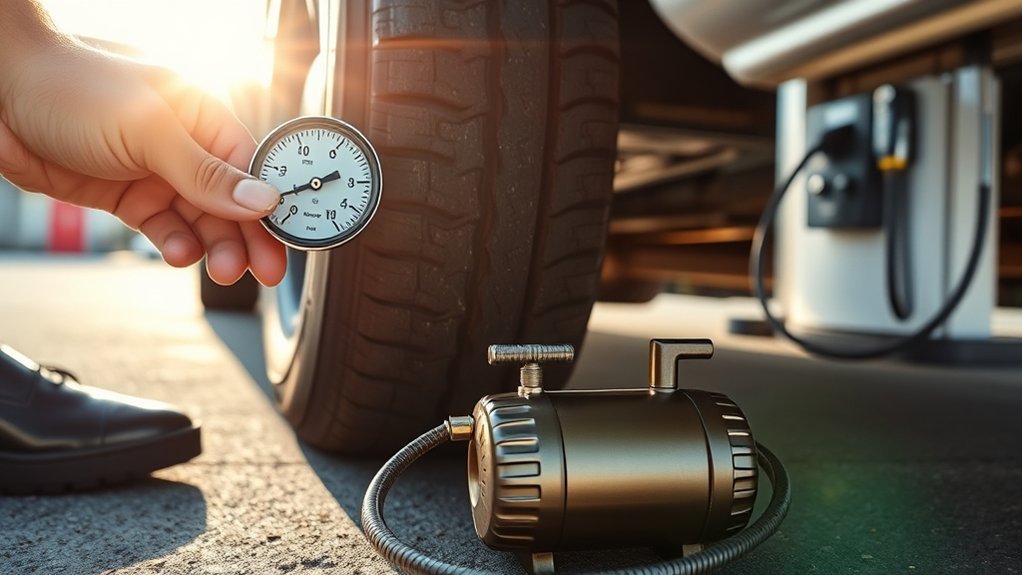
Before inflating or deflating, confirm the recommended PSI on your vehicle’s placard and have a reliable pressure gauge ready. Check each tire cold, then add air if it’s below spec. At a gas station, seat the air hose securely on the valve stem and listen for hissing (a bad seal). Add short bursts, then recheck.
Confirm cold PSI from your placard, use a reliable gauge, add or release air carefully, and recheck.
- Check with your gauge after each adjustment.
- Tighten/replace valve caps to help keep the valve clean.
- Add short bursts of air, then re-check PSI.
- If overinflated, press the valve core gently to release air and recheck.
[Products Worth Considering]

PROCESS LEVEL ACCURACY: This heavy duty tire pressure gauge is calibrated manually to ANSI B40.1 Grade A (plus-minus 1% of span)
Professional Tire Pressure Gauge for Cars – This heavy duty mechanical tire pressure gauge is calibrated to ANSI B40.1 Grade A (2%) international accuracy standard so you get a precise, accurate pressure reading every time you use it. Makes great car accessories, car stuff, tire deflator, car stuff for men, cool car gadgets, car gifts for men, him, dad

PROCESS LEVEL ACCURACY: Each ETENWOLF’s digital tire pressure gauge is calibrated manually to ANSI B40.7 Grade 2A(plus-minus 1 PSI).Presta valve adapter not included, if used for bicycles, it must be purchased separately
Monthly Checks, Spare Tire Care, and TPMS: A Quick Maintenance Checklist
Inspect pressure at least once a month with a calibrated gauge and always when tires are cold. Verify each tire’s PSI against the placard, record readings if helpful, and correct to spec. Check the spare tire on the same schedule; many compact temporary spares require higher pressure than full-size tires, so follow the spare’s sidewall/label.
Rely on TPMS as an early warning. If TPMS alerts, stop and measure all tires; don’t ignore intermittent warnings.
[Products Worth Considering]

PROCESS LEVEL ACCURACY: Each ETENWOLF’s digital tire pressure gauge is calibrated manually to ANSI B40.7 Grade 2A(plus-minus 1 PSI).Presta valve adapter not included, if used for bicycles, it must be purchased separately
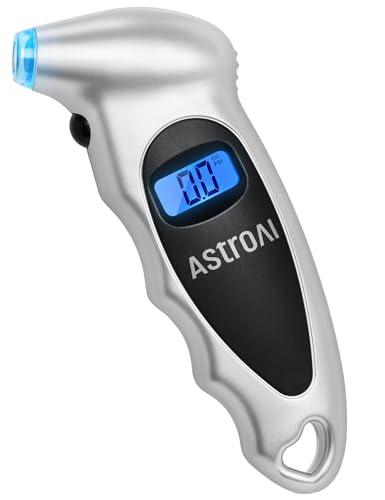
EXPERT-GRADE CALIBRATION: Each AstroAI Tire Pressure Gauge is calibrated with professional-grade tools, ensuring quick and accurate measurement results within plus-minus 1PSI. Stay prepared for any roadside emergency and travel with peace of mind.

Digital Tire Pressure Gauge 2 Pack, Industrial Tire Gauge 3-200 PSI, Calibrated to ANSI B40.7 Grade 2A(plus-minus 0.5%), Air Pressure Gauge with Replaceable AAA Batteries
Frequently Asked Questions
How Do I Know When My Tire Is Full of Air?
You know it’s “full” when the tire pressure matches the vehicle manufacturer’s recommended cold PSI on your door placard or in the owner’s manual.
What Does 2.5 Mean on a Tire Pressure Gauge?
It depends on the unit. 2.5 psi would be extremely low for a vehicle tire. But many gauges show bar; 2.5 bar is about 36 psi. Check the unit on your gauge, then compare to your vehicle placard.
What Is the “3% Tire Rule”?
There isn’t a universal “3% tire rule.” The most reliable approach is to set cold pressure to the placard/owner’s manual value and keep all tires consistent.
What Is the “4 PSI Rule”?
There isn’t a single industry-standard “4 PSI rule.” If one tire is several PSI lower than the placard (or noticeably lower than the others), top it up to spec and check for a slow leak.
Conclusion
Check cold, set each tire to the vehicle’s recommended PSI, and verify with a gauge after adding or releasing air. Recheck when temperatures shift, inspect tread and sidewalls for uneven wear or bulges, and keep the spare and TPMS monitored. Do these checks monthly and before long trips.


Leave a Reply