How to Fix a Loose Sun Visor in Your Toyota RAV4
A loose sun visor can block your view, rattle while you drive, and make your Toyota RAV4 feel worn out. Most visor problems come from loose screws, worn clips, cracked trim, or a weak hinge. This guide shows you how to check the visor, tighten the mount, replace damaged clips, and test the repair safely.
Quick Answer
To fix a loose sun visor in your Toyota RAV4, inspect the hinge area, remove the trim cover, tighten the mounting screws, and replace any broken clips. Use light pressure when prying trim so you do not crack the plastic or damage the headliner.
Key Takeaways
- Loose visor screws often cause sagging, rattling, or weak visor movement.
- Damaged clips can keep the trim from locking tightly against the headliner.
- A trim tool works better than a metal screwdriver for reducing plastic damage.
- Do not overtighten visor screws because the bracket or headliner mount can crack.
- Test the visor at several angles before you call the repair finished.
What’s in This Article
- Gather Your Tools for the Sun Visor Repair
- Before You Begin, Check the Real Cause
- Remove the Plastic Trim Piece Safely
- Tighten Mounting Screws for a Secure Fit
- Replace Damaged Clips for Optimal Support
- Snap the Trim Piece Back Into Place
- Test the Sun Visor Functionality After Repair
- Common Mistakes to Avoid
- Frequently Asked Questions
Estimated repair time: Most simple sun visor fixes take about 10 to 30 minutes. Clip replacement can take longer if the trim cover is tight or the clips break during removal.
Gather Your Tools for the Sun Visor Repair
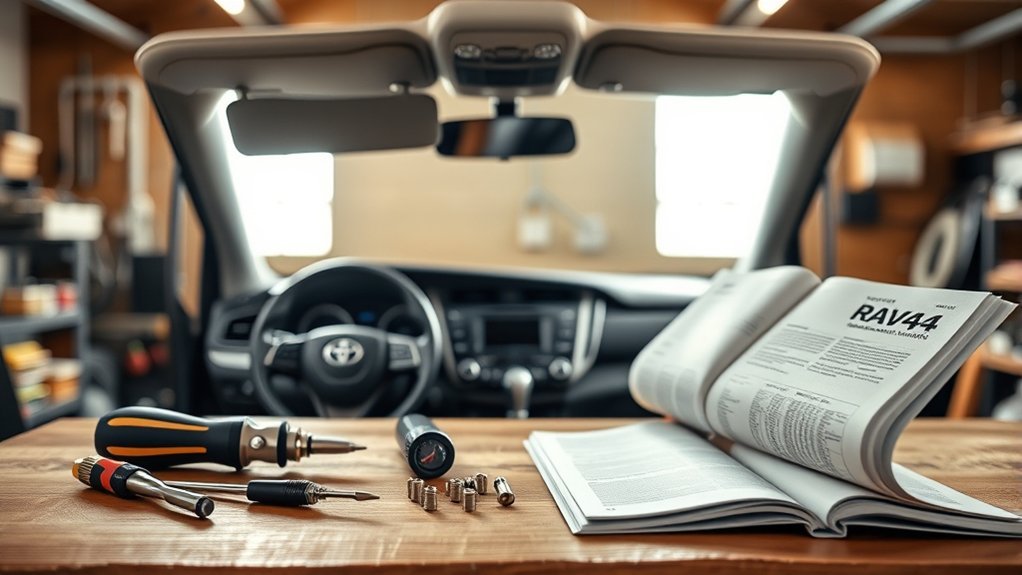
Before you start fixing the loose sun visor, gather the right tools and parts. A simple setup helps you work faster and lowers the risk of cracked trim. Keep your tools within reach so you do not pull on the visor while searching for parts.
What You’ll Need
- Plastic trim removal tool or a flathead screwdriver wrapped with tape
- Phillips screwdriver that fits the visor screws well
- Replacement clips or fasteners made for your RAV4 model year
- Small container for screws and clips
- Towel or soft mat to protect the dashboard and seat
- Flashlight for checking the hinge and bracket area
Check the clip style before buying parts because visor mounts can vary by model year and trim. If you are not sure, compare the old clip with the replacement before installation.
Warning: Work gently around the headliner and trim because hard prying can crack plastic or leave marks.
Before You Begin, Check the Real Cause
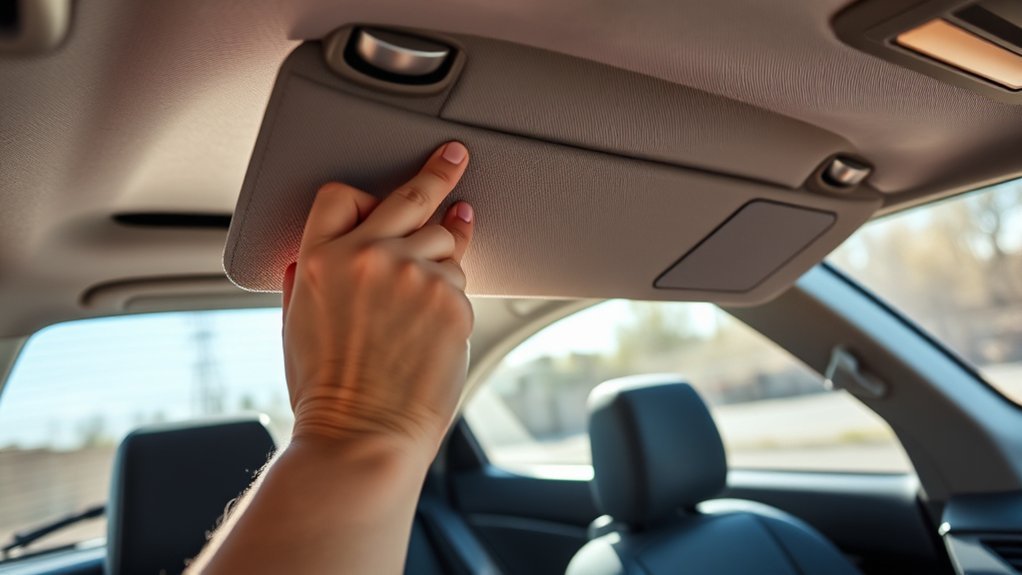
Do a quick check before you remove any trim. Move the visor up, down, and sideways while watching the hinge and bracket. This helps you find whether the problem comes from the screws, clips, hinge, or visor body.
- Loose screws: The visor shifts at the mount or rattles near the roofline.
- Broken clips: The trim cover will not sit flat or lock into place.
- Weak hinge: The visor drops even when the mount feels tight.
- Cracked bracket: The visor stays loose even after you tighten the screws.
If the hinge inside the visor has failed, tightening screws may not solve the issue. In that case, you may need a replacement visor assembly.
Remove the Plastic Trim Piece Safely
Now that you’ve gathered your tools, remove the plastic trim piece with care. Insert your trim tool under the edge of the cover and apply light upward pressure. Work from one side to the other instead of forcing one corner.
Use both hands when possible because steady pressure gives you better control. If the cover resists, stop and check for a hidden clip or screw before pulling harder.
Here’s a handy table to guide you through the process:
| Step | Action | Tips |
|---|---|---|
| 1. Position Tool | Place the tool under the trim edge | Use gentle pressure |
| 2. Lift Trim | Pry upward in small movements | Avoid twisting the plastic |
| 3. Check Clips | Look for broken or loose clips | Replace damaged clips |
| 4. Store Parts | Place screws and clips in a container | Keep small parts organized |
Follow these steps slowly so the trim comes off cleanly and fits better during reinstallation.
Tighten Mounting Screws for a Secure Fit
To secure your sun visor, locate the mounting screws near the hinge or roofline bracket. Use a Phillips screwdriver and tighten each screw until it feels snug. Do not force the screw once it stops turning easily.
If you find a missing or damaged screw, replace it with the correct size and thread type. A screw that is too long or too wide can damage the mounting point.
Locate Mounting Screws Easily
When your sun visor droops, locating the mounting screws should be your first repair step. Gently pull the visor down and look around the hinge or bracket area. Some screws sit under a small plastic cover that you need to remove carefully.
Check both the driver and passenger side visors because they often use similar mounting hardware. Tightening the screws can restore visor stability when the bracket and clips still work properly.
Use Appropriate Tools
Using the right tools helps you fix a loose sun visor without stripping screws. Choose a Phillips screwdriver that fits the screw head firmly. If the tool slips, stop and switch to a better fitting screwdriver.
Check for cracked brackets or stretched screw holes while the cover is off. If those parts are damaged, tightening alone may not hold the visor for long.
| Tool Type | Best Use |
|---|---|
| Phillips Screwdriver | Tightens visor mounting screws |
| Replacement Screws | Replaces missing or stripped screws |
| Plastic Trim Tool | Removes covers with less trim damage |
Pro tip: Take a quick photo before removing parts so you can match the clip and screw positions later.
Replace Damaged Clips for Optimal Support
If your sun visor still feels loose after tightening the screws, you may need to replace the damaged clips. Broken clips can stop the trim from holding the visor mount tightly. Fresh clips can restore support and reduce rattling.
Identify Damaged Clips
Identifying damaged clips helps you fix a loose sun visor the right way. Start with a careful inspection of the mounting area. Look for cracked plastic, bent tabs, or clips that no longer lock into the trim.
Check these areas before you install new clips:
- Inspect the mounting area for cracked or broken clips.
- Look for clips that sit loose or fail to hold the visor.
- Make sure each clip lines up with its slot before reassembly.
Replace damaged clips with parts that match your Toyota RAV4 model year. Proper alignment helps the visor stay secure and reduces future sagging.
Remove Old Clips
Start by removing the old clips from the sun visor assembly. Use your trim tool to lift the plastic cover with slow, even pressure. Keep your other hand close to the trim so it does not pop off suddenly.
Old clips may detach or break during removal, especially if the plastic has become brittle. Remove any loose pieces before you install new clips, since broken plastic can stop the trim from seating correctly.
Install New Clips
Once you’ve removed the old clips, install the new ones in the same orientation. Match each clip to the correct slot before pressing it into place. The clip should sit flat and feel secure.
- Align the new clips with the mounting holes in the sun visor assembly.
- Press the visor assembly back into place until the trim locks securely.
- Test the visor’s stability before you finish the job.
Snap the Trim Piece Back Into Place
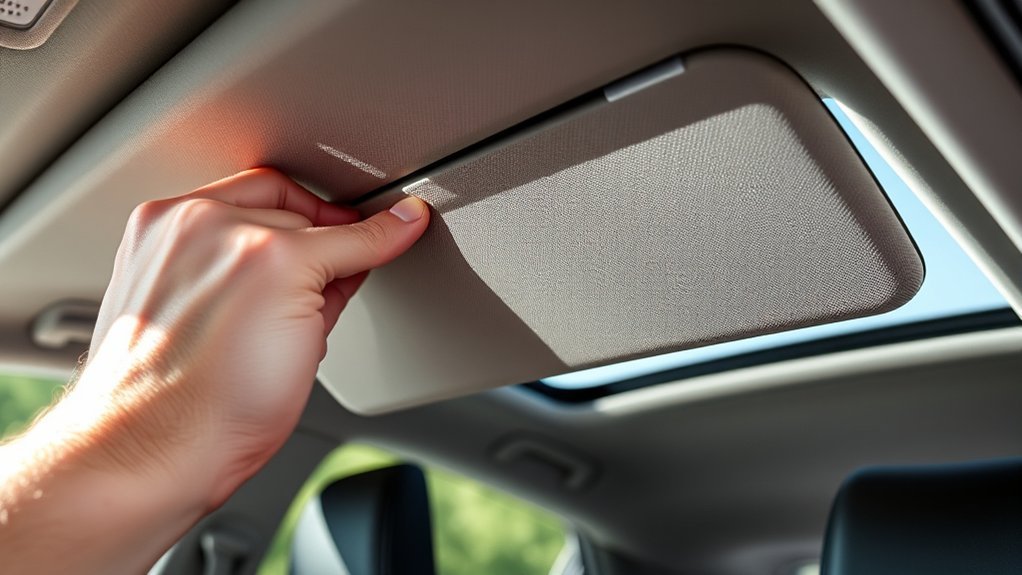
To snap the trim piece back into place, first make sure it lines up with the clips. Proper trim alignment helps the clips lock cleanly and keeps the visor mount covered. Press evenly across the cover instead of pushing on one corner.
Use both hands and apply gentle upward pressure until the clips engage. After the trim sits flush, tug it lightly to confirm it does not move or detach. A secure trim piece helps the visor work correctly and keeps the roofline looking neat.
Test the Sun Visor Functionality After Repair
After securing the trim piece, test your sun visor’s functionality. Move the visor through its normal range and confirm it stays where you place it. A good repair should feel stable without rattles or sudden dropping.
After securing the trim piece, test the visor’s movement and stability at different angles before driving.
- Rotate the sun visor up and down to check for smooth movement.
- Extend the visor to block sunlight and confirm it does not sag.
- Check the mounting hardware for movement, rattles, or looseness.
If the visor still drops after these checks, the hinge may be worn inside the visor. A replacement visor assembly may give you a more reliable fix than clips or screws.
Common Mistakes to Avoid
Small mistakes can turn a simple visor repair into a broken trim problem. Work slowly and check each part before you reinstall the cover. This helps you avoid repeat repairs.
- Do not pry the trim with hard twisting force.
- Do not overtighten screws into plastic mounting points.
- Do not reuse clips that look cracked or stretched.
- Do not ignore a weak hinge if the mount already feels tight.
- Do not drive until the visor stays secure in its normal positions.
Note: If your RAV4 has a lighted vanity mirror, avoid pulling the visor down hard because wiring may run through the assembly.
When to Get Professional Help
Get professional help if the visor mount feels cracked, the headliner is torn, or wiring connects to the visor. You should also stop if the trim will not release with light pressure. A technician can remove the trim without causing more damage.
A shop may also help if the visor keeps dropping after you replace clips and tighten screws. That usually points to a worn hinge or a damaged visor assembly.
Frequently Asked Questions
How Do You Tighten a Loose Sun Visor?
To tighten a loose sun visor, remove the small trim cover near the hinge and locate the mounting screws. Use the correct Phillips screwdriver and tighten the screws until they feel snug. If the visor still moves, check for broken clips or a worn hinge.
What Causes a Floppy Sun Visor?
A floppy sun visor often comes from loose screws, worn clips, cracked brackets, or a weak hinge. Heat, age, and frequent use can make the plastic parts weaker over time. The correct fix depends on which part has failed.
How Much Does It Cost to Fix a Sun Visor?
The cost depends on whether you need clips, screws, a trim cover, or a full visor assembly. A simple do-it-yourself clip or screw repair usually costs less than replacing the full visor. Labor costs can vary if you ask a shop to handle the repair.
What Can I Use to Hold My Sun Visor Up?
A temporary fix can include a small foam shim, a visor clip, or a removable strap that holds the visor in position. Avoid strong glue on visible trim because it can stain the headliner or make future repairs harder. A proper repair works better than a temporary hold.
Can I Drive With a Loose Sun Visor?
You should fix a loose sun visor as soon as you can if it blocks your view or drops while driving. A visor that moves suddenly can distract you at the wrong time. Secure it before longer trips or night driving.
Conclusion
A loose Toyota RAV4 sun visor usually needs a simple check of the screws, clips, trim cover, and hinge. Start with the easiest fix, then replace damaged clips or the visor assembly if needed. Test the visor at several angles before you drive. A secure visor keeps your cabin quieter, cleaner, and safer on the road.