To change the starter on your Toyota RAV4, start by disconnecting the negative battery cable and removing the air cleaner for access. Use 12mm and 14mm sockets to unbolt the old starter, carefully disconnect the electrical connector, and wiggle it out. Install the new starter by aligning it, threading the bolts, and tightening them evenly. Reassemble the air cleaner and reconnect the battery. If you encounter issues, there are troubleshooting tips to guarantee everything’s functioning correctly.
Preparing Your RAV4 for Starter Replacement
Before you plunge into replacing the starter on your Toyota RAV4, it’s essential to prepare the vehicle properly to guarantee a smooth process. First, make sure you disconnect the negative battery cable to prevent any electrical short circuits during the replacement. Next, remove the air cleaner assembly by popping the clips and loosening the hose clamp for better access to the starter area. Flip the air cleaner lid and set it aside on the cowling, then take out the air filter for additional space. Unbolt the three screws from the lower air box, and carefully use a flat blade screwdriver to remove the wire loom. This step is important for facilitating starter access. Finally, make sure you maintain a clean workspace, organizing tools and components to streamline the reassembly process once the starter is replaced. This preparation sets the stage for a successful starter replacement.
Must-Have Tools for a Successful Starter Replacement
Having prepared your RAV4 for the starter replacement, it’s time to gather the necessary tools to guarantee a smooth process. You’ll need both a 12mm and a 14mm socket, ensuring you have deep and standard varieties for accessibility to the starter bolts. A ratchet and extension are vital for reaching the rear bolt, which can be challenging. Keep a flat blade screwdriver handy for prying off the wire loom and detaching any connectors obstructing the starter. If the starter is tight, a pry bar or another screwdriver can help wiggle it free. Finally, a torque wrench is indispensable for tightening the bolts to the manufacturer’s specifications during reinstallation, ensuring peak performance. With these tools at your side, you’ll be well-equipped to tackle the starter replacement efficiently.
Step-by-Step Guide to Removing the Old Starter
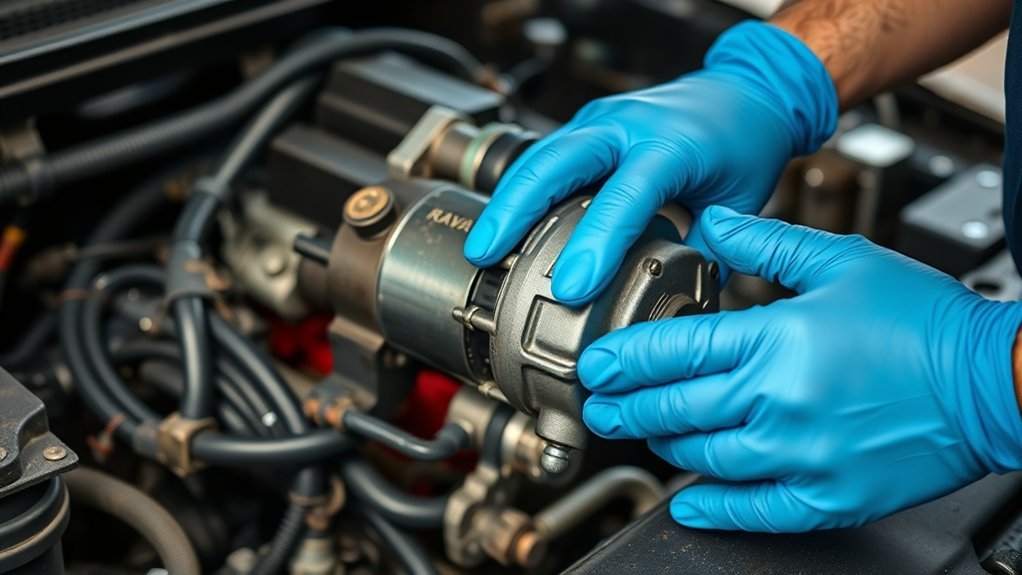
Start by disconnecting the negative battery cable to prevent electrical shorts during the removal process. Next, remove the air cleaner by popping the clips and loosening the hose clamp; set the air cleaner lid aside and take the battery out of the equation. Now, disconnect the electrical connector from the starter by squeezing the tab and pulling it out. Open the plastic hatch door to access and remove the 12mm nut. Use a wrench to loosen the front 14mm bolt, then spin it out completely. For the back 14mm bolt, employ a ratchet and deep socket for removal. Wiggle the starter towards the driver’s side to detach it, utilizing a pry bar or screwdriver if needed. Finally, verify the wiring harness is out of the way and pull the starter straight up, completing the removal process efficiently and effectively.
Tips for Installing the New Starter Correctly
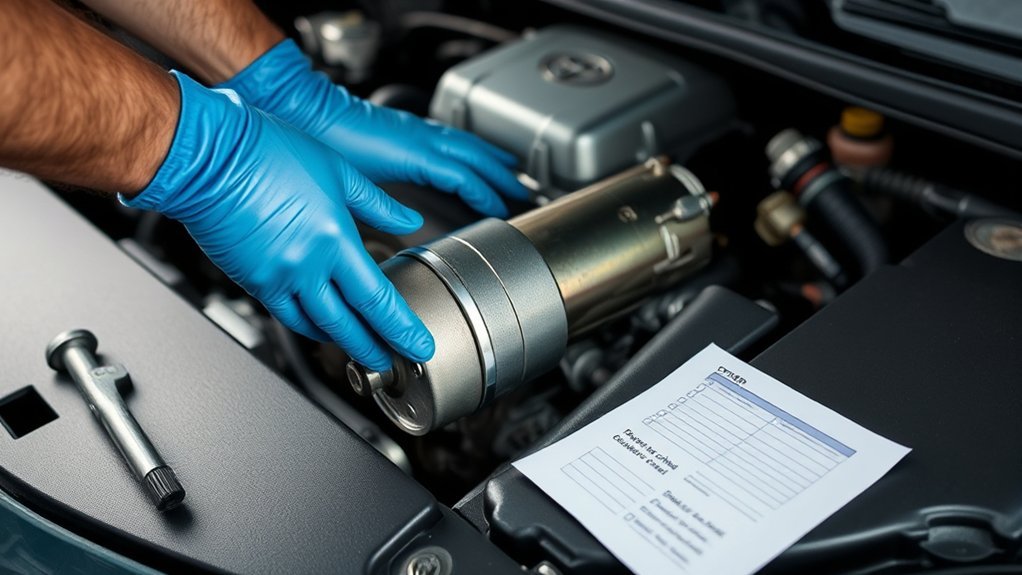
When installing the new starter, it’s crucial to maneuver the wiring harness out of the way to prevent any damage during the process. Start by feeding the new starter into place, verifying it’s aligned correctly. Use a millimeter socket to begin threading the bolts a couple of turns without fully tightening them. This step helps maintain proper alignment. Alternate tightening between the front and back bolts to achieve an even fit and avoid stressing the starter. Before securing the bolts completely, confirm that the starter is flush against the mounting surface for peak performance. Once tightened, check the electrical connector; it should click into place. Give it a gentle tug to verify it’s securely connected. Following these tips will help you install the new starter effectively, guaranteeing your Toyota RAV4 runs smoothly.
Reconnect Electrical Components After Installation
Once you’ve securely installed the new starter, it’s essential to reconnect all electrical components to guarantee peak functionality. Start by firmly pressing the electrical connector onto the starter until you hear a click, ensuring a secure fit. Next, reattach the battery cable to the starter; tighten the 12mm bolt to lock down the connection.
Before finalizing, double-check that all wiring harnesses are properly positioned, avoiding any pinching or obstruction. This attention to detail prevents potential electrical issues later on.
After you’ve reconnected everything, it’s time to test the starter. Turn the ignition key and listen for engagement—this step confirms that your installation was successful. If necessary, clean the battery terminals to ensure good electrical contact, which enhances the overall performance of the new starter. Your careful reconnection of electrical components will set you on the path to reliable vehicle operation.
Reassemble the Air Cleaner
Reassembling the air cleaner is essential for ideal engine performance. Follow these steps to guarantee everything is secured properly:
- Align the lower air box with the three bolt holes and secure it using the bolts you removed earlier.
- Check the air filter to verify it’s properly seated in the air cleaner assembly before moving on.
- Place the upper air cleaner lid back onto the lower section, making sure the clips are fully engaged to secure it in place.
- Reattach the air intake boot by loosening and tightening the hose clamp for a snug fit.
Finally, reconnect the negative battery cable and make certain it’s tightened. This completion of the air cleaner assembly is essential, as it plays a key role in maintaining air flow and engine efficiency. Now, you’re ready for the next step in your RAV4 starter replacement journey!
Double-Check Everything Before You Start Your RAV4
Before you start your RAV4, double-check that you’ve gathered all necessary tools, including wrenches and a ratchet, to guarantee a smooth replacement process. Prioritize safety by disconnecting the negative battery cable to avoid any electrical shorts. Make sure to review your vehicle’s service manual for any specific instructions related to your model year.
Gather Necessary Tools
Gathering the right tools is vital for a successful starter replacement on your Toyota RAV4. Before you get started, make certain you have everything you’re going to use:
- Ratchet – A must-have for quick and efficient bolt removal.
- Deep sockets (12mm and 14mm) – These are important for accessing starter bolts.
- Wrenches – Confirm you have the right sizes to fit any stubborn nuts.
- Flat blade screwdriver – Handy for prying off tight components.
Additionally, keep a pry bar or extra screwdriver ready, as the starter may be a tight fit. Verify that you have the correct replacement starter compatible with your model year, and set up a clean workspace for easy access to your tools.
Safety Precautions First
Ensuring your safety is a priority before you start working on your Toyota RAV4. Park the vehicle on a flat surface and turn off the ignition to prevent accidental starts. Equip yourself with safety glasses and gloves to shield against potential injuries. Always disconnect the negative battery cable first to mitigate the risk of electrical shock and short circuits. Keep a fire extinguisher nearby, as electrical components can pose a fire hazard if mishandled. Before diving into the replacement, double-check that all your tools and parts are gathered and functional. This preparation not only enhances your safety but also streamlines the process, empowering you to tackle the starter replacement efficiently and confidently.
Troubleshooting Common Issues During Starter Replacement
When replacing the starter on your Toyota RAV4, you may encounter issues like the starter not engaging properly or producing unusual noises during operation. It’s essential to check the electrical connections for tightness and inspect the starter’s alignment. Addressing these common problems early can save you time and prevent further complications down the line.
Starter Not Engaging Properly
If you find that your new starter isn’t engaging properly after installation, several factors may be at play. Here’s what you should check:
- Compatibility: Confirm the starter is compatible with your specific Toyota RAV4 model; incorrect parts can lead to engagement issues.
- Electrical Connections: Verify all connections, including the battery cable and starter connector, are secure and free of corrosion.
- Alignment: Check that the starter bolts are tightened and the starter is flush against the engine; misalignment can hinder proper engagement.
- Wiring Harness: Inspect for any damage or wear in the wiring harness; frayed wires can create intermittent issues.
If these checks don’t resolve the starter not engaging properly, you may be going to remove the starter again for further inspection.
Unusual Noises During Operation
Unusual noises during operation can signal issues with your newly installed starter, and identifying these sounds quickly is crucial for preventing further damage. Here are some common noises to watch for:
| Noise Type | Possible Cause | Suggested Action |
|---|---|---|
| Grinding | Starter gear misalignment with the flywheel | Reinstall starter correctly |
| Clicking | Weak battery connection | Check battery and connections |
| Whirring/Spinning | Failing starter drive gear | Inspect solenoid and installation |
| Clunking | Loose bolt or misaligned starter | Tighten bolts and reposition |
| Interference | Components not reassembled properly | Verify wiring harness is correct |
Addressing these unusual noises promptly can save you from further issues and restore your RAV4’s reliability.
Electrical Connection Issues
Electrical connection issues can often lead to frustrating starting problems in your Toyota RAV4, especially after a starter replacement. To guarantee a smooth start, follow these troubleshooting steps:
- Secure Connection: Listen for a click when you connect the electrical connector, and gently tug to make sure it’s locked in place.
- Inspect Wiring: Check the wiring harness for damage, corrosion, or loose connections that could hinder performance.
- Battery Voltage: Use a multimeter to verify the battery voltage; readings below 12.4 volts indicate a weak battery.
- Tighten Battery Cable: Verify the 12mm nut on the battery cable is tight to prevent poor electrical connection.
If the starter doesn’t engage, double-check connections, especially ground connections, to resolve any electrical connection issues.
Frequently Asked Questions
How Much Does It Cost to Replace a Starter on a Toyota RAV4?
Replacing a starter on your Toyota RAV4 typically costs between $300 and $700. Labor usually ranges from $100 to $200, while parts can vary considerably, so factor in potential additional expenses for an extensive starter repair.
Can I Replace My Starter Myself?
Yes, you can replace your starter yourself. About 70% of DIY enthusiasts successfully tackle starter replacement. With basic skills and proper tools, you’ll navigate the process and save money while gaining valuable experience.
What Is the Most Common Problem With a Toyota RAV4?
The most common problem you’ll face with a Toyota RAV4 involves starter issues, often linked to electrical system failures. You might also encounter engine problems, transmission roughness, and suspension wear, especially in older models.
What Is the Biggest Cause of Starter Motor Failure on Toyota?
The biggest cause of starter motor failure on Toyotas is wear and tear from use, degrading electrical contacts. Ensuring proper connections and maintaining battery health can markedly enhance starter longevity, preventing premature failures and enhancing performance.
Conclusion
In summary, replacing the starter on your RAV4 might seem intimidating, but with the right tools and guidance, you can tackle it confidently. Imagine the satisfaction of turning the key and hearing your engine roar back to life, knowing you did it yourself. Don’t let fear hold you back; you’ve got what it takes to complete this task. Just follow the steps carefully, and soon you’ll be back on the road, enjoying every drive in your reliable Toyota.