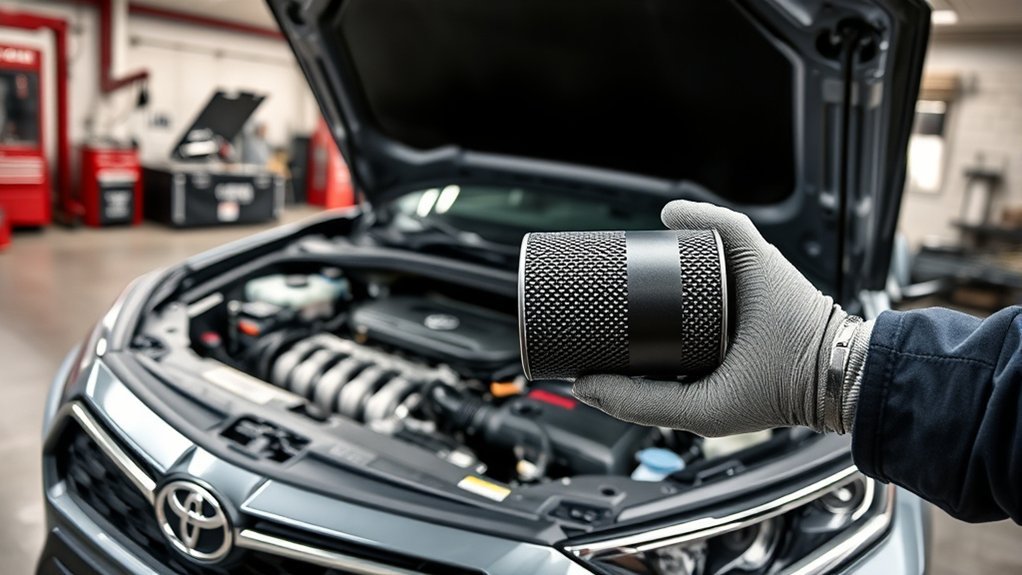
Most later-model Toyota RAV4 gasoline and hybrid vehicles have fuel-filtering components inside the fuel tank, usually as part of the fuel suction tube or low-pressure fuel-pump module. However, the exact design varies by model year, engine, and market. Some early gasoline RAV4s and diesel models have a separate serviceable filter, so confirm the layout with your VIN before ordering parts or planning a repair.
Quick Answer
Yes, a Toyota RAV4 has fuel filtration. On many later U.S.-spec gasoline and hybrid models, the filter or strainer is inside the fuel tank with the low-pressure pump. It normally has no universal replacement interval. Older gasoline models and diesel RAV4s may use a separately serviceable filter.
Key Takeaways
- The RAV4 fuel-filter location depends on the model year, engine, and country where the vehicle was sold.
- Many later gasoline and hybrid models use an in-tank strainer or filter connected to the low-pressure fuel-pump module.
- Toyota does not provide one fuel-filter replacement interval that applies to every RAV4.
- Hard starting, hesitation, reduced power, or stalling can indicate a fuel-delivery problem, but these symptoms do not prove that the filter is clogged.
- Opening a gasoline tank is an advanced repair involving flammable vapor, pressurized fuel, specialized procedures, and leak testing.
Why Your RAV4’s Fuel Filter Matters
Your RAV4’s fuel filter or suction strainer helps stop rust, dirt, sediment, and other particles from moving through the fuel system. Cleaner fuel protects the low-pressure pump, fuel lines, pressure-control components, and injectors.
Toyota uses several names for these components. Depending on the year, a parts catalog or repair manual may call the part a suction filter, fuel strainer, fuel filter assembly, fuel suction tube filter, or part of the fuel-pump module. Toyota’s official parts catalog describes a fuel suction tube filter as an in-tank component that screens fuel as it is drawn into the system. See the Toyota Genuine Parts fuel suction filter description.
A badly restricted filter can reduce available fuel flow, especially during acceleration or climbing. However, fuel-pump wear, contaminated gasoline, a poor electrical connection, an injector fault, an ignition problem, or an air-metering fault can create similar symptoms.
A drivability symptom can point to the fuel system, but only testing can separate a restricted filter from a weak pump, electrical fault, injector problem, or unrelated engine issue.
Where Is the RAV4 Fuel Filter Located?
On many later U.S.-spec gasoline and hybrid RAV4s, the main low-pressure filtration components are inside the fuel tank with the fuel suction tube and pump module. The module may contain a coarse pickup strainer, a finer filter section, the electric pump, pressure-control parts, and the fuel-level sender.
The exact access method is not the same on every RAV4. Some versions have a service opening beneath the rear seat or interior floor covering. Other versions require the fuel tank to be supported and lowered. Do not assume that a cargo-area panel exists until you check the repair procedure for the exact model year and engine.
| RAV4 Type | Typical Filter Layout | What Owners Should Know |
|---|---|---|
| Early gasoline RAV4 | Some versions use a separately serviceable filter in addition to an in-tank pickup strainer. | Location and interval depend on the engine and market. Use the model-specific manual. |
| Later U.S. gasoline RAV4 | The low-pressure strainer or filter is commonly inside the tank with the pump or fuel suction tube assembly. | It may not be listed as a routine standalone maintenance item. |
| RAV4 Hybrid or plug-in hybrid | A low-pressure gasoline pump and filtering assembly is located in the tank. | Follow hybrid-specific interior and electrical precautions. Do not disturb orange high-voltage components. |
| Direct-injection RAV4 | The vehicle has a tank-mounted low-pressure system and an engine-mounted high-pressure pump. | The high-pressure pump is not the fuel filter. High-pressure service requires separate procedures. |
| Diesel RAV4 sold outside the U.S. | Many use an accessible diesel fuel filter or water-separator housing in the engine compartment. | Diesel filter replacement and priming instructions differ from the gasoline procedure in this article. |
Note: Part names alone can be confusing. A listing for a “fuel filter,” “suction filter,” or “fuel suction tube” may describe only one component inside a larger pump module. Confirm the part number with the VIN before purchasing anything.
Signs Your RAV4 May Have a Fuel-Delivery Problem
A restricted fuel filter can produce drivability problems, but none of the symptoms below is unique to the filter. Diagnosis should come before replacement.
| Symptom | Possible Fuel-System Cause | Other Causes to Check |
|---|---|---|
| Long cranking or hard starting | Low residual pressure, weak pump, restriction, leaking injector, or contaminated fuel | Weak 12-volt battery, ignition fault, sensor fault, or engine-compression problem |
| Hesitation during acceleration | Restricted flow or a pump that cannot maintain pressure under load | Spark plugs, ignition coils, throttle body, air-flow sensor, or transmission behavior |
| Reduced power or stalling | Low fuel pressure, pump interruption, clogged pickup, or pump electrical fault | Charging-system fault, crankshaft sensor, overheating, air leak, or engine-control problem |
| Rough idle, vibration, or misfire | Uneven fuel delivery or contaminated fuel | Ignition, injector, vacuum-leak, compression, or engine-mount issue |
| Whining from the tank area | Pump strain, low fuel level, contamination, or pump wear | Normal pump operation, exhaust resonance, or another rear-mounted component |
| Check-engine light or warning message | Fuel-pressure, mixture, pump-control, or misfire fault | Many unrelated engine and emissions faults |
Warning: Do not drive a RAV4 that is leaking gasoline, has a strong raw-fuel smell, or repeatedly stalls in traffic. Turn the vehicle off away from flames and traffic, move occupants to a safe location, and arrange professional inspection or towing.
Fuel Filter Maintenance Schedule for Your RAV4
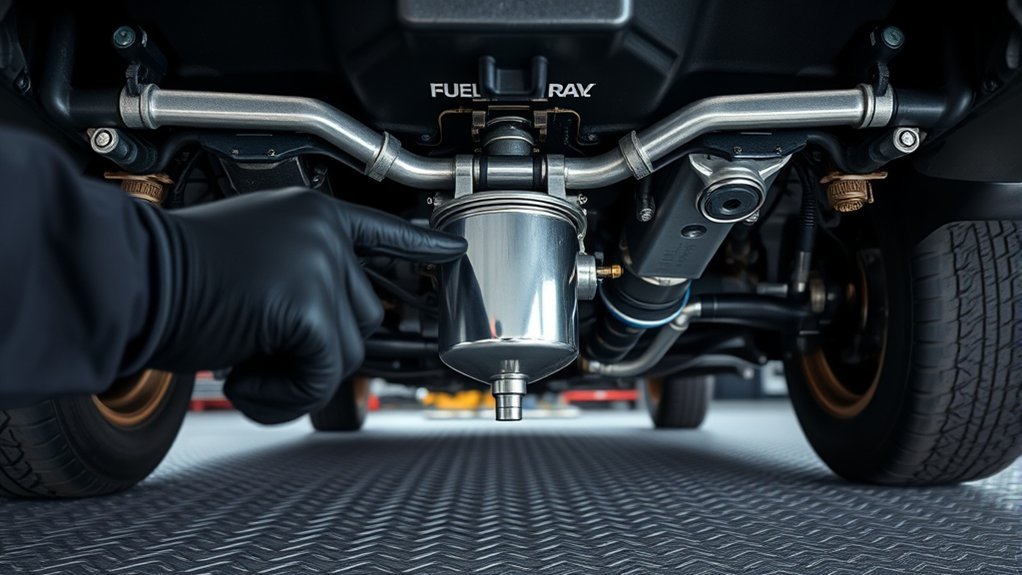
There is no single fuel-filter replacement interval for every Toyota RAV4. On many later U.S.-spec gasoline and hybrid models, the in-tank filter or strainer is serviced only when diagnosis finds a restriction, the tank contains contamination, or the fuel pump or module is already being replaced.
Generic repair references sometimes quote 40,000–80,000 miles for conventional serviceable fuel filters. Do not automatically apply that range to a RAV4 with an in-tank module. Older RAV4s with an external filter and diesel models may have an actual scheduled interval, so use the maintenance guide written for the exact vehicle.
- Check the Toyota Manuals and Warranties portal using the correct model year.
- Use the VIN to confirm the engine, market specification, production plant, and correct part number.
- Inspect the fuel system when symptoms appear instead of replacing the filter by mileage alone.
- Replace or clean the fuel tank and related components if water, rust, diesel, dirt, or another contaminant entered the gasoline system.
- Use fresh fuel of the grade required by the owner’s manual. Toyota notes that fuel quality or brand can occasionally contribute to driveability complaints.
Pro Tip: Ask the shop to identify the failed component on the estimate. “Fuel-filter replacement” may mean a strainer, internal filter housing, pump motor, fuel suction tube assembly, or complete pump module, each with a different parts and labor cost.
How a RAV4 Fuel-System Problem Is Diagnosed
Replacing an in-tank filter without testing can waste money and leave the original problem unresolved. A proper diagnosis usually follows this order:
- Confirm the exact vehicle. Record the VIN, model year, engine, drivetrain, and whether it is gasoline, hybrid, plug-in hybrid, or diesel.
- Check warning lights and stored trouble codes. Scan all relevant control modules and review freeze-frame data. A code may identify a low-pressure, mixture, misfire, electrical, or sensor problem, but it still does not prove the filter is restricted.
- Ask when the symptoms began. Note whether the problem appeared after refueling, running the tank very low, battery work, collision repair, or other maintenance.
- Inspect for leaks and contamination. Look for fuel odor, damaged lines, loose connectors, water, sediment, rust, or incorrect fuel.
- Test pressure and delivery. Measure low-side fuel pressure and, where specified, delivery volume using Toyota’s procedure and specification for that engine.
- Test the pump circuit. Check pump power, ground, connectors, control signals, fuses, relays, and voltage drop before condemning the pump or filter.
- Rule out other systems. Inspect ignition, injectors, intake leaks, air-metering sensors, battery voltage, charging voltage, and mechanical engine condition as needed.
- Inspect the in-tank module only when evidence supports it. A restricted filter may be confirmed by pressure or flow results, visible contamination, or inspection during pump service.
Note: Pour-in fuel-system cleaner cannot remove rust, water, or heavy debris from an in-tank strainer. It also cannot repair a weak pump or burned electrical connector.
Check for RAV4 Fuel-Pump Recalls and Campaigns
Before paying for fuel-pump or filter work, check the VIN for open Toyota recalls and service campaigns. Campaign coverage depends on the exact VIN, not merely the model year.
Toyota previously documented a low-pressure fuel-pump campaign for certain 2019 RAV4 Hybrid vehicles. Reported effects included warning lights, rough engine operation, and reduced motive power. The remedy was replacement of the low-pressure pump with an improved part. That campaign does not mean every 2019 RAV4 is affected or that every similar symptom is caused by the pump.
- Check Toyota recalls and service campaigns by VIN.
- Check NHTSA safety recalls.
- Ask a Toyota dealer to verify completed and outstanding campaigns if the online result is unclear.
Step-by-Step Guide to Replacing a RAV4 In-Tank Fuel Filter
Replacing an in-tank RAV4 filter or strainer is an advanced repair. The steps below describe the general professional workflow, not a substitute for the Toyota repair manual. Access, pressure-relief procedures, connector designs, lock-ring methods, torque values, module orientation, and required replacement parts vary by model.
At a Glance
| Time Required | Approximately 1.5–4 hours or more, depending on whether the vehicle has a service opening or the tank must be lowered |
| Difficulty | Advanced; professional service is recommended |
| Tools Needed | Vehicle-specific repair information, scan tool, hand tools, torque wrench, fuel-line tools, approved pump lock-ring tool, spill-control supplies, eye protection, gloves, and possibly vehicle-lifting and tank-support equipment |
| Cost | RepairPal listed an average RAV4 fuel-filter estimate of $418–$518 as of June 18, 2026. Actual totals vary widely by model year and whether the strainer, filter, pump, or complete module is replaced. |
Warning: Gasoline and gasoline vapor ignite easily. Work only in a properly ventilated area away from smoking, flames, heaters, hot lamps, welding, grinding, static discharge, and spark-producing tools. Relieve fuel pressure using the Toyota procedure, keep an approved fire extinguisher nearby, control spills immediately, and never work beneath a fuel tank supported only by a jack.
1. Verify the Correct Repair and Parts
Use the VIN to obtain the correct Toyota repair procedure and parts diagram. Determine whether the required repair involves the pickup strainer, internal filter, pump motor, fuel suction tube assembly, pressure regulator, sender, or complete module.
Obtain every required one-time-use item before opening the tank. This commonly includes a new tank-opening gasket or O-ring and may include clips, retainers, seals, or a lock ring. Do not reuse a swollen, flattened, torn, or fuel-soaked tank seal.
2. Prepare the Vehicle Safely
Park on a level surface in a well-ventilated work area. Keep the fuel level low enough to reduce spill risk, but do not attempt unsafe siphoning. Turn the ignition off, remove ignition sources, and follow Toyota’s procedure for disconnecting the 12-volt battery and relieving fuel pressure.
On hybrid and plug-in hybrid versions, follow all model-specific electrical precautions. Do not touch, loosen, unplug, or route tools near orange high-voltage wiring unless the Toyota repair procedure specifically requires trained high-voltage service.
3. Reach the Fuel-Pump Module
Remove the required seat cushions, trim, carpet, service cover, underbody components, or fuel tank as directed by the repair manual. Some RAV4s provide an interior service opening, while others require the tank to be supported and lowered.
If the tank must be lowered, use suitable lifting equipment and confirm that filler, vent, vapor, electrical, and fuel-line connections are identified before lowering it.
4. Clean the Tank-Opening Area
Vacuum or wipe dirt from around the module flange before disconnecting anything. Prevent dust, rust, carpet fibers, and loose debris from falling into the tank. Do not use a tool or cleaning method that can create sparks near gasoline vapor.
5. Disconnect the Lines and Electrical Connector
Place absorbent material around the connections. Release each fuel-line lock exactly as specified instead of forcing the connector. Cap or protect open connections from dirt. Inspect connectors, terminals, hoses, and plastic fittings for heat damage, cracks, corrosion, or broken retainers.
6. Remove the Module
Mark or photograph the installed orientation before removal. Use the specified lock-ring or retaining method. Avoid striking the ring with a steel punch or chisel because this can damage the ring, tank, or sealing surface and may create an ignition hazard.
Lift the module carefully so the float arm and pickup are not bent. Allow fuel to drain into an approved container without spilling it into the passenger compartment.
7. Replace the Specified Filter or Module Component
Disassemble the module only as shown in the model-specific procedure. Move reusable components to the new housing only when Toyota permits it. Confirm that the pump inlet, strainer, electrical terminals, pressure regulator, retaining clips, and internal seals are fully seated.
If the tank contains water, rust, sediment, degraded fuel, or foreign material, replacing only the filter may lead to another failure. The tank and affected lines may need professional cleaning or replacement.
8. Install a New Tank Seal and Refit the Module
Clean the sealing surfaces without scratching them. Position the new gasket or O-ring correctly, lower the module in its original orientation, and secure it using the specified tightening sequence or lock-ring position. A twisted seal or misaligned module can cause a vapor leak, liquid-fuel leak, inaccurate fuel-gauge reading, or difficult reassembly.
9. Reconnect and Reassemble
Reconnect the fuel lines and electrical connector until each retainer is fully locked. Reinstall the service cover, tank, straps, hoses, seats, trim, and other removed parts using the required fasteners and torque specifications.
10. Prime the System and Check for Leaks
Reconnect the 12-volt battery as directed. Prime the low-pressure system using the Toyota procedure. Do not start the engine until the tank flange, lines, and connectors have been inspected for leakage.
Start the vehicle in a ventilated area and inspect again. If fuel appears or a strong raw-gasoline odor remains, switch the vehicle off immediately and correct the problem before installing the final interior cover or driving.
11. Complete the Post-Repair Checks
Clear applicable diagnostic codes only after recording them. Confirm normal starting, idle, acceleration, fuel-gauge operation, and warning-light status. Recheck for leaks after the road test and verify that no evaporative-emissions or fuel-pressure codes return.
Frequently Asked Questions
Does the Toyota RAV4 have a fuel filter?
Yes. Every gasoline or diesel RAV4 needs fuel filtration, but the component and location vary. Many later U.S. gasoline and hybrid models have an in-tank strainer or filter within the low-pressure fuel-pump or suction-tube assembly. Some early gasoline and diesel models have a separate serviceable filter.
Where is the fuel filter on a Toyota RAV4?
On many later gasoline and hybrid RAV4s, it is inside the fuel tank with the low-pressure pump module. Access may be beneath a rear seat or floor cover, or the tank may need to be lowered. Older gasoline and diesel versions can use different locations.
How often should I change the fuel filter on my RAV4?
There is no universal interval for every RAV4. Many modern in-tank filters are serviced only after a restriction or contamination is diagnosed or when the pump module is removed. Older external filters and diesel filters may have scheduled intervals. Follow the Toyota maintenance guide for the exact model year and engine.
What are the symptoms of a clogged RAV4 fuel filter?
Possible symptoms include long cranking, hesitation under load, reduced power, misfires, rough running, or stalling. These problems can also be caused by a weak pump, electrical fault, injectors, ignition components, sensors, contaminated fuel, or an engine problem. Fuel-pressure and electrical testing should come before replacement.
Can a RAV4 in-tank fuel filter be cleaned?
A removable coarse strainer may sometimes be inspected, but cleaning is not a dependable repair for a restricted fine-filter element. Do not blow compressed air or harsh solvent through a filter unless Toyota specifically approves the method. A damaged or restricted component should be replaced.
Can I replace the RAV4 fuel filter myself?
An external filter on an older vehicle may be a reasonable job for an experienced technician. An in-tank filter is an advanced repair involving flammable vapor, pressurized lines, a tank seal, model-specific connectors, and sometimes tank removal. Professional service is the safer choice without the correct repair information, tools, ventilation, and fuel-handling experience.
Can I drive with a suspected clogged fuel filter?
A vehicle with mild hesitation should be inspected promptly. Do not continue driving if the RAV4 stalls, loses power unpredictably, leaks fuel, or smells strongly of raw gasoline. These conditions can create a crash or fire risk, so towing is appropriate.
How much does RAV4 fuel-filter replacement cost?
RepairPal’s estimate updated June 18, 2026 lists an average of $418–$518 for Toyota RAV4 fuel-filter replacement. The total varies by year, location, labor rate, access method, and whether the repair requires a strainer, filter housing, pump, or complete module. See the current RepairPal RAV4 estimate.
Does a fuel-pump recall mean my RAV4 filter is bad?
No. A campaign for a low-pressure pump concerns a specific pump condition and applies only to covered VINs. It does not prove that the filter is clogged. Check the VIN through Toyota and have the fuel system diagnosed if symptoms continue after campaign work.
Conclusion
Your Toyota RAV4 has fuel filtration, but there is no single location, part design, or replacement interval that applies to every year and powertrain. Many later gasoline and hybrid models use an in-tank filter or strainer that is serviced with the low-pressure fuel-pump module rather than changed as routine maintenance.
Do not replace the filter based only on hard starting, hesitation, stalling, or reduced power. Confirm the vehicle by VIN, check for open campaigns, test fuel pressure and the pump circuit, and rule out other engine faults. When tank access is required, use the exact Toyota procedure and treat the work as an advanced gasoline-system repair.
Sources
- Toyota Manuals and Warranties — model-year owner manuals and maintenance guides.
- Toyota Genuine Parts: Fuel Suction Tube Filter — Toyota terminology and the function of an in-tank suction filter.
- Toyota Safety Recall and Service Campaign Lookup — VIN-specific campaign status.
- Toyota Special Service Campaign 21TC03 — low-pressure fuel-pump condition, symptoms, and repair workflow for covered vehicles.
- OSHA 29 CFR 1910.106: Flammable Liquids — ignition-source and flammable-vapor precautions.
- NIOSH Pocket Guide: Gasoline — gasoline flammability, exposure routes, and personal-protection information.
