You can stop a tire inflator leak fast by isolating the line, listening and feeling for hisses, and timing pressure rise. If the gauge shows no movement in 10 to 15 seconds, you likely have a major leak. Use a soap-bubble spray at chucks, valve cores, and fittings to spot steady bubbles. Replace brittle O-rings, worn chucks, or leaking valve cores. Tighten threaded fittings without over-torquing. Installing inline shutoffs and keeping spare seals also helps prevent repeated problems. The steps below explain how to test and fix leaks quickly.
Quick Answer
- Run the inflator briefly and watch the pressure gauge. No rise in 10 to 15 seconds usually means a major leak.
- Listen and feel along hoses, fittings, and the chuck for escaping air.
- Spray soapy water on connections to find leaks. Steady bubbles show where air is escaping.
- Replace worn O-rings, valve cores, or chucks, and tighten fittings carefully.
- Add inline shutoff taps or better chucks to prevent air loss from unused lines.
Stop Major Air Loss Quickly
If you need to stop major air loss quickly, first confirm whether the inflator can build pressure. Run the pump briefly and watch the gauge. If the pressure does not rise within 10 to 15 seconds, there is likely a large leak.
Next, check the connection points. Apply a soap bubble test at the chuck-to-valve and hose-to-inflator joints. Large bubbles show where air is escaping.
Inspect O-rings and grommets after that. Replace them if they are brittle, cracked, or older than about 12 to 18 months. Fresh seals restore an airtight connection.
When disconnecting the pump head, release the lever and pull it off quickly to limit escaping air. Also inspect hoses and external fittings carefully. More than 80 percent of inflator leaks occur at these connection points.
This simple process works best:
- Check pressure behavior first
- Locate leaks at joints and fittings
- Replace worn seals or parts
- Reconnect and retest
Following this order helps you stop wasted air and focus repairs where they matter.
[Products Worth Considering]
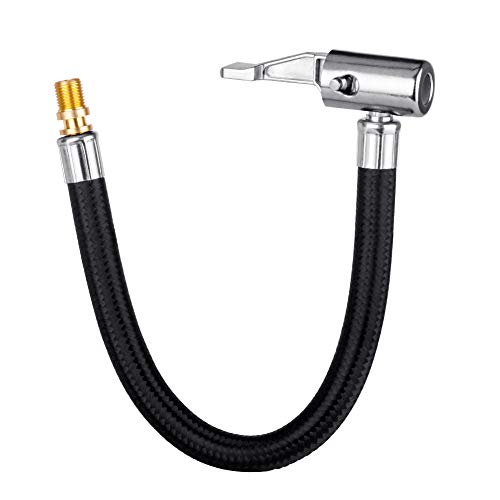
Please Note Before You Buy This:this is only an inflator hose adapter, was designed to convert screw-on(twist-on) air chuck to lock-on air chuck, not for connecting to tire inflator/pump directly, please refer to the left second&third product image.Hose end thread is standard us fine thread connection(0.305"x32TPI), the same as the thread on all USA standard car valve stems, compatible with screw-on(twist-on) air chuck's inner thread.

【PACKAGE INCLUDES】: You will receive 7pcs inflator hose set, including 1x 33''/84cm extend air pump hose, 1x Presta Valve Adaptor(American type to French type), 1x Ball Pump Needle Adaptor, 2x Tapered Nozzles, 2x Converting Nuts.
Common Causes of Tire Inflator Leaks
Most tire inflator leaks happen at small connection points rather than inside the pump itself. Knowing the common causes helps you diagnose the issue faster.
- Worn or cracked O-rings
- Loose hose fittings
- Damaged or worn chucks
- A leaking valve core in the tire
- Cracked hoses or quick-connect fittings
Routine inspections reduce the chance of sudden air loss. Regular proper tire maintenance and pressure checks also help prevent problems related to slow leaks.
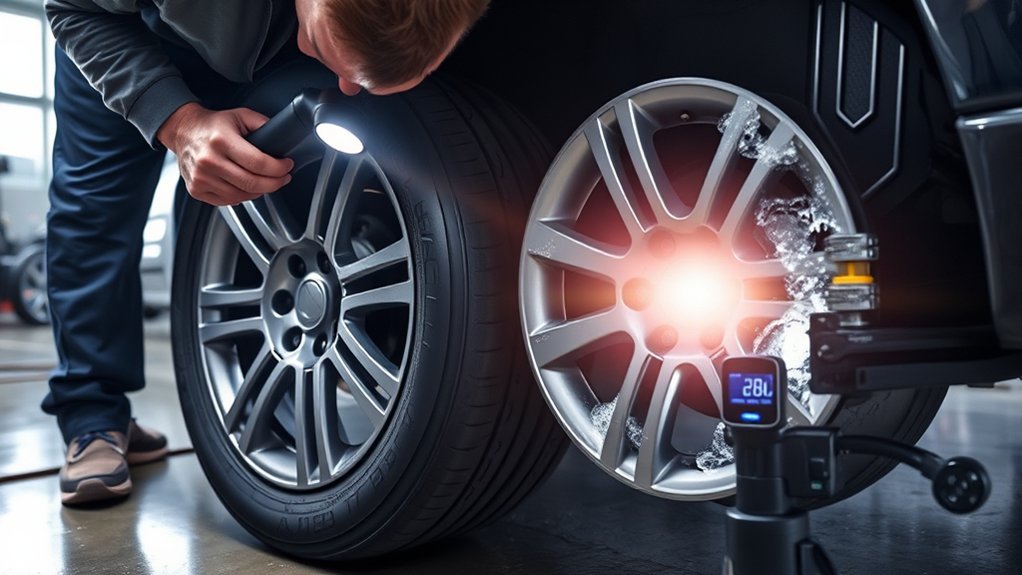
Quick Checks: Listen, Feel, and Time Hisses
When you suspect a leak, start by listening for hissing sounds. Then run your hand along the hose, chuck, and pump head to feel for escaping air. These simple checks usually point to the problem quickly.
Listen for steady or intermittent hissing:
- Steady hissing often means a damaged hose or loose fitting.
- Intermittent hissing usually points to a failing seal.
You can also time pressure buildup. Start the inflator and watch the gauge with a stopwatch. If the gauge barely moves in 10 to 15 seconds, you likely have a major leak.
Inspect rubber parts such as O-rings and grommets. Replacing them every 12 to 18 months helps keep seals reliable.
| What to do | What to listen for | Quick outcome |
|---|---|---|
| Hand sweep | Hiss at joints | Pinpoint area |
| Pump test | No rise in 10–15s | Major leak likely |
| Inspect seals | Cracks/wear | Replace parts |
Soap-Bubble Test and Valve-Core Checks
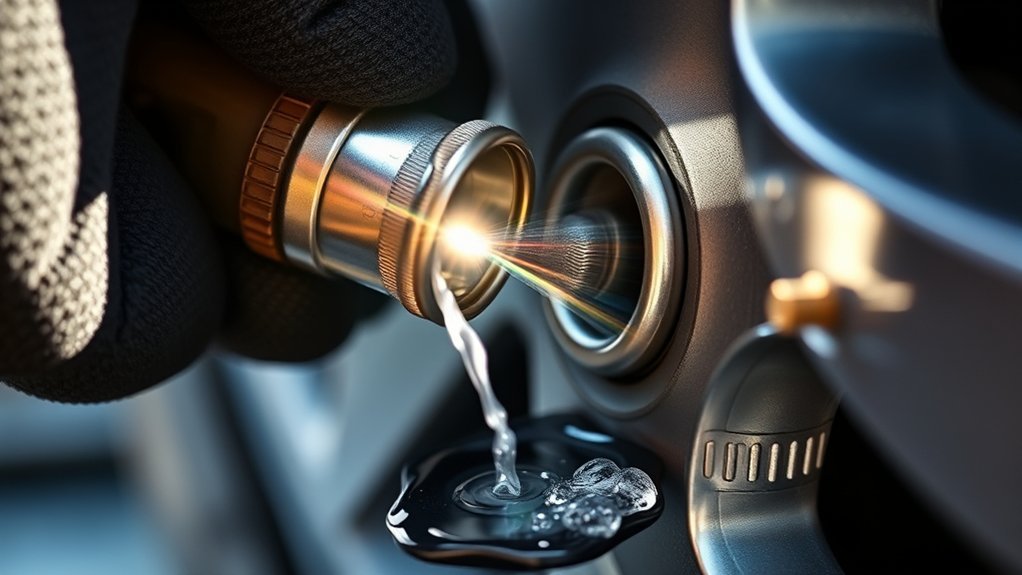
The soap-bubble test is one of the fastest ways to locate hidden leaks. Use a brush or spray bottle with soapy water and apply it to the chuck-to-valve connection, hose fittings, and around the valve core.
Watch closely for steady bubbling. Growing bubbles clearly show escaping air. This technique is widely used during maintenance and tire inspections, including the soap-bubble leak detection method described in tire care guides.
After checking fittings, test the valve core. Inflate the tire, remove the inflator, and monitor pressure. If pressure drops within a few minutes or you hear a hiss while flexing the hose connection, the valve core may be worn.
Replacing valve cores is quick and inexpensive. A new core restores a tight seal and prevents slow pressure loss.
Fix Connection Failures: O-Rings, Chucks, Quick-Connects, Threads
Most leaks occur at joints. Inspect O-rings, chucks, quick-connect fittings, and threaded joints for wear or damage. Small seal failures often cause large pressure losses.
Start with rubber seals. O-rings and grommets often need replacement every 12 to 18 months. Aging rubber becomes hard and stops sealing properly.
Use the soap-bubble test again at hose connections and valve joints to confirm where air is escaping.
- Replace cracked or flattened O-rings immediately.
- Clean quick-connect fittings and lubricate lightly with compatible grease.
- Tighten hose and chuck fittings carefully, avoid over-torquing.
- Wrap thread seal tape on threaded joints before reassembly.
- Retest the connection after each repair.
Working through each connection step by step keeps repairs simple and accurate. Regular maintenance improves pressure accuracy and prevents unreliable inflation.
[Products Worth Considering]

Specifications: 21’’ Tire Inflator Gauge Hose with locking chuck


Compatible Replacement Parts – Includes high-quality o-rings designed to perfectly fit and seal Prestaflator 3-Way Spin Heads, plus five (5) Presta valve replacement washers to maintain optimal tire valve connection and prevent leaks.
Install Taps, Better Chucks, or Thread-On Heads
Adding small hardware upgrades can greatly reduce air leaks. Inline shutoff taps and better chucks help maintain pressure while inflating.
[Products Worth Considering]


【Package Includes】2 x Closed Ball Air Chuck with 1/4'' female NPT air inlet, 2 x Male Quick Plug and 1 x Teflon Tape. A highly practical combination, compatible with most tire inflators, wheel pressure gauges and air compressor accessories. Widely applicable and convenient for inflating schrader valve of most bikes, motorcycles, cars, buses, trucks, etc.

Superior Craftsmanship from Taiwan: Unlike standard offerings made in China, our tire air chuck is designed in the USA and meticulously crafted in Taiwan, adhering to the highest quality standards.
Add Inline Shutoff Taps
Installing inline shutoff taps on each hose lets you isolate unused lines. Closing the idle line prevents air from bleeding out while you inflate another tire.
- Buy taps rated for tire inflation systems.
- Install each tap between the gauge and the hose.
- Close the tap on the unused hose during inflation.
- Test the system with soapy water for leaks.
- Keep taps easy to reach for quick use.
This simple upgrade saves time and reduces pressure loss during inflation.
Upgrade To Better Chucks
If leaks continue at the hose connection, upgrading to higher-quality chucks often solves the problem. Threaded or locking chucks provide a stronger, airtight seal.
Replace worn fittings and hardened rubber seals. Many persistent leaks disappear after installing improved chuck designs.
After installing a new chuck, pressurize the system and perform a soap-bubble test on each joint. If bubbles appear, tighten or reseat the connection until the leak stops.
Use Thread-On Pump Heads
Clamp-style pump heads work, but thread-on pump heads usually seal better. They screw directly onto the valve and reduce air loss during inflation.
- Use thread-on heads for a secure screw connection.
- Install hose taps to isolate unused lines.
- Replace worn O-rings regularly.
- Choose higher-quality chucks with durable seals.
- Disconnect quickly to limit pressure escape.
These upgrades improve reliability and make inflation faster.
Maintain Seals, Seasonal Care, and When to Get Help
Seals wear over time, and cold temperatures affect rubber. Inspect O-rings, grommets, and hose fittings every 12 to 18 months and before cold seasons.
Use the soap bubble method again when inspecting. Apply soapy water, pressurize the system, and watch for steady bubbles that reveal air leaks.
Replace worn seals, tighten fittings, and lubricate rubber with a silicone-safe product when needed. Keeping spare seals and noting part sizes helps you repair problems quickly.
If leaks continue after replacing seals and tightening fittings, the issue may be internal. Faulty valves or cracked housings sometimes require professional service. Contact the manufacturer or a qualified technician to avoid further damage.
Frequently Asked Questions
How to Find and Fix a Slow Tire Leak?
Check tire pressure first. Then apply soapy water around the valve stem, tire bead, and tread area. Bubbles reveal the leak. Tighten or replace the valve core if needed. Small punctures may be sealed with a plug or sealant, but bead or rim damage usually requires professional repair.
Does Fixaflat Work?
Yes. Fix-a-Flat can temporarily seal small punctures so you can drive to a repair location. It is not meant as a permanent solution, especially for larger holes or sidewall damage.
How to Repair a Tire Cut That Is Leaking Air Fast?
Locate the leak with soapy water, deflate the tire, and apply a tire plug or patch for small tread cuts. Cuts in the sidewall are unsafe to repair and should be handled by a professional.
Why Is My Tire Losing Air but Can’t Find a Leak?
Many slow leaks occur at the tire bead or valve stem. Dirt on the rim or a slightly loose valve core can allow small air losses. Clean the rim, tighten the valve core, and monitor pressure regularly.
Conclusion
If your inflator is leaking air, act quickly. Listen for hisses, feel along hoses, and test connections with soapy water. Replace worn O-rings, valve cores, and chucks when needed. Upgrading to thread-on heads or inline taps can also prevent pressure loss.
Regular inspections and seasonal maintenance keep seals working properly. If leaks continue after these steps, professional diagnosis may be necessary to fix internal faults or damaged components.