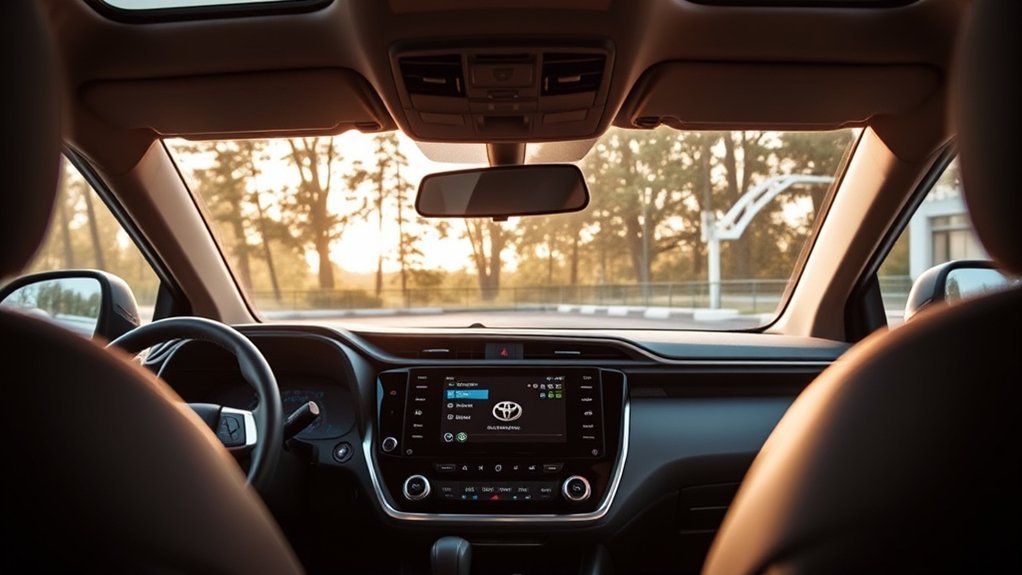
Want a modern infotainment system in your Toyota RAV4 Hybrid? Upgrading your factory touchscreen gives you wireless Apple CarPlay, Android Auto, and a sharper display. This guide covers how to choose the right aftermarket kit, verify compatibility, and install your new head unit safely.
Quick Answer
You can upgrade a Toyota RAV4 Hybrid touchscreen using an aftermarket kit designed for 2019 to 2024 models. These units add features like wireless CarPlay and larger screens while keeping factory steering wheel controls. Installation involves removing the dash trim, swapping the wiring harness, and securing the new display.
Key Takeaways
- Aftermarket kits fit 2019 to 2024 RAV4 Hybrids and add modern smartphone integration.
- Larger 12.3-inch screens provide better resolution and faster processing speeds.
- You must verify firmware compatibility to keep factory features like the backup camera.
- Improper installation can damage your vehicle’s computer module or void the warranty.
Which RAV4 Models Are Compatible?
You must verify which head units fit your Toyota RAV4 before buying. Most aftermarket screens work with 2019 to 2024 models. This includes both hybrid and gas versions. Brands like Navirider and TopDisplay build screens specifically for RAV4 hybrids. Keep in mind that some upgrades remove the hybrid battery level display from the main screen. You will still see this data on your dashboard cluster.
Check that the new unit runs the current firmware to prevent glitches. Think about warranty risks and possible computer module damage before you start the project. Planning ahead ensures your new screen works perfectly.
What You’ll Need Before You Begin
Gather the right tools before you take apart your dashboard. Having everything ready makes the installation process much faster.
- Plastic trim removal tool set
- 10mm socket wrench
- Phillips head screwdriver
- Zip ties for cable management
- Microfiber towel to protect the center console
Pro tip: Always use plastic trim removal tools rather than metal screwdrivers to avoid scratching your dashboard panels.
How to Choose an Aftermarket Head Unit
A new touchscreen improves your daily drive with modern apps and better audio control. Look for compatible aftermarket units that match your vehicle’s wiring harness. These options provide larger screens and built-in support for Wired Android Auto and Wireless CarPlay.
Verify the head unit supports the current firmware for peak compatibility with your vehicle systems. This step helps avoid issues with functions like the charging display. Many drivers report better audio control and quicker boot times after they upgrade.
Top Benefits of an Aftermarket Touchscreen
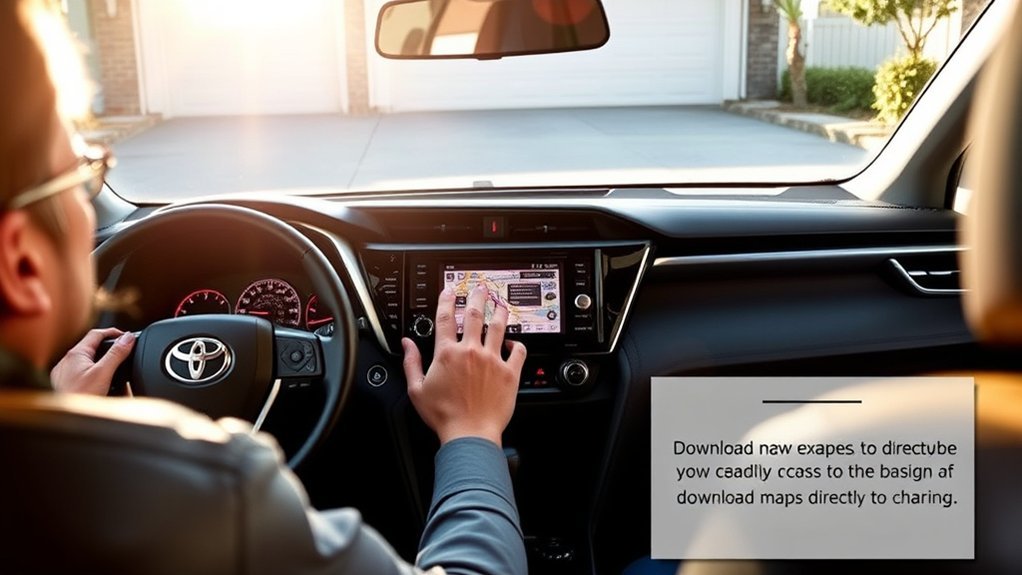
Installing an aftermarket kit greatly improves your driving experience. The biggest advantage is access to wireless smartphone integration. You can control your navigation and music directly from the dash. Aftermarket kits often feature large 12.3-inch displays with high resolutions.
You also gain advanced audio controls. Features like High Pass Filters and Low Pass Filters let you tune your music perfectly. Advanced processors ensure fast boot times and smooth map zooming. High-quality kits retain essential factory features like your backup camera and steering wheel controls. This gives you a clean, factory-like fit.
How to Install Your RAV4 Touchscreen
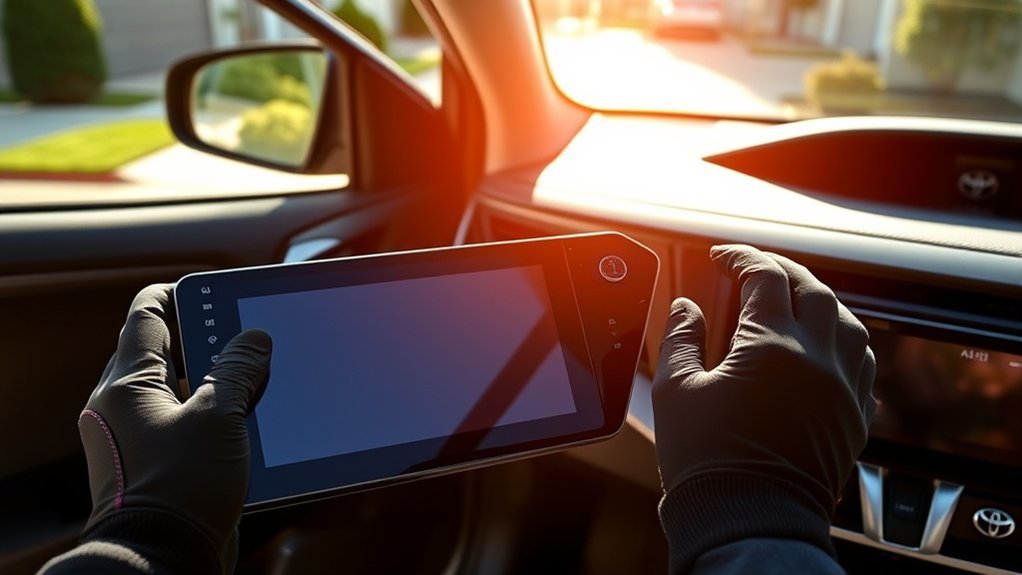
Installing your upgrade kit takes a few hours. Start by verifying your kit includes all necessary wiring harnesses for your specific model year.
Warning: You must disconnect the negative battery terminal before removing the factory radio to prevent electrical shorts and airbag faults.
- Disconnect the negative battery terminal using a 10mm wrench.
- Pry off the plastic dashboard trim panels covering the radio bracket.
- Remove the four Phillips or 10mm bolts holding the factory radio in place.
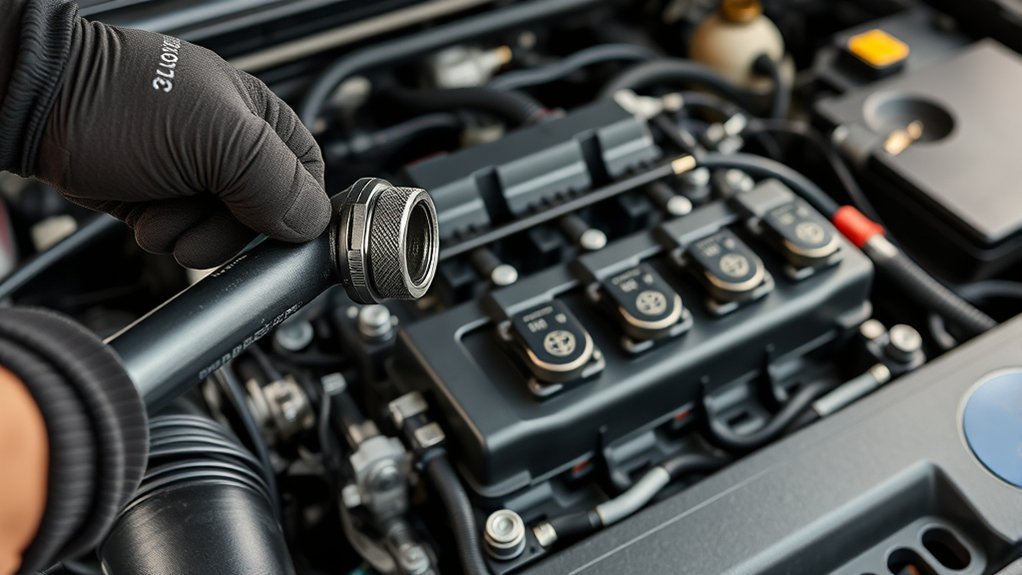
- Pull the factory head unit forward gently and unplug all rear wiring harnesses.
- Plug the vehicle’s factory wiring into the new aftermarket adapter harness.
- Connect the adapter harness to your new touchscreen unit.
- Reconnect the battery and test all features before screwing the new unit into the dash.
| Step Type | Tool Requirements | Common Challenge |
|---|---|---|
| Preparation | 10mm wrench | Accessing the battery terminal |
| Removal | Trim tools, screwdriver | Prying tight plastic clips |
| Wiring | None | Matching correct harness plugs |
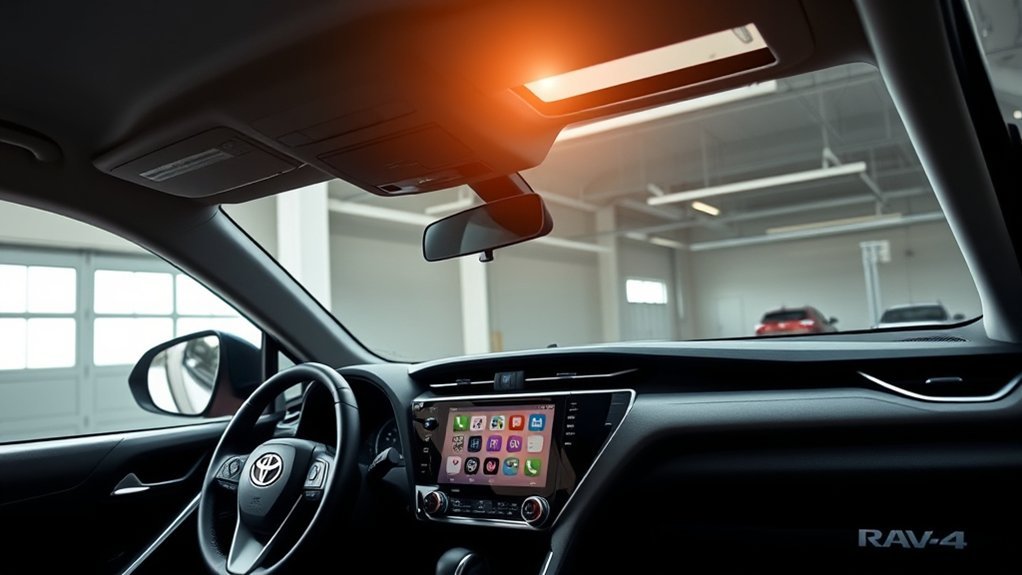
Key Features to Look For
Explore the hardware specifications before you buy. A large 12.3-inch IPS display boosts map visibility and touchscreen responsiveness. Wireless CarPlay and Android Auto let you access your apps without plugging in cables.
Look for units equipped with an Octa-Core CPU, 4GB of RAM, and 64GB of storage. These specs guarantee your touchscreen responds quickly to inputs. Good hardware also handles split-screen multitasking easily. Ensure the unit lists clear support for backup camera integration.
Common Upgrade Risks and Costs
Evaluate the costs and risks before starting this project. High-quality touchscreen kits cost between $400 and $800. Improper installation could damage your car computer module, leading to costly repairs.
Modifying your electrical system can impact your vehicle warranty. Toyota may void warranty coverage on specific electrical components if an aftermarket part causes a failure. You might also lose minor factory readouts, like the hybrid energy flow graphic on the main screen.
User Experiences With Aftermarket Units

Many Toyota RAV4 owners enjoy their touchscreen upgrades, but some report minor bugs. Drivers praise the visual improvements from brands like TopDisplay and Navirider. Most users highlight the massive upgrade in daily usability from adding wireless CarPlay.
| Reported Benefit | Common Complaint |
|---|---|
| Fast app loading and boot times | Occasional wireless connection drops |
| Massive improvement in audio quality | Loss of hybrid battery flow graphic |
| Modern dashboard aesthetic | Difficult wiring behind the dash |
Troubleshooting Common Installation Issues
Address potential bugs during the installation process. If the screen does not turn on, check the main wiring harness connection and the inline fuse. If you lose your steering wheel controls, verify that you plugged in the specific CAN bus decoder box included with your kit.
If your backup camera shows a black screen, ensure the camera RCA cable connects to the dedicated camera input, not a general video input. Consult community forums for your specific radio brand if you encounter software glitches.
Frequently Asked Questions
Does upgrading my RAV4 touchscreen void the Toyota warranty?
Dealerships may void the warranty on your vehicle’s electrical system if they determine an aftermarket part caused damage. Standard mechanical warranties usually remain unaffected. Always check with your local dealer before modifying your car.
Will I lose the hybrid energy monitor display?
Some aftermarket head units do not support the Toyota hybrid energy flow graphic on the main screen. However, you will still see all essential hybrid battery data on your steering column gauge cluster.
Can I keep my factory backup camera and steering wheel controls?
Yes. Most high-quality aftermarket kits include a specific wiring harness and CAN bus decoder. These adapters retain your factory backup camera, steering wheel volume buttons, and track skipping controls.
Next Steps for Your RAV4 Upgrade
Upgrading your RAV4 Hybrid touchscreen provides an instant technology boost to your daily commute. Choose a unit with a responsive processor and verify the wiring harness matches your specific model year. Order your kit and trim tools today to start modernizing your dashboard.