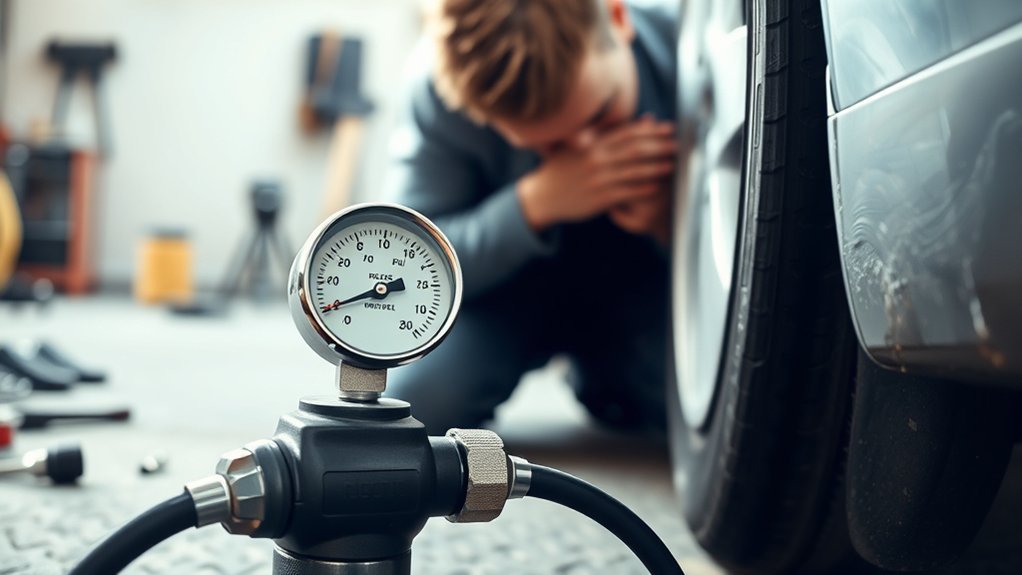
If your tire inflator’s slow, check the power, hoses, and seals first. A weak outlet, low battery, or loose vehicle clamps will cut flow. Inspect hoses and fittings for kinks, cracks, or leaks. Tighten or swap the adapters if needed. Clean or replace clogged filters, nozzles, and valve cores that restrict airflow. Drain moisture from tanks and pause to prevent overheating. Calibrate the regulator and verify the gauge. Follow these steps to find the likely culprit and apply simple fixes.
Quick Answer
- Check power: Ensure a solid connection to a working outlet or a fully charged battery.
- Find leaks: Listen for hissing along hoses and tighten any loose valve connections.
- Clear blockages: Clean out dirty air filters, nozzles, and intake ports.
- Prevent overheating: Give the inflator short breaks during long uses so the motor cools down.
Quick Fixes When Your Tire Inflator Is Slow
If your inflator feels sluggish, start by checking the obvious. Inspect the air hose for kinks or blockages. Make sure the nozzle seals tightly on the valve stem so air does not leak out. You will want to eliminate air leaks first. They are the most common and easiest fix. Run your hand along connections and listen for hissing. Replace cracked hoses or swap adapters until the seal feels firm.
Next, check the air pump’s filter and pressure dial. A clogged filter chokes airflow. Clean or replace it to restore speed. Confirm the pressure setting. If it is set too low, the pump will take longer to reach the target PSI. These fast interventions restore control and get your tire filled quicker without wasting time on complex diagnostics.
Check Power: Outlets, Batteries, and Vehicle Connections
Once you’ve ruled out leaks and airflow restrictions, check the power source next. A weak or inconsistent supply slows any inflator. Diagnose the power quickly and confidently. First, confirm the unit is firmly plugged into a known working outlet. A loose plug or faulty receptacle cuts available voltage and drags down performance.
Once leaks and airflow are cleared, check the power. A weak or inconsistent supply slows any inflator.
- Test a different power outlet to rule out a bad circuit and confirm a steady current.
- For battery-powered inflators, check the battery level and condition. Low or failing cells mean slower inflation. Replace or recharge before use.
- If you use your vehicle, make sure the engine is running and clamps are secure. A low idle may not supply enough voltage.
Maintain connections and battery health to avoid repeated slowdowns. By isolating the power source issue, you will get your tires filled fast.
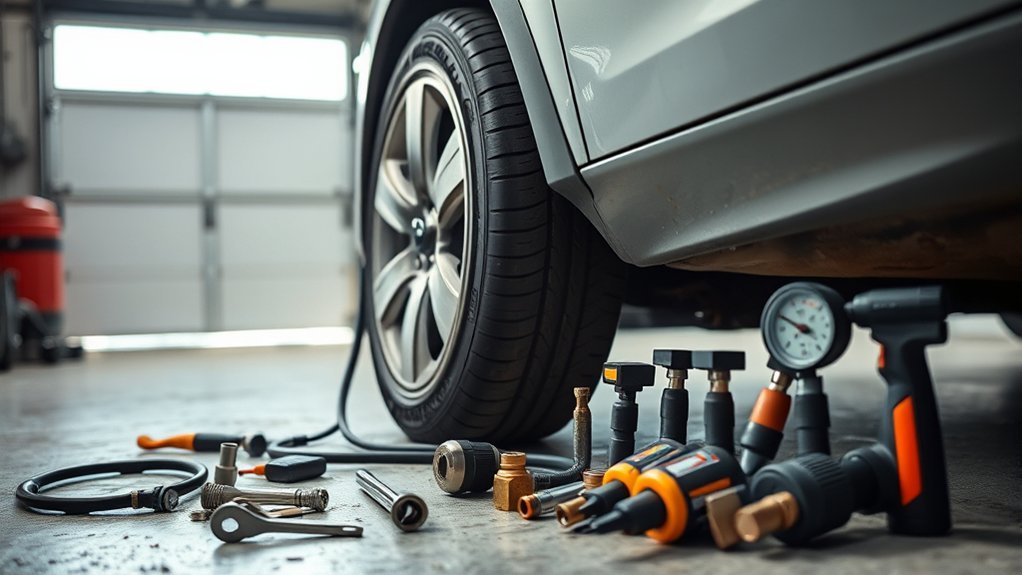
Inspect Hoses, Fittings, and Valve Connections for Leaks or Kinks
Because a kinked hose or loose fitting cuts airflow, start by visually tracing the entire hose. Feel along it for bends or weak spots that could restrict flow. Check the air hose end-to-end for cracks, flattening, or debris inside the nozzle. Listen for hissing at each joint. If you hear hissing, isolate the leak by applying a soapy water solution and watching for bubbles. Tighten fittings snugly but do not overtighten the threads. Replace any stripped or corroded couplers.
Verify the nozzle seats firmly on the valve stem. A loose seal bleeds pressure and slows inflation. Clean the nozzle and valve connection to remove grime that prevents a tight fit. Swap in a known-good hose or fitting to confirm performance. If inflation speed improves, you have found the culprit. Replace damaged or aged components promptly. These steps give you direct, actionable checks to fix slow fills and get back on the road.
Fix Pressure Problems: Regulator, Gauge, and PSI Settings
Check the regulator is calibrated and adjusted to a PSI that matches your tire requirements. Low regulator settings slow down inflation. Verify your gauge for accuracy and recalibrate or replace it if readings are inconsistent to avoid overinflation or underinflation. Set the compressor slightly above the target tire PSI to compensate for pressure drops during inflation. Then, finish filling to the manufacturer’s recommended PSI.
Regulator Calibration And Adjustment
If your tires are not reaching the right PSI, start by calibrating the regulator. Confirm your gauge is accurate so you can make precise adjustments without guessing. Treat regulator calibration as a routine task. Set it, test it, and tweak it until the readings match your target PSI. Use a reliable pressure gauge so you are not chasing false numbers.
- Increase the regulator to a slightly higher PSI (e.g., 33–40 PSI) to overcome initial loss during inflation.
- Inflate in short bursts, check the gauge, and then lower the regulator to the target to avoid overinflation.
- Recalibrate regularly and log settings for each vehicle to ensure consistency.
Know your compressor’s controls and maintain them to keep inflation efficient.
Gauge Accuracy And Calibration
While adjusting regulators, make the gauge your first stop. An inaccurate gauge will have you chasing the wrong PSI. Check gauge accuracy by comparing readings with a trusted handheld gauge on a cold tire. If the readings differ, recalibrate per the inflator manual or mark the offset so you can compensate. Do not guess. Repeated manual measurements teach you how your device behaves.
Keep a calibration log and schedule regular checks as part of your maintenance. When you adjust the regulator, confirm the gauge shows the expected rise. If it lags, repair or replace the gauge. Accurate pressure control protects your tires.
Correct PSI Selection
How do you pick the correct PSI on your inflator so you do not underinflate or overinflate tires? You must check and set it deliberately. Verify the gauge reads true, match the regulator to the vehicle’s recommended PSI, and adjust knowing that pressure can drop during the transfer. Do not let a faulty gauge dictate performance.
- Verify gauge accuracy before use. A bad reading will fool you.
- Set the regulator to the vehicle’s target PSI, or a bit higher to compensate for drops.
- Confirm with a manual gauge after inflation. Repeat small adjustments until stable.
Mastering correct PSI selection removes the guesswork from tire inflation.
Clear Blockages: Filters, Nozzles, and Intake Ports
Check the air filter first. If it is clogged, you will get reduced airflow and much slower inflation. Inspect the nozzle and valve for dirt or debris that can prevent a tight seal and cause leaks. Also, scan the intake ports and the hose for blockages or kinks so air can move freely.
Clogged Air Filter
If your inflator feels sluggish or takes longer to reach pressure, inspect the air filter. A clogged filter cuts airflow and forces the pump to work harder. Clean filters restore power and speed. Check the filter after a few uses. Neglect means longer inflation and possible overheating. Use mild soap and water, dry it completely, then reinstall or replace it if damaged.
- Inspect: Remove the cover and look for dust, grit, or compacted fibers restricting flow.
- Clean: Wash gently with mild soap, rinse, and air dry fully before reinserting to avoid moisture damage.
- Replace: Swap worn or torn filters to keep your tire inflator efficient.
Blocked Nozzle/Valve
A blocked nozzle or valve can choke airflow and make your inflator feel sluggish. Inspect the nozzle, valve core, and intake ports for dirt, grit, or small debris. Remove the nozzle and visually check for obstructions, then blow through it or use a soft brush.
Common issues include debris in the valve core and clogged intake filters. Replace or clean filters per the manual, and straighten or replace bent nozzles. If the valve core traps dirt, use a core remover to clear it or fit a new core. Test the inflator after each change. Regular, simple maintenance ensures reliable inflation.
Remove Moisture From the Tank and Air Lines
Moisture in the tank and lines cuts airflow and can push water into your tire fittings. You should drain the compressor tank after each use. Inspect air lines for condensation or pooling. Install a moisture trap or inline filter if you see recurring buildup to keep inflation fast and consistent.
- Drain: Open the tank drain valve after every session to expel accumulated water. Leaving it lets droplets migrate into hoses and slow pressure delivery.
- Inspect: Run your hand along hoses and look inside fittings for condensation. Compromised lines mean lost flow and justify a replacement.
- Install: Fit an inline moisture trap or filter between the compressor and hose. It captures water before it reaches the tire valve and keeps airflow steady.
Routine checks remove a common bottleneck. This helps your inflator deliver consistent pressure and faster fills.
How Cold Weather Affects Your Tire Inflator
Cold temperatures can make your tire inflator seem slower than usual. Battery-powered units lose efficiency in freezing weather, reducing their overall power output. Additionally, cold air causes the pressure inside your tires to drop. This means the pump has to work longer to reach the target PSI. Keep your portable inflator inside your warm car or home before using it during the winter to maintain peak performance.
Stop Overheating and Motor Strain Slowing Inflation
Once you have kept moisture out of the tank and lines, focus on preventing overheating. Running the inflator continuously pushes the motor past its duty cycle. Give it regular cooldowns during long sessions, keep vents clear for proper airflow, and clean clogged air filters that restrict breathing.
Pause every few minutes on long jobs to let the unit cool. Short breaks cut the overheating risk and restore the flow rate. Keep intake and exhaust vents unobstructed and clear debris from filters. Inspect electrical connections and look for dust buildup. Loose wiring raises heat under a heavy load. If you use the inflator for frequent tasks, plan duty cycles to prevent constant slowdowns.
| Issue | Quick Check | Fix |
|---|---|---|
| Overheating | Surface hot | Pause, cool |
| Clogged filter | Reduced flow | Clean/replace |
| Poor airflow | Blocked vents | Clear area |
When to Repair, Replace, or Buy a Faster Portable Tire Inflator
When should you repair, replace, or upgrade your inflator? Act on clear signs when your gear becomes unreliable.
- Diagnose: If hose blockages, wrong PSI settings, or a stuck valve are the issue, repair those first. Fixing seals, cleaning passages, or recalibrating the gauge restores speed without buying new gear.
- Replace: When the unit will not reach the target PSI after repeated attempts, the digital gauge reads inaccurately, or the model has known failures, replace it. Persistent faults risk safety and waste time.
- Upgrade: If the inflator overheats often or you need faster fills for larger tires, buy a faster portable tire inflator rated for higher volume. Check user reviews and performance ratings to pick a reliable unit.
Choose repair for targeted fixes, replace for failed core components, and upgrade when your needs exceed the inflator’s design.
Frequently Asked Questions
Why Is My Air Compressor Taking so Long to Fill Up?
Your compressor is slow because of blockages, a small air hose size, weak power, or overheating. Perform basic maintenance. Clean or replace filters, check connections, use the proper hose diameter, rest the unit, and secure the power source.
Why Is My Air Compressor Struggling to Build Pressure?
Many failures stem from poor upkeep. You are likely losing pressure from faulty power, clogged intakes, or tank moisture. Perform regular maintenance, verify the pressure gauge accuracy, and drain the tank to regain reliable performance.
Why Is My Tire Pressure Going Down Slowly?
Your tire pressure drops slowly because of air leakage from tiny punctures, temperature changes, or tire valve issues. Inspect the tire, perform a soapy water test, tighten or replace the valve, and patch the tire to fix the leak.
Why Does My Air Compressor Run Slowly?
Your air compressor runs slowly because clogged hoses, weak power, dirty filters, incorrect PSI settings, or overheating are choking its performance. Clear blockages, check the pressure gauge, and restore proper power to fix it.
Conclusion
You now have a quick diagnostic map. Check the power, hoses, valves, pressure settings, and intake for blockages or moisture. Do not let the motor overheat. If fixes do not work, repair or replace the unit. Treat troubleshooting like tracing a leak in a sink. Be systematic and step-by-step, and you will find the cause. Keep up with routine checks and proper maintenance so your inflator stays efficient when you need it most.