You can quickly recalibrate a tire pressure gauge by comparing it to a trusted reference like a calibrated manometer or station pump. Check pressures with cold tires, fully seat the gauge on the valve, and note any consistent offset. For dial gauges, adjust the back screw to zero; for digital units, use the reset/zero function (if your model has it); for pencil gauges, replace if consistently off. Below you’ll find step-by-step methods, troubleshooting, and when professional calibration makes sense.
Quick Answer
- Check pressure on cold tires (before driving) for consistent results.
- Compare your gauge to a trusted reference (calibrated manometer, shop reference gauge, or a consistently maintained station pump).
- Test at a few pressures and look for a consistent offset (always high or always low).
- If the gauge is adjustable, zero/reset it and retest until it matches the reference.
- If readings jump around, drift, or won’t repeat, inspect the chuck/seals or replace the gauge.
Quick Recalibration Checklist for Tire Pressure Gauges
Start by comparing your gauge to a known-accurate reference gauge so you can spot any offset, then adjust or reset as needed. Always check pressure when tires are cold. NHTSA’s tire pressure guidance defines “cold” as not driven for at least three hours, which helps you get repeatable readings. Record the difference at a few pressures and watch for non-linear error (for example, correct at 30 PSI but off at 45 PSI). If your mechanical gauge is adjustable, make small turns of the adjustment screw and recheck until readings match. For digital units, follow the manufacturer’s reset procedure or power cycle it, then confirm consistency across tests. Keep a simple log and tag the tool with the date and your target tolerance so you know what you’re relying on.
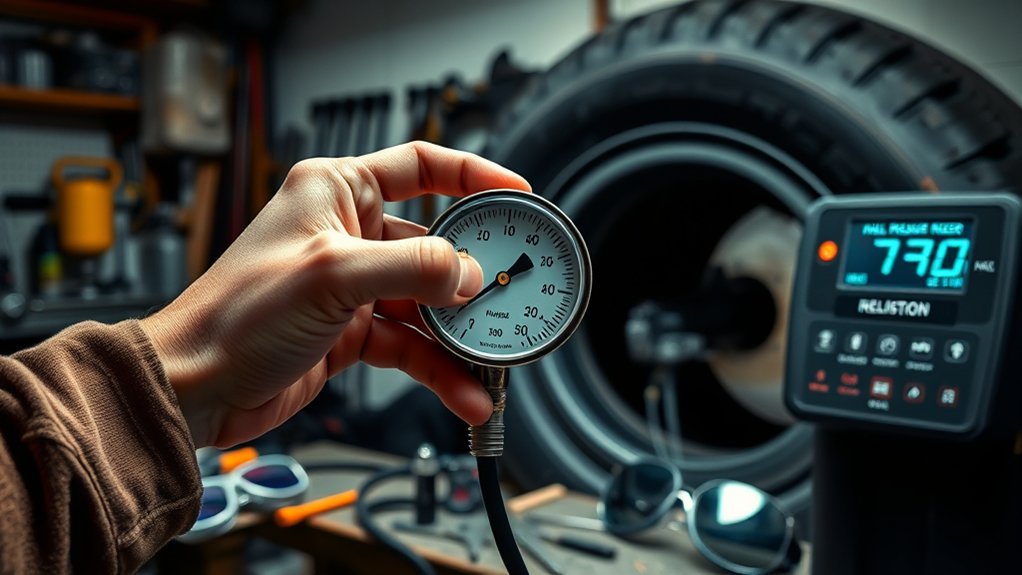
Confirm Your Gauge Type and Prep the Tools
First, identify whether your gauge is dial, digital, or pencil-type, since each uses a different approach. Gather a calibrated manometer (or another trusted reference), a compressed air source, a known-good comparison gauge, and any model-specific tools listed by the manufacturer. Work on a stable surface and keep everything clean, since dirt or a damaged seal can throw off readings.
Gauge Type Identification
Although gauges look similar at a glance, confirm whether yours is a dial, digital, or pencil style because the adjustment options are different. A dial has a circular face and needle, a digital shows an LCD, and a pencil gauge is slim with a sliding rod. If you still have the manual, skim it for any notes about adjustment screws, reset steps, or accuracy tolerances. Then compare your gauge to a known accurate reference or calibrated manometer to see how far it’s drifting. If the gauge has been dropped, soaked, overheated, or stored in a hot car for long periods, verify it more often because those conditions can cause drift.
Required Tools Checklist
Now that you’ve identified your gauge type and checked for damage, gather the tools you’ll need so calibration goes smoothly. Use a calibrated manometer as the reference standard whenever possible. Have a reliable compressed air source so you can reach and hold target PSI values during tests. Keep a basic inspection tool (even a flashlight) handy to spot cracks, debris, or worn seals that can cause leaks and false readings. Finally, keep the manufacturer’s calibration instructions nearby so you follow the right steps for your exact model.
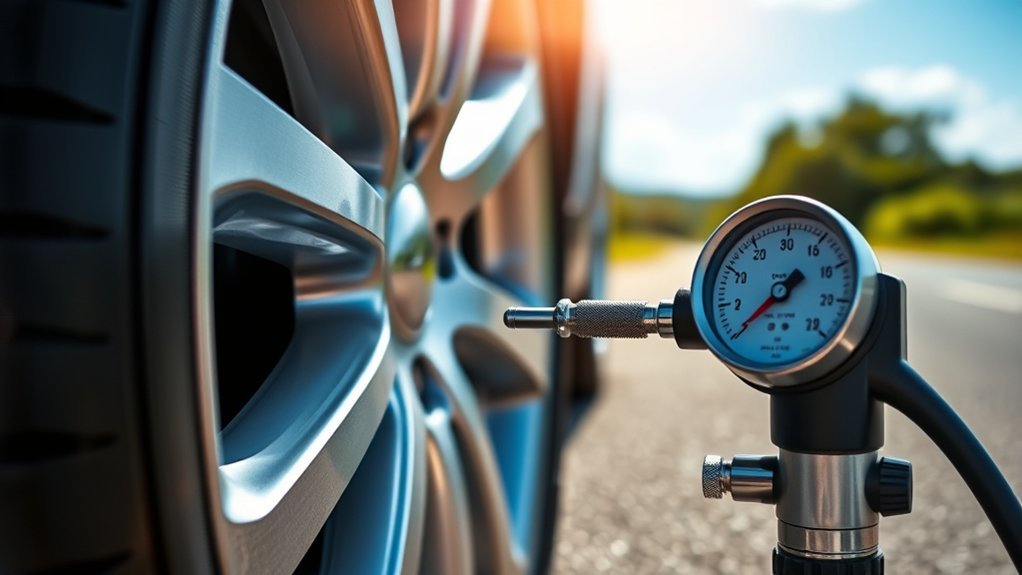
Compare Your Gauge to a Trusted Reference (Manometer or Station Pump)
Start by comparing your gauge to a calibrated manometer to get a reliable baseline. If you don’t have one, a consistently maintained station pump can work as a practical reference, but try to use the same pump each time. Take readings at the same ambient temperature, and keep your technique identical from test to test.
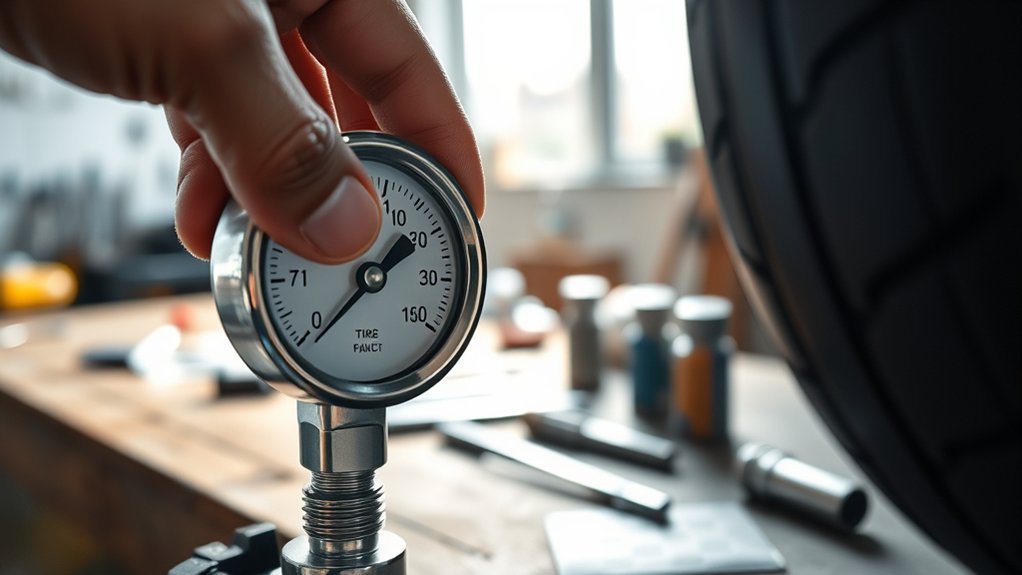
Use A Calibrated Manometer
A calibrated manometer gives you a reliable baseline. Connect the manometer to your air source, take a reading, then check the same pressure with your tire gauge to spot any offset. If your gauge is adjustable and you see a consistent difference, adjust it in small steps and recheck. If your gauge is not adjustable, write down the offset so you can correct for it (or replace the gauge if the error is large or inconsistent). Repeat the check after any drop or hard impact, and anytime the readings stop matching your reference.
Compare At Station Pump
You can also compare your gauge at a station pump to see how it performs in real-world use. Check tire pressure when the tires are cold, take the pump reading, then immediately take your gauge reading. Try to use the same station pump for repeat checks so your comparisons stay consistent. If the pump and your gauge differ by the same amount every time, you can treat it as an offset. If the difference changes from one check to the next, focus on technique (seating the chuck, angle, leaks) or consider replacing the gauge.
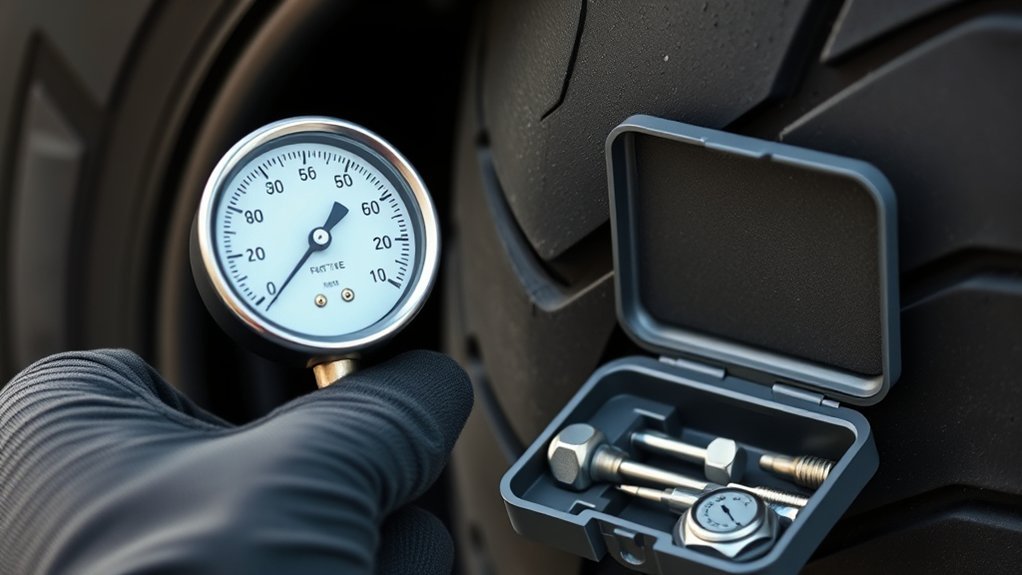
Recalibrate Dial, Pencil, and Digital Tire Pressure Gauges (Screw, Zero, Reset)
For most home users, recalibration is straightforward once you know what your gauge allows. For a dial gauge, release all pressure and check where the needle rests. If it doesn’t sit at zero, use the small adjustment screw on the back (if present) to align it, then retest against your reference. For digital gauges, turn it on and use the reset/zero function if your model includes one. If the manufacturer recommends a power cycle, remove and reinstall the battery, then verify again against your reference. Pencil gauges typically are not adjustable. If a pencil gauge reads consistently off at multiple pressures, replacing it is usually the best option.
Build and Use a DIY Manometer for More Accurate Recalibration
If you want more precision than comparing one consumer gauge to another, a simple DIY manometer can help you measure pressure differences directly using a liquid column. The height difference of the liquid shows the pressure difference. As a rule of thumb, 1 inch of water is about 0.036 psi, so small height changes can be useful for checking small offsets.
Know the Limits (Water Column Height)
A basic water manometer works best for low pressures or small differences. Full tire pressures are much higher, so a water column tall enough to measure them directly is usually not practical in a home setup. If you build one anyway, treat it as a tool for checking small changes and consistency rather than a convenient way to measure full tire PSI.
Troubleshooting: Readings Still Disagree and Common Mistakes
Even after recalibration, disagreements can happen. Start by comparing readings across at least two other gauges to see which tool is the outlier. If two trusted gauges agree and one doesn’t, you’ve likely found the problem gauge. Next, check your technique: press the gauge straight onto the valve stem, hold it steady, and listen for any hissing. A tiny leak while measuring can change the reading and can also release enough air to skew follow-up checks. Always measure cold tires. Warm tires read higher, which can make a good gauge look “wrong.” If a gauge still won’t repeat readings, or it changes depending on angle or pressure range, it’s often a sign of a worn chuck, damaged seal, or internal failure. At that point, replacement is usually the safest move.
When to Send a Gauge for Professional Calibration (Costs and Frequency)
If you need traceable accuracy for shop work, diagnostics, fleet maintenance, or racing, professional calibration may be worth it. Costs vary by provider, instrument type, and whether you need accredited, traceable documentation. Some accredited labs publish pricing that ranges from under $100 per range for certain pressure/vacuum gauges to a few hundred dollars for higher-grade instruments, plus added fees for adjustments. For most casual drivers, paying for calibration often costs more than buying a good-quality new gauge, so professional service is usually reserved for reference tools and frequent users.
For frequency, set an interval that matches how critical the measurement is and how the gauge is used. A single calibration is a snapshot. Ongoing verification is what catches drift. If a gauge is your shop reference, build a routine that includes periodic checks against a trusted standard and a documented schedule.
Frequently Asked Questions
How Do I Recalibrate My Tire Pressure Sensors?
Inflate your tires to the vehicle’s recommended pressure, then follow your vehicle’s TPMS reset procedure (often a reset button or menu option). Many systems relearn after you drive for a short period at road speeds. If your owner’s manual specifies a different process, use that, since TPMS steps vary by vehicle.
How to Tell if a Tire Pressure Gauge Is Accurate?
Compare readings to a trusted calibrated manometer or high-quality reference gauge on the same tire, using the same technique. If readings match closely and stay consistent across repeat checks, your gauge is performing well. If the error is large, inconsistent, or changes across pressures, it’s time to troubleshoot seals and technique, or replace the gauge.
How Do I Calibrate a Pressure Gauge?
Compare your gauge to a calibrated manometer, note the discrepancy, adjust any calibration screw (if your gauge has one), and repeat until readings match. Check at more than one pressure so you don’t “fix” one point while making another worse.
How to Fix a Pressure Gauge Pointing off of Zero?
First, inspect for damage or debris and confirm the gauge is fully depressurized. If it’s a dial gauge with a back adjustment screw, use that screw to set the needle to zero. Then compare it with a known-good gauge or manometer. If it won’t zero, won’t hold consistent readings, or the needle sticks, replace it.
Conclusion
You’ve now got the essentials to recalibrate your tire pressure gauge and keep readings reliable. Identify your gauge type, compare it to a trusted reference, and use the simple screw/zero/reset steps for dial, pencil, or digital models. If you need higher confidence, verify at several pressures and keep a quick record of results. Don’t ignore persistent errors. If the gauge won’t repeat readings after troubleshooting, replacement is often the most practical and safest choice.