Fastest Way to Seat a Tubeless Tire Bead
You can seat a tubeless tire bead quickly by maximizing airflow (remove the valve core), lubricating the bead with soapy water, and giving the tire a short, powerful burst of air so the bead snaps onto the rim. An air compressor or tubeless booster tank is the most reliable; many floor pumps work if the bead is centered in the rim channel and you pump hard.
Fastest Way to Seat a Tubeless Tire (Quick Answer)
If you want the fastest, most consistent result, use an air compressor or a tubeless booster tank (a canister you charge with a floor pump and then release in one shot). Remove the valve core first to increase airflow, lube both beads with soapy water, and hit it with a quick burst until you hear the bead “pop” into place. Once seated, reinstall the valve core and inflate to normal riding pressure.
CO2 can also seat a bead in a pinch, but many sealant makers advise it as an emergency option because CO2 can shorten sealant life—plan to replace or top up sealant after using it.
Prep: Remove the Valve Core and Check Rim/Tire Fit
Before you inflate, confirm your rim and tire are actually tubeless compatible, and that the rim tape and valve are airtight. A surprising number of “won’t seat” problems come from rim tape leaks or a loose valve.
- Inspect the rim bed and tape: Look for wrinkles, punctures, lifted edges, or spoke-hole dimples that could leak.
- Clean the bead seat: Wipe off dirt, dried sealant, or burrs that could prevent an even seal.
- Center both beads: Push the tire beads into the rim’s center channel all the way around—this creates slack so the bead can climb the rim wall.
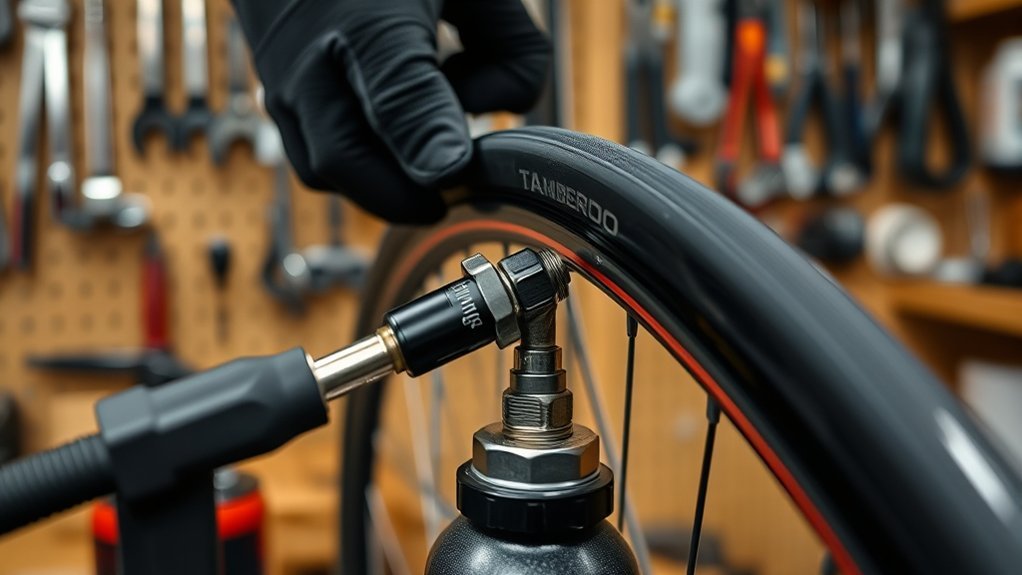
- Remove the valve core: More air volume gets in faster, which helps the bead snap into place.
Sealant timing: Many mechanics seat the tire “dry” first, then inject sealant through the valve with the core removed to avoid mess. If your setup is stubborn, a little sealant can help lubricate and seal tiny gaps—either approach works as long as you end up with the correct amount of sealant for your tire size.
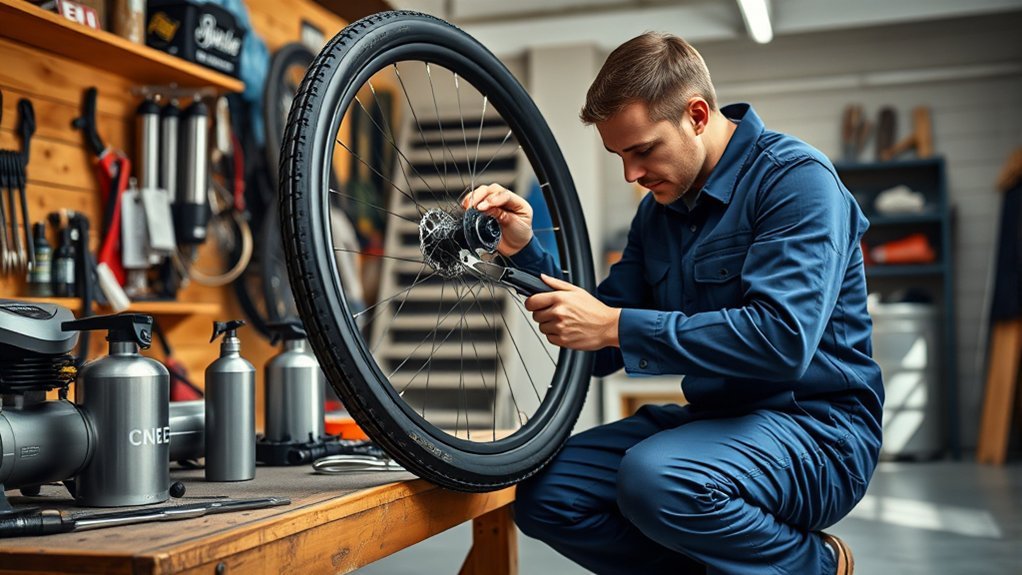
Seat the Tire With a Floor Pump: Step-by-Step
- Mount the tire with both beads inside the rim.
- Pre-seat evenly: Work both beads into the center channel all the way around. Make sure the tire isn’t “hung up” anywhere.
- Lubricate: Brush or spray soapy water on both beads and the rim edge. (Don’t use grease or oil-based products.)
- Inflate fast: With the valve core removed, pump hard and fast. If your pump has a high-flow head or charge chamber, use it.
- Listen and look: You’ll usually hear two pops as each bead seats. Check the molded “bead line” on the tire sidewall—it should be evenly spaced from the rim all the way around.
- Reinstall the valve core, then inflate to riding pressure and spin/tilt the wheel to distribute sealant.
If air is pouring out before pressure builds, stop and troubleshoot (rim tape, valve seal, or bead not centered) instead of just adding more pressure.
[Products Worth Considering]

BOOST & STANDARD PUMP: Our dual-function system does what regular pumps can't. Switch to Boost Mode to compress and instantly release a high-volume air blast (up to 160 PSI) – easily seats stubborn tubeless tire beads .Switch to Standard Mode for daily inflation needs (road bikes, balls, etc.). Two pumps in one, built for the modern garage.
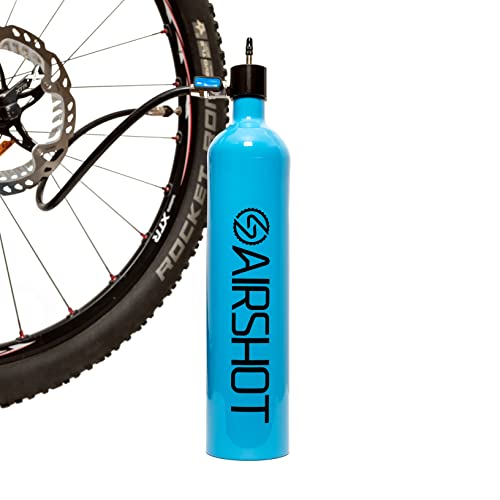
COMPATIBLE with all tire sizes: 26", 27.5", 27.5+", 29", "29+", MTB, road, cyclocross and fat bikes, the Airshot holds enough air to seat your tires on the rims every time you need to change your tubeless tire or replace the tubeless tire sealant.

【QUICK & EASY TIRE INFLATION】-Inflate your tubeless tires in seconds! Simply press the Tire Booster is connected to a conventional floor pump using the SV valve on the inflator cartridge. Then yo need to fill the cylinder and to operate the quick release valve. The air immediately distributes itself evenly and the tire seats itself firmly on the rim, usually with the typical loud crack.
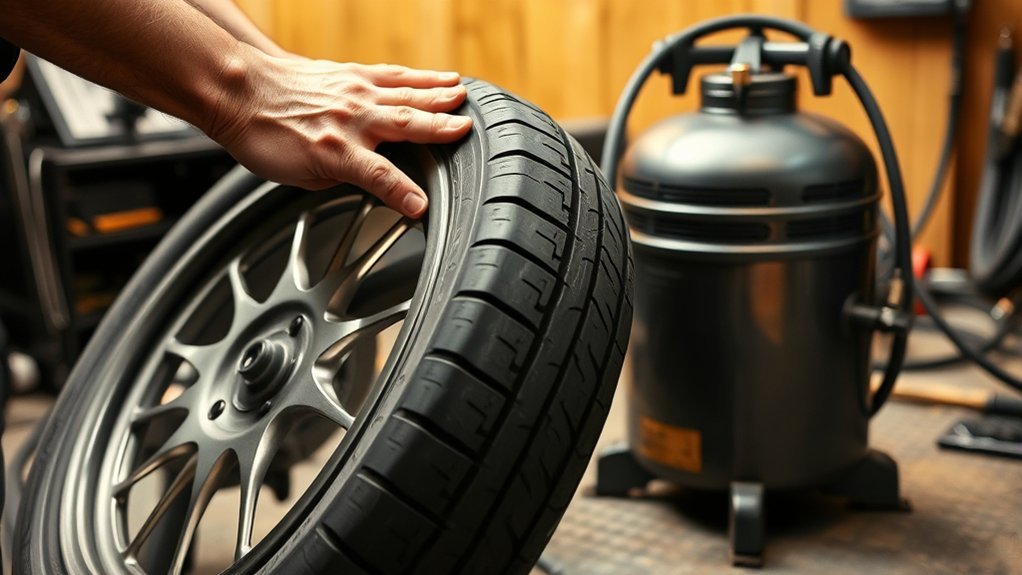
Compressor vs. Canister vs. CO2: Which to Use and When
- Air compressor: Most reliable because it delivers high volume quickly. Use short bursts and watch pressure.
- Tubeless booster tank / charge-chamber floor pump: Nearly as effective as a compressor, but portable. Charge the tank, then dump the air in one shot.
- CO2 inflator: Very compact and can seat a bead fast. Treat it as an emergency tool and plan to refresh sealant after, since CO2 can deteriorate some sealants.
[Products Worth Considering]

Tire Booster' from Schwalbe, tubeless tyre assembly can be accomplished easily

Easy & Effective Tubeless Tire Inflation: Simply charge the tank to 150 PSI with a high-pressure pump (160 PSI or higher recommended). Then connect the tank to your tubeless bike tire and turn the quarter-turn valve to a horizontal position to blast high-pressure air into the tire, quickly seating and inflating it in one step.

Dual Function: Works as both an air compressor and standard pump.
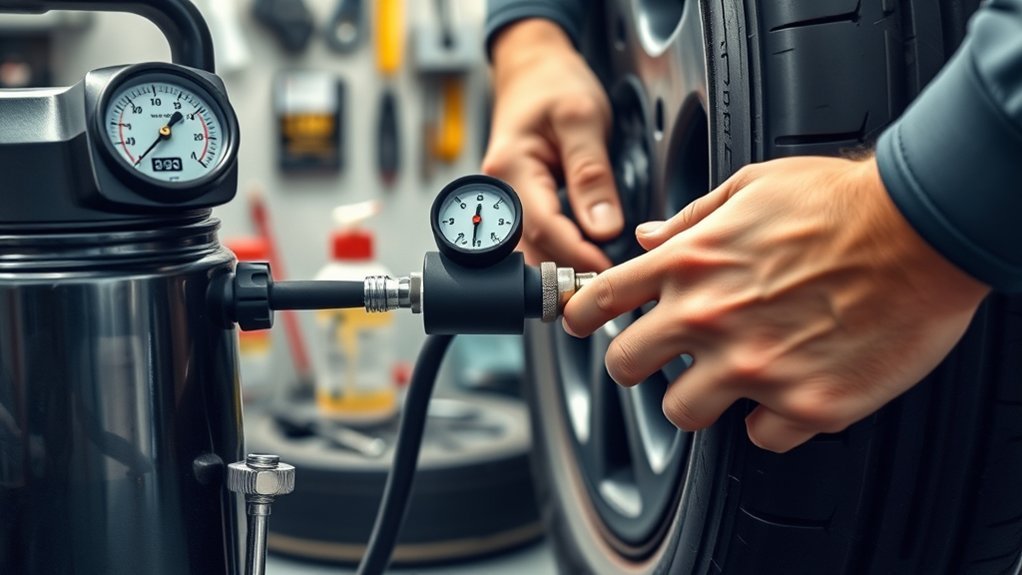
Using an Air Compressor Safely
Keep safety simple: use a regulator/gauge, keep your fingers away from the bead area, and do not exceed the lower of the tire’s and rim’s maximum rated pressure. Inflate with short bursts and stop once the bead is fully seated and even.
Troubleshooting Stubborn Beads: Straps, Soap, Heat, and Tips
If the bead won’t seat after a few tries, the fix is usually improving the seal long enough for pressure to build.
- More lube: Apply more soapy water to both beads so they can slide into position.
- Strap trick: Wrap a strap around the tire’s circumference and tighten just enough to push the sidewalls outward.
- Warm the tire: Let it sit in a warm room or sun for a bit so the casing becomes more pliable (avoid open flames).
- Tube pre-seat method: Install an inner tube and inflate to fully seat both beads, then carefully remove the tube while leaving one bead seated. Reinstall the tubeless valve, add sealant, and inflate again.
- Check rim tape fit: If the bead seat is too loose, adding an extra layer of rim tape can help on some rim/tire combos.
[Products Worth Considering]
Country Of Origin : United States

DUAL FUNCTIONALITY: Revolutionary design combines both tire removal AND installation capabilities in a single ergonomic tool for road bike tires (<35 mm tire width) Road bike tires ONLY. Mountain bike tire version coming soon.

This tool is designed to quickly and easily ¿seat¿ stubborn tires.
Aftercare for a Freshly Seated Tubeless Tire: Pressure and Sealant Checks
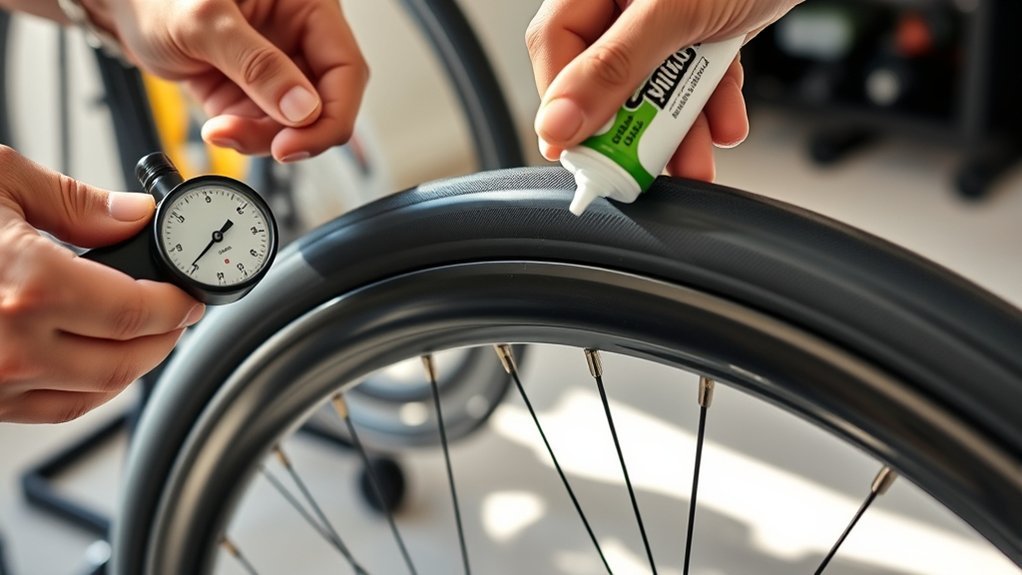
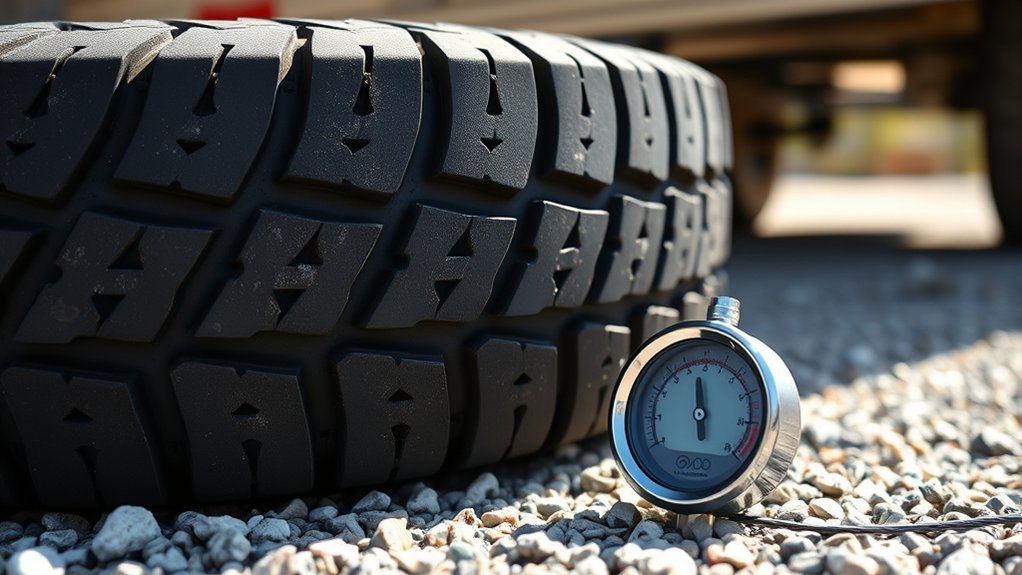
Check Tire Pressure
Set pressure to the tire and rim makers’ recommendations for your setup. It’s normal to lose some air over the first day on a fresh tubeless setup; top up as needed and recheck for leaks.
Inspect Sealant Level
Sealant amounts depend on tire volume. As a starting point, many road and gravel tires use roughly 50–80 mL, while many mountain bike tires use roughly 100–140 mL (check the sealant maker’s chart for your exact size). Sealant also dries out over time; some manufacturers say it can last about 2–6 months (or longer) depending on heat, storage, and punctures, so plan to check it periodically and top up as needed.
To help sealant reach every part of the casing, spin and shake the wheel after inflation, then lay it on each side for a few minutes. If you used CO2 to seat the bead, consider refreshing the sealant before your next ride.
Key takeaways
- Remove the valve core, lube the bead, and deliver a fast air burst.
- Compressor or booster tank is the quickest; a strong floor pump often works on a good rim/tire fit.
- Don’t exceed the lower of the tire and rim max pressures.
- CO2 is for emergencies—plan to refresh sealant afterward.
Frequently Asked Questions
How to Seat Bead on Tubeless Tire?
Center the beads in the rim channel, remove the valve core, lube with soapy water, then inflate fast (compressor, booster tank, or a high-flow floor pump) until the bead pops into place.
How Do You Seat a Stubborn Tire Bead?
Use more soapy water, tighten a strap around the tire to push the sidewalls outward, and try a higher-flow air source. If it still won’t go, pre-seat with an inner tube and try again tubeless.
How to Fix a Tubeless Tire That Won’t Seat?
Check for air leaks at the rim tape and valve, make sure both beads are centered in the rim channel, and use a faster air source with the valve core removed. If the fit is very loose, a fresh (or slightly thicker) rim tape job can help.
Can CO2 Seat a Tubeless Bead?
Yes—CO2 can provide a strong burst that seats many tubeless beads. Because CO2 can reduce the life of some sealants, it’s best as an emergency fix; switch back to regular air and refresh sealant when you can.
Can You Use WD-40 to Seat a Tire Bead?
Avoid it. Many tire makers warn against grease or oil-based lubricants for tubeless installation. Use soapy water or a purpose-made tire mounting lubricant instead.
Conclusion
You’ll usually get a tubeless bead to pop with the basics: center the bead in the rim channel, remove the valve core, add soapy water, and inflate with a quick, high-flow burst. If it’s stubborn, a strap, gentle warmth, an inner-tube pre-seat, or a booster tank can make the difference. Once it’s seated, set riding pressure, distribute sealant, and recheck pressure over the next day.