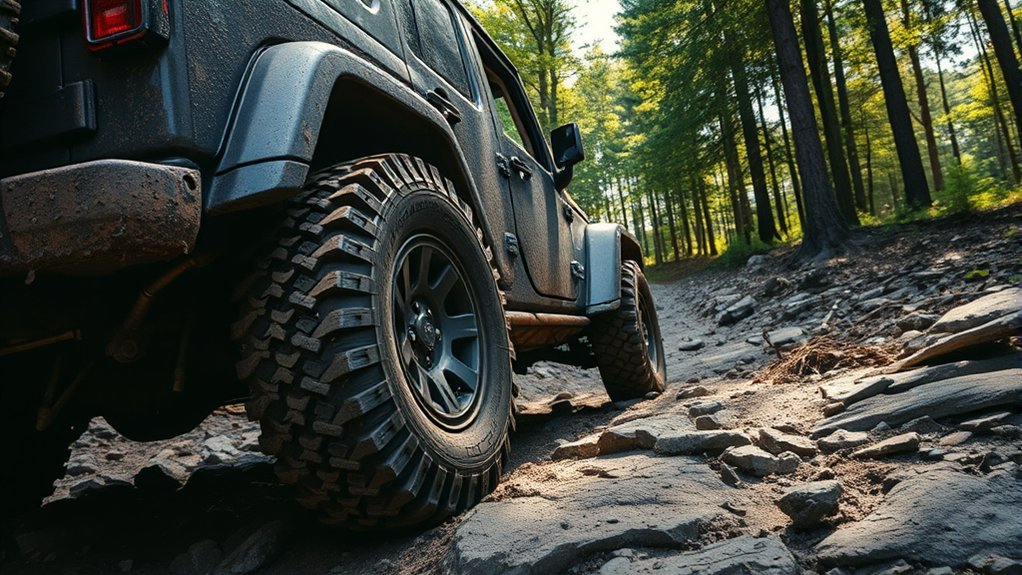
The wrong tire pressure can turn an easy trail into a recovery job or a damaged tire. Off-road PSI is not one-size-fits-all. The safe setting depends on vehicle weight, axle load, tire construction, wheel design, terrain, speed, and how much equipment you carry. Use the ranges below as cautious starting points, then adjust in small steps and record what works for your setup.
Quick Answer
There is no single safe off-road tire pressure for every 4×4. For many light-duty rigs with suitable LT tires, 18-25 PSI is a cautious trail starting range, while soft sand may require less. Begin higher, reduce pressure in small steps, stay slow, protect the bead, and reinflate before driving on pavement.
Key Takeaways
- Treat every PSI range as a starting point, not a specification for every vehicle.
- Start at the upper end of a range and lower pressure 2-3 PSI at a time while checking steering, sidewall shape, and bead security.
- Heavy loads, stiff LT tires, narrow wheels, and low-profile sidewalls often require more pressure.
- Very low pressure increases the risk of bead loss, rim damage, sidewall injury, and heat buildup.
- Carry a reliable gauge, deflator, compressor, and usable spare, then restore the correct road pressure before pavement.
At a Glance
| Time Required | About 15-30 minutes to air down, test, inspect, and air up |
| Difficulty | Easy, but safe judgment is required |
| Tools Needed | Accurate gauge, tire deflator, suitable compressor, valve caps, full-size spare, and tire inspection light |
| Cost | No added cost if you already own the required tools; equipment cost varies by tire size and compressor capacity |
Off-Road Tire Pressure Starting Points by Terrain
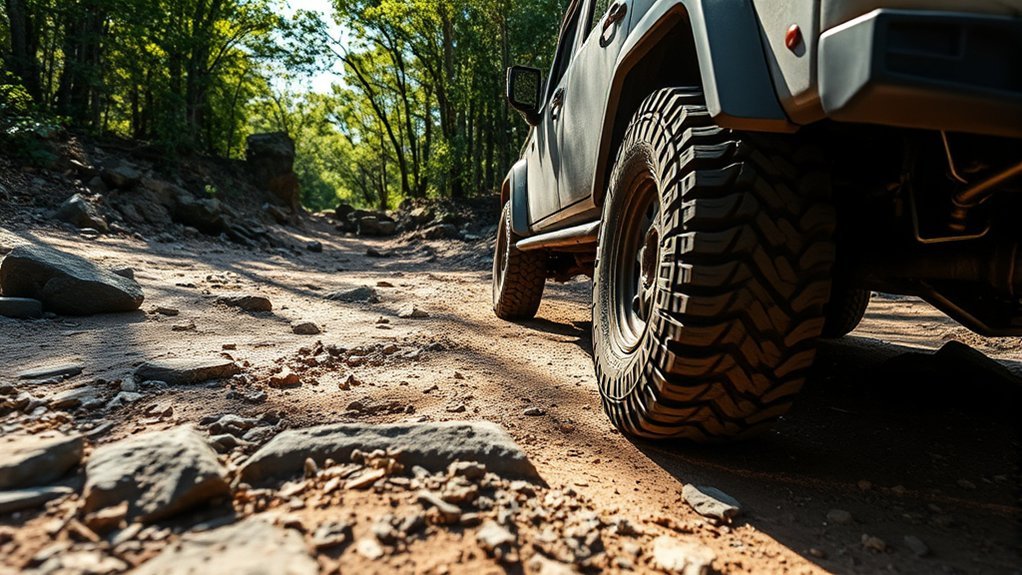
The table below is a planning guide for many light-duty 4x4s using suitable all-terrain or mud-terrain tires. It is not a replacement for your vehicle manual, tire maker’s load-and-inflation guidance, or advice from a qualified tire professional. Start at the upper end if your rig is heavy, fully loaded, fitted with P-metric or low-profile tires, or running narrow wheels.
| Terrain | Cautious Starting Range | What to Watch |
|---|---|---|
| Graded dirt and gravel | 24-30 PSI | Keep enough pressure for stability, braking, and sharp-edged potholes. |
| Rough trails and rocks | 18-24 PSI | Lower pressure can improve conformity, but too little increases rim strikes and sidewall cuts. |
| Soft sand | 14-20 PSI | Use smooth steering and throttle. Stop lowering pressure if the sidewall folds sharply or the bead leaks. |
| Mud | 16-22 PSI | More footprint may help, but wheelspin, hidden rocks, and ruts can damage a soft sidewall. |
| Deep, unplowed snow | 16-22 PSI | This applies off-road only. Do not underinflate for normal winter road driving. |
| Technical crawling below 15 PSI | Specialized use only | Requires very low speed, adequate load capacity, suitable tires and wheels, bead awareness, and recovery equipment. |
Note: BFGoodrich states that there is no universal air-down number. Its general guidance treats 20 PSI as a normal minimum, with lower pressure reserved for off-road use below 15 mph when the tire still has enough load-carrying capacity. Check the guidance for your exact tire before going lower.
The safest off-road PSI is the highest pressure that gives the traction and ride compliance you need without sacrificing bead security, load capacity, steering control, or tire protection.
Choose the Right PSI for Your Vehicle, Tire, Wheel, and Load
Begin with the correct road-pressure baseline. With original-equipment tire sizes, use the cold front and rear pressures on the driver’s door placard or in the owner’s manual. Do not use the maximum pressure molded into the tire sidewall as your normal road target.
If you changed tire size, load range, wheel width, or tire type, the door-placard number may no longer provide the same load capacity or handling balance. Follow the replacement tire manufacturer’s load-and-inflation data or have a tire professional calculate the correct road pressure. BFGoodrich’s off-road tire guide specifically warns against guessing after a tire-size change.
Factors That Change Your Safe Air-Down Limit
- Vehicle and axle weight: A loaded pickup, full-size SUV, camper, or armored vehicle usually needs more pressure than a light two-door 4×4.
- Front and rear load: The axles may need different pressures. Do not force all four tires to the same PSI when the placard or actual load distribution differs.
- Tire construction: P-metric, LT-metric, high-flotation, load-range E, and low-profile tires flex differently and carry different loads at the same PSI.
- Wheel width and bead retention: Wheel design, rim width, bead seat condition, and beadlock hardware affect how easily a bead can unseat.
- Sidewall height: A tall sidewall usually offers more usable deflection than a low-profile tire before the rim becomes vulnerable.
- Speed and steering input: Heat, sharp turns, and side loads increase as speed rises. Very low pressure demands very low speed and smooth inputs.
- Temperature: Tire pressure changes with temperature, so compare readings taken under similar conditions with the same gauge.
Pro Tip: Keep a simple log with terrain, load, front PSI, rear PSI, tire size, and handling notes. A repeatable record is more useful than copying another driver’s number.
How to Air Down and Air Up Safely
Before You Release Air
- Park on firm, level ground away from traffic and unstable trail edges.
- Inspect the tread, inner and outer sidewalls, valve stems, and wheels for cuts, bulges, cracks, bent flanges, or an existing leak.
- Record the cold road pressure for the front and rear axles.
- Confirm that your compressor can refill all four tires to road pressure without exceeding its duty cycle. Keep your existing portable compressor runtime guide available if you need help checking that limit.
- Make sure your spare, jack, wheel tools, pressure gauge, and tire-repair supplies are usable before entering the trail.
Air Down in Small Steps
- Choose the upper end of the terrain range rather than jumping to the lowest number.
- Release air from each tire in 2-3 PSI steps. Use a gauge after every adjustment instead of relying only on a preset deflator.
- Preserve any intended front-to-rear pressure difference unless trail testing shows a clear reason to change it.
- Drive slowly for 5-10 minutes on an easy section, then stop and recheck pressure, steering feel, sidewall shape, and signs of bead leakage.
- If traction is still poor, lower pressure another 2 PSI and repeat. Stop lowering it if steering becomes vague, the sidewall folds sharply, the rim contacts obstacles, or you hear air escaping at the bead.
Air Up Before Pavement
- Stop in a safe area before the paved road, not after you have joined traffic.
- Inflate the front and rear tires to the correct road values for your setup. If the placard specifies different axle pressures, restore those differences.
- Check all four tires with the same gauge, inspect for damage, and reinstall the valve caps.
- If the tires are warm, do not bleed them down merely because the reading is above the cold placard number. Recheck and fine-tune the pressure after the tires have cooled.
- Check pressure again the next morning. A tire that keeps losing air needs professional inspection.
Warning: Do not drive at highway speed on reduced trail pressure. Underinflated tires flex more, generate heat, handle poorly, and may fail. The National Highway Traffic Safety Administration says the correct road pressure is the vehicle manufacturer’s cold recommendation, not the maximum number on the tire sidewall.
Why PSI Changes Traction, Comfort, and Damage Risk
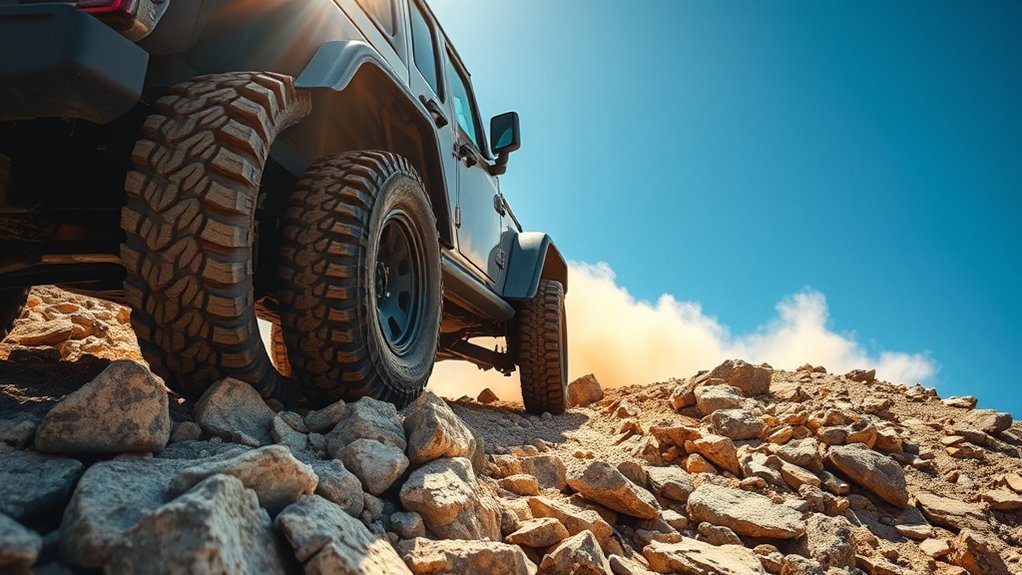
Lower pressure lets the tread and sidewall conform more closely to uneven ground. On sand, loose soil, and rocks, that larger footprint can improve flotation and grip while reducing the harshness of impacts. It can also help the tire roll over small obstacles instead of bouncing off them.
Lower is not always better. Too little pressure allows excessive sidewall flex, raises heat, makes steering less precise, and exposes the wheel and tire to impact damage. On sharp rocks, a slightly higher setting may protect the rim and sidewall better than an aggressively low sand setting.
Your tire pressure monitoring system may illuminate after airing down. That warning is expected when pressure is significantly below the road baseline, but TPMS does not measure bead security, load capacity, sidewall folding, or trail damage. USTMA notes that TPMS is not a substitute for checking pressure with a gauge.
When You Should Not Air Down
- No way to reinflate: Do not reduce pressure if you cannot restore road pressure before pavement.
- Known tire or wheel damage: Cuts, bulges, exposed cords, cracked valve stems, bent rims, or active bead leaks need attention first.
- High-speed travel: Airing down is for controlled, low-speed off-road use, not fast gravel, highway driving, or long paved transfers.
- Towing or carrying an unknown load: Added axle weight can exceed the tire’s capacity at reduced pressure.
- Low-profile or unsuitable tires: Limited sidewall height leaves less protection between the terrain and the rim.
- Unfamiliar replacement tires: Get load-and-inflation guidance before changing pressure on a non-original setup.
Troubleshooting Bead Leaks, Overheating, and Tire Damage
The Bead Leaks or Unseats
Stop immediately and do not continue driving on the flat tire. Move the vehicle only if necessary to avoid a greater hazard. Install the spare or seek trained help. A tire that has unseated may have bead, sidewall, inner-liner, or wheel damage that is not visible from outside.
Warning: Do not use starter fluid, aerosol spray, fire, or another explosive method to reseat a tire bead. Improper bead seating can cause serious injury and may hide damage that requires the tire to be removed and inspected.
The Tire Feels Hot or Smells Like Rubber
Stop, let the tire cool, and inspect it. Heat can result from low pressure, excessive speed, overloading, internal damage, or a dragging brake. Do not simply add air and continue at speed if the tire shows a bulge, severe scuffing, exposed cords, or continuing pressure loss.
You Find a Sidewall Cut, Bulge, or Exposed Cord
Use the spare and have the tire inspected. Sidewall punctures and bulges are not safe repair candidates. Industry guidance from the U.S. Tire Manufacturers Association limits proper repairs to qualifying tread-area punctures and requires the tire to be removed from the wheel for inspection.
A Tread Puncture Keeps Losing Air
A trail plug may help in an emergency, but it is not a complete permanent repair. A qualified technician must remove the tire, inspect the inside, and use an approved repair method if the puncture location and size qualify. Replace the tire if it was driven flat or has internal, shoulder, or sidewall damage.
Pressure Changes After the Trail
Temperature can change the reading, and different gauges can disagree. Michelin notes that pressure commonly changes about 1 PSI for each 10°F change in temperature. Compare readings with the same gauge when the tires are cold, and investigate any continuing loss rather than assuming it is only temperature.
Frequently Asked Questions
What PSI should I air down to when off-roading?
For many light-duty 4x4s with suitable LT tires, 18-25 PSI is a cautious starting range for ordinary trails. Soft sand may need 14-20 PSI, while graded dirt may need little reduction. Start higher, adjust in 2-3 PSI steps, and account for load, tire type, wheel design, and speed.
Is 40 PSI too high for 4WD off-roading?
Not automatically. Forty PSI may be correct for a heavy load, a particular LT tire, or road use. On a slow trail it may limit ride compliance and traction, but you should not lower it simply because the number sounds high. Confirm the vehicle, tire, axle load, and terrain first.
Does lower pressure always give better off-road traction?
No. Moderate airing down can improve grip on soft or uneven terrain, but excessive deflection reduces steering precision and raises the risk of bead loss, heat, sidewall cuts, and rim strikes. The goal is enough compliance, not the lowest possible number.
What is the best road PSI for all-terrain tires?
Use the vehicle’s cold door-placard pressure when the tires are the approved original size and type. If you changed size or construction, use the tire maker’s load-and-inflation data or a professional calculation. A generic 30-35 PSI rule is not safe for every vehicle.
How low can I go without beadlock wheels?
There is no guaranteed universal minimum. Risk increases as pressure falls, especially with heavy loads, sharp turns, damaged beads, unsuitable rim width, or high speed. Treat pressure below about 15 PSI as specialized use that requires appropriate tires and wheels, very low speed, close monitoring, and recovery equipment.
Should all four off-road tires use the same PSI?
Not always. Front and rear axle loads can differ, and the door placard may specify different road pressures. Use axle-specific starting values when needed, then make small changes while watching handling, sidewall deflection, and traction.
Will airing down turn on the TPMS light?
It can. Many systems warn when pressure is significantly below the road baseline. Use a gauge to manage trail pressure, restore the correct road pressure before pavement, and confirm that the warning clears after reinflation according to the vehicle manual.
Can I drive a short highway section at reduced off-road PSI?
Do not plan to. Low trail pressure increases flex, heat, and handling risk at road speed. Stop before pavement and reinflate. If an emergency prevents that, reduce speed, avoid abrupt inputs, and seek the nearest safe place to restore pressure rather than continuing normally.
Sources
- NHTSA TireWise – correct road pressure, cold-pressure checks, TPMS limits, and underinflation risks.
- BFGoodrich Off-Road Guide – terrain-dependent pressure, replacement tire considerations, inspection, and airing up before pavement.
- BFGoodrich Tire FAQ – minimum-pressure guidance, low-speed off-road conditions, and load-carrying capacity.
- ARB Off-Roading 101 – bead-retention risk and the need to vary pressure by terrain.
- USTMA Tire Repair Basics – repairable tread-area limits and required off-wheel inspection.
- Michelin Tire Pressure Guide – cold checks, temperature effects, and gauge use.
Safety Disclaimer: These are general off-road starting points, not vehicle-specific specifications. Follow your vehicle and tire manufacturer’s instructions, maintain adequate load capacity, use low speed, and seek professional guidance for modified tire sizes, heavy loads, beadlock systems, damaged tires, or pressures below the normal operating range.
Conclusion
Good off-road pressure is a controlled compromise. Lower PSI can improve grip and comfort, but going too low raises the chance of bead loss, rim strikes, sidewall damage, heat, and unstable handling. Start high, adjust slowly, record front and rear results, and stop when traction is adequate. Most importantly, carry the tools to inspect and reinflate every tire before returning to pavement.
