Find the correct cold PSI on your vehicle’s placard (driver’s door jamb, glove box or fuel lid) or in the owner’s manual — not the tire sidewall maximum. Check pressures with a reliable gauge after the car’s been stationary at least three hours, and adjust with an air compressor or deflator to match the listed front/rear values. Inspect valve stems and tread for leaks or damage. Keep a monthly cold-pressure routine, and the next section explains step-by-step checks and fixes.
Quick Answer: Where to Find the Right PSI for Your Car
Looking for the correct PSI for your car? You’ll find the recommended tire pressure on a placard in the driver’s door jamb, glove box, or fuel lid; that placard gives the correct pressure for front and rear tires so you know exactly what to use. If the placard’s missing, consult the vehicle owner’s manual for the same PSI values. Remember the typical passenger-car range is about 30–35 PSI, but always follow the manufacturer’s numbers for your model. Check pressures when the tires are cold — heat from driving raises readings and masks underinflation. Don’t confuse the tire sidewall’s maximum pressure with the vehicle’s recommended setting; the sidewall shows the limit, not the setting for safe, efficient driving. You’re aiming for the manufacturer’s PSI to maximize safety, fuel economy, and handling, so trust the placard or manual, inspect when cold, and adjust both front and rear tires to the specified values.
How to Find the Exact PSI on Your Vehicle (Door Placard & Manual)
Look for the manufacturer’s placard on the driver’s door jamb, glove box, or fuel door to get the exact front and rear PSI specs for your vehicle. If the placard’s missing or you want confirmation, check the owner’s manual for the same inflation values and any load- or speed-related adjustments. Always measure pressure when the tires are cold to match the listed psi.
Check Door Jamb Placard
Anyone can find the exact recommended PSI for your vehicle by checking the placard mounted in the driver’s door jamb (sometimes located in the glove box or on the fuel lid); it lists specific cold inflation pressures for front and rear tires and may include load- or speed-specific values. You’ll read the recommended inflation pressure and apply it when you check. Inspect the placard for differences between front and rear and any notes on heavy loads. Use a gauge on cold tires—after the vehicle has sat for several hours—for an accurate reading. If the placard’s missing, consult the vehicle owner’s manual. Regularly verifying pressure preserves safety, optimizes handling, and improves fuel efficiency.
Consult Owner Manual
If the door-jamb placard is missing or unreadable, check your vehicle’s owner’s manual for the exact cold tire pressures; it lists manufacturer-specified PSI for front and rear tires and any load- or speed-related notes. You’ll find the recommended pressure and psi specifications in the vehicle owner’s manual so you can maintain proper tire inflation. When consulting the owner’s manual, follow these steps to get an accurate reading and protect safety and performance:
- Locate the tire placard section in the vehicle owner’s manual.
- Note separate PSI specifications for front and rear; check both values.
- Measure tire pressure when tires are cold (no driving ≥3 hours).
- Adjust inflation to match the recommended pressure.
Check Tire Pressure: Step-by-Step (Cold Tires, Tools, Common Mistakes)
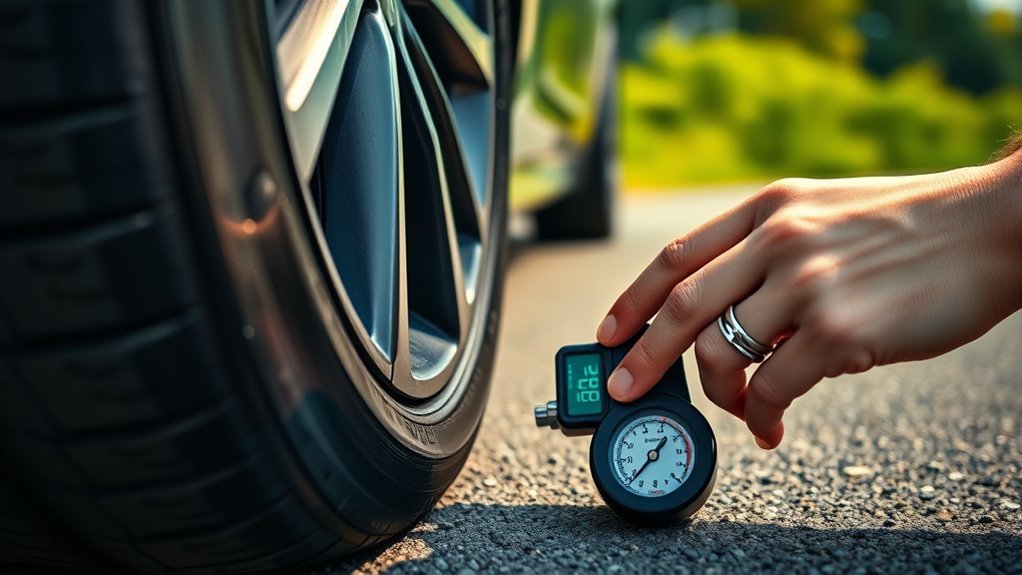
Before you check pressure, let the tires cool for at least three hours so readings reflect true cold PSI; then remove the valve cap and press a manual or digital gauge firmly onto the valve stem to get a clear measurement. You’ll check wheel by wheel, recording each reading with your gauge. Compare each value to the recommended psi on the tire placard or in the owner’s manual — front and rear can differ. Don’t confuse the tire sidewall’s maximum with the proper setting. Include the spare tire in your routine; neglecting it’s a common mistake that strands you. If a reading deviates, note it for correction later. Keep valve caps secure after measuring to preserve the seal. Use consistent technique: same gauge, firm seating, and readings taken with cold tires. This procedure helps you catch problems early and guarantees safe, efficient tire performance.
Inflate or Deflate Tires Precisely (Use a Gauge, Set PSI, Replace Caps)
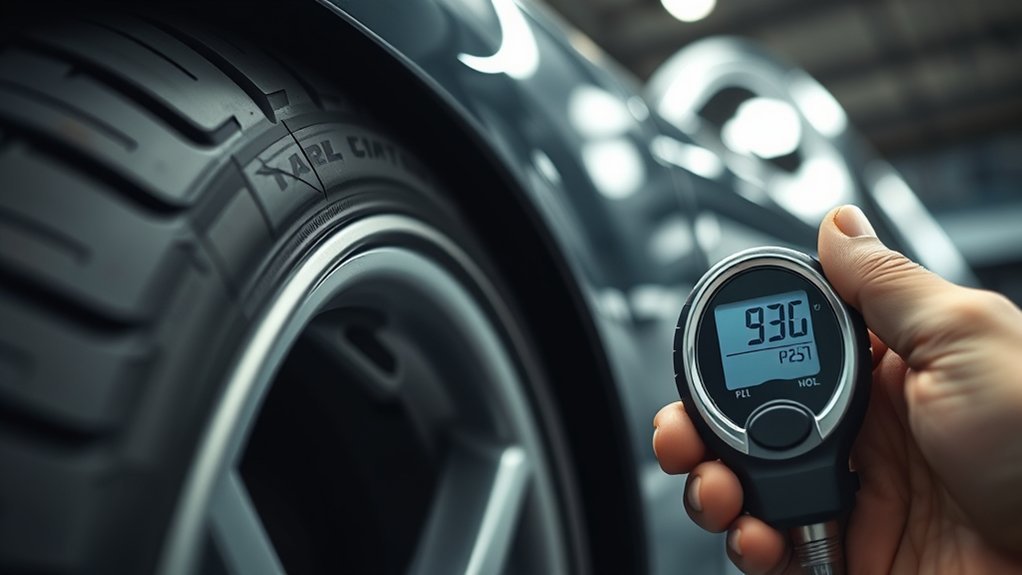
Use a tire pressure gauge to get an accurate reading on each cold tire, making sure the gauge seals firmly on the valve stem. Inflate or release air until the gauge reads the exact PSI specified on your vehicle placard or owner’s manual. Replace the valve caps after adjustment to keep out dirt and moisture.
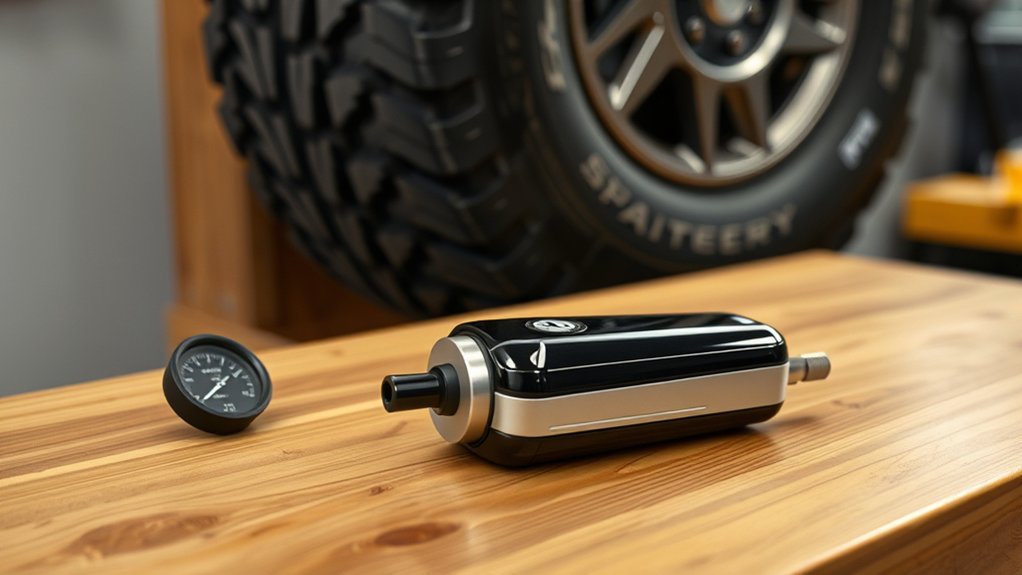
Use A Tire Gauge
Grab a tire pressure gauge and press it firmly onto the valve stem to get an accurate PSI reading while the tires are cold; inflate with an air compressor if the reading is below the vehicle’s recommended PSI (but not above the tire’s max on the sidewall), or release air by pressing the valve pin if it’s overinflated, rechecking with the gauge until you hit the correct pressure, and then replace the valve cap to keep out dirt and moisture. You want control over inflation to avoid underinflated tires or tire damage. Be methodical and maintain safety.
- Use a reliable tire gauge for a pressure check.
- Check when tires are cold.
- Inflate with an air compressor to recommended PSI.
- Replace valve cap after adjusting.
Set Exact PSI
Start by checking each cold tire with a reliable pressure gauge and note the PSI so you can match it precisely to the vehicle’s recommended pressure (usually on the door placard or in the owner’s manual). You’ll be checking to achieve the correct pressure; measure cold PSI, then inflate or deflate to the vehicle’s recommended setting (commonly 30–35 psi). If pressure’s high, press the valve pin to release air, recheck until exact. After adjustment, replace valve caps securely to prevent leaks from dirt or moisture. Regularly checking and setting exact pressure will extend tire life, improve fuel economy, and reduce avoidable maintenance.
| Action | Tool | Frequency |
|---|---|---|
| Measure | Gauge | Monthly |
| Inflate | Compressor | As needed |
| Deflate | Valve pin | As needed |
| Cap | Valve cap | After each adjust |
| Verify | Recheck gauge | Immediately |
Why a Tire Keeps Losing Air: Causes and Quick Checks
When a tire keeps losing air, you should first consider punctures from road debris, worn or cracked valve stems, and poor sealing at the bead as the most common causes, then perform quick checks to narrow the issue. Act methodically: check pressure cold, inspect for visible damage, and note if loss is frequent or tied to temperature changes. Quick diagnostic steps:
- Remove debris and visually inspect tread and sidewall for punctures or cuts; a soap-water test can reveal a leak (mix dish soap with water, spray on the tire, and look for bubbles).
- Check the valve stem for cracks, damage, or loose core; replace if it’s leaking.
- Examine the bead area and rim edge for corrosion or poor sealing that causes slow leaks.
- Monitor pressure over several days to distinguish seasonal temperature-driven loss from a persistent leak causing underinflation.
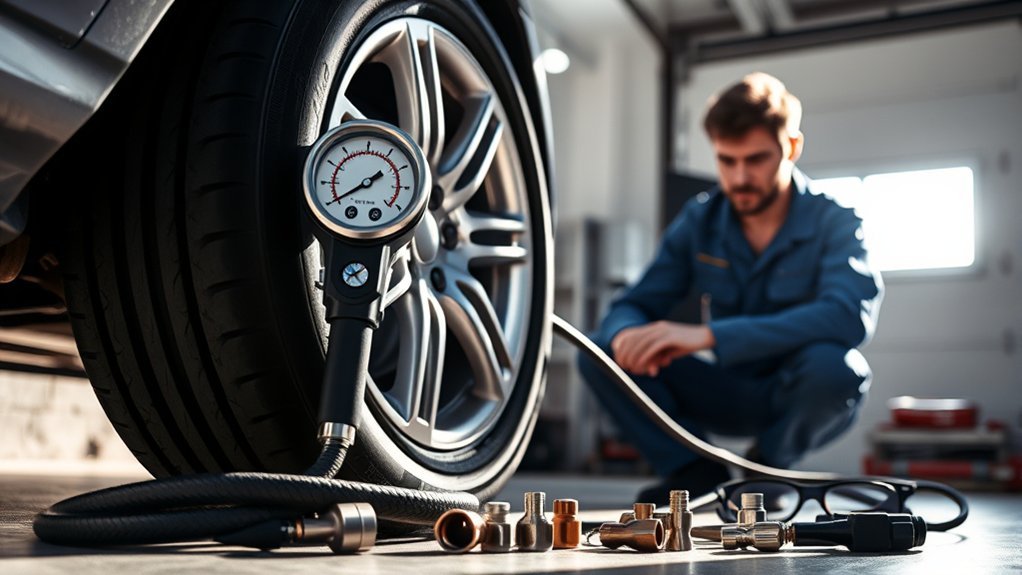
If a leak persists after these checks, get a professional inspection and repair to restore safety and mobility.
When to Get a Tire Inspected or Replaced

After you’ve checked for obvious leaks and monitored pressure, know the signs that call for a professional inspection or replacement. You should schedule a tire inspection when you frequently lose air, when the Tire Pressure Monitoring System alert activates, or when you detect visible signs of damage like cuts, cracks, or bulges. Regular inspections help you spot uneven wear patterns that hint at alignment or inflation problems and protect safety and performance.
Tire replacement is mandatory when tread depth reaches 2/32 inch—use the penny test (insert a penny into the tread groove with Lincoln’s head upside down; if you can see the top of his head, replace the tire) or built-in treadwear indicators to confirm. Also replace tires showing structural damage or persistent underinflation despite repairs. Inspect sidewalls and beads for deformities, and have a pro evaluate valve stems and potential punctures you can’t see. Adopt monthly checks as a habit so you can maintain control, traction, and your vehicle’s optimized performance until repair or tire replacement is performed.
Tire Pressure: How Often to Check and a Simple Monthly Routine
Check your tire pressure at least once a month, using a reliable gauge while the tires are cold (ideally after the vehicle has sat for three hours), and compare the reading to the recommended psi on your tire placard or owner’s manual. You’ll avoid preventable problems by making routine tire maintenance a simple habit. Cold tires give accurate values; temperature drops of about 10°F can lower psi roughly 1 point, so factor weather into checks.
Check tire pressure monthly with a reliable gauge when tires are cold — weather can drop about 1 psi per 10°F.
- Use a quality gauge and remove valve caps.
- Measure each tire, record readings, and compare to the vehicle’s recommended psi.
- Inflate or deflate to match the recommended psi; recheck to confirm proper inflation.
- Note leaks or rapid loss and seek inspection.
Check the pressure at least once a month, keep tires properly inflated, and consult the tire placard or owner’s manual. This concise routine preserves handling, fuel economy, and safety.
Frequently Asked Questions
Should My Tires Be 32 or 35 Psi?
Use whatever your placard directs—32 or 35 psi depends on your specific vehicle. You’ll typically choose 35 for heavier loads, larger vehicles, or performance tires. Monitor your pressure monitoring system, apply seasonal adjustments, and use proper inflation techniques to prevent tire wear issues and protect fuel efficiency and safety.
How Do I Know What Psi My Tires Should Be?
Check your vehicle manual or door placard for the correct pressure; don’t use the tire sidewall number. Use a pressure gauge when tires are cold. Adjust for seasonal changes and driving conditions; proper inflation aids fuel efficiency, safety checks, and tire maintenance.
Is 40 Tire Pressure Too High?
You’re likely overinflating at 40 psi; check your placard first. Most passenger cars need 30–35 psi. Overinflation causes a harsh ride, reduced traction, uneven tire wear patterns, and reduced fuel efficiency. Prioritize tire pressure safety by following your vehicle’s recommended setting and accounting for temperature effects and seasonal adjustments.
Is 28 Tire Pressure Ok to Drive?
28 psi can be risky if your vehicle requires 32–35 psi; you’ll compromise tire pressure safety, driving comfort, tire longevity and fuel efficiency. Add air as soon as possible. Use pressure monitoring, consider air temperature and seasonal changes, check tire wear, and follow maintenance tips to restore vehicle performance.
Conclusion
Keeping your tires at the exact PSI listed on the door placard takes just a few minutes each month. Check when tires are cold, use a good gauge, and inflate or deflate until the gauge reads the specified number. Do this monthly and after big temperature shifts. If pressure keeps dropping or you see bulges, cuts, or uneven wear, get the tire inspected — accurate pressure keeps you safer, saves fuel, and extends tire life.
[…] compatibility with your air pump types. Unscrew the Presta lock nut. Seal the pump head, inflate to correct tire pressure, monitor the gauge, then detach and […]