
Find the recommended PSI on your door jamb sticker or owner’s manual. Next, check your tires with a reliable gauge. Power your inflator, set the units to PSI, and enter the exact target from the sticker. Do not use the maximum pressure listed on the tire sidewall. Firmly attach the chuck, start the pump, and watch the display closely. Stop and verify the final number with a manual gauge. If the pump cuts off early or reads low, reseat the connections. You can also check for leaks or calibrate the unit for consistent results.
Quick Answer
- Find your target PSI: Look at the sticker inside the driver’s side door jamb.
- Check current pressure: Use a manual gauge to see how much air you need.
- Set the inflator: Enter the target PSI on your digital inflator and connect the hose.
- Verify the results: After inflation, check the tire again with your manual gauge to ensure accuracy.
Check Your Vehicle’s Recommended and Current PSI
Before you start inflating, find your vehicle’s recommended tire pressure. This is printed on a sticker inside the driver’s door jamb or in the owner’s manual. Once you know the target, check each tire’s current PSI with a reliable gauge. This tells you exactly how much air to add. Passenger cars usually require 30 to 35 PSI. SUVs and light trucks typically need 35 to 45 PSI. Never use the maximum PSI printed on the tire sidewall as your target.
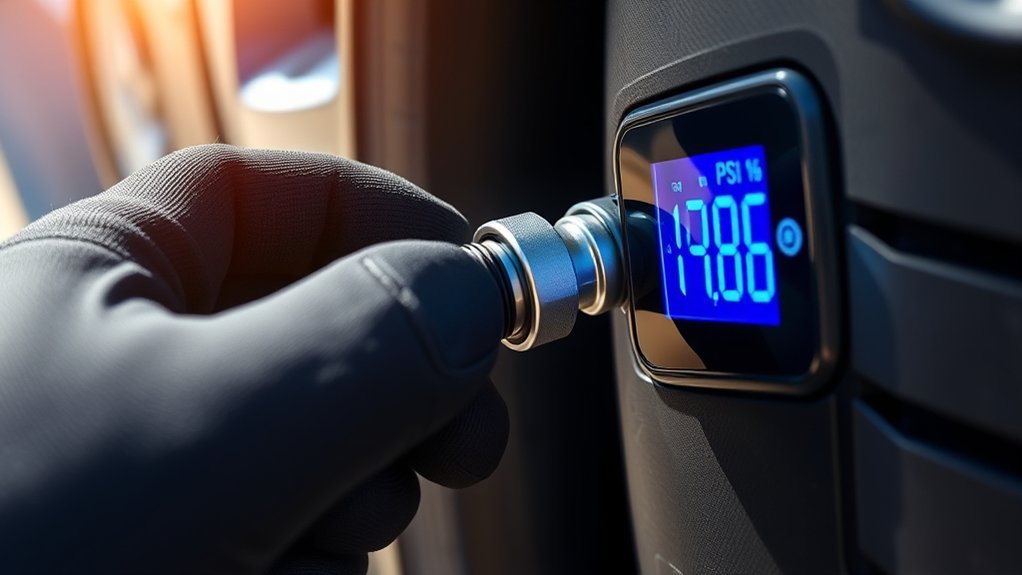
To check the pressure, remove the valve cap. Press your pressure gauge firmly onto the valve stem to get a reading. Record the difference from the recommended value so you know your exact goal. Check pressures monthly and before long trips as part of basic tire maintenance. Consistent checks prevent sudden flats, improve fuel economy, and extend tire life. Keep a good pressure gauge in your glovebox to make measuring a simple habit.
Why You Should Inflate Tires When Cold
Tire pressure fluctuates with temperature. Driving heats up your tires, which causes the air inside to expand and the pressure to rise. For the most accurate reading, you should always measure and inflate your tires when they are cold. This means the vehicle has been parked for at least three hours or driven for less than a mile at moderate speeds. If you must inflate hot tires, you will need to adjust your target PSI slightly to compensate for the heat.
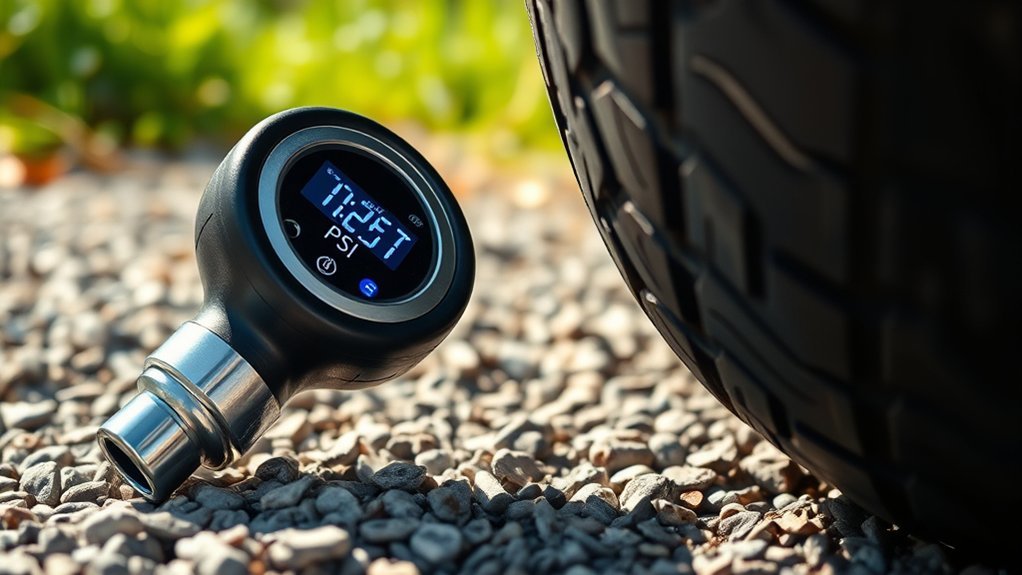
Prepare the Inflator: Power Source, Units, and Target PSI
When you are ready to inflate, hook the inflator to the correct power source. This might be your vehicle battery, a 12V port, or a wall outlet. Select the pressure units you want to use, such as PSI, BAR, or kPa. This ensures the readings match your vehicle’s specifications. Enter the target PSI from the door jamb sticker.
Some people set the target 1 to 2 PSI higher to offset any pressure lost when removing the hose. Confirm the digital display before starting the pump. Lock your selection so the device will not change settings mid-cycle. Keep a manual gauge handy to check the final pressure independently. Confirm the cables are secure, the vents are clear, and the digital display is legible. With everything dialed in, you are prepared to inflate your tires accurately.
[Products Worth Considering]

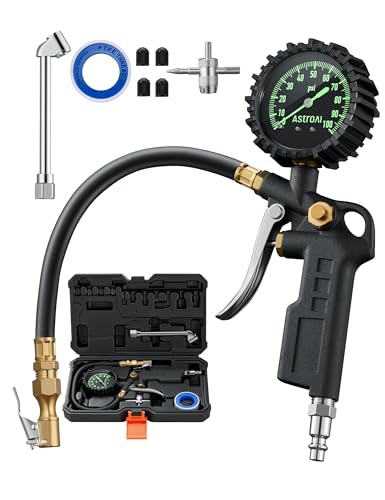
ALL-IN-ONE Feature: The LED backlit screen features measurements in PSI, KPA, Bar, and Kg/cm²; Includes an inflation gun, chuck, gauge, Thread seal tape roll, and bleed valve, all in one unit; Compatible with ¼" NPT air compressor's output
COMPATIBLE WITH both ¼” and ½” NPT air compressors outputs. COMPATIBLE WITH Standard Schrader Valves.

INFLATE & DEFLATE & CHECK PRESSURE: This tire inflator integrates pressure gauge, inflator, chuck, hose, and bleed valve into one compact device; Check pressure in 1 second and inflate tires in 2 seconds. Fits ¼″ and ½″ NPT air chuck compressor outputs
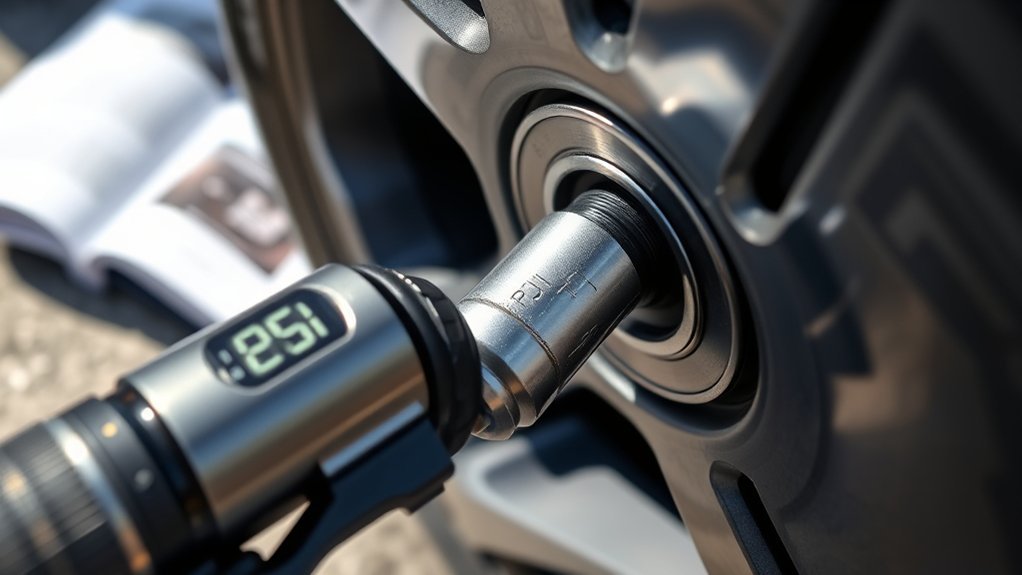
Inflate Step-by-Step: Connect, Monitor, and Verify Pressure
Connect the inflator hose firmly to the tire’s valve stem. Set the target PSI to your recommended value. Turn the unit on and watch the pressure readout as it climbs. Keep the air hose steady and sealed against the valve stem to prevent leaks. Monitor the gauge closely and avoid distractions.
The inflator will automatically cut off when it hits the target PSI. Be ready to remove the hose quickly to avoid letting air escape. Taking care of this routine maintenance yourself saves time and keeps you safe on the road. After the automatic stop, grab a manual tire pressure gauge. Verify the pressure immediately. If the manual reading matches, you are done. If it is off by a fraction, adjust it. Use short bursts of air to fill it up, or release a little air until the manual gauge confirms the correct pressure.
If the Inflator Stops Early or Reads Low, Try These Fixes
If your inflator cuts off early or the readout seems low, do not assume the tire is underinflated. Start by checking the connection for leaks. A loose chuck or a hissing valve can bleed pressure as you work. First, remove and reseat the chuck on the tire valve. Listen and feel for escaping air. Tighten the fittings to prevent air loss.
If the inflator still stops at a low number, set the target a few PSI higher than your goal. Many users find a higher initial setting compensates for sensitive shutoff thresholds. After inflation, always verify the pressure with a trusted manual gauge since digital displays can misread. Consult your air compressor manual for model-specific notes on premature cutoff. Make small adjustments until you consistently reach the target pressure.
[Products Worth Considering]

Advanced accuracy: Professionally calibrated tire pressure gauges for cars. Accurately measures from 0-100 PSI with a resolution of +/-1 PSI.
Advanced accuracy: Professionally calibrated tire pressure gauges for cars. Accurately measures from 0-100 PSI with a resolution of +/-1 PSI.

EASY TO USE & READ: It comes with a 1/4" quick-connect fitting for faster measurement. This mechanical tire pressure gauge offers effortless operation, integrating tire pressure measurement, inflation, and deflation in one compact tool. The indicator bar ensures clear readings while allowing you to effortlessly inflate and deflate your tires. Please Note:To inflate tires, an air pump must be connected to the gauge.
Calibrate and Maintain Your Tire Inflator for Consistent Readings
Once you fix loose chucks and adjust for early shutoffs, keep your inflator accurate through routine maintenance. Compare your tire inflator to a trusted manual gauge before use. Attach both and note any differences. If you see a consistent variance, calibrate the inflator using the manufacturer’s steps in the manual.
You can set the target PSI slightly above your desired pressure to allow for minor air loss when detaching the hose. Keep connections clean and free of debris. Dirt and grit will skew readings and wear down the parts faster. Check the batteries or power cables regularly to ensure the electronics stay reliable. Record your calibration checks so you notice if the performance begins to drift. This simple upkeep keeps your inflator accurate and ready for emergencies.
[Products Worth Considering]

【Accurate Digital Tire Gauge】The digital pressure gauge always returns a stable reading within 1% of the exact pressure of your tire by incredible 0.1 display resolution. No more guessing!

ADVANCED ACCURACY: Professionally calibrated to always return an accurate reading within 1% of the exact pressure of your tire. Accurately measures FOUR DIFFERENT UNITS in a range from 3-250 PSI (0.2-17.2 Bar; 0.21-1724 Kpa; 0.2-17.5 kg/cm^2). Stocking Stuffers for Men

Please Note: This product must be powered by a 12V DC Cigarette Lighter to function properly, and ensure the vehicle is in a running state. And it equipped with a 9.8-foot cord, which can meet the usage needs of most regular-sized vehicles.
Frequently Asked Questions
What PSI Should I Set My Air Compressor to Inflate Tires?
Set your air compressor to the exact recommended PSI found on your driver’s side door jamb sticker. If your target is 32 PSI, set the compressor to 32 or 33 PSI to account for a tiny bit of air loss when you remove the hose. Always verify the final result with a manual gauge.
What Is the Hot Tire 4 PSI Rule?
Tire pressure should ideally be measured when tires are cold. However, if you must inflate tires that are hot from recent driving, the general rule is to set your air compressor about 4 PSI above the recommended cold tire pressure. This compensates for the heat expansion inside the tire. Once the tire cools down, check it again to ensure it rests at the correct cold PSI.
How to Calibrate a Tire Inflator Gauge?
Compare your digital gauge against a trusted manual gauge. Adjust for discrepancies based on the instructions in your user manual. Repeat this until the gauge accuracy is consistent. Perform routine maintenance and note any differences between digital and analog readings.
How to Get an Accurate Tire Pressure Reading?
Check tire pressure when cold using a calibrated manual gauge. Remove the valve cap, press the gauge firmly onto the valve, and read the number. Repeat the process to confirm the result. Record your readings and check them regularly for optimal safety.
Conclusion
You now have a clear roadmap for tire maintenance. Check your vehicle’s recommended PSI, prep your inflator, and add air carefully while monitoring the gauge. Troubleshoot any connection issues and keep your unit calibrated. Maintaining the exact target PSI improves your safety, boosts fuel economy, and extends the life of your tires. Follow these steps regularly to keep your vehicle running smoothly and efficiently.


Leave a Reply