You never know when a stray shopping cart or a distracted driver will bump your car. Your Tesla dash cam captures these unpredictable moments, but it only works if you configure it correctly. You need to prepare your storage drive, adjust your recording settings, and know exactly how to trigger a save when an incident occurs.
Quick Answer
To save Tesla dash cam footage, format a USB drive to exFAT and create a folder named “TeslaCam” on it. Insert the drive into your glovebox port. While driving, you can save the last 10 minutes of video by tapping the dash cam icon on your touchscreen or honking your horn.
Key Takeaways
- You must format your USB drive correctly and include a base “TeslaCam” folder.
- Sentry Mode records suspicious activity around your car while parked.
- You can set your dash cam to save clips manually, automatically on impact, or when you honk.
- Always pause the dash cam recording before removing the USB to prevent file corruption.
What You Will Need
Estimated Time: 5 minutes
- A Tesla vehicle (Hardware 2.5 or newer)
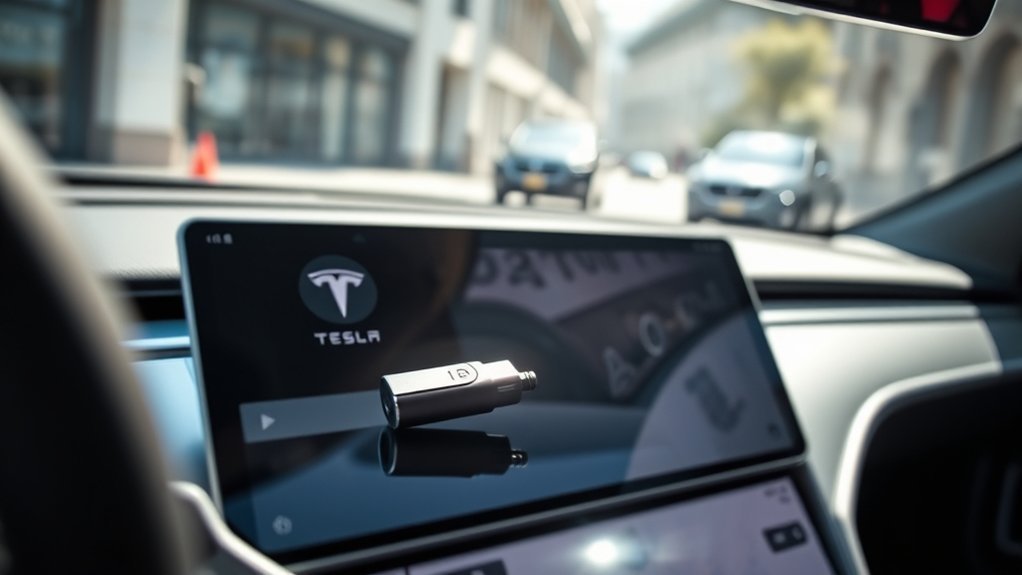
- A high-quality, high-endurance USB flash drive or MicroSD with adapter (at least 64GB)
- A computer (optional, for manual formatting)
How to Set Up a USB Drive for Your Tesla Dash Cam

You need a properly formatted USB drive to record and store video. You can format the drive using your Tesla touchscreen or a standard computer.
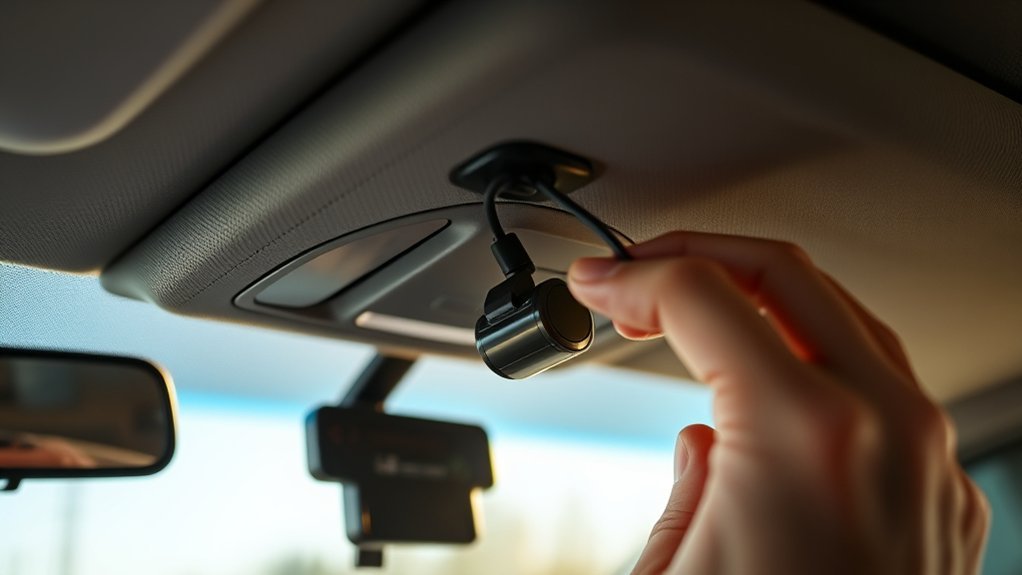
- Plug your USB drive into the correct port. Newer models use the glovebox port, while older models use the center console.
- Navigate to Controls > Safety on your touchscreen.
- Tap Format USB Drive. This wipes the drive, formats it to exFAT, and creates the required folders automatically.
If you prefer to use a computer, format the drive to exFAT. You must manually create a new folder on the drive and name it exactly TeslaCam without any spaces. Your vehicle will not save footage without this specific folder.
Pro tip: Use a high-endurance microSD card with a USB adapter instead of a standard thumb drive. Dash cams constantly rewrite data, which quickly destroys standard flash drives.
Activating Sentry Mode for Parked Security
Sentry Mode acts as a security system when you park and lock your car. It uses exterior cameras and sensors to monitor the immediate area. If the system detects a threat, it starts recording and saves the footage to your USB drive.
To turn this feature on, go to Controls > Safety > Sentry Mode. You can customize the settings to keep Sentry Mode off at home, work, or other safe locations. This prevents unnecessary battery drain. According to Tesla’s official guidelines, Sentry Mode increases battery consumption, so monitor your charge level.
How to Save Video Clips While Driving
Your dash cam continuously records while you drive, but it loops over old footage to save space. You must tell the system to permanently save a clip if you witness an incident. You have three main options.
- Auto: The car automatically saves footage if it detects a safety event, like a collision or airbag deployment.
- Manual: Tap the dash cam icon on your screen. This saves the previous 10 minutes of video to a safe folder.
- On Honk: Honk your horn to save the last 10 minutes of video. You must enable this under the Dashcam settings menu.
Warning: Always long-press the dash cam icon to pause recording before you pull the USB drive out. Removing the drive while it writes data will corrupt your files.
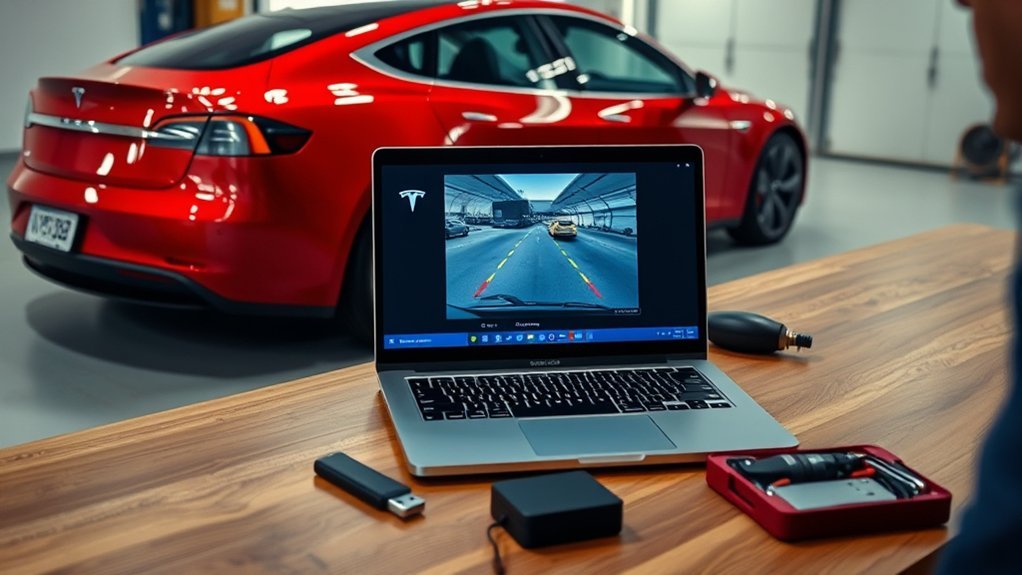
How to View Your Saved Dash Cam Videos
You can watch your saved clips directly on your Tesla’s touchscreen. Put the car in Park and tap the dash cam icon. The built-in viewer organizes your videos by location and timestamp.
You can also view live cameras from the Tesla mobile app if you have Premium Connectivity. To watch older saved files on a larger screen, remove the USB drive and plug it into your computer. Open the TeslaCam folder to find your files.
Troubleshooting Common Dash Cam Issues
Your dash cam might occasionally show a gray icon with an “X”, indicating an error. This usually means the car cannot read the USB drive. Pull the drive out and plug it back in securely.
If the error remains, format the drive again using the touchscreen menu. Keep in mind that formatting erases all existing videos. Sometimes a simple software glitch stops the recording. Try to reboot the touchscreen by holding down both steering wheel scroll wheels until the screen turns black.
Best Practices for Managing Your Video Files
Your USB drive will eventually run out of space. While the car deletes recent standard footage, it keeps your manually saved clips and Sentry Mode events until the drive fills up. Check your storage capacity every few months.
Back up important files to your computer or cloud storage. You can delete unneeded clips directly from the car’s touchscreen viewer to free up space. If you want to merge multiple camera angles into one video, try computer software like TeslaCamMerge or SentryCam Player.
Frequently Asked Questions
Why does my Tesla dash cam have a red X?
A red X means the dash cam is unavailable. This usually happens if the USB drive is full, corrupted, or improperly formatted. Unplug the drive, plug it back in, or reformat it in the Safety menu.
How much storage space does Tesla Sentry Mode use?
A typical 10-minute saved clip uses about 300MB of storage. Sentry Mode events vary in length but generally use a similar amount of space per event. A 64GB drive can hold dozens of saved events before filling up.
Can I view Tesla dash cam footage on my phone?
You can view live Sentry Mode cameras from the Tesla app if you subscribe to Premium Connectivity. However, you cannot download or watch previously saved USB clips through the mobile app.
Does Tesla dash cam record audio?
No, Tesla dash cams do not record audio. The system only captures video from the front, rear, and side cameras to protect driver privacy.
Next Steps
Setting up your Tesla dash cam takes just a few minutes, but it provides vital evidence if an accident occurs. Format your USB drive today and verify that the red recording dot appears on your screen. Make it a habit to check your saved clips monthly and clear out old files to keep the system running smoothly.