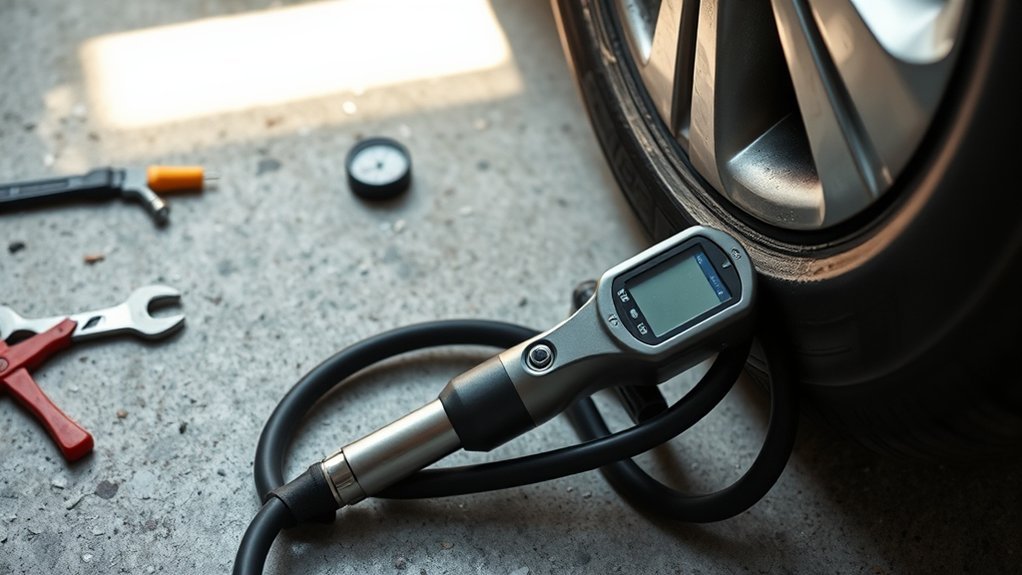
You’ll use a few adapters to make any inflator fit common valves: Schrader, Presta, Dunlop, plus ball needles and tapered nozzles for low-pressure gear. Match the adapter to the valve, secure a leak-free seal (screw-on chucks work best for high pressure), and monitor pressure as you fill. Keep brass adapters, O-rings, and needles clean and lubricated. Swap worn parts and store everything in a small case. Follow the steps below to learn specific hookups and tips.
Quick Answer
- Presta valve adapters let standard pumps connect to narrow road bike valves
- Inflation needles attach to sports ball valves for controlled filling
- Tapered nozzles inflate air mattresses and pool floats quickly
- Match the adapter to your valve type (Schrader, Presta, Dunlop) for a leak-free seal
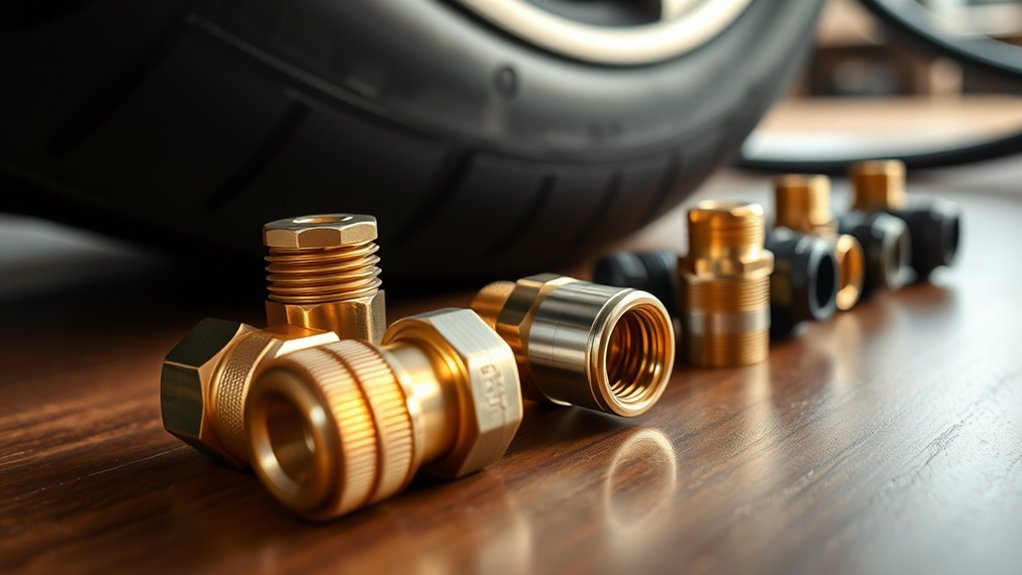
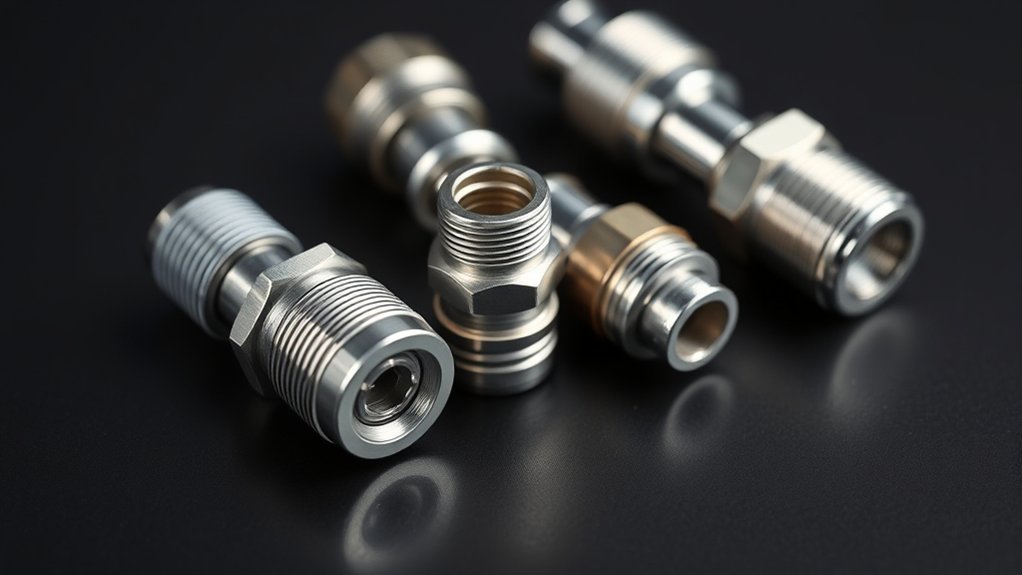
- Choose brass adapters over plastic for durability and better sealing
Which Adapter Do I Need? (Quick Decision Guide)
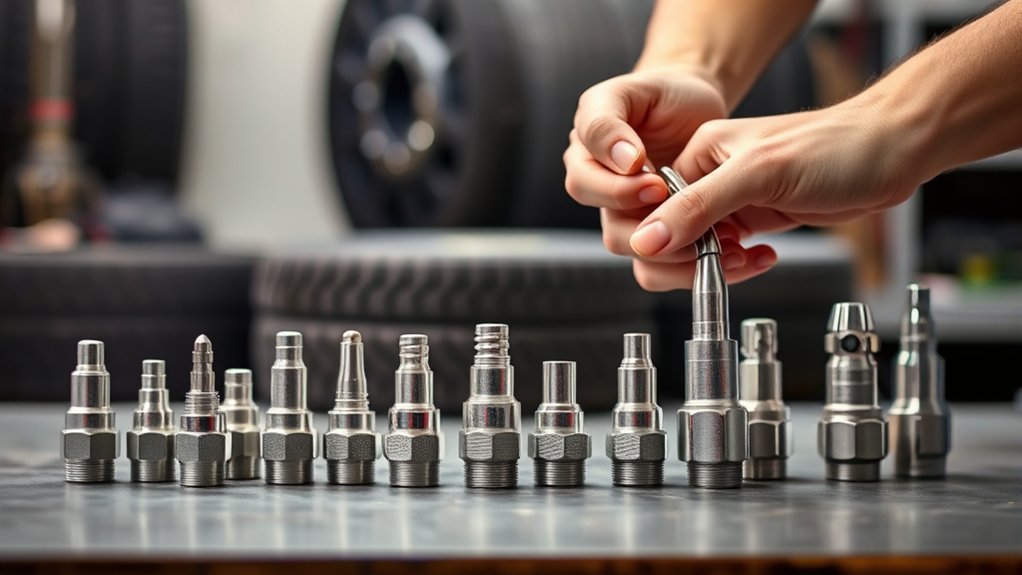
Which adapter do you need? Choose by purpose.
For road bikes with slim valves, use a Presta valve adapter to connect standard pumps and monitor tire pressure accurately. If you inflate sports balls, keep a ball needle in your kit so you can attach the pump to small valves. For low-pressure, high-volume items like air mattresses, select a tapered nozzle adapter to move air quickly.
Most adapter sets bundle a Presta valve adapter, inflation needle, and tapered nozzle so you’re equipped for varied tasks. Verify the kit includes those parts before buying. If your vehicle or gear has unusual valve fittings, check compatibility and source specific adapters separately rather than forcing a fit.
Valve Types and Adapter Compatibility (Schrader, Presta, Dunlop, High-Flow)
You’ll encounter four common valve types: Schrader, Presta, Dunlop, and high-flow. Each needs a matching adapter or head.
Choose adapters that fit the valve diameter and sealing method to avoid leaks and guarantee proper pressure transfer. For fast inflation or sealant access, pick high-flow compatible fittings that won’t clog or restrict flow.
Common Valve Types
Valve variety matters when matching inflators and adapters. Schrader, Presta, Dunlop, and high-flow designs each use different seals and stem dimensions. You need the correct adapter to get a proper seal and avoid leaking or damaging the valve or pump.
Schrader valves are bulky and standard on cars. Most tire inflators mate directly to them without a valve adapter.
Presta valves are narrow, threaded, and common on road bikes. They require a specific Presta adapter to interface with many inflators. You can learn more about proper bike tire valve systems and inflation techniques from cycling experts.
Dunlop valves are less common in North America. They also often need a compatible adapter to guarantee a seal.
High-flow designs aim for faster, efficient inflation but can still demand specific fittings. Use the correct adapter to inflate a tire safely and prevent equipment damage.
Adapter Selection Guide
Anyone working with multiple bikes or vehicles needs the right adapter for each valve type to guarantee a secure seal and efficient inflation.
Match your pump outlet to the valve. Schrader connects directly to most inflators, so you usually won’t need an adapter.
For Presta, install a dedicated Presta adapter to convert the slender valve to the pump fitting. Tighten the small locknut first for a solid seal.
Dunlop valves need a specialized adapter in regions where they appear. Check thread and seat dimensions before buying.
For high-flow designs (like Reserve Fillmore), use a compatible high-flow adapter to exploit faster air transfer and avoid flow restrictions.
Carry minimal adapters that cover Schrader, Presta, Dunlop, and high-flow to stay ready.
Adapter Kit Parts Explained (Presta Adapter, Needle, Tapered Nozzle, Chucks)
A complete adapter kit includes several key parts. Each serves a specific purpose.
Use a Presta valve adapter to let a standard inflator fit narrow bicycle Presta stems without altering the valve. For sports balls, insert the inflation needle straight and avoid cross-threading or over-pressing to prevent damage. Use the tapered nozzle for low-pressure, high-volume items so you get efficient airflow and a snug fit.
Presta Valve Adapter
A Presta valve adapter lets you connect standard pumps to narrow, locking road-bike valves. It replaces the wheel-specific head with a compatible fitting.
Unscrew the Presta’s lock nut first, then thread the adapter on to guarantee proper airflow. This small brass fitting bridges Presta and Schrader systems, so a portable tire inflator with a Schrader head becomes useful on road wheels.
Inspect valve stems and clean threads before installing the adapter to avoid cross-threading. Quality brass adapters give a corrosion-resistant, leak-free seal and outlast plastic parts.
Adapter kits also include needles and tapered nozzles, but stick to the Presta adapter only for wheel inflation. Tighten by hand. Don’t overtighten and check inflation pressure as you work.
Inflation Needle Use
When inflating sports balls and similar gear, use the dedicated inflation needle from your adapter kit. Attach it to the pump head securely to avoid leaks and bent needles.
Thread the needle into the pump or quick-connect chuck. Align it with the ball’s valve and pump steadily. The inflation needle is specific to sports ball valves. Don’t force it into unrelated fittings.
Your adapter kit also contains a Presta valve adapter and tapered nozzle for other needs, so keep components organized. Use lever-style chucks where possible to reduce air loss during swaps.
| Part | Use | Tip |
|---|---|---|
| Needle | Sports ball | Secure mount |
| Presta | Road bikes | Adapter needed |
| Nozzle | Low-pressure | Seal tightly |
Tapered Nozzle Fit
Because tapered nozzles concentrate airflow into a wider, low-pressure output, they’re your best choice for inflating air mattresses, pool floats, and other high-volume items quickly and without overpressurizing seams.
Attach the tapered nozzle to the pump head or an air chuck. Ensure an open-flow connection so air moves continuously into the inflatable.
Match nozzle size to the valve opening to prevent leaks. A loose fit wastes air and time.
Remember that tapered nozzles aren’t for bike tires. Use a Presta-to-Schrader adapter or the correct pump head for high-pressure road bike valves. Keep a needle and chucks in your kit for sports balls and secure connections.
How to Use Adapters: Bike, Ball, and Air-Bed Step-By-Steps
Start by identifying the valve type and matching adapter so you don’t force the wrong fitting and risk damage.
For a bike Presta valve: Unscrew the valve cap and attach the adapter snugly before connecting the pump. Confirm the valve seating, attach the pump, and inflate to the recommended pressure shown on the tire sidewall. Monitor the gauge and stop at target pressure. Remove the pump and re-cap the valve to retain air. Understanding proper tire pressure for your bike type helps prevent flats and improves ride quality.
For a soccer ball or basketball: Moisten the needle and secure it to the inflator. Wet the needle tip, push it straight into the valve, and inflate in short bursts while checking firmness. Withdraw and re-cap if applicable.
For an air mattress: Select and screw in the tapered nozzle until it creates a firm seal. Press it into the valve until sealed. Run the inflator until the surface reaches desired firmness. Remove the nozzle and close the valve securely.
Choosing a Chuck and Flow Type (Screw-On vs Lever, Open vs Closed)
Pick the right chuck and flow type to match your task.
Screw-on fittings give the most secure seal but take more time to thread and can leak if not tightened. Lever-style chucks let you attach and detach quickly for faster workflow.
Balance speed vs. seal. Choose screw-on chucks when you need reliable retention and closed flow chucks when preventing air loss matters. Use lever-style chucks plus open flow chucks when rapid inflation and frequent changes are priorities.
| Type | Benefit | Best use |
|---|---|---|
| screw-on chucks | most secure seal | long fills, high pressure |
| lever-style chucks | fast on/off | busy lanes, quick swaps |
| open flow chucks | continuous airflow | rapid inflation |
Closed flow chucks preserve pressure while idle, reducing loss during adjustments. Match chuck and flow to your workflow: prioritize speed and control or retention and accuracy.
How to Choose an Adapter Kit (Materials, Fit, Completeness)
Wondering which adapter kit will actually last and fit your gear?
Prioritize materials. Choose brass over plastic or aluminum for durability and a reliable, leak-free seal. Inspect construction. Clean, precise threads prevent damage to the valve stem and guarantee smooth engagement. You want components that mate accurately to avoid rounded threads and air loss.
Check completeness against your needs. A solid kit includes a Presta valve adapter, inflation needle, and tapered nozzle so you can service bike tires, balls, and inflatables without improvising. Confirm a dedicated storage case is included to keep small parts organized and prevent losing critical pieces when you’re on the move.
Read product specs and user reviews to verify the advertised parts are present and perform as claimed. Aim for a compact, robust kit that matches your devices and workflow.
Keep Adapters Working: Maintenance and Valve Core Troubleshooting
Because grit and worn seals are the most common causes of poor performance, keep your adapters clean, lubricated, and inspected before every use.
Wipe away dirt. Submerge suspicious adapters in water to spot bubbles. Replace any O-rings showing nibbling or flattening. Use silicone-based lubricant on rubber parts. Avoid petroleum products that degrade seals.
When you have inflation trouble, check the valve core for blockages. Unscrew or open the valve carefully. Cross-threading happens if you force alignment.
If the core sticks, back it out, clean debris, and reinstall with correct torque or swap in a new core. On tubeless or Presta setups, be deliberate: fully open the valve only when the adapter seats correctly.
For ongoing maintenance, carry spare O-rings and a tiny tube of silicone grease. Your local bike shop can supply parts and advise on torque specs. Regular maintenance keeps adapters reliable.
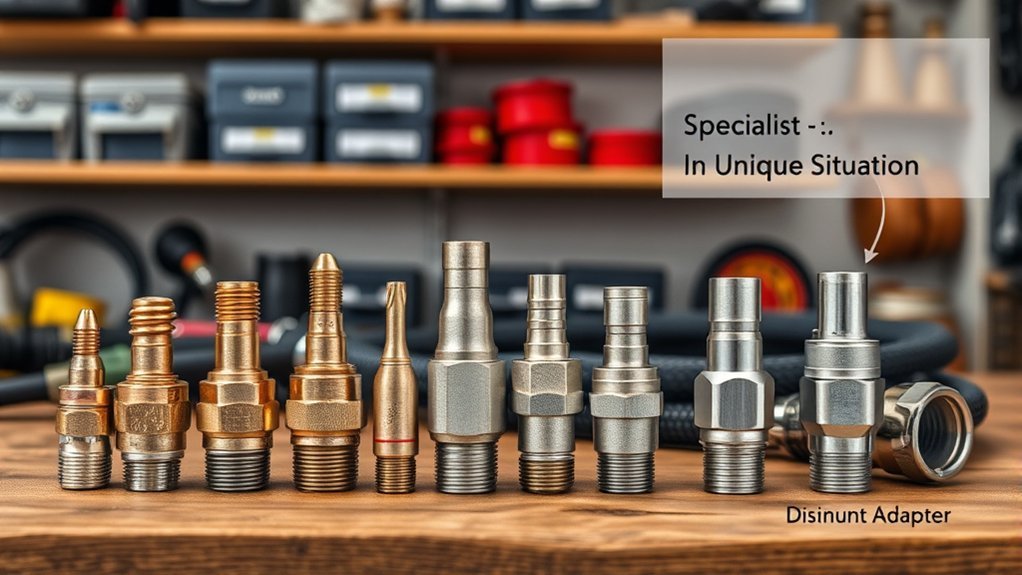
Real-World Tips: Packing, Storage, and When You Need a Specialist Adapter
When you’re packing for a ride or trip, include a compact adapter kit with Presta and Schrader fittings plus common extras (inflation needle, tapered nozzle) so you can handle bikes, balls, and low-pressure inflatables without hunting for parts.
Pack the tire inflator, adapters, and a small tool for Presta valve core removal in a dedicated pouch. Inspect seals and tips before departure. Contamination or wear causes leaks and wasted effort.
| Item | Purpose |
|---|---|
| Presta adapter | Road bikes, high-pressure valves |
| Schrader adapter | Cars, many mountain bikes |
| Inflation needle | Sports balls |
| Tapered nozzle | Low pressure inflatables |
| Specialty part | Specialized adapters for unique gear |
Store the kit in an organized case to prevent loss and speed access. For specialized vehicles or custom equipment, research needed adapters and buy them beforehand. Don’t improvise. Keeping these items ready gives you freedom to ride, travel, and inflate without limits.
Frequently Asked Questions
How to Use an Air Pump Adapter?
Attach the adapter to match valve types. Confirm inflator compatibility with your air pump types. Unscrew the Presta lock nut. Seal the pump head, inflate to correct tire pressure, monitor the gauge, then detach and reseal.
Why Use a Presta to Schrader Adapter?
About 60% of cyclists carry adapters. You’ll use one because Presta valve benefits meet Schrader compatibility issues. Adapters resolve that, with adapter durability factors essential for common usage scenarios.
How to Use a Presta Valve Adaptor?
Screw on the adapter, attach the pump, lock the head, inflate to proper pressure, then remove the adapter and reseal. Remember Presta valve basics and types, air pressure importance, and avoid common inflator mistakes for reliable performance.
How to Use Tire Inflator Nozzle?
Choose the right inflator nozzle type. Remove the valve cap, secure the nozzle, flip the lock, and inflate while watching pressure. Use inflating techniques, tire maintenance tips, and respect tire pressure importance.
Conclusion
You’re now set to match the right adapter to each valve and task. Pick durable materials, the correct chuck/flow style, and the right nozzles for bikes, balls, or air beds.
Keep threads clean, check valve cores, and pack a compact kit. Like a small toolbox that releases big pressure, these adapters turn awkward fittings into confident inflation. They’re practical, precise, and ready when you are, avoiding surprises on the road or in the garage.