How To Install Dvd Headrest Toyota RAV4
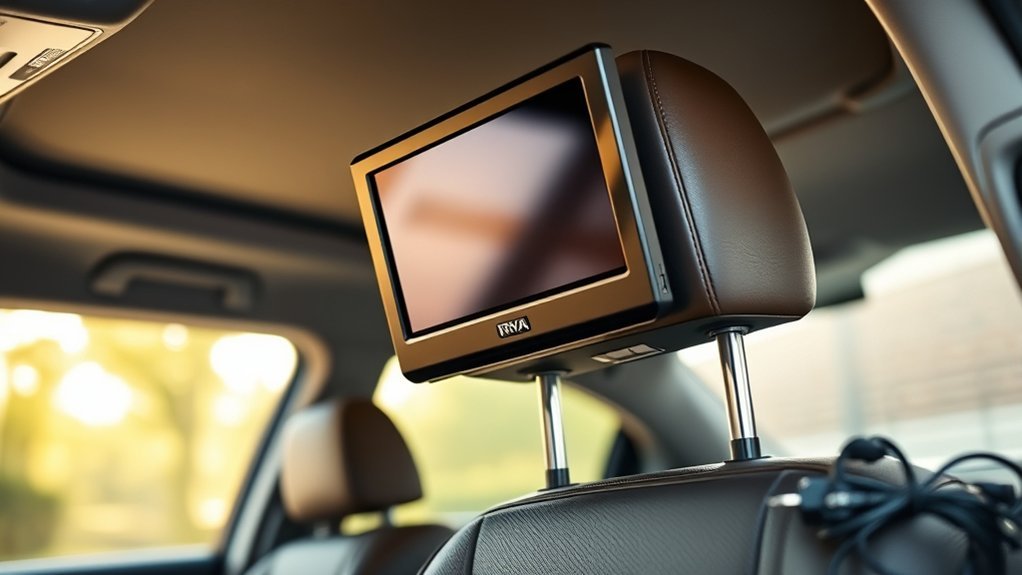
To install a DVD headrest in your Toyota RAV4, first, verify compatibility with your headrest rod dimensions. Use a micro screwdriver to remove the existing headrest, then fish wires through the holes using a coat hanger. Route wires neatly, leaving slack for seat adjustments. Decide between connecting to the cigarette lighter for easy access or hardwiring for automatic shutdown with the ignition. Confirm all connections are secure, and you’ll optimize performance as you continue.
Choosing the Right DVD Headrest for Easy Installation
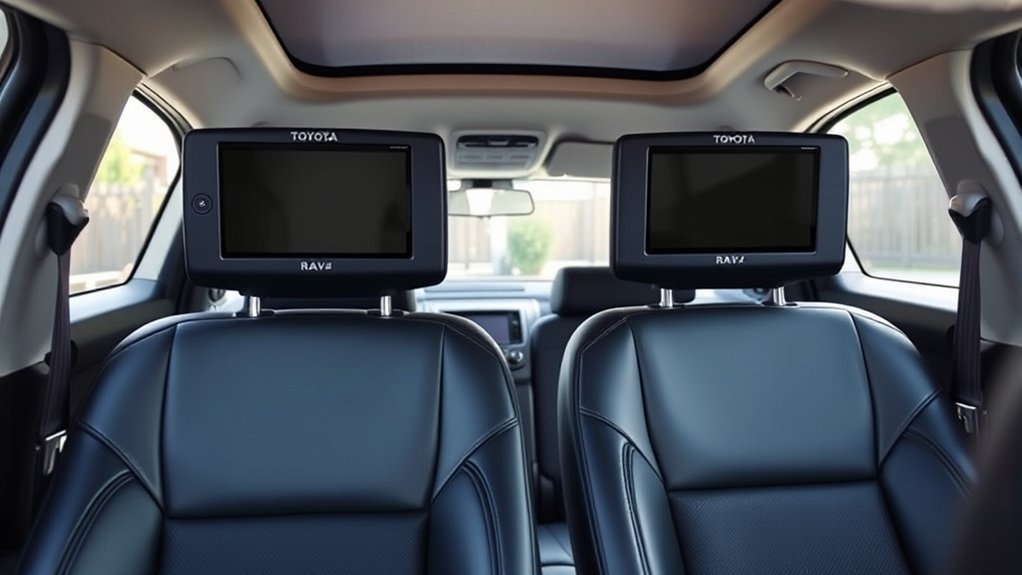
When you’re selecting a DVD headrest for your Toyota RAV4, it’s vital to confirm compatibility with your vehicle’s headrest rod dimensions. Some models may require spacers for thicker rods, so check the specifications carefully. Opt for a headrest featuring a 9-inch LCD screen with at least 600p resolution to guarantee superior viewing quality, especially for children. Built-in DVD players simplify installation by reducing the need for external devices and extra wiring. Additionally, choose headrests with versatile audio options like external speakers, headphone jacks, and FM modulation, catering to various listening preferences during travel. Clear installation instructions and minimal disassembly of your vehicle’s existing headrests will further enhance the installation process, making it smoother and more efficient.
Tools and Materials Needed for Installation
Installing DVD headrests in your Toyota RAV4 requires specific tools and materials to guarantee a smooth process. You’ll need the following essentials for a successful installation:
| Tools | Materials |
|---|---|
| Micro screwdriver | DVD headrest monitors |
| Coat hanger for fishing wires | Power wires for connection |
| Razor for accessing seat cover | Crimp connectors |
| Soldering kit | Add-a-fuse |
| Voltmeter | Toggle switch |
| Electrical tape | 3.5mm audio cable |
These tools help you manage wiring efficiently, ensuring secure connections. The DVD headrest monitors and power wires are vital for functionality, while the voltmeter confirms your electrical setup is safe and operational. Be prepared, and your installation will go smoothly!
Step-by-Step Guide to Removing Existing Headrests
To remove the existing headrests in your Toyota RAV4, you’ll need a micro-screwdriver and possibly a razor for accessing wiring. Start by pushing the side button on the headrest support to release it, then press the pinhole while pulling the headrest upward. If your model has a seat cover, carefully unlatch it to reveal the headrest support rods for easier removal.
Tools Needed For Removal
Removing the existing headrests in your Toyota RAV4 requires a few specific tools to guarantee a smooth process. Here’s a quick reference for what you’ll need:
| Tool | Purpose |
|---|---|
| Micro-screwdriver | Press pinhole lock to release headrest |
| Coat hanger | Fish down wiring through headrest holes |
| Razor | Unzip seat cover if necessary |
| Tape | Secure wiring for easy retrieval |
These tools will help you effectively remove the headrests without damaging any components. Make sure to double-check the wiring allows for seat movement before installation, as this will prevent any issues with functionality. With the right tools, you’ll be prepared for a successful headrest removal.
Step-By-Step Removal Process
With the right tools gathered, you can begin the process of removing the existing headrests from your Toyota RAV4. Start by pushing the side button on each headrest to release it from the locking mechanism. If the headrests don’t budge, use a micro-screwdriver to access the pinhole release. Depending on your seat design, unzip the seat cover and unlatch the bottom to access headrest attachment points. To run necessary cables for the new monitor, fish down a coat hanger or similar tool through the headrest holes. Verify the wiring accommodates seat movement and that all connections are secure before reassembling the seat covers. This precise method will set you up for a successful headrest installation.
Efficient Wire Routing Techniques for Headrest Installation
As you prepare for the installation of your DVD headrest in a Toyota RAV4, efficient wire routing is essential for ensuring a seamless setup. Start by carefully removing the existing headrest, using a micro-screwdriver for pinhole release. To facilitate wire routing, employ a coat hanger to fish the cables through the headrest holes, ensuring they won’t obstruct seat movement. Bundle the wires with tape for better cable management, preventing tangling during installation. Remember to leave sufficient slack for seat adjustments, avoiding stress on connections. Finally, tuck any excess wiring neatly along the seat frame or under the seat cover. This not only maintains aesthetic appeal but also promotes safety, completing your headrest installation with finesse.
Power Connection: Cigarette Lighter or Hardwire?
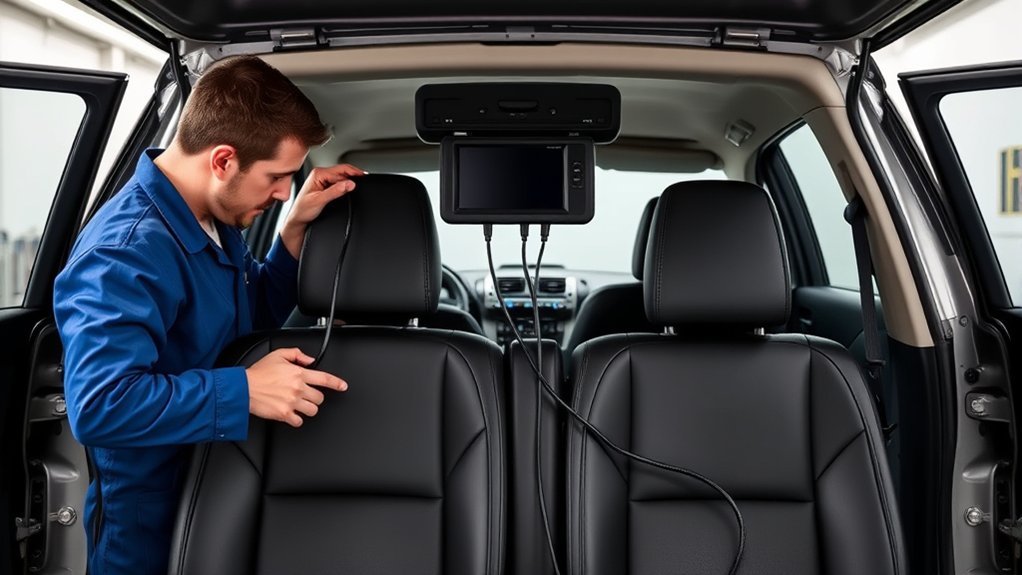
When deciding on the power connection for your DVD headrests in a Toyota RAV4, you’ll want to weigh the pros and cons of using the cigarette lighter versus hardwiring. Utilizing cigarette lighter power allows for easy installation without the risk of automatic power on during vehicle start. You can also incorporate a toggle switch for manual control, giving you the freedom to manage power supply to the monitors. On the other hand, hardwiring requires careful connection to a power source that turns off with the ignition, like power seats, to prevent battery drainage. Ascertain the power wires are properly stripped and secured with crimp connectors or soldering for a reliable and secure electrical connection.
Ensuring Proper Grounding for Your Monitors
A reliable power connection alone won’t guarantee your DVD headrest monitors function properly; grounding is equally important. To achieve a solid ground connection, use bare metal screws or dedicated ground points near the fuse panel. Wrap the ground wire around a loose metal screw or utilize a crimp connector for a secure connection to the vehicle’s chassis, maintaining minimal risk of corrosion. Verify that the grounding location is free of paint or rust to enhance electrical contact and reduce interference. After securing the ground wire, it’s advisable to use a multimeter to check for continuity, confirming the connection is both secure and functioning correctly. Ascertain the ground wire meets the power requirements of the monitors to avoid electrical issues.
Testing Your DVD Headrest Installation for Optimal Performance
To guarantee your DVD headrest monitors deliver ideal performance, start by verifying that all power connections are secure and providing a consistent 12V supply. Use a voltmeter for accurate readings. Next, conduct a visual inspection of the monitors to confirm they’re securely mounted and unobstructed. Test the audio output by connecting headphones or external speakers to validate sound quality. Additionally, check that the wiring allows full movement of the seats without any pinching or damage.
| Task | Tools Needed | Notes |
|---|---|---|
| Verify Power Connections | Voltmeter | Confirm 12V supply |
| Conduct Visual Inspection | None | Check for obstructions |
| Test Audio Output | Headphones/Speakers | Validate functionality and sound quality |
| Inspect Wiring | None | Confirm no damage while seat adjustments |
Frequently Asked Questions
How to Put Headrest Down rav4?
To put the headrest down in your RAV4, press the button on the side, adjust the headrest, and push it down. Regularly check for obstructions to guarantee smooth headrest maintenance and functionality.
Are Headrest DVD Players Safe?
Yes, headrest DVD players are safe when installed correctly. They enhance child safety and provide entertainment options for passengers, keeping distractions low. Focus on installation tips to guarantee secure placement and ideal headrest safety during travel.
How Do Headrest DVD Players Work?
Headrest DVD players work by integrating screens and audio output, allowing you to play DVDs directly. Guarantee proper installation, check compatibility issues, and enhance your viewing experience with versatile formats for maximum enjoyment during travel.
How to Change the Display on a Toyota RAV4?
To change the display on your Toyota RAV4, access the display settings in the multimedia system. Adjust screen brightness, perform resolution adjustments, and customize the interface to suit your preferences for ideal viewing.
Conclusion
To sum up, installing a DVD headrest in your Toyota RAV4 transforms mundane road trips into immersive entertainment experiences. With careful selection and proper installation techniques, you’ll seamlessly blend technology with comfort. Remember, the difference between a chaotic setup and a sleek, professional finish lies in your attention to detail. As you enjoy the enhanced viewing pleasure, take pride in knowing you’ve skillfully navigated the complexities of installation, turning your vehicle into a mobile theater.