How To Install Crossbars On Toyota RAV4
How to Install Crossbars on a Toyota RAV4
A loose roof crossbar can turn a simple trip into a safety problem. Your Toyota RAV4 needs the right crossbars, correct placement, and a final fit check before you load bikes, kayaks, or a cargo box. This guide shows you how to install, check, remove, and maintain RAV4 crossbars in clear steps.
Quick Answer
To install crossbars on your Toyota RAV4, match each bar to the correct roof rail position, seat the clamps on the mounting points, then lock each side with the included tool. Pull down on each bar after installation to confirm a tight fit. Before you load cargo, check the weight limit in your owner’s manual and crossbar instructions.
Key Takeaways
- Use crossbars designed for your RAV4 model year and roof rail style.
- Match labeled parts to the correct front, rear, left, and right positions.
- Lock both sides evenly and test each bar before loading cargo.
- Follow the lowest weight limit listed by Toyota, the crossbar maker, or the cargo carrier.
- Recheck the crossbars after loading and during long trips.
What’s in This Article
- Why Crossbars Are Useful on Your Toyota RAV4
- Before You Begin Installing RAV4 Crossbars
- Step-By-Step Guide to Installing Crossbars
- Attaching Crossbars to Roof Rails
- Ensuring Stability: Checking Your Crossbar Fit
- Top Installation Mistakes to Avoid for Crossbars
- Removing Crossbars: A Quick Guide
- How to Keep Your Crossbars in Top Shape
- Troubleshooting Loose Crossbars
- Aftermarket vs. OEM: Which Crossbars Should You Choose?
- Frequently Asked Questions About Crossbars Installation
- Conclusion
Why Crossbars Are Useful on Your Toyota RAV4
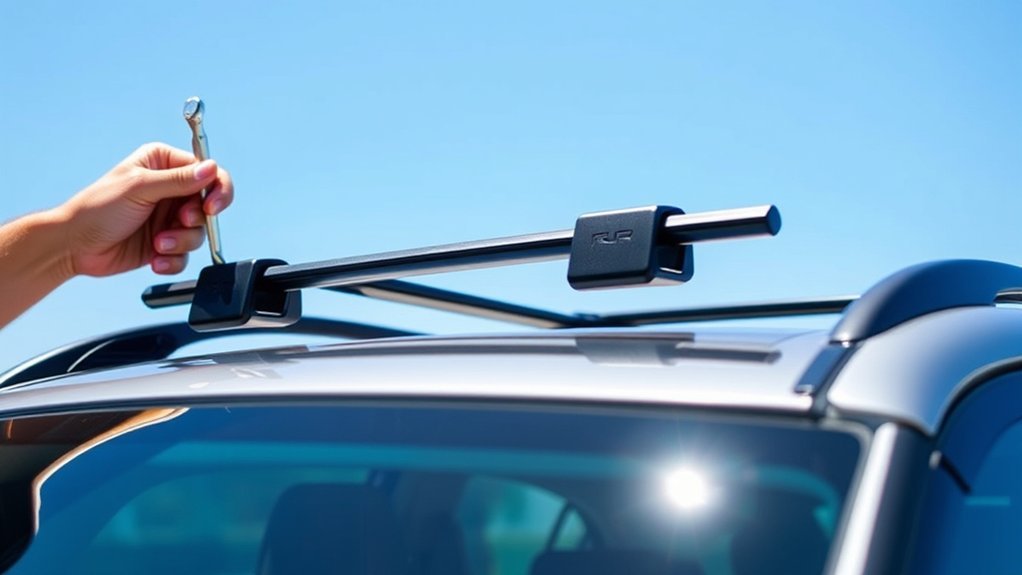
Crossbars help your Toyota RAV4 carry gear that may not fit well inside the cabin. You can use them with compatible cargo boxes, kayak carriers, bike racks, ski racks, or roof baskets. This frees up cabin space and keeps dirty or bulky gear outside the vehicle.
The right crossbars also help spread the load across the roof rail system. Always follow the lowest weight rating from your RAV4 owner’s manual, the crossbar instructions, and the cargo accessory manual. A safe setup depends on fit, load balance, and regular checks.
Before You Begin Installing RAV4 Crossbars
Confirm your crossbars match your RAV4 generation, roof rail type, and trim. Some RAV4 models use raised rails, while others use flush rails or factory mounting points. A crossbar that fits one model year may not fit another.
Estimated total time: about 10 to 20 minutes for most clamp-style or factory-style crossbars. Work on a flat surface, clean the roof rails, and keep all parts within reach before you start.
Warning: Never load cargo until you confirm the bars sit tight, lock correctly, and meet the correct weight rating.
Step-By-Step Guide to Installing Crossbars
Installing crossbars on your Toyota RAV4 is easier when you prepare the parts first. Follow the steps in order, and don’t force any clamp or cover into place. If a part does not sit flat, stop and check the alignment before you tighten it.
Required Tools And Materials
Gather the crossbars, the included installation tool, keys if your kit includes locks, and the printed instruction sheet. Use a clean towel or soft cloth to protect the roof paint while you work. Keep a small container nearby for covers, screws, or caps.
You may also want mild soap and water to clean the roof rails before installation. Dirt under the clamp can affect fit and may scratch the rail finish. Dry the rails fully before you attach the bars.
Detailed Installation Process
- Read the instructions for your exact crossbar kit before you place any part on the roof.
- Match each crossbar to the correct position using the labels on the bar or foot pack.
- Place the front bar on the roof rails or factory mounting points at the marked location.
- Seat both clamps so they sit flat and even on the rail or mounting point.
- Tighten one side with the included tool until it feels snug, but do not over-tighten it.
- Tighten the other side and check that the bar stays straight across the roof.
- Repeat the process for the rear crossbar, using the correct spacing from the instructions.
- Lock the covers or end caps if your kit includes locking hardware.
- Pull down on each bar from both sides to test for movement before you load cargo.
Maintenance And Safety Tips
Regularly inspect the crossbars for wear, cracks, rust, loose caps, or clamp damage. Check them before each long trip and after you carry heavy or bulky cargo. Wind, vibration, rain, and road salt can loosen parts over time.
After you load cargo, recheck all clamps and straps before driving. Keep the load centered and secure it with the correct tie-down method for the item you carry. A roof load can change handling, braking, wind noise, and vehicle height.
Attaching Crossbars to Roof Rails
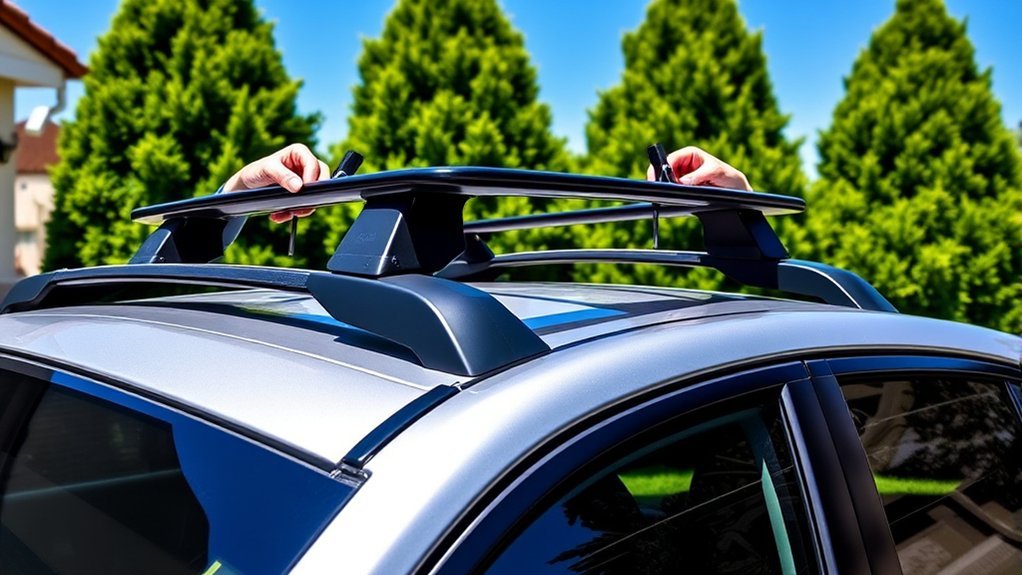
As you prepare to attach crossbars to your Toyota RAV4‘s roof rails, make sure you have the correct kit for your model year and rail design. Do not rely on looks alone, because similar crossbars may use different clamps or mounting feet.
- Place the labeled front and rear bars in the correct positions.
- Align each clamp with the roof rail or factory mounting point.
- Tighten the first side until it sits snug against the rail.
- Tighten the opposite side and confirm that the bar stays level.
- Check all locks, covers, and caps before you drive.
Your Toyota RAV4 crossbars should feel firm when you pull down on them. If you feel movement, loosen the bar and reinstall it before adding cargo.
Ensuring Stability: Checking Your Crossbar Fit
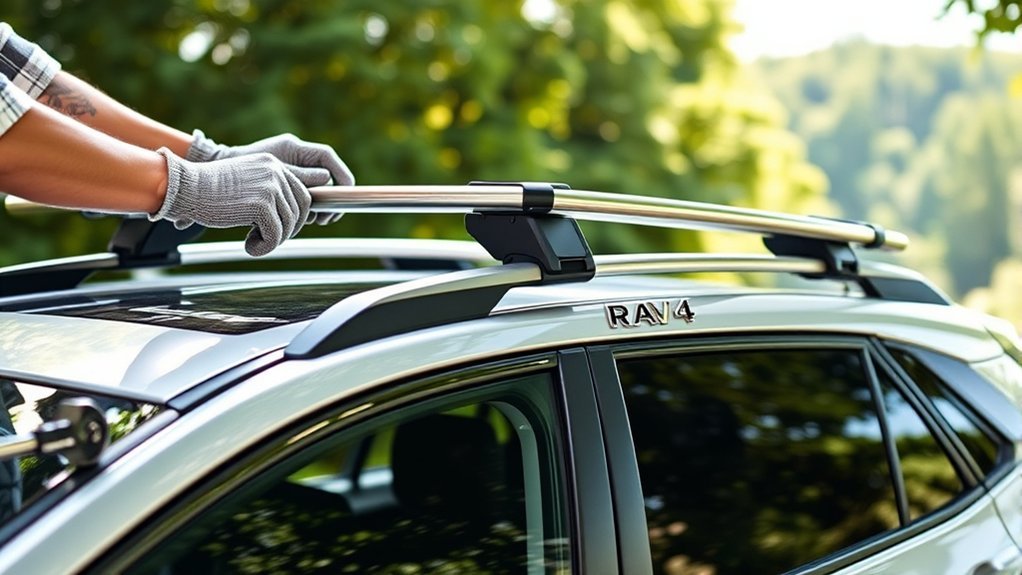
Ensuring that your crossbars are securely fitted helps protect your gear and your vehicle. Start by pulling down and pushing side to side on each crossbar. You should not feel sliding, rattling, or lifting.
Check the spacing between the front and rear bars before you install a cargo box or rack. Many accessories need a specific bar spread to fit safely. Follow the accessory instructions, not only the crossbar instructions.
Top Installation Mistakes to Avoid for Crossbars
Small installation errors can cause noise, poor fit, or unsafe cargo movement. Avoid these common mistakes before you drive:
- Misidentifying parts: Match labeled parts to the correct front, rear, left, and right positions.
- Skipping the manual: Check the bar spacing, clamp position, and torque guidance for your exact kit.
- Over-tightening hardware: Tighten the clamps until snug, but don’t strip screws or damage mounting points.
- Ignoring loose covers: Secure every end cap and lock cover to reduce noise and prevent loss.
- Exceeding the load rating: Follow the lowest limit from the vehicle, crossbars, and cargo carrier.
Removing Crossbars: A Quick Guide
After you’ve installed your crossbars, knowing how to remove them also matters. Start by unlocking the cover or foot pack if your kit includes a lock. Then loosen one side with the included tool until the clamp releases.
Move to the opposite side and loosen that clamp the same way. Lift the bar straight up once both sides sit free from the rails. Store the bars in a clean, dry place to protect the finish and hardware.
How to Keep Your Crossbars in Top Shape
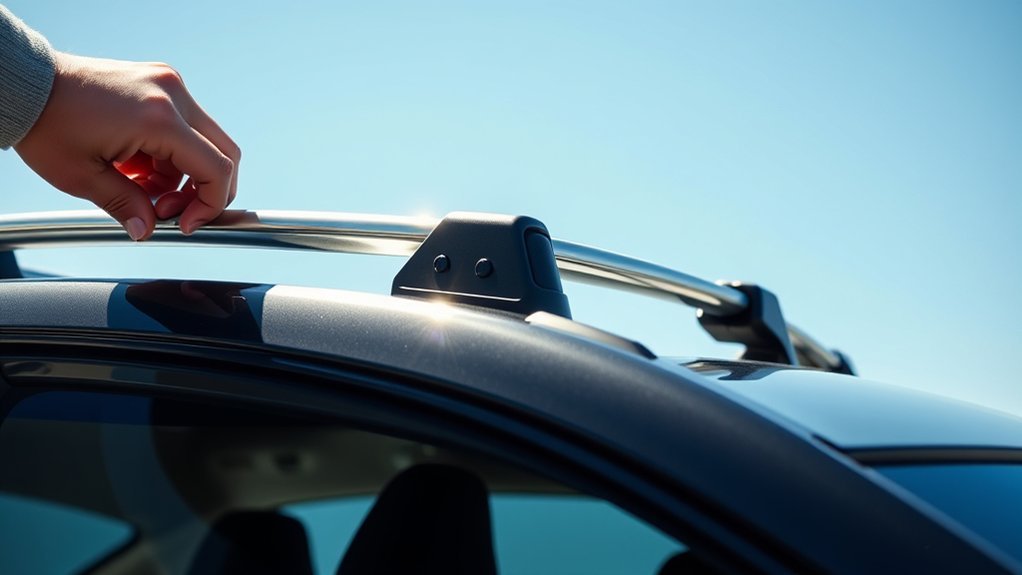
To keep your crossbars in top shape, inspect them often for wear, rust, or damage. Cleaning them helps prevent dirt buildup and protects the finish. This simple habit can also help you spot loose parts early.
Regular Inspections Required
Check the crossbars before each long trip and after you carry a roof load. Focus on the clamps, end caps, locks, rubber pads, and mounting points. Tighten loose parts with the correct tool from your kit.
- Inspect for wear: Look for cracks, bent parts, rust, or missing rubber pads.
- Check tightness: Recheck the clamps after loading cargo and during long drives.
- Watch weight balance: Keep cargo centered and spread the load evenly.
- Keep tools nearby: Store the installation tool where you can reach it during a trip.
Cleanliness Prevents Corrosion
Keeping your crossbars clean helps reduce corrosion and long-term wear. Wash them with mild soap and water, then dry them with a soft cloth. Pay close attention to clamp areas where moisture can collect.
If you drive in snow, salt, mud, or heavy rain, clean the bars more often. When you remove them, store them indoors or in a dry sheltered place. Avoid leaving loose hardware where it can rust or get lost.
Troubleshooting Loose Crossbars
If your crossbars feel loose after installation, fix the issue before you drive. A loose bar can damage the roof rails, shift your cargo, or create unsafe wind lift. Work through these checks in order:
- Check the clamps: Use the provided tool to confirm each side locks into place.
- Review the labels: Make sure the front, rear, left, and right parts sit in the correct positions.
- Check the rail contact: Confirm each clamp and rubber pad sits flat against the rail.
- Remove and reinstall: Start over if the bar still moves after tightening.
- Contact the seller or dealer: Get help if the crossbars still do not fit firmly.
Pro tip: Take a photo of the labels and final position before removal so you can reinstall the bars faster later.
Aftermarket vs. OEM: Which Crossbars Should You Choose?
When you choose between aftermarket and original equipment manufacturer (OEM) crossbars, start with fit and load rating. OEM crossbars usually match the factory roof rails and often install with fewer adjustments. They may also match the vehicle’s styling more closely.
Aftermarket options can offer more shapes, sizes, and accessory support. Some designs work better with wide cargo boxes, kayak saddles, or bike trays. Before you buy, confirm the crossbars fit your RAV4 model year, roof rail type, and planned accessory.
| Option | Best For | What to Check |
|---|---|---|
| OEM crossbars | Factory-style fit and simple installation | Model year, roof rail type, and Toyota load guidance |
| Aftermarket crossbars | More accessory choices and different bar shapes | Clamp fit, bar spread, warranty, and accessory support |
Frequently Asked Questions About Crossbars Installation
These answers cover the most common questions drivers ask before installing RAV4 roof crossbars.
Can I Install Crossbars Myself?
Yes, you can install many RAV4 crossbars yourself if the kit matches your vehicle. Read the instructions first, use the included tool, and test each bar before loading cargo. Get help from a dealer or installer if the clamps do not sit flat.
Can You Add Roof Racks to a RAV4?
Yes, you can add roof racks or crossbars to many Toyota RAV4 models. Your options depend on the model year, trim, and roof rail style. Confirm compatibility before you buy any rack, crossbar, or cargo carrier.
How Tight Should RAV4 Crossbars Be?
The crossbars should feel snug and should not slide, lift, or rattle when you pull on them. Follow the tightening guidance from your crossbar manual. Do not over-tighten the hardware, because that can damage clamps or mounting points.
Do Crossbars Affect Driving Noise or Fuel Use?
Crossbars can add wind noise, especially at highway speed or when they carry bulky gear. They may also affect fuel use because they add drag. Removing unused crossbars can reduce noise and help your RAV4 stay more efficient.
Can I Go Through a Car Wash With Crossbars Installed?
Check your crossbar manual and the car wash rules before entering. Some automatic washes can catch on roof accessories, straps, or loose covers. Remove cargo carriers and loose attachments before any wash.
Conclusion
A safe RAV4 crossbar installation comes down to correct fit, even tightening, and a careful final check. Use the right kit for your model year, follow the instructions, and confirm the bars do not move before you load cargo. Recheck the setup during long trips, especially when you carry bulky gear. With a secure setup, your RAV4 can carry more while keeping your cabin space clear.