
How To Change Oil Filter Of Toyota RAV4
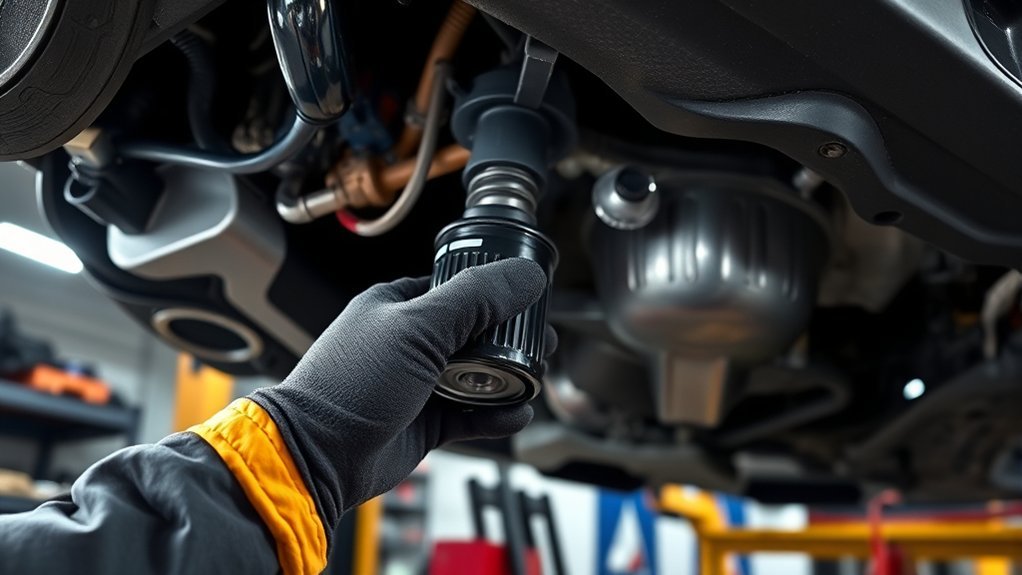
A rushed oil filter change can leave you with leaks, low oil, or a messy driveway. Your Toyota RAV4 may use a spin-on filter or a cartridge-style filter, so check your owner’s manual before you start. This guide walks you through the tools, draining steps, filter replacement, refill, leak check, and maintenance light reset.
What’s in This Article
- Gather Your Tools for an Oil Change
- Step-by-Step Guide to Draining Engine Oil
- How to Remove and Replace the Oil Filter During an Oil Change?
- Proper Installation of the New Oil Filter
- Replace the Drain Plug and Add Oil
- Checking Your Oil Level: Tips for Accuracy
- Resetting the Maintenance Light on Your Toyota RAV4?
- Common Oil Change Mistakes and How to Avoid Them
- Frequently Asked Questions
- Conclusion
Quick Answer
To change the oil filter on your Toyota RAV4, drain the old oil, remove the old filter, replace the gasket or O-ring, and install the correct new filter. Lightly oil the new gasket before installation, then tighten the filter or filter housing to the correct specification for your model. Refill the engine with the oil type and amount listed in your owner’s manual, then check for leaks and confirm the dipstick level.
Key Takeaways
- Check your owner’s manual before you buy oil, a filter, or drain plug parts.
- Replace the filter gasket or O-ring each time you change the oil filter.
- Use a torque wrench when your RAV4 uses a cartridge-style filter housing.
- Never tighten the filter by force, because overtightening can damage the seal.
- Run the engine briefly after the refill, then check for leaks and oil level.
Gather Your Tools for an Oil Change

To change the oil filter on your Toyota RAV4, gather your tools before you lift the vehicle. You may need a wrench or socket set, an oil filter wrench, a drain pan, gloves, shop towels, and a safe way to raise the front of the vehicle.
You’ll also need the correct new oil filter, a new drain plug gasket or washer, and the right engine oil for your engine. Some RAV4 models use a cartridge-style filter that needs a filter cap wrench and a plastic drain adapter. Others use a spin-on filter that does not need the same tool.
Keep a torque wrench nearby if your RAV4 uses a cartridge housing or if your manual gives a drain plug torque value. Many DIY leaks happen because the filter, housing, or drain plug gets tightened too much or too little.
Note: Oil capacity, filter type, and torque values can change by RAV4 year, engine, and trim.
Step-by-Step Guide to Draining Engine Oil
Start by parking your Toyota RAV4 on a level surface. Set the parking brake, let the engine cool enough to work safely, and raise the vehicle only at approved lift points. Use jack stands if you lift the vehicle with a jack.
Place a drain pan under the drain plug. Loosen the plug with the correct wrench, then remove it by hand once it turns freely. Let the old oil drain until the flow slows to a drip.
Clean the drain plug and replace the gasket or washer if your model uses one. Reinstall the plug by hand first so you don’t cross-thread it. Then tighten it to the specification listed for your RAV4.
How to Remove and Replace the Oil Filter During an Oil Change?
To remove and replace the oil filter on your Toyota RAV4, first identify which filter style your engine uses. A spin-on filter looks like a metal canister. A cartridge filter sits inside a reusable housing and uses a replaceable filter element.
For a spin-on filter, place the drain pan under the filter and loosen it with an oil filter wrench. Turn it by hand once it breaks loose, then remove it carefully because it may still hold oil.
For a cartridge-style filter, use the correct filter cap wrench. If your filter kit includes a plastic drain adapter, use it to drain the housing before removal. This reduces spills and makes the job cleaner.
Required Tools And Supplies
Before you start the oil filter replacement, place everything within reach. The right tools help you avoid stripped parts, damaged seals, and leaks after the job.
- Choose the correct oil filter for your RAV4 year and engine.
- Get the right engine oil grade and amount from your owner’s manual.
- Use an oil filter wrench or filter cap wrench that fits your filter style.
- Place a drain pan under the work area before loosening parts.
- Keep a torque wrench ready if your model needs a set torque value.
Step-By-Step Removal Process
Begin the oil filter removal process after the old oil has drained. Move the drain pan under the filter area, because more oil may spill when the filter comes loose.
- Loosen the old filter or filter housing with the correct tool.
- Remove the filter slowly and keep it upright when possible.
- Remove the old gasket or O-ring from the filter or housing.
- Wipe the sealing surface with a clean shop towel.
- Check that no old gasket remains stuck to the engine.
Never install the new filter over an old gasket. That mistake can create a double gasket, which often causes a sudden oil leak after startup.
Installing The New Filter
After you remove the old filter, compare it with the new one. The size, gasket placement, and fit should match the filter your RAV4 needs.
- Apply a thin film of clean engine oil to the new gasket or O-ring.
- Install the new filter element or spin-on filter by hand first.
- Tighten the filter or housing according to your manual or filter instructions.
- Wipe the area clean so fresh leaks become easy to spot.
With these steps, you help protect the seal and support smooth engine performance.
Proper Installation of the New Oil Filter
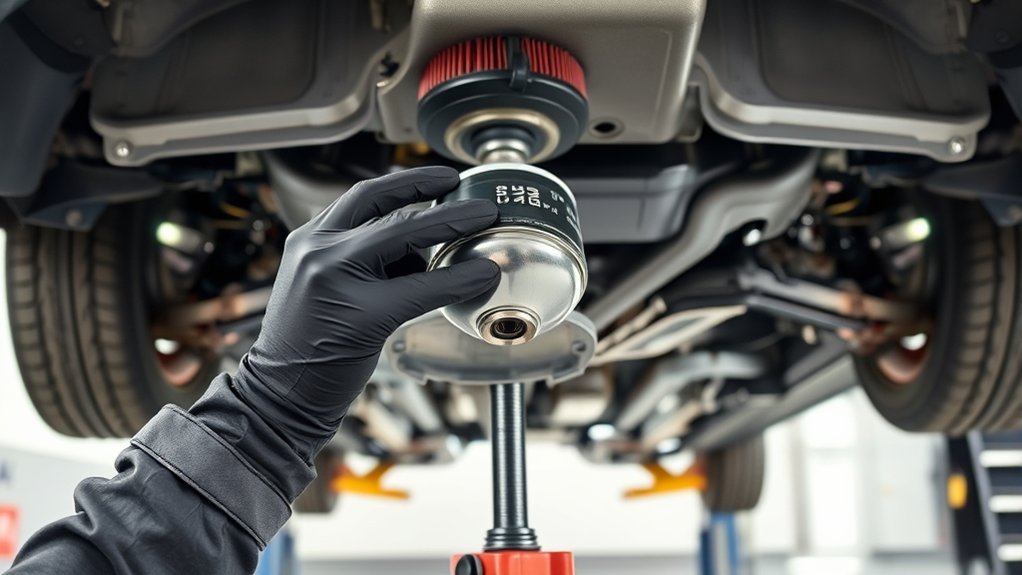
A proper oil filter installation depends on a clean sealing surface, the right gasket, and the correct tightness. Rushing this part can cause leaks even when you use the right filter.
Before you tighten the filter, make sure the threads start smoothly. If the filter feels crooked or tight right away, stop and realign it. Cross-threading can damage the filter mount or housing.
Preparing New Oil Filter
Prepare the new oil filter by checking the gasket, O-ring, and filter body. Replace every gasket or O-ring that comes with the new filter kit.
Apply a small amount of fresh oil to the rubber seal. This helps the seal seat well and makes the filter easier to remove at the next service.
- Select a Quality Oil Filter: Choose a filter that meets the specification for your exact RAV4 engine.
- Prepare the Seal: Coat the new gasket or O-ring with clean engine oil.
- Check for Leaks: After installation, start the engine briefly and inspect the filter area.
Installing Gasket Properly
Installing the gasket correctly helps prevent oil leaks. Remove the old gasket first, then check the groove or sealing face for dirt, cracks, or stuck rubber.
Use only the gasket or O-ring supplied for your filter style. Do not reuse old seals, and do not add sealant unless your service manual tells you to use it.
| Part | What You Should Do |
|---|---|
| Rubber gasket | Oil it lightly before installation |
| O-ring | Replace it with the new one from the kit |
| Sealing surface | Wipe it clean before the new filter goes on |
| Filter housing | Tighten it only to the correct specification |
After installation, run the engine for a short time. Then shut it off and check around the filter for any sign of oil.
Tightening Filter Correctly
Once you’ve positioned the new oil filter, tighten it with care. A spin-on filter usually needs hand tightening after the gasket contacts the base, but filter instructions can vary.
A cartridge-style housing often needs a torque wrench. Use the torque value for your exact RAV4 model instead of guessing. This protects the plastic or metal housing from damage.
- Start the filter or housing by hand to avoid cross-threading.
- Tighten it to the filter instructions or service specification.
- Stop tightening once you reach the correct value or hand-tight range.
- Inspect for leaks after you start the engine.
Warning: Do not overtighten the oil filter housing, because it can crack or damage the seal.
Replace the Drain Plug and Add Oil
After the oil finishes draining, clean the drain plug and install a new gasket or washer if needed. Thread the plug by hand first, then tighten it to the specification for your RAV4.
Next, remove the oil filler cap and slowly add the correct amount of fresh oil. Do not rely on one universal amount for every RAV4. Your owner’s manual gives the right capacity for your engine and filter change.
Reinstall the oil filler cap before you start the engine. Start the engine for 30 to 60 seconds, then shut it off. Check under the vehicle and around the filter for leaks.
Checking Your Oil Level: Tips for Accuracy
With the new oil added and the drain plug secure, check your oil level for accuracy. Park on a level surface and wait a few minutes after shutting off the engine so the oil can settle.
- Pull out the dipstick and wipe it clean with a lint-free cloth.
- Reinsert the dipstick fully, then pull it out again.
- Confirm the oil level sits between the “Min” and “Max” marks.
- Add a small amount of oil if the level sits below the safe range.
Also inspect the oil on the dipstick. Fresh oil should look clean. If the level looks right but the oil looks gritty soon after service, recheck your maintenance history.
Resetting the Maintenance Light on Your Toyota RAV4?

After an oil change, reset the maintenance light so your Toyota RAV4 can track the next service reminder. The exact menu can vary by year, so use your owner’s manual if your screen looks different.
On many newer RAV4 models, turn the vehicle on without pressing the brake pedal. Use the steering wheel buttons to open the settings menu, then find the vehicle or maintenance settings. Select the maintenance reset option and confirm the reset.
After the reset, turn the vehicle off and start it again. Confirm the reminder no longer appears on the dash.
Common Oil Change Mistakes and How to Avoid Them
Changing oil looks simple, but a few small mistakes can cause leaks or engine trouble. Avoid these common problems during oil filter maintenance.
- Using the wrong filter: Match the filter to your RAV4 year, engine, and filter style.
- Forgetting the gasket: Replace the old gasket or O-ring each time.
- Overtightening the filter: Tighten the filter only as the manual or filter instructions require.
- Leaving old oil in the filter housing: Drain the housing first if your cartridge system allows it.
- Skipping the leak check: Run the engine briefly, then inspect the filter and drain plug.
Pro tip: Write the mileage and oil type on your receipt or service log after each oil change.
How to Dispose of Used Oil and Filters Safely
Never pour used motor oil into a drain, yard, street, or trash bin. Place the used oil in a sealed container and take it to a local recycling center, auto parts store, or approved collection site.
Let the old oil filter drain into your pan before disposal. Many recycling sites accept used filters with used oil, but local rules can vary.
Frequently Asked Questions
How to Change Oil Filter on RAV4?
To change your RAV4’s oil filter, drain the engine oil, remove the old filter, replace the gasket, and install the correct new filter. Refill the engine with the right oil, then check the dipstick and inspect for leaks.
How Do I Change My Oil Filter Myself?
You can change your oil filter yourself with the correct filter wrench, drain pan, oil, filter, and gasket. Work on a level surface, follow your manual, and never crawl under a vehicle supported only by a jack.
How to Change Engine Filter in RAV4?
If you mean the oil filter, follow the oil change process in this guide. If you mean the engine air filter, open the air filter box, remove the old filter, and install the correct new air filter in the same direction.
How often should you change a RAV4 oil filter?
Change the oil filter whenever you change the engine oil. Follow the maintenance schedule for your RAV4, because driving conditions and engine type can affect service timing.
What’s the Most Common Problem With a Toyota RAV4?
Common Toyota RAV4 problems vary by model year, mileage, and maintenance history. If you notice overheating, warning lights, shifting issues, oil leaks, or electrical problems, diagnose the issue before it causes more damage.
Conclusion
A clean oil filter change protects your RAV4 from dirty oil and helps the engine run well. Check your owner’s manual, use the correct filter, replace the gasket, and tighten each part with care. After the refill, check the oil level and inspect for leaks before your next drive. Keep a simple service record so your next oil change feels faster and easier.