How to Use an Air Compressor for Tires
A low tire can make your car feel unsafe before you even reach the main road. An air compressor for tires helps you restore the correct pressure at home, at work, or during a roadside stop. This guide shows you how to find the right recommended PSI, connect the hose, fill the tire, and maintain the compressor safely.
What’s in This Article
- Quick: Inflate a Tire With a Portable Tire Compressor
- Find the Right PSI: Where to Look and Why It Matters
- What You’ll Need Before You Inflate a Tire
- Best Portable Tire Compressors for Cars, Bikes, and SUVs
- Hose and Fittings: Create a Leak-Free Connection
- Prep the Compressor: Tank, Regulator, and PSI Settings
- Fill the Tire: Step-by-Step Inflation and Rechecking
- Troubleshooting Common Inflation Problems
- Safety Tips and Routine Compressor Maintenance
- Choose a Tire Compressor: Size, CFM, Power, and Accessories
- Frequently Asked Questions
- Final Thoughts
Quick Answer
Use the tire pressure label inside the driver-side door as your target PSI. Connect the compressor chuck to the valve stem, set the target pressure if your unit has auto shutoff, and fill the tire in short checks. Stop when the tire reaches the recommended cold pressure.
Key Takeaways
- Use the door-jamb tire label, not the tire sidewall, to find your correct PSI.
- Check tire pressure when the tires are cold for the most accurate reading.
- Secure the chuck firmly to the valve stem before you start the compressor.
- Add air slowly near the target PSI so you don’t overinflate the tire.
- Inspect hoses, fittings, cords, and the compressor body before each use.
Quick: Inflate a Tire With a Portable Tire Compressor
A portable compressor lets you inflate a tire without waiting at a gas station. First, check the recommended PSI on the driver-side door sticker. Then measure the current pressure with a tire gauge and attach the tire chuck firmly to the valve stem.
Set the target pressure if your compressor has a preset or auto shutoff feature. If your unit uses a simple gauge, watch the pressure closely and stop often to recheck it. Fill slowly near the target so you can avoid overinflation.
When the tire reaches the target pressure, turn off the compressor and remove the chuck quickly. Check the pressure again with a separate gauge if you have one. If you added too much air, press the valve core briefly and release air in small amounts.
Pro tip: Keep a small tire gauge in your glove box, because compressor gauges can vary.
Find the Right PSI: Where to Look and Why It Matters
Check the sticker inside the driver-side door to find the manufacturer-recommended PSI for your tires. Use that number instead of the maximum PSI printed on the tire sidewall. The wrong PSI can hurt handling, fuel economy, ride comfort, and tire wear.
Check tire pressure at least monthly and before long trips. Measure pressure when the tires are cold, which means the car has been parked for several hours or driven only a short distance.
Location of the PSI Sticker
You’ll usually find the tire pressure label inside the driver-side door jamb. This sticker gives vehicle-specific pressure numbers for the original tire size and normal load. It gives you a safer target than guessing.
- Check the driver-side door jamb: Most vehicles place the tire pressure label there.
- Open the owner’s manual: Use it as a backup if the label is missing or damaged.
- Inspect the fuel filler door: Some vehicles place tire pressure information there.
- Avoid the tire sidewall number: It shows maximum pressure, not the recommended daily setting.
Use the listed PSI to protect tread life, fuel efficiency, and control. Accurate tire pressure gives you a safer and more predictable drive.
Manufacturer-Recommended Pressure
Use the manufacturer-recommended pressure as your target when filling tires. Compare your gauge reading with the label, then add or release air as needed. Repeat this check for all four tires.
| Why It Matters | What to Check | Action |
|---|---|---|
| Safety baseline | Sticker on driver door | Set to recommended PSI |
| Efficiency | Gauge reading | Inflate or release air |
| Tire life | Monthly pressure checks | Inspect and adjust |
Following the vehicle label removes guesswork and keeps your tires closer to their intended shape. That helps your car brake, steer, and ride as designed.
Effects of Incorrect PSI
Incorrect PSI can affect how your vehicle grips, turns, brakes, and uses fuel. Underinflated tires create more rolling resistance and heat. Overinflated tires can reduce the contact patch and make the ride harsher.
- Underinflation: Raises rolling resistance, increases heat, and can speed up edge wear.
- Overinflation: Concentrates wear near the center and can reduce ride comfort.
- Temperature changes: Cold weather can lower tire pressure, while heat can raise it.
- Poor habits: Skipping checks can leave small pressure changes unnoticed for weeks.
Warning: Do not inflate a damaged, cracked, or bulging tire, because it may fail under pressure.
What You’ll Need Before You Inflate a Tire
Gather the right items before you start. A clean setup helps you work faster and reduces mistakes near the valve stem. Park on a flat surface and set the parking brake before you connect anything.
- Portable tire compressor: Use a 12-volt, battery-powered, or plug-in model that suits your vehicle.
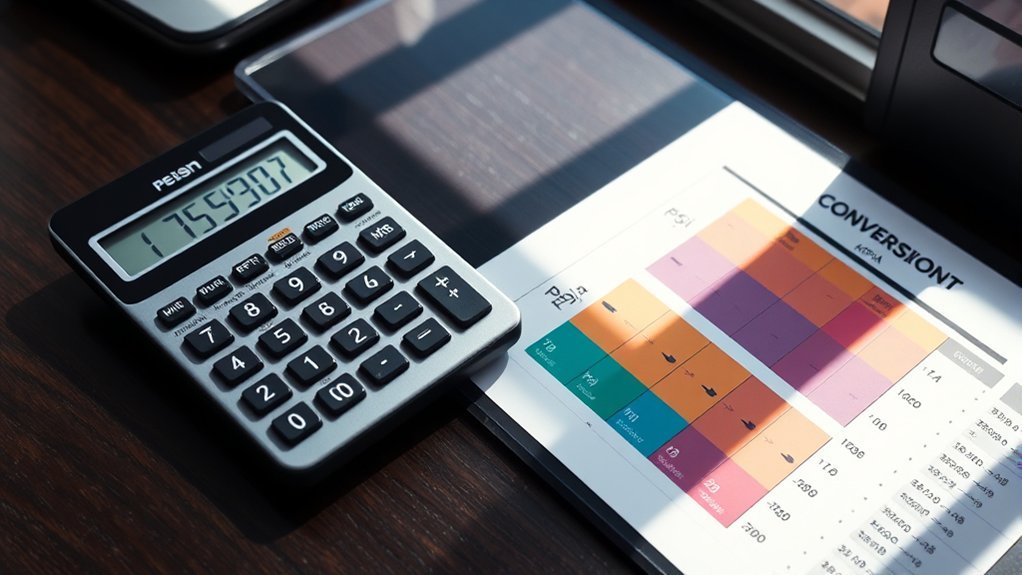
- Tire pressure gauge: Use a separate gauge to confirm pressure when possible.
- Valve stem caps: Replace missing caps to help keep dirt out of the valve.
- Work light: Use one if you need to inflate tires at night.
- Gloves: Protect your hands from hot fittings, dirt, and sharp edges.
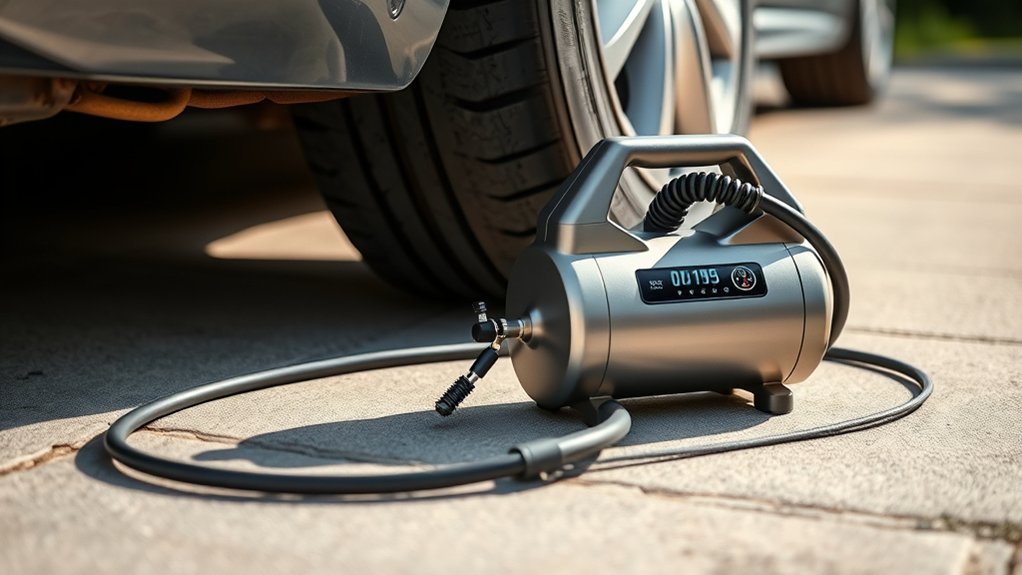
Best Portable Tire Compressors for Cars, Bikes, and SUVs
When choosing a portable tire compressor, balance portability, size, power, and inflation speed. A small compressor may suit a car or bike, while larger SUV and truck tires may need stronger airflow. Look for clear controls, a readable gauge, durable fittings, and useful adapters.
Avoid choosing only by claimed maximum PSI. A compressor also needs enough airflow to fill your tire without overheating or taking too long.
Portability and Size
Portability matters because the compressor needs to fit your vehicle and routine. Many small portable tire compressors store in a trunk, cargo bin, or under-seat area. A 12-volt plug can help during roadside stops if your vehicle outlet supports the compressor.
- Check the weight: Pick a unit you can lift and move easily.
- Measure the footprint: Make sure it fits your trunk, cargo well, or storage bin.
- Match the power connection: Choose 12-volt, battery-powered, or household plug-in power.
- Review the accessories: Look for nozzles that support tires, bikes, and inflatables.
Choose a size that you’ll actually keep in the vehicle. A compressor stored at home can’t help during a roadside pressure issue.
Power and Inflation Speed
A compressor with steady airflow saves time and reduces strain on the motor. Larger tires often take longer to fill, even when the target PSI looks similar. Check the duty cycle in the manual so you know how long the unit can run before resting.
| Tire Type | Typical Pressure Range | Suggested Compressor Strength |
|---|---|---|
| Bike | Varies widely by tire | Low to medium |
| Car | Often around 30 to 35 PSI | Medium |
| SUV | Often higher than many cars | Medium to high |
Use these ranges only as a general guide. Your vehicle label remains the pressure source you should follow.
Features and Accessories
If you want a compressor for roadside emergencies and regular maintenance, prioritize clear controls and tough fittings. A built-in pressure gauge, preset pressure control, and automatic shutoff can make inflation easier. Multiple nozzles help you use the same pump for bikes, balls, and small inflatables.
- Choose a compact body: It should store easily and deploy fast.
- Use a readable gauge: Digital gauges can help in low light.
- Pick automatic shutoff: It helps stop inflation near your set PSI.
- Check the nozzle kit: Adapters add value for non-tire uses.
Choose models with durable hoses, stable bases, and simple buttons. Those details matter when you use the compressor on the roadside.
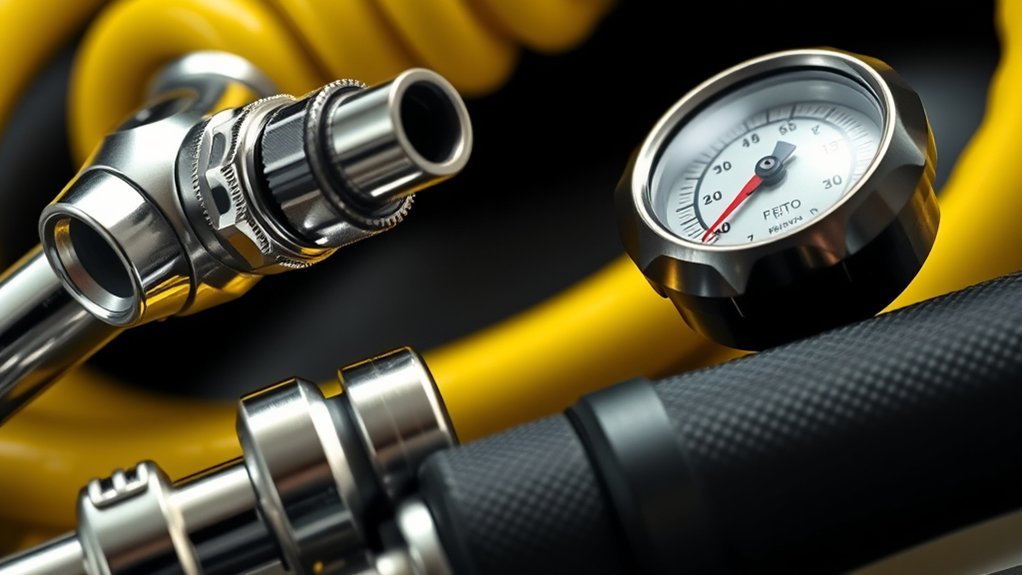
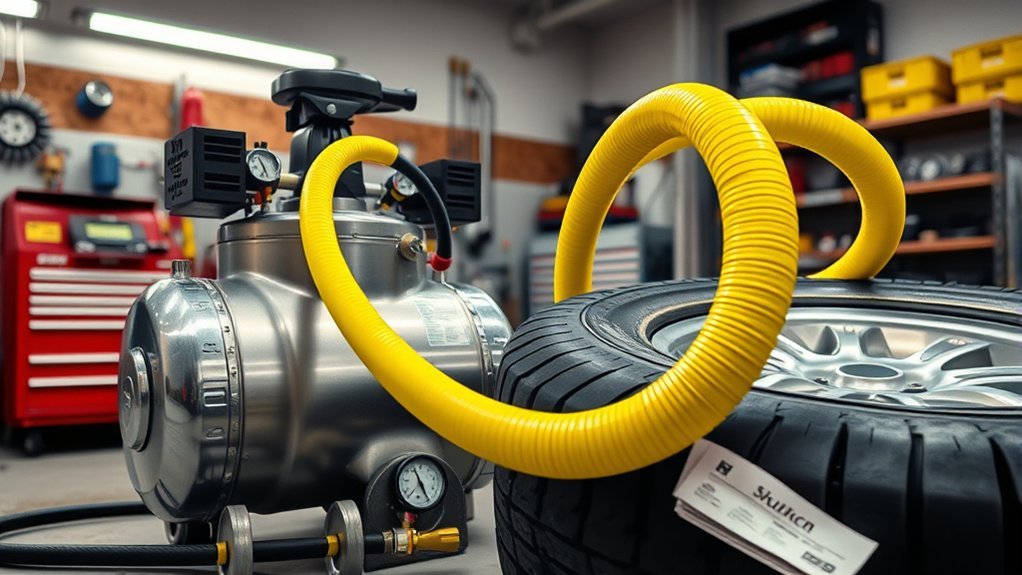
Hose and Fittings: Create a Leak-Free Connection

Leaks waste time and can make your pressure reading less accurate. Attach the hose and tire chuck firmly before you turn on the compressor. If your compressor uses threaded fittings, check the manual before adding thread seal tape.
Many portable tire inflators come with fixed hoses and do not need extra fittings. Larger shop compressors may use quick-connect couplers, separate hoses, and tire chucks.
| Component | Action | Check |
|---|---|---|
| Threaded fitting | Tighten as directed | No visible gaps |
| Quick-connect plug | Seat fully in coupler | Firm lock |
| Female coupler | Pull sleeve back and release | Smooth connection |
| Tire chuck | Press or lock onto valve | No hissing sound |
Attach the tire chuck to the valve stem and listen for airflow leaks. If you hear a hiss, stop and reseat the chuck. A tight connection helps you fill the tire faster and with better control.
Prep the Compressor: Tank, Regulator, and PSI Settings
Before you inflate the tire, inspect the compressor and confirm it can run safely. If your compressor has a tank, close the tank drain valve before you power it on. Let the compressor build pressure until it reaches its normal shutoff point.
- Close the drain valve: Check the bottom of the tank before pressurizing it.
- Inspect the cord and hose: Look for cracks, cuts, loose plugs, or damaged fittings.
- Power the compressor: Let a tank model reach its automatic shutoff pressure.
- Set the regulator: Use enough output pressure for flow, then control final tire PSI with the gauge.
For small tire inflators, set the target PSI if the unit has preset controls. For larger compressors, keep the regulator controlled and watch the tire pressure gauge closely.
Fill the Tire: Step-by-Step Inflation and Rechecking
Follow the steps in order so you can fill the tire without overdoing it. Work slowly as the tire gets close to the target pressure. Do not leave the compressor running unattended.
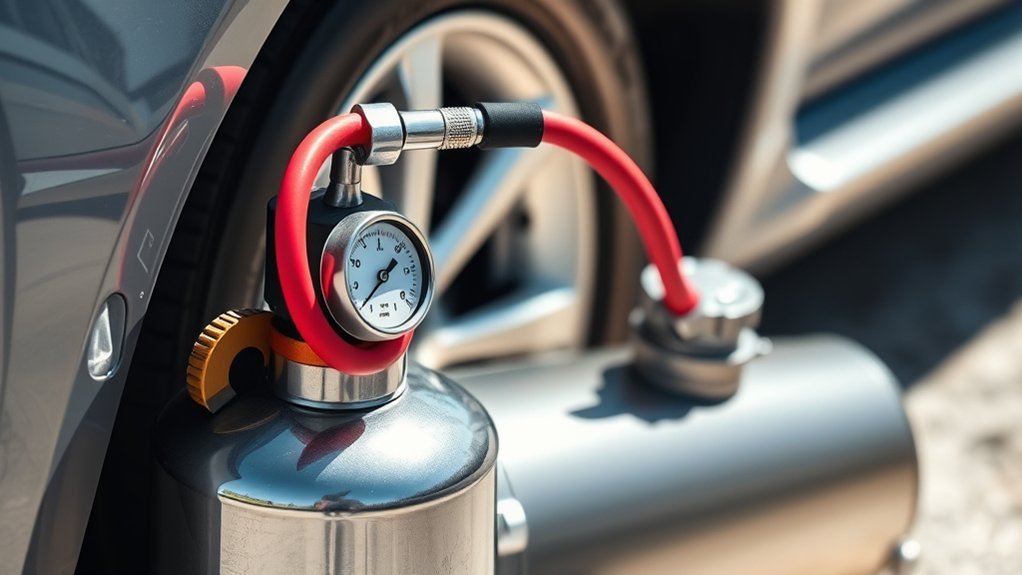
- Remove the valve cap: Place it in your pocket or near the tire so you don’t lose it.
- Attach the chuck: Press or lock it onto the valve stem until you get a firm seal.
- Start the compressor: Watch the gauge as pressure rises.
- Pause and recheck: Stop inflation before the target and confirm pressure with a gauge.
- Add short bursts: Fill in small amounts until you reach the recommended PSI.
- Remove the chuck: Pull it off quickly and straight to reduce air loss.
- Replace the cap: Tighten the valve cap by hand to keep dirt away from the valve.
- Check again: Recheck pressure after a minute if accuracy matters for a long trip.
If you exceed the target, press the valve core briefly to release air. Recheck after each small release. This careful method keeps pressure close to the number on your vehicle label.
Troubleshooting Common Inflation Problems
If your compressor or tire won’t cooperate, troubleshoot one issue at a time. Start with power, then check the hose, chuck, valve stem, and gauge. This order helps you avoid replacing parts before you find the real problem.
- Check power first: Confirm the plug, outlet, switch, fuse, or battery charge.
- Inspect the chuck seal: Reattach it if air escapes around the valve stem.
- Confirm the regulator setting: Raise output pressure if a tank compressor does not push air.
- Look for hose leaks: Listen for hissing and inspect fittings while the unit runs.
- Check the valve stem: Replace or service it if it looks cracked, bent, or blocked.
- Let the unit cool: Stop if the compressor feels too hot or the manual calls for rest time.
If the tire keeps losing air after inflation, the tire may have a puncture, bead leak, or valve problem. Have a tire shop inspect it before you rely on it for a long drive.
Safety Tips and Routine Compressor Maintenance
Good maintenance keeps the compressor ready when you need it. Inspect hoses and fittings before each use. Replace any hose with cuts, bulges, exposed reinforcement, or damaged threads.
Keep the unit clean and free of dust so it can cool properly. Check oil levels on oil-lubricated models and change oil as the manual directs. Store the compressor in a dry, cool place to reduce rust and electrical damage.
Use a simple maintenance log with the date, inspection notes, parts replaced, and oil changes. This habit helps you spot patterns before the unit fails during an urgent tire fill.
Choose a Tire Compressor: Size, CFM, Power, and Accessories
Your tires and use case determine the right compressor. A small portable unit works for occasional car tire top-offs. Larger tires, repeated fills, or off-road use may call for more airflow and a longer duty cycle.
Cubic feet per minute (CFM) measures airflow. Higher CFM can fill larger tires faster, but it often comes with more size, noise, and cost. Match the compressor to your largest tire and how often you’ll use it.
Match compressor size, CFM, power source, and accessories to your tires and usage for faster, safer inflation.
- Match the size: Pick portable for routine car use and larger capacity for trucks or recreational vehicles.
- Check CFM: Choose airflow that supports your largest tire without long wait times.
- Choose the power source: Use electric for garages, 12-volt for roadside use, and gas only where ventilation allows.
- Review accessories: Get a quality tire chuck, durable hose, accurate pressure gauge, and regulator.
Note: Gas-powered compressors must run outdoors because exhaust fumes can be dangerous in enclosed spaces.
Frequently Asked Questions
How Does a Tire Air Compressor Work?
A tire air compressor uses a motor and pump to compress air and push it through a hose. When you connect the chuck to the valve stem, the compressor sends air into the tire until it reaches the target pressure.
How Do You Use an Air Compressor on a Tire?
Check the tire pressure label on the driver-side door jamb, then attach the chuck securely to the valve stem. Start the compressor, monitor the gauge, stop at the recommended PSI, and recheck pressure with a tire gauge.
What Is the Difference Between a Tire Inflator and an Air Compressor?
A tire inflator is usually smaller and designed mainly for topping off tires. A larger air compressor may include a tank, regulator, and enough airflow for tires, tools, and other garage tasks.
What Are the Disadvantages of Tire Inflators?
Small tire inflators can fill slowly, heat up during long use, and struggle with large tires. Some also have short hoses, short power cords, or gauges that need a second gauge for confirmation.
Can You Use a Tire Compressor When the Tire Is Hot?
You can add air if the tire looks dangerously low, but hot pressure readings can be higher than cold readings. For routine checks, measure pressure when the tires are cold and adjust to the door-label PSI.
Why Does My Tire Lose Air After I Fill It?
A tire that loses air may have a puncture, damaged valve stem, rim leak, or poor bead seal. Refill it only as a short-term step and have the tire inspected if pressure keeps dropping.
Final Thoughts
A tire compressor gives you more control over one of the simplest safety checks on your vehicle. Start with the PSI label, connect the chuck firmly, and fill the tire in careful steps. Recheck the pressure before you drive, especially before a long trip.
Keep the compressor clean, dry, and ready in your vehicle or garage. A few minutes of tire care can help protect handling, tread life, and everyday driving confidence.