
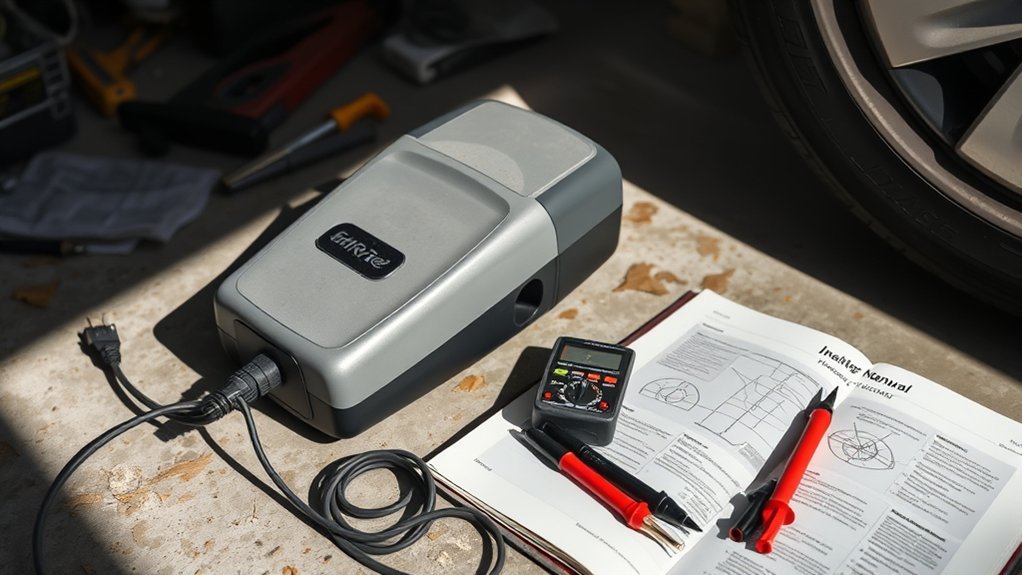
If your tire inflator won’t turn on, start with power. Plug it into a known-good outlet or 12V cigarette lighter, check the cord and battery, and inspect fuses or breakers. Then test the switch and internal wiring with a multimeter and listen for motor noise. If it overheated, let it cool and reset the thermal protection if your model has it. If repairs look expensive, compare repair vs replacement and check the warranty.
Quick Answer
- Confirm the power source works (try a different outlet or 12V socket).
- Inspect the cord, plug, and connections for damage, looseness, or corrosion.
- Check and replace any blown fuses (in the inflator plug, the unit, or the vehicle circuit) with the specified type.
- For cordless models, charge the battery fully and make sure it’s seated correctly.
- Let the unit cool for 15-30 minutes if it may have overheated, then try again and reset if your model has a button.
- If power checks out but it still won’t start, test the switch and wiring with a multimeter, then consider warranty, repair cost, or replacement.
Quick Fixes If Your Tire Inflator Won’t Turn On
If your tire inflator won’t turn on, confirm it’s getting power first. Plug it into a known-working outlet or cigarette lighter, then test that same power source with another device. After that, work through the basics in order: power source, cord, fuses, battery (if cordless), and then the switch.
Inspect the power cord for visible damage, like frays, cuts, or crushed spots that can break the circuit. If the cord looks fine, check for blown fuses in the inflator or the vehicle circuit and replace them according to the manual. For cordless units, confirm the battery is charged, seated properly, and free of corrosion.
If the unit still won’t respond, test the power switch for continuity. A failed switch can stop operation completely and usually needs replacement. Also check whether thermal overload protection has tripped. Let the unit cool for 15-30 minutes before retrying.
Keep these tools handy: a multimeter, spare fuses, and a replacement switch or cord if necessary.
Test Power and Electrical Connections (Cords, Fuses, Battery)
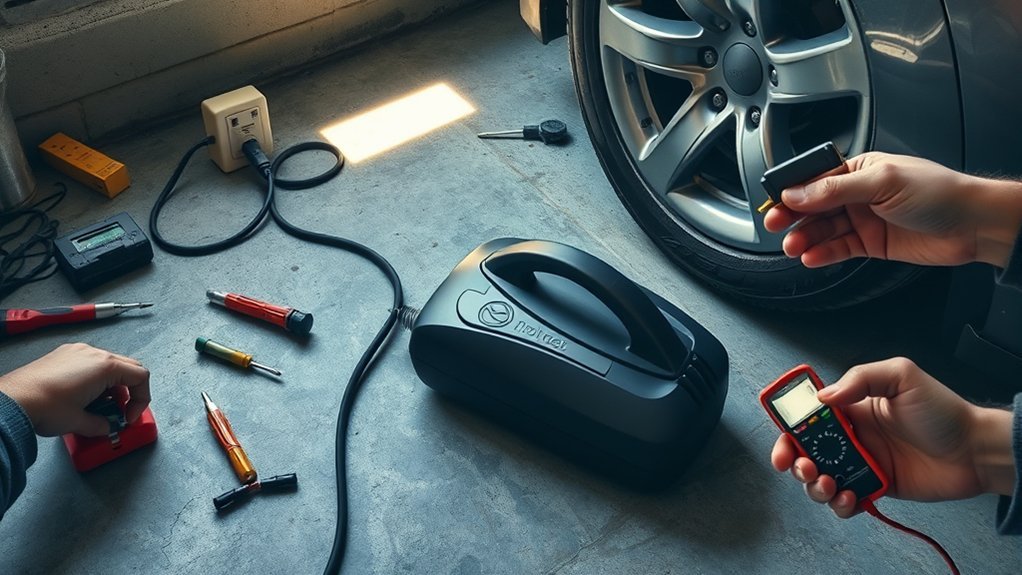
After you’ve confirmed the outlet or 12V socket works, test the rest of the power path step by step to find where electricity is being lost. Start with a close look at the power cord and plug. Frayed insulation, kinks, or cuts can stop the inflator completely.
Next, check for tripped breakers or blown fuses and reset or replace them as needed. Many inflators also have a fuse in the 12V plug or inside the unit.
Use a multimeter to test voltage and continuity on the cord, internal fuse, and leads. If you’re rusty on continuity testing, this guide to continuity testing with a multimeter is a clear refresher. For cordless models, inspect the battery for swelling, corrosion, poor contact, and low charge. Replace a damaged battery. If an internal fuse fails the test, replace it with the specified type.
This approach removes guesswork and helps you zero in on the real fault.
- Inspect cords for frayed wires or cuts
- Test outlet with another device
- Check fuse box for blown fuses
- Use multimeter on internal fuse and leads
- Inspect and replace damaged battery
- Allow 15-30 minutes cooling if overheated
[Products Worth Considering]

LED Indicator: Cigarette plug features a built-in high-brightness LED indicator that automatically illuminates when powered on. This allows you to visually monitor the power status, to avoid the need for repeated plugging and unplugging tests, and enhances your ability to use it conveniently

Package Contents: 2x Car Cigarette Lighter Power Plug DC Adapter
![[1PACK] 12Volt Replacement Cigarette Lighter Male Plug with Leads - Car Adapter Dc Battery Charger Kit Connectors Cigar Plugs Power Supply Accessories Heavy Duty Cord Auto Cable Led Light 15Amp](https://m.media-amazon.com/images/I/41TR+sTL+HL._SL500_.jpg)
12V -24V Car Cigarette Lighter Male Plug to Bullet Female Terminal with Lead
Check Thermal Overload and Reset Protection
Many modern tire inflators have built-in thermal overload protection that shuts off the motor when it overheats. If your inflator was running for a long time or in hot conditions, this safety feature may have triggered.
Unplug the unit and let it cool fully for 15-30 minutes. On many models, that ends up being closer to 30 minutes. Some manuals spell this out clearly. For example, the VIAIR 450P user manual notes that the thermal overload protector can reset after the unit cools for about 30 minutes.
Some models also have a reset button (often red or black) near the power cord or on the motor housing. If yours does, press it after the unit has cooled. Check your user manual for the exact reset procedure. If the inflator repeatedly shuts off after short use, the motor may be failing or there may be a blockage that’s making it run too hot.
[Products Worth Considering]

【3x Faster Inflation Speed】This powerful tire inflator portable air compressor reaches up to 150PSI, equipped with a high-performance chip and high-power motor, it takes only 1 minute to increase tire pressure from 30PSI to 36PSI, or approximately 5 minutes to fully inflate a car tire (0-36PSI), this air pump for car tires operates efficiently and rapidly

[ Powerful Performance ] Modari tire inflator portable air compressor is capable of delivering up to 160 PSI pressure. This portable tire inflator can deliver a 35LPM airflow, taking about 5 mins to air a 195/65R15 flat tire to 36 Psi. (Note: Actual needed time depends on your tire size and status) With this car tire inflator, you don't need to drive to a gas station to maintain your car, saving the hassle and time of driving out
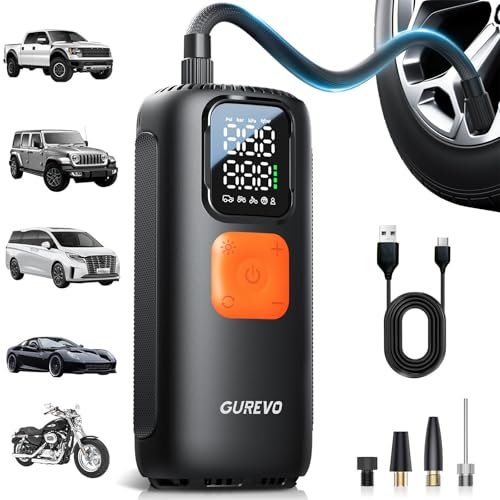
[FAST & EFFICIENT INFLATION] GUREVO tire inflator portable air compressor delivers powerful airflow up to 40L/min and a maximum pressure of 160 Psi. It can inflate your 205mm tire from 28 Psi to 35 Psi in just 1 minute. Supporting an ultra-wide pressure range of 2-160 Psi, this portable air pump handles everything from daily commutes and highway driving, off-roading, and even challenging weather condition (Note: Actual needed time depends on your tire size and status)
Inspect Switches, Motor, and Pump: Common Internal Faults
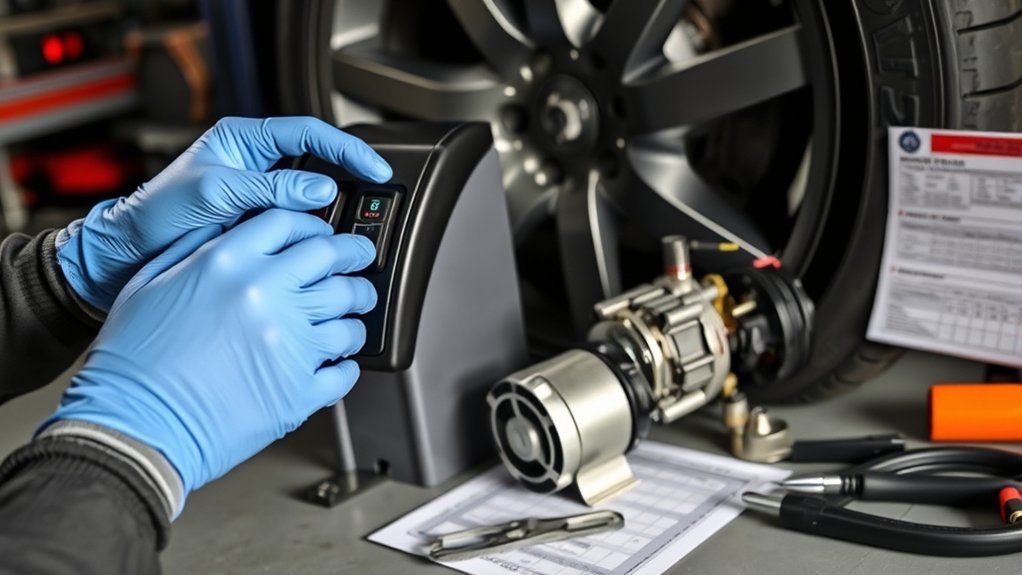
An internal check can save time. Look for obvious faults before you dig deeper. If you open the case, unplug the unit first and work carefully.
Inspect the power switch closely. If it’s cracked, loose, or feels inconsistent, it may not be making contact. Listen for any sound when you try to start the unit. A hum, buzz, or brief movement often points to motor or pump trouble. Also check for blockages in the air intake and exhaust that can strain the motor.
Look over wiring and the circuit board for loose connectors, burnt spots, or damaged traces. Finally, confirm the pump isn’t jammed or damaged.
- Look for cracked or loose switch parts
- Note humming, buzzing, or stalled motor noise
- Clear debris from intake and exhaust
- Tighten loose wires and inspect boards
- Confirm pump components for damage or obstruction
Systematic inspection helps you find the specific fix and avoid replacing parts you don’t need.
Repair vs Replace: Costs, Warranty Steps, and Next Actions
Once you’ve ruled out simple switch, motor, or pump faults, weigh repair versus replacement based on cost, warranty status, and reliability. Typical repair costs:
- Fuse replacement: $2-5
- Power cord: $10-20
- Battery (cordless): $15-30
- Switch: $8-15
- Motor: $40-70 (often not worth it)
- New inflators: $25-150
If a repair is more than about half the price of a new unit, replacement is usually the better call. If the inflator has a history of repeated issues, replacement also tends to be the more reliable option.
Check your warranty. Many inflators come with a one to two-year limited warranty. Have the purchase date, model number, and receipt ready before contacting customer support. They can tell you whether the issue qualifies for repair or replacement and what steps to follow.
If you’re out of warranty, get a repair estimate and compare it to the current price of a similar new inflator. Include shipping and labor if they apply. Choose the option that gets you back to a reliable, safe unit.
[Products Worth Considering]

Please Note: This product must be powered by a 12V DC Cigarette Lighter to function properly, and ensure the vehicle is in a running state. And it equipped with a 9.8-foot cord, which can meet the usage needs of most regular-sized vehicles.

ADVANCED TRUEGAUGE SCREEN: This battery tire inflator includes updated sensor technology, capable of collecting pressure data from tire inflators at a frequency of 200 times per second. Its valid data rate is higher than 80%, which is 60% better than the market average. Wherever you go, accurate readings help you drive safely.

[Fast & Efficient Inflation] The OlarHike tire inflator features a high-performance motor that delivers rapid airflow—inflate a standard car tire (195/65 R15) from 30 to 35 PSI(+5 PSI) in just 55 seconds, or a larger SUV tire (235/65 R17) from 30 to 35 PSI(+5 PSI) in only 2.2 minutes. Ideal for cars, SUVs, light Pickup(Within 51 PSI), motorcycles, bicycles, and sports balls. Important Note: The unit can only inflate car/pickup truck tires up to 51 PSI
Frequently Asked Questions
How to Reset a Portable Tire Inflator?
Unplug the inflator and wait 15-30 minutes for it to cool completely. Look for a reset button (usually red or black) near the power cord or motor housing and press it firmly. Reconnect the power and try starting the unit. If there’s no reset button, letting it cool and checking the fuse often resolves the issue. Consult your user manual for model-specific reset procedures.
Why Won’t My Portable Air Compressor Turn On?
The most common causes are: faulty power connection (40%), blown fuse (25%), dead or improperly seated battery (20%), tripped thermal overload protection (10%), or damaged power switch (5%). Start by testing the power source with another device, then inspect the cord, check fuses, verify battery condition, allow cooling time, and test the switch with a multimeter.
Is There a Reset Button on an Air Compressor?
Many portable tire inflators have a thermal overload reset button, typically red or black, located near the power cord entry or on the motor housing. Not all models have an external reset button; some reset automatically after cooling. Check your user manual or look for a small button labeled “RESET” or with a circular arrow symbol. Press it after the unit has cooled for at least 15 minutes.
What Would Cause an Air Compressor to Not Turn On?
Common causes include: no power to the outlet, damaged power cord, blown internal or external fuse, dead or corroded battery (cordless models), tripped thermal overload protection, faulty power switch, damaged motor, or loose internal wiring. Test each component systematically starting with the power source and working through to internal components.
Conclusion
If your tire inflator won’t turn on, start with the basics: the power source, cords, and fuses, then check thermal overload protection. If electrical checks pass, inspect the switch, motor, and pump for wear, blockages, or loose connections. Small repairs like a fuse or switch replacement are usually quick and inexpensive. Major motor or control-board faults often mean replacement makes more sense.
Work through the steps one at a time, note what you find, and choose repair only when the cost and warranty situation make it worthwhile.


Leave a Reply