To replace the shocks and struts on your Toyota RAV4, start by gathering essential tools, like a 14 mm and 22 mm socket, impact wrench, and spring compressor. Jack up your vehicle, remove the wheels, and disconnect the ABS wire and sway bar link. Carefully unhook the strut, using a spring compressor to replace the spring. Install the new strut, ensuring proper orientation, and secure all components. Finally, check your alignment for peak performance and handling. Ready for the next steps?
Gather Tools and Prepare Your RAV4 for Strut Replacement
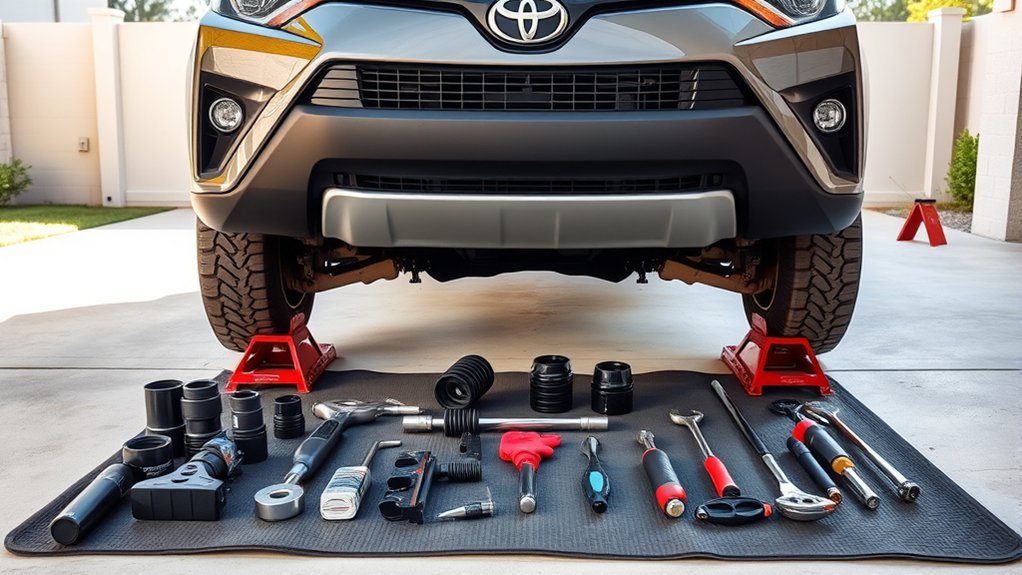
Before you begin replacing the struts on your Toyota RAV4, you’ll need to gather the necessary tools and prepare your vehicle. Start by jacking up your RAV4 and removing the wheels, which provides you with effective access to the struts and shocks. Essential tools include a 14 mm socket for disconnecting the ABS wire and a 22 mm socket for the bolts securing the strut to the steering knuckle. An impact wrench can help loosen stubborn nuts, especially when unhooking components like the sway bar link. Clear away any rust from the sway bar link, using vice grips if necessary. Finally, familiarize yourself with the three nuts on the top of the strut bearing plate, as they need loosening before strut removal.
Disconnect and Unhook Components for Easy Access
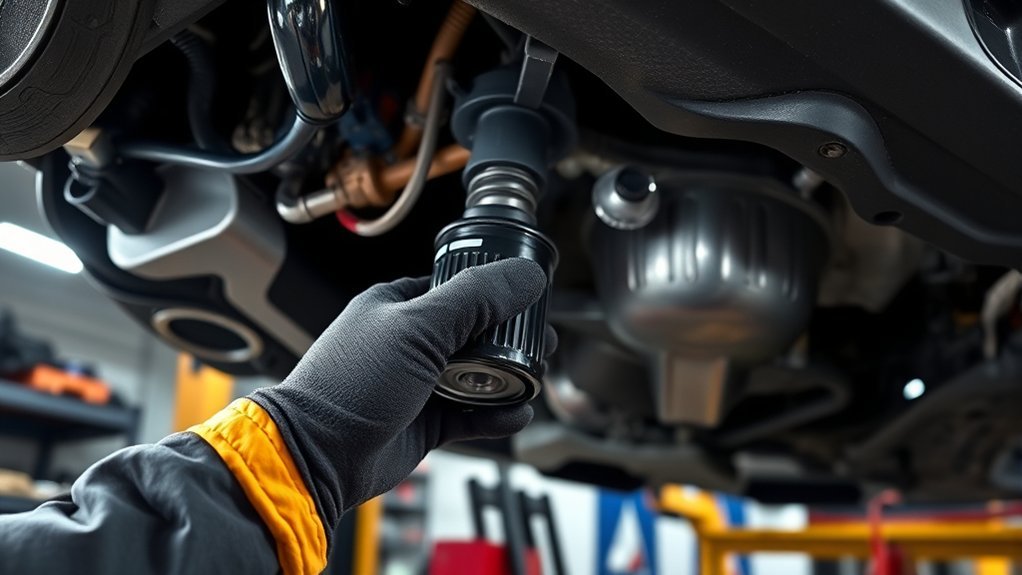
To guarantee a smooth strut replacement process, start by disconnecting and unhooking components that can obstruct access. Begin with the sway bar link; you might need to clean rust from the components for easier removal. Use an impact wrench to shock the outer nut loose, securing it with a 6 mm Allen socket while removing the bolt. Next, disconnect the ABS wire with a 14 mm socket, ensuring it’s out of the way during strut installation. Remove the bolts holding the strut to the steering knuckle using a 22 mm socket, taking care not to yank the steering knuckle to avoid damaging the CV shaft. Set aside the ABS wire and brake hose for better access and to prevent damage.
Remove the Strut: Step-by-Step Guide
To remove the strut, you’ll need a few essential tools, including a 6 mm Allen socket, a 14 mm socket, and a wrench. Follow the step-by-step removal process to guarantee a smooth operation, starting with securing the vehicle and removing the wheels. Once you’ve unhooked the necessary components, you’ll be ready to extract the strut efficiently.
Necessary Tools Required
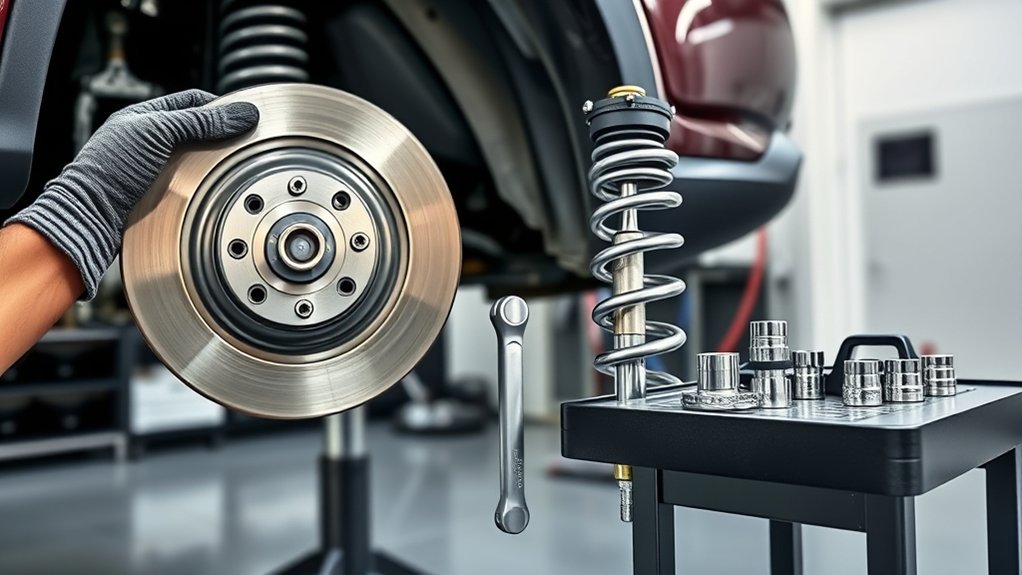
When replacing the struts on your Toyota RAV4, having the right tools on hand is vital for a smooth and efficient process. You’ll need a 14 mm socket to disconnect the ABS wire and to loosen the nuts on the strut bearing plate. A 22 mm socket is required to remove the bolts connecting the strut to the steering knuckle. It’s important to utilize a spring compressor to detach the spring from the strut safely; neglecting this can lead to dangerous situations. Make sure all components, including the sway bar link, are unhooked and secured. With these tools, you can effectively navigate the removal and replacement of your struts, guaranteeing safety and accuracy throughout the process.
Step-by-Step Removal Process
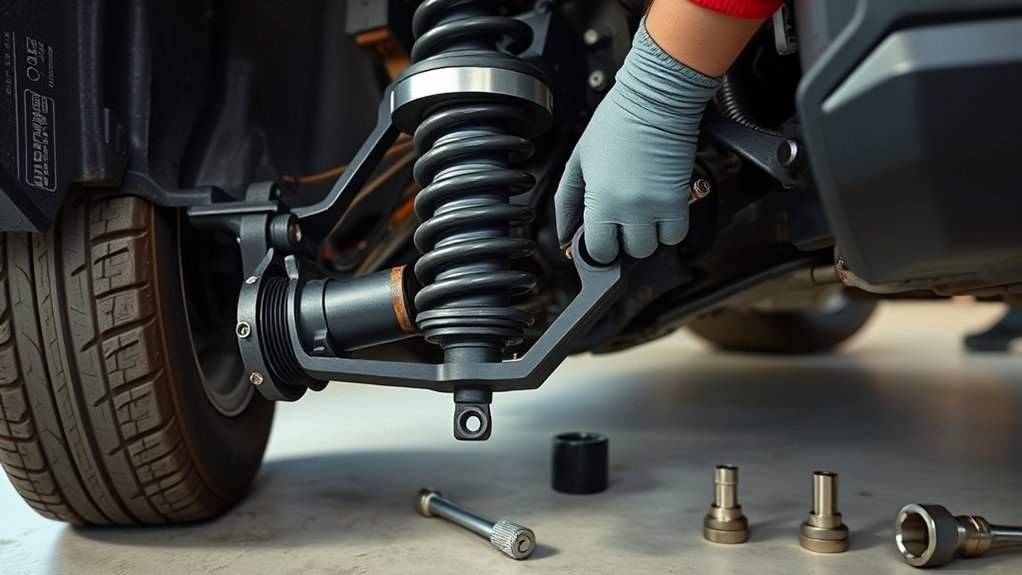
Removing the strut from your Toyota RAV4 involves several key steps that guarantee a safe and effective process. Start by jacking up the car and removing the wheels. Unhook the sway bar link and ABS wire for clear access. Use a 14 mm socket to loosen the three nuts on the strut bearing plate, removing the rear two nuts completely before the front one. Carefully slide the strut out, avoiding forceful pulling on the steering knuckle. Clean the area before replacing the strut cartridge and spring, using a spring compressor for safety. Finally, reinstall the strut by reversing the removal process, ensuring all components are securely fastened.
| Step | Description |
|---|---|
| Prepare | Jack up car, remove wheels |
| Loosen nuts | Use 14 mm socket |
| Slide out strut | Avoid damaging the CV shaft |
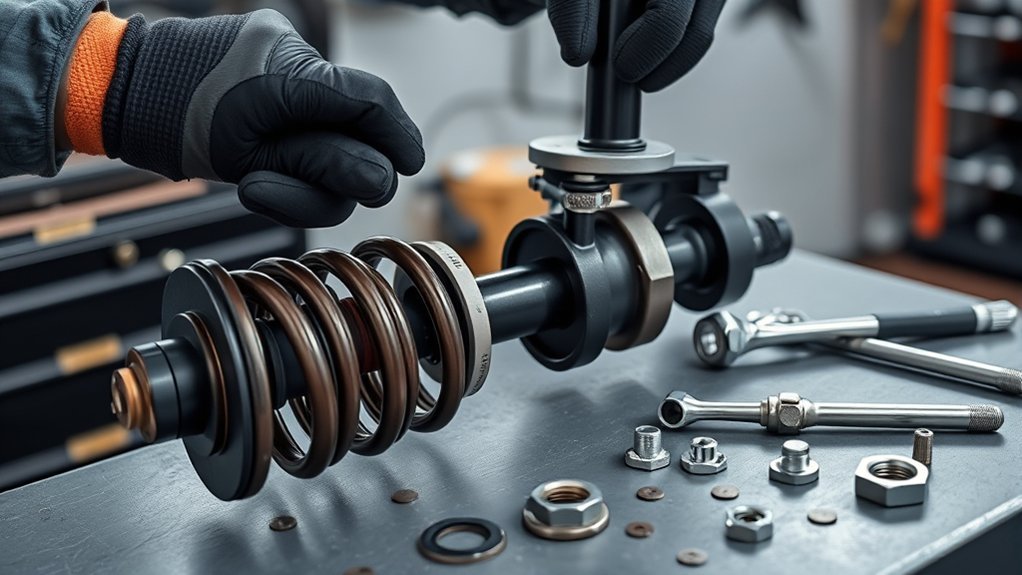
Remove and Replace the Spring Using a Compressor
While handling the strut assembly, it’s essential to use a spring compressor to safely remove and replace the spring. Begin by securely attaching the spring compressor to the spring, guaranteeing it’s evenly positioned. This step is vital to prevent accidents when applying pressure. Once secured, gradually compress the spring, relieving tension on the strut assembly. If you don’t have a spring compressor, consider renting one from a local auto parts store or taking the assembly to a professional for spring swapping. Always adhere to the manufacturer’s guidelines and safety precautions during this process. Before reassembling, inspect the new strut and confirm the spring’s correct orientation to guarantee proper suspension function.
Properly Install the New Strut for Replacement
To properly install the new strut, guarantee it’s oriented correctly with the strut bearing plate aligned for free rotation. Secure all fasteners, starting with the rear nuts on the bearing plate before moving to the front. Double-check that each component, including the ABS wire and brake hose, is correctly connected and tightened.
Align Strut Correctly
Aligning the strut correctly is essential for guaranteeing proper vehicle handling and safety. Begin by orienting the new strut to match the markings on the strut bearing plate; this prevents installation errors. Carefully slide the strut into the steering knuckle, making certain it fits snugly to avoid damaging the CV shaft. When tightening the strut nut, adhere to the specified torque to prevent over-torquing, which can cause premature failure. Reattach the top three nuts on the strut bearing plate in the correct sequence, starting with the rear two before securing the front nut for peak stability. After installation, double-check that all components, including the ABS wire and brake hose, are securely fastened to guarantee proper operation.
Secure All Fasteners
Securing all fasteners is essential for a successful strut replacement, guaranteeing your vehicle operates safely and effectively. Start by checking that all nuts and bolts are securely tightened to the manufacturer’s specified torque values. This prevents loosening during driving. Ascertain the strut is oriented correctly, matching the old strut’s alignment to maintain proper vehicle handling. Reconnect the ABS wire and brake hose, making sure they’re securely fastened to avoid interference with suspension components. After reinstalling the strut, replace all small components, such as wire clips, to maintain a complete assembly. Finally, conduct a thorough inspection of the installation area to confirm no tools or parts are left behind and that all fasteners are accounted for.
Step-by-Step Reassembly of Strut and Related Components
Reassembling the strut and related components requires careful attention to detail to ascertain peak performance. Follow these steps for a successful installation:
- Verify the ABS wire and brake hose are securely connected to their original positions.
- Align the strut with the steering knuckle and secure it using a 22 mm socket for the lower connection and a 14 mm socket for the upper bearing plate nuts.
- Tighten the top strut nuts in sequence, starting with the rear two to prevent misalignment, and avoid over-torquing.
- Reattach the sway bar link using a 6 mm Allen socket, holding it steady while tightening the outer nut.
Finally, inspect all connections and confirm the strut bearing plate rotates freely, ensuring no small components are overlooked.
Make Sure Your Alignment Is Spot on After Installing Struts
Once you’ve replaced the struts on your Toyota RAV4, checking the alignment becomes essential to guarantee optimal handling and tire longevity. Misalignment can cause uneven tire wear, reducing your tires’ lifespan by up to 25%. To maintain ideal performance, it’s vital to adjust the camber, toe, and caster angles to factory specifications. This process stabilizes your vehicle, ensuring it handles predictably and enhances safety. You should particularly prioritize a wheel alignment after any suspension work, including strut replacement. Many shops offer alignment services with digital readouts that provide before and after measurements, giving you peace of mind. Remember, proper alignment not only improves your driving experience but also protects your investment in tires and enhances overall vehicle performance.
Common Strut Replacement Challenges and Solutions
While tackling strut replacement on your Toyota RAV4, you may encounter several common challenges that can complicate the process. Here are some issues and solutions to keep in mind:
- Rusted sway bar links: Clean or use an impact wrench to loosen stubborn nuts effectively.
- Holding the steering knuckle: Make sure you do this carefully to prevent damage to the CV shaft, which can lead to costly repairs.
- Spring compressors: Use them properly, or consider renting from auto parts stores, as improper use poses safety risks.
- Alignment checks: Conduct these post-installation to confirm proper vehicle handling and avoid uneven tire wear.
Addressing these challenges will help streamline your strut replacement process and guarantee your RAV4 performs at its best.
Frequently Asked Questions
Can I Replace Shocks and Struts Myself?
Yes, you can replace shocks and struts yourself. With basic mechanical skills, the right tools, and safety precautions like using a jack and spring compressor, you’ll successfully tackle this DIY suspension project.
How Much Does It Cost to Replace Shocks and Struts on a Toyota RAV4?
Expect RAV4 maintenance costs for replacing shocks and struts to range from $600 to $1,200, influenced by shock absorber pricing, labor rates, and necessary repairs, ensuring your vehicle maintains peak performance and safety.
How Long Do Struts Last on a Toyota RAV4?
When it comes to your RAV4’s struts, they typically last between 50,000 to 100,000 miles. Factors like driving conditions affect strut lifespan. Watch for wear signs and consider replacement frequency to guarantee peak performance.
What Year of RAV4 to Stay Away From?
You should stay away from the 2001 to 2007 RAV4 models due to poor reliability ratings and common issues like engine problems and excessive oil consumption. These factors make them less favorable in model comparisons.
Conclusion
Replacing the shocks and struts on your Toyota RAV4 might feel like preparing for a space mission, but with the right tools and guidance, it’s a manageable task. By following the outlined steps, you’ll not only enhance your vehicle’s handling and stability but also save money on labor costs. Remember to double-check your alignment afterward to confirm peak performance. With diligence and care, you’ll have your RAV4 riding smoothly in no time.