To replace the catalytic converter on your Toyota RAV4, you’ll need a 13 mm and 14 mm socket, along with an antiseize compound. Start by disconnecting the oxygen sensor. Then, remove the exhaust nuts and bolts. Clean all mounting surfaces thoroughly before installing the new catalytic converter. Make sure everything’s tightened to manufacturer specifications. Don’t forget to test the new converter’s performance after installation. Learn the detailed steps and troubleshooting tips to guarantee a successful replacement.
Tools Needed for Catalytic Converter Replacement
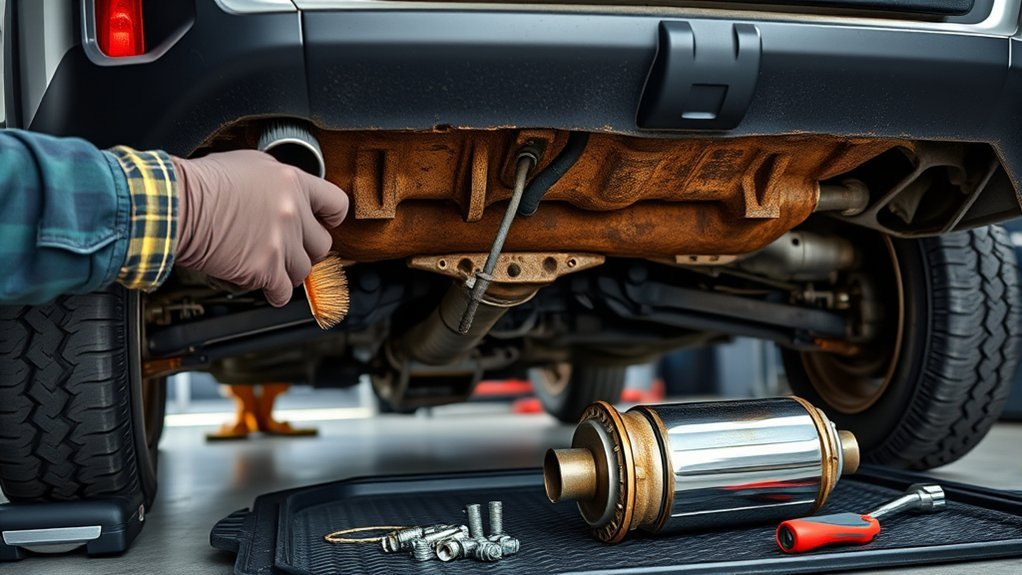
When you’re replacing a catalytic converter, having the right tools is vital for a smooth process. For your Toyota RAV4, you’ll need a 13 mm and a 14 mm socket to remove the exhaust nuts and bolts effectively. Before starting, make sure you disconnect the oxygen sensor to prevent damaging it during removal. Having cleaning supplies on hand is critical for guaranteeing all surfaces are clean for proper gasket sealing upon reinstallation. Additionally, using an antiseize compound on the threads of the bolts and nuts will facilitate easier disassembly in the future. Don’t forget to have a replacement catalytic converter and any necessary gaskets ready to avoid triggering the check engine light after the job is complete.
Understanding the Catalytic Converter’s Role
The catalytic converter is an essential component of your Toyota RAV4’s exhaust system, designed to minimize harmful emissions by converting toxic gases into less harmful substances. If you’re going to replace it, understanding its role is important. Here’s what you need to know:
The catalytic converter in your Toyota RAV4 reduces harmful emissions, making its understanding crucial for replacement.
- Chemical Reaction: The converter uses precious metals like platinum, rhodium, and palladium to facilitate reactions that reduce harmful emissions.
- Honeycomb Structure: This design increases surface area, enhancing the efficiency of emissions reduction.
- Oxygen Sensors: These sensors monitor the converter’s performance, ensuring it operates effectively.
A malfunctioning catalytic converter can lead to poor engine performance and increased emissions, triggering the check engine light. Understanding this role is essential as you prepare for your replacement.
How to Disconnect the Oxygen Sensor?
To disconnect the oxygen sensor, first, locate its connector, which is usually positioned either upstream or downstream of the catalytic converter. Use a 14 mm socket to unscrew the sensor carefully, applying penetrating oil if necessary to ease its removal. Once unscrewed, gently pull apart the connector from the wiring harness without using excessive force to avoid damage.
Locate Oxygen Sensor Connector
Locating the oxygen sensor connector is essential for disconnecting the oxygen sensor before replacing the catalytic converter. The oxygen sensor location is typically upstream of the catalytic converter, so you’ll need to access it carefully. Here are some maintenance tips to help you:
- Identify the Connector Type: Check if it’s a clip or a slide connector; knowing this helps in handling it properly.
- Ensure Engine Coolness: Always let the engine cool down before you start; this prevents burns and protects the sensor.
- Inspect for Damage: Look for any signs of wear on the oxygen sensor itself, as this can affect performance during reinstallation.
Disconnecting Procedure Steps
After locating the oxygen sensor connector, it’s important to follow a systematic procedure for disconnecting the sensor. First, make sure the vehicle is off and cool. Use a 22 mm or 7/8 inch oxygen sensor socket to carefully unscrew the sensor. Gently pull the connector apart without damaging the wiring. If you plan to reuse the sensor, inspect it for wear, as different oxygen sensor types can have varying sensor replacement frequency.
| Step | Action | Note |
|---|---|---|
| 1 | Turn off vehicle | Prevents burns/electrical issues |
| 2 | Unscrew sensor | Use the right socket |
| 3 | Disconnect connector gently | Avoid damaging wiring |
This method guarantees effective troubleshooting of oxygen issues, paving the way for a successful replacement.
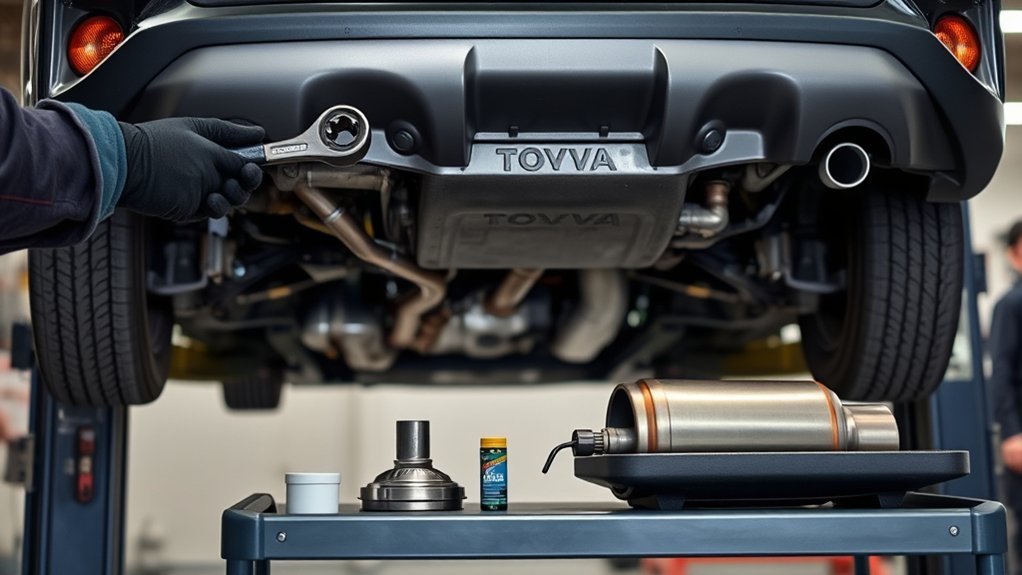
How to Remove the Exhaust Nuts and Bolts?
To remove the exhaust nuts and bolts, you’ll need 13 mm and 14 mm sockets for the job. Start by locating the five exhaust nuts and two bolts at the bottom of the exhaust system, and verify the oxygen sensor is disconnected for better access. Applying antiseize compound on the threads can also make future disassembly much easier.
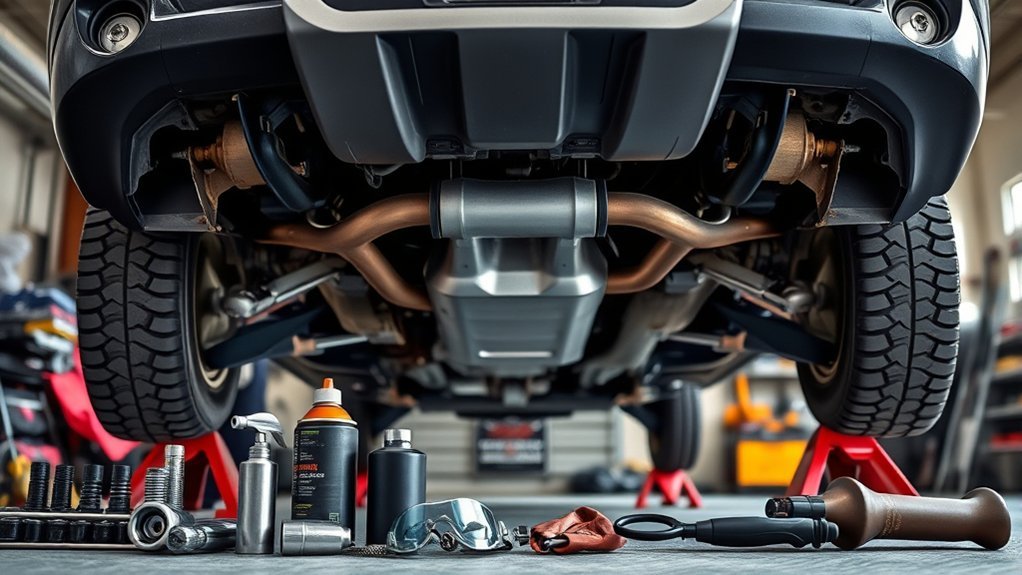
Required Tools Overview
When preparing to remove the exhaust nuts and bolts, you’ll need a few essential tools to guarantee a smooth process. First, make certain you have the right sizes for a proper fit:
- 13 mm socket – for most exhaust nuts.
- 14 mm socket – for the bolts at the bottom of the exhaust system.
- Antiseize compound – to apply on bolt threads for easy future disassembly.
Before you start, remember your safety precautions: disconnect the oxygen sensor to prevent damage. Avoid common mistakes by cleaning surfaces after removing the old catalytic converter. This maintenance tip guarantees a proper seal when installing the new one, facilitating a smoother operation in the long run.
Step-by-Step Removal Process
Before you begin the removal process, guarantee you’ve disconnected the oxygen sensor to prevent any damage. You’ll need 13 mm and 14 mm sockets to effectively remove the exhaust nuts and bolts. Start by loosening and taking off all five exhaust nuts and the two bolts located at the bottom of the catalytic converter.
Proper exhaust system maintenance is vital for maximizing your catalytic converter lifespan and minimizing environmental impact. After removal, clean the surfaces for a proper seal when installing the new unit. Consider applying an antiseize compound on the threads of the bolts and nuts for easier disassembly in future maintenance.
| Component | Action Required |
|---|---|
| Oxygen Sensor | Disconnect |
| Exhaust Nuts (5x) | Remove |
| Exhaust Bolts (2x) | Remove |
| Surfaces | Clean |
| Antiseize Compound | Apply on threads |
Tips for Easier Access
While preparing to remove the exhaust nuts and bolts, applying penetrating oil can greatly ease the process. This step is essential for effective exhaust system maintenance, ensuring you don’t damage the catalytic converter. Here are some tips for easier access:
- Disconnect the Oxygen Sensor: This prevents damage during removal and protects your emissions control technology.
- Use the Right Sockets: A 13 mm and 14 mm socket are typically used, ensuring you can effectively tackle the nuts and bolts.
- Consider an Impact Wrench: For stubborn fasteners, this tool can save time and reduce physical strain, ultimately supporting your catalytic converter lifespan.
Carefully clean surfaces post-removal to guarantee a proper seal with the new catalytic converter.
Cleaning and Preparing for New Installation
To guarantee a successful installation of your new catalytic converter, it’s essential to start with thoroughly cleaning all mating surfaces. This step guarantees proper gasket preparation, which is vital for exhaust leak prevention. Use a degreaser to remove any old gasket material and debris. If you’re reusing the metal gasket, clean it meticulously to avoid obstructions.
Next, apply an antiseize compound to the threads of bolts and nuts; this will facilitate easier future disassembly and prevent galling. Inspect the reusable oxygen sensor and clean its connector to confirm accurate readings after installation. Finally, double-check that all exhaust nuts and bolts are tightened to the manufacturer’s specifications, securing your catalytic converter for peak performance.
When to Reuse the Oxygen Sensor and Gasket?
When should you consider reusing the oxygen sensor and gasket during a catalytic converter replacement? Here are key points to guide your reuse considerations:
- Oxygen Sensor Lifespan: If the sensor shows no damage, corrosion, or functional issues upon testing, it’s likely safe to reuse.
- Gasket Integrity Inspection: Verify the metal gasket is cleaned thoroughly and exhibits no significant wear or deformation that could compromise sealing.
- Future Ease of Maintenance: Apply an antiseize compound on the oxygen sensor threads to facilitate easier future disassembly and prevent rusting.
Always check the performance of the reused oxygen sensor post-installation to confirm it supports effective catalytic converter operation. Following these guidelines can save you time and money while maintaining your vehicle’s efficiency.
Installing the New Catalytic Converter
Before installing the new catalytic converter, verify that all exhaust nuts and bolts from the disassembly are correctly aligned and secure. Begin by reconnecting the oxygen sensor, making sure it’s in good condition and properly seated to monitor emissions accurately. Depending on the catalytic converter types you’ve chosen, verify it meets emission standards for peak performance. If you cleaned the metal gasket correctly, you can reuse it for a tight seal between the catalytic converter and the exhaust system. Finally, reverse the removal steps to install the new catalytic converter, tightening all bolts and nuts to the manufacturer’s specifications. This careful exhaust system maintenance will help guarantee longevity and proper function of your vehicle’s emissions system.
Why Use Antiseize on Threads?

Using antiseize on threads is essential for maintaining the integrity of your vehicle’s exhaust system. The benefits of using antiseize include:
- Corrosion Prevention: It prevents rust and corrosion, ensuring easier disassembly of components.
- Heat Resistance: In high-temperature environments, it minimizes seizing due to thermal expansion.
- Extended Lifespan: Properly applied antiseize provides a lubricated interface, prolonging the life of threaded connections.
To apply it effectively, use a small amount on the threads and avoid excessive application, which can lead to improper torque and failure. Common mistakes include overusing the compound or neglecting to clean the threads beforehand. By following proper application techniques, you can maximize the benefits of antiseize in your exhaust system.
How to Test the New Catalytic Converter?
How can you make sure that your new catalytic converter is functioning properly? Start by monitoring the oxygen sensor voltage; it should stay below 0.5 volts during acceleration. If you notice it exceeds 0.8 volts, that’s a sign of rich mixtures, indicating proper catalytic converter types are essential for efficiency. Next, check the lambda readings, which should be close to one for effective catalytic conversion. After installation, verify the check engine light is off, confirming that your emissions control systems are working correctly. Finally, conduct a road test. Smooth acceleration without hesitation or unusual sounds suggests successful installation and effective exhaust system maintenance. This will confirm your new catalytic converter is performing as intended.
Troubleshooting Catalytic Converter Replacement Issues
When replacing a catalytic converter, you might encounter several issues that can complicate the process. Effective catalytic converter troubleshooting is crucial for a successful installation. Here are three common problems you may face:
- Stuck Exhaust Nuts and Bolts: Rust or corrosion can make removal difficult, so use penetrating oil and extra tools for leverage.
- Oxygen Sensor Connection: Verify the oxygen sensor is disconnected before removal; failing to do so can lead to damage and diagnostic trouble codes.
- Metal Gasket Condition: Clean the reusable gasket thoroughly for a proper seal to prevent exhaust leaks and maintain performance.
After installation, always check for any diagnostic trouble codes to confirm your new catalytic converter functions properly and guarantee ongoing exhaust system maintenance.
Frequently Asked Questions
How Much Does It Cost to Replace a Catalytic Converter on a Toyota RAV4?
Replacing a catalytic converter on your Toyota RAV4 typically costs between $1,000 and $3,000. Consider a cost breakdown of aftermarket options versus dealership pricing to find the best fit for your budget and needs.
Can I Replace My Catalytic Converter Myself?
Yes, you can replace your catalytic converter yourself. With basic DIY repairs skills, the right tools needed, and proper safety precautions in place, you’ll effectively tackle the task and save on labor costs.
Where Is the Catalytic Converter Located on a Toyota RAV4?
Underneath your Toyota RAV4, near the front exhaust manifold, the catalytic converter resides. Symptoms of failure may arise, signaling a need for replacement. For this, gather tools like wrenches and sockets before starting your journey.
Is It Worth Replacing a Bad Catalytic Converter?
Yes, it’s worth replacing a bad catalytic converter. Consider its lifespan, signs replacement’s needed, and the environmental impact. A new converter enhances vehicle performance and helps reduce harmful emissions, contributing positively to your overall driving experience.
Conclusion
Replacing the catalytic converter on your Toyota RAV4 can greatly improve your vehicle’s performance and emissions. Did you know that a faulty catalytic converter can reduce fuel efficiency by up to 40%? By following the steps outlined, you’ll not only save on repair costs but also contribute to a cleaner environment. Remember to regularly check your exhaust system to avoid future issues. With the right tools and knowledge, you can tackle this job confidently and effectively.