
To replace the battery in your Toyota Supra, start by parking on a flat surface and engaging the emergency brake. Disconnect the negative terminal first, followed by the positive. Remove any securing brackets and lift out the old battery. Clean the terminals before placing the new battery securely in its bracket. Connect the positive terminal first, then the negative, and check all connections. Don’t forget to register your new battery for peak performance. More important tips await you.
Signs Your Toyota Supra Battery Needs Replacement
If you notice your Toyota Supra struggling to start or the headlights dimming at odd times, it’s likely a sign your battery needs replacement. Diminishing battery performance manifests through longer crank times and difficulty starting the engine, which can signal an impending failure. Additionally, if you see electrical components faltering or the check engine light illuminating, these are critical indicators that your battery may not be supplying adequate power.
Unusual smells, particularly a rotten egg odor, suggest overheating or leaks—both serious issues that demand immediate attention. If your battery’s over three years old or has endured extreme weather conditions, it’s prudent to take into account replacement. Early intervention can save you from unforeseen breakdowns and guarantee your Supra remains responsive and reliable. Keep these signs in mind, and take action promptly to maintain your vehicle’s performance and longevity.
Preparing for the Battery Replacement Process
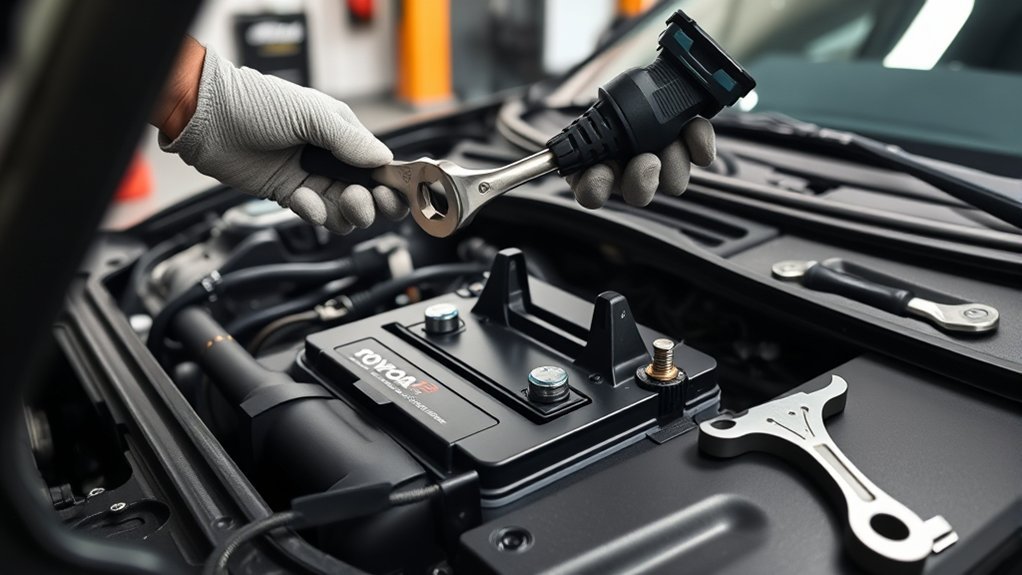
Before you start replacing the battery, make sure your Toyota Supra is parked on a flat surface with the emergency brake engaged. Put on safety gear like gloves and goggles to protect yourself from battery acid or sparks. Finally, gather the necessary tools, including a wrench or socket set and a terminal cleaner, for a smooth replacement process.
Safety Precautions First
Ensuring safety is essential when replacing the battery in your Toyota Supra, as improper handling can lead to serious accidents. Start by parking your vehicle on a flat surface and engaging the emergency brake to prevent rolling. Always wear appropriate safety gear, including gloves and goggles, to protect against battery acid and electrical sparks. Make sure the engine is off and the key is removed from the ignition to eliminate the risk of electrical shock. It’s also wise to review your owner’s manual for specific battery replacement guidelines and safety warnings related to your model. Finally, keep a fire extinguisher nearby to address any potential battery fires caused by short circuits or overcharging. Your safety is paramount!
Necessary Tools Checklist
Now that you’ve taken the necessary safety precautions, it’s time to gather the tools you’ll need for the battery replacement process. Start with your necessary tools checklist: confirm you have a socket set and wrenches to disconnect and secure the battery terminals. A battery terminal cleaner will help you remove any corrosion for a better connection. Keep a multimeter handy to check your new battery’s voltage, confirming it meets the required specifications. You’ll also need a torque wrench to properly tighten the battery terminals without over-tightening, which can damage connections. Finally, don’t forget terminal grease to apply after installation, preventing corrosion and enhancing longevity. Gather these tools, and you’re ready to proceed with confidence!
How to Remove Your Old Battery: Step-by-Step
Start by parking your Toyota Supra on a flat surface and engaging the emergency brake to guarantee stability. Next, put on your safety gear to ensure a safe working environment. Now, follow these steps to remove your old battery:
Ensure your Toyota Supra is parked securely and wear safety gear before beginning the battery removal process.
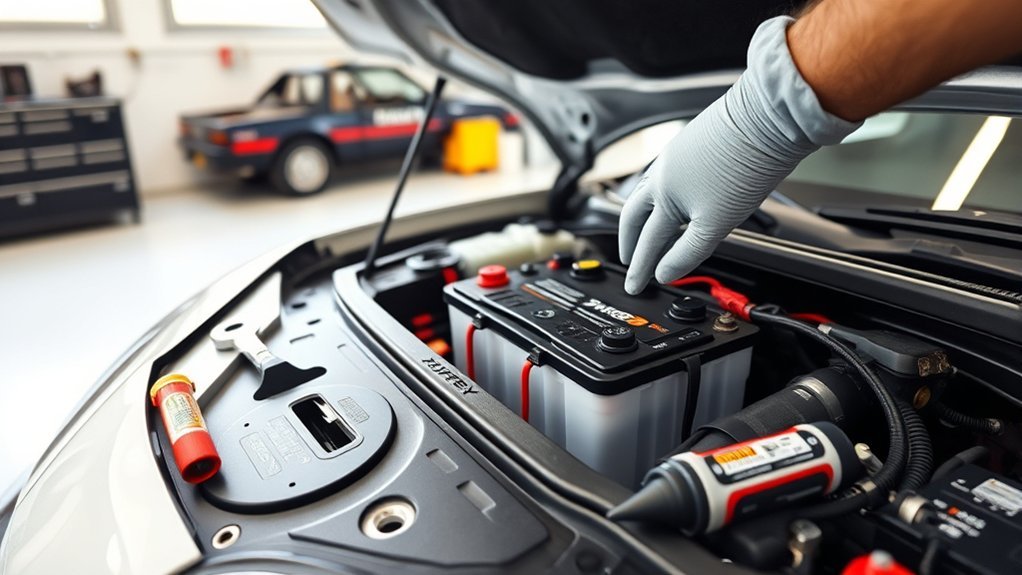
- Locate the battery in the engine bay’s front corner.
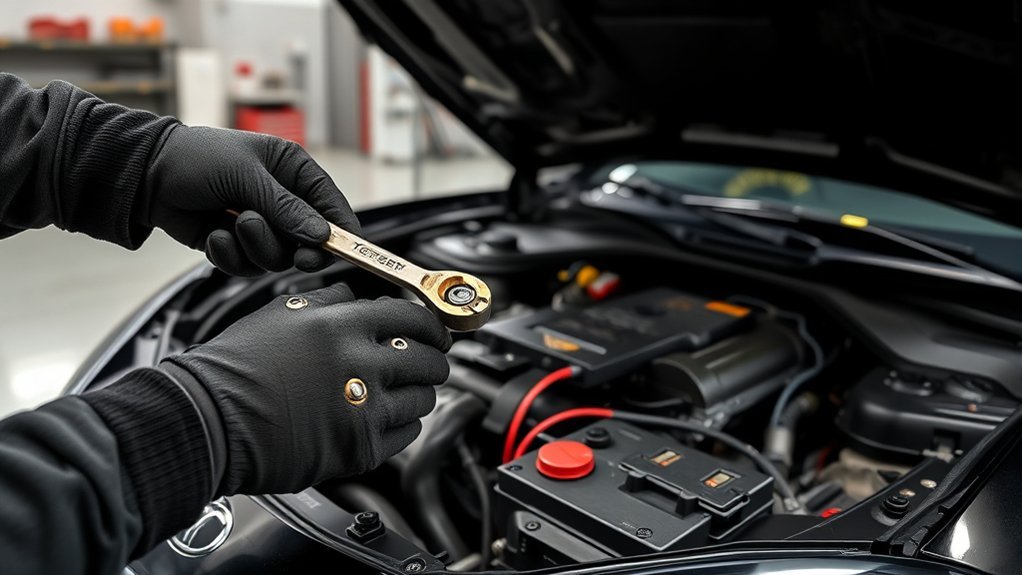
- Disconnect the negative terminal first to avoid sparks, then the positive terminal.
- Remove any securing brackets or straps before lifting the battery out.
Once the battery is free, take a moment to clean the battery terminals with a wire brush to remove any corrosion. This preparation is essential for the next step when you’ll replace the battery. Remember, handling the battery carefully is critical, as it contains hazardous materials. Following these instructions will make your battery removal process efficient and straightforward, setting you up for a successful replacement.
Installing Your New Battery in the Toyota Supra
When installing your new battery in the Toyota Supra, start by applying a thin layer of terminal grease to the battery terminals to prevent corrosion. Make certain the battery is securely positioned in its bracket and connect the positive terminal first, followed by the negative terminal to reduce the risk of short circuits. After connecting, double-check all terminals for tightness and cleanliness to guarantee peak performance.
Battery Terminal Connection Order
To guarantee a safe and efficient battery installation in your Toyota Supra, always connect the positive terminal first. This step minimizes the risk of short circuits during installation. Follow these essential steps:
- Identify the positive terminal, marked with a “+” symbol and usually red.
- Connect the positive cable securely, confirming a tight fit.
- Next, fasten the negative terminal, marked with a “-” symbol, typically black.
Once both terminals are connected, tighten the connections firmly to prevent power issues. Finally, apply a thin layer of terminal grease to the connections. This will help prevent corrosion and guarantee a longer-lasting battery performance. Your Toyota Supra will be ready to go, powered up for the road ahead!
Secure Battery Properly
Securing your new battery properly is essential for ideal performance and safety in your Toyota Supra. Start by positioning the new battery correctly within the bracket, ensuring it fits snugly to prevent any movement while driving. Use the provided battery hold-down clamp to fasten it securely in place. This step is vital; a loose battery can lead to electrical issues or even damage. After fastening, double-check that all connections are tight and that the battery is firmly mounted. This thorough check helps avoid any potential problems down the road. Once everything’s secured, you’re set for a smooth ride. Remember, a properly installed battery is key to enjoying the full potential of your Supra.
Apply Terminal Grease
Applying terminal grease is a crucial step in installing your new battery in the Toyota Supra. This protective barrier not only prevents corrosion but also guarantees a solid electrical connection. Here’s what you need to do:
- Apply a thin layer of terminal grease on both positive and negative terminals.
- Use non-conductive grease specifically designed for battery terminals.
- Avoid getting grease on the battery’s top or sides to prevent dirt accumulation.
After applying the terminal grease, connect the positive terminal first, followed by the negative terminal. This sequence maintains safety during installation. By taking the time to use terminal grease, you’ll prolong the life of your battery connections and enjoy a reliable performance from your Toyota Supra.
Why Registering Your New Battery Matters
Registering your new battery is vital for guaranteeing your Toyota Supra operates efficiently and avoids unnecessary complications. When you register, the vehicle’s ECU recognizes the battery’s characteristics, allowing for peak charging performance and prolonging its life. Selecting the correct battery type and amp rating during registration is essential for your vehicle’s electrical system to function properly.
Failing to register can lead to issues like reduced performance and the ECU not managing the battery charge effectively. You might also encounter frustrating warning messages, such as “check/replace battery,” on your dashboard after installation. Thankfully, tools like BimmerLink simplify the registration process, making it accessible even if you have minimal technical experience. By taking the time to register your new battery, you guarantee your Toyota Supra runs smoothly, providing you with the liberation and performance you desire.
Essential Tips for Extending Your Toyota Supra’s Battery Life
Maintaining your Toyota Supra’s battery life is just as important as registering a new one. To guarantee your battery performs at its best and lasts longer, follow these essential tips:
- Regularly check and clean battery terminals to prevent corrosion.
- Make sure the battery is securely mounted to minimize vibrations.
- Limit short trips, as they can hinder full charging.
Keeping your battery charged at appropriate levels is vital; both overcharging and deep discharging can drastically shorten its lifespan. If you plan to park your Supra for an extended period, consider using a battery maintainer or trickle charger. This helps maintain ideal charge levels and prolongs battery health. Implementing these practices will not only extend your battery’s life but also enhance your driving experience in your beloved Supra. Stay proactive, and your battery will reward you with reliable performance for years to come.
Frequently Asked Questions
How to Change Supra Battery?
To change your Supra battery, secure the vehicle, disconnect terminals, remove the old battery, and clean the connections. Install the new battery, ensuring proper terminal connection, and register it for ideal battery maintenance.
How to Replace a Battery Step by Step?
So, you think changing a battery’s like a magic trick? First, park safely, disconnect terminals, swap batteries, clean connections, and reconnect. Voila! Your battery maintenance skills just leveled up. Enjoy your newfound freedom!
How Do I Reset My Toyota After Replacing the Battery?
To reset your Toyota after replacing the battery, disconnect the negative terminal for 10-15 minutes. Reconnect it to clear stored codes. For best performance, consider using an OBD-II tool to register the new battery.
How to Change Toyota Supra Key Battery?
Changing your Toyota Supra key fob battery’s like releasing new potential. Pry open the fob, swap the old battery for a CR2032 or CR2025, ensuring the positive side’s up, then snap it back together securely.
Conclusion
To sum up, replacing your Toyota Supra’s battery isn’t a Herculean task, but it might feel like you’re wrestling a grizzly bear in a phone booth if you skip the steps. Once you’ve swapped out the old battery and registered the new one—because, yes, it’s a special occasion—your Supra will roar back to life like a caffeinated lion. Remember, a little care goes a long way; after all, you wouldn’t let your pet rock go neglected, would you?


Leave a Reply