A dead battery can stop your Toyota Supra at the worst time, but a safe jump start can get you moving again. Before you connect any cable, park a donor vehicle close to your Supra, turn off both vehicles, and check your owner’s manual for model-specific guidance. This guide walks you through the tools, cable order, startup steps, troubleshooting signs, and battery care tips you need.
Quick Answer
To jump start your Toyota Supra, park a donor vehicle close, but make sure the cars do not touch. Connect the red cable to the dead battery’s positive terminal, then to the donor’s positive terminal. Attach the black cable to the donor’s negative terminal, then clamp the other end to a clean metal ground point on the Supra. Start the donor vehicle, start your Supra, then remove the cables in reverse order.
Key Takeaways
- Use a charged donor vehicle or a portable jump starter that matches your Supra’s needs.
- Connect positive clamps first, then connect the final negative clamp to a clean metal ground point.
- Keep both vehicles off while you attach the cables, and turn off lights, radios, and accessories.
- Let the Supra run after it starts so the charging system can help restore battery power.
- Get the battery tested if your Supra needs frequent jump starts or still will not start.
What You’ll Need for Jump Starting Your Toyota Supra
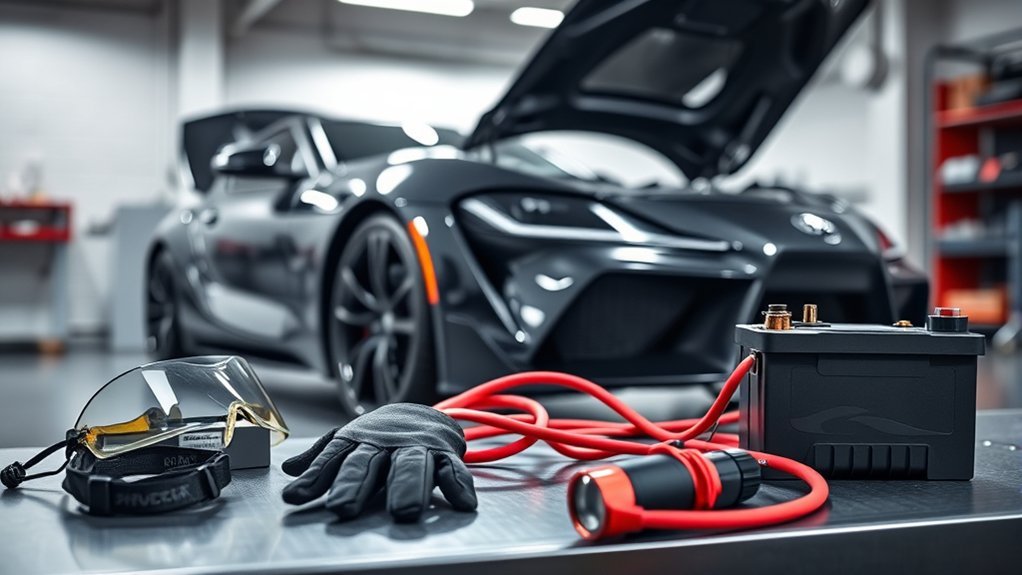
Before jump starting your Toyota Supra, gather the right tools and safety gear. You’ll need a second vehicle with a charged battery or a compatible portable jump starter. You’ll also need high-quality jumper cables with clean, sturdy clamps.
- Jumper cables or a charged portable jump starter
- Safety gloves and eye protection
- Your Toyota owner’s manual
- A clean, unpainted metal ground point away from the battery
Keep your Toyota owner’s manual nearby because battery location and jump-start points can vary by model year and trim. Before you start, make sure both vehicles sit on stable ground and do not touch each other.
Estimated time: A safe jump start usually takes about 10 to 20 minutes, including setup, startup, and cable removal.
Warning: Do not jump start a frozen, leaking, cracked, or visibly damaged battery because it can create a serious safety risk.
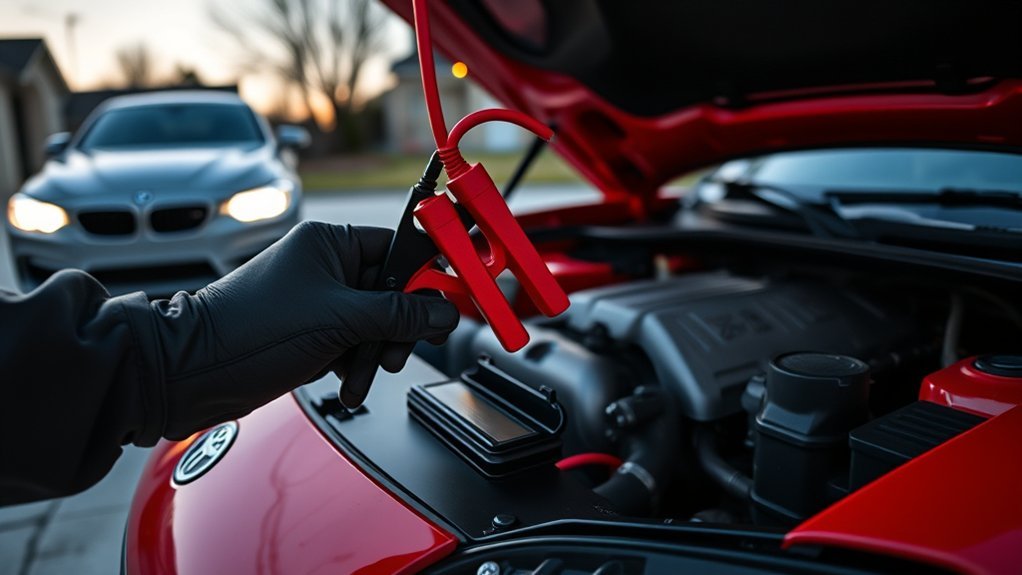
Step 1: Safely Park the Donor and Dead Vehicles
Park the donor vehicle close enough to the Toyota Supra so the jumper cables can reach both batteries without stretching. Keep the vehicles apart and make sure they do not touch. Shift both vehicles into Park, or Neutral for manual transmissions.
Turn off the engines, remove the keys if applicable, and switch off lights, radios, climate controls, and other accessories. This reduces the chance of electrical surges while you connect the cables.
Position Vehicles Close Together
Park the donor vehicle near the Supra, but leave enough space to work safely between both vehicles. The jumper cables should reach both batteries without pulling on the clamps.
Check that both parking brakes are set. A stable setup helps prevent movement while you work around the batteries.
Check Vehicle Safety Conditions
Before you touch the cables, confirm that both vehicles sit in Park or Neutral and that the parking brakes are engaged. Keep tools and jewelry away from the battery terminals.
Look for corrosion, loose cables, cracked battery cases, or signs of leaking fluid. If you see damage, stop and call a qualified technician or roadside service.
Turn Off All Electronics
Turn off lights, radios, chargers, heated seats, and other accessories in both vehicles. This helps protect sensitive electronics and gives the dead battery the best chance to accept a charge.
Put on gloves and eye protection before you connect the clamps. Car batteries can release gases, and clamps can spark if you connect them in the wrong order.
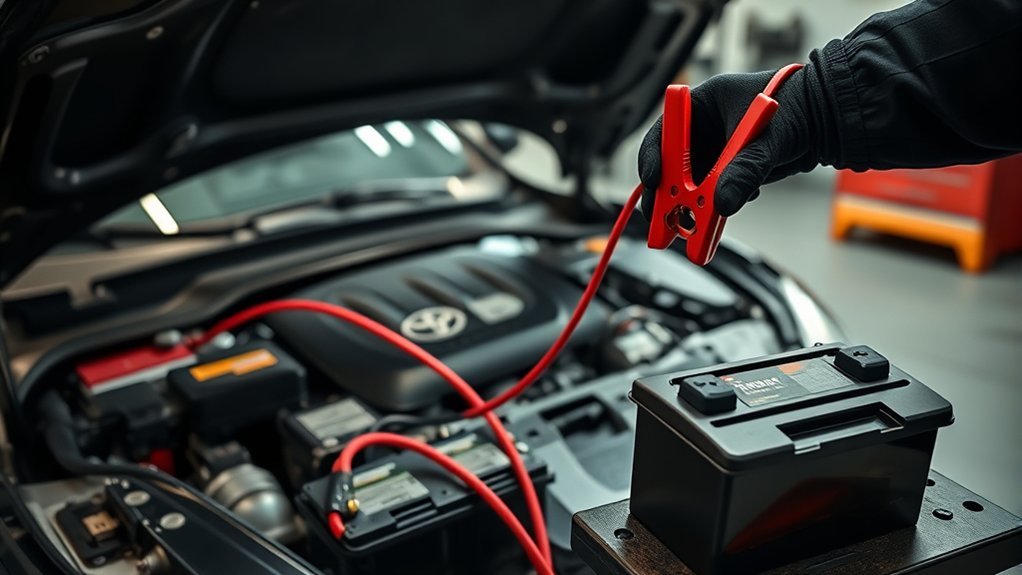
Step 2: Connect the Jumper Cables in the Correct Order
Once both vehicles sit safely in place, connect the jumper cables correctly. Use the positive (+) and negative (-) markings on each battery or jump-start post to guide each connection.
- Attach one red positive clamp to the positive terminal on the dead battery or designated positive jump point.
- Attach the other red positive clamp to the positive terminal on the donor vehicle’s battery.
- Attach one black negative clamp to the negative terminal on the donor vehicle’s battery.
- Attach the other black negative clamp to a clean, unpainted metal surface on the Toyota Supra, away from the battery.
This order helps minimize the risk of sparks near the battery. Make sure each clamp grips firmly and does not touch any moving engine part.
Note: Some Supra models may use remote jump-start terminals, so check your owner’s manual before connecting directly to the battery.
Step 3: Start the Donor Vehicle and Try to Start the Supra

With the jumper cables secure, start the donor vehicle and let it run for 2 to 3 minutes. This gives the dead battery time to receive some charge before you try the Supra.
Start the Supra by turning the key or pressing the start button as you normally would. If the Supra does not start, wait another minute and try again. Do not crank the engine for long periods because that can strain the starter.
Once the Supra starts, keep it running for at least 15 minutes. Watch the dashboard for warning lights, rough running, or other signs that the battery or charging system still needs attention.
Step 4: Disconnect the Jumper Cables Safely
After the Toyota Supra starts, remove the jumper cables in reverse order. Keep the clamps apart while you disconnect them, and do not let metal ends touch.
- Remove the black cable from the clean metal ground point on the Supra.
- Remove the black cable from the donor vehicle’s negative terminal.
- Remove the red cable from the donor vehicle’s positive terminal.
- Remove the red cable from the Supra’s positive terminal or jump-start point.
After you remove all cables, close both hoods and keep the Supra running. If it stalls soon after the jump, the battery or charging system may need service.
Step 5: Troubleshoot Your Toyota Supra If It Won’t Start
If your Toyota won’t start after a jump, check the dashboard warning lights first. They can point to battery, starter, ignition, or charging system problems.
Check the battery connections next. Loose clamps, dirty terminals, or corrosion can block electrical flow and keep the Supra from starting.
| Symptoms | Potential Issues | Next Steps |
|---|---|---|
| No dashboard lights | Dead battery or ignition issue | Check battery connections |
| Clicking sound | Weak battery or starter problem | Test the battery and starter |
| Engine cranks, no start | Fuel delivery or ignition issue | Check fuel level, pump, filter, and ignition system |
| Battery older than 3 years | Weak or aging battery | Have the battery tested |
| Dashboard lights stay on | Electrical or charging system issue | Ask a technician to diagnose it |
If the Supra still will not start, stop repeated attempts. Call roadside assistance or a qualified technician to avoid causing more damage.
Common Jump-Start Mistakes to Avoid
Small mistakes can turn a simple jump start into a costly repair. Avoid these common errors before you connect the cables.
- Do not let the vehicles touch during the jump-start process.
- Do not connect the final black clamp to the dead battery’s negative terminal unless your manual tells you to do so.
- Do not connect clamps to dirty, painted, or moving parts.
- Do not keep cranking the engine if the Supra does not start quickly.
- Do not ignore repeat battery problems after a successful jump start.
Take a minute to check each connection before you start either vehicle. A careful setup protects both cars and gives the jump start a better chance to work.
How to Keep Your Toyota Battery Charged
To keep your Toyota Supra’s battery charged effectively, drive the vehicle long enough for the charging system to help restore battery power. Short trips may not give the battery enough time to recover.
Use these habits to support better battery life:
- Turn off accessories: Switch off lights, radio, chargers, and other electronics when the engine is not running.
- Test the battery: Ask for a battery test during routine service, especially before extreme heat or cold.
- Watch the battery age: Many car batteries need replacement after about 3 to 5 years, depending on use and climate.
- Track repeat jump starts: Frequent jump starts can point to a weak battery, charging issue, parasitic drain, or loose cable.
A regular battery check can help you catch problems before the Supra leaves you stranded.
Preventive Tips to Avoid Needing a Jump Start
Knowing how to jump start your Toyota Supra helps in an emergency, but prevention works better. Start by keeping the battery terminals clean and tight.
Drive your vehicle often enough to keep the battery charged, especially if it sits for days at a time. If you store the Supra for long periods, consider using a compatible battery maintainer.
Turn off lights, radio, and accessories when the engine is not running. Schedule a battery and charging system test if you notice slow starts, dim lights, warning lights, or repeated jump-start needs.
If a new or tested battery keeps dying, the alternator, wiring, or an electrical drain may need diagnosis.
Frequently Asked Questions
What Are the 5 Steps to Jumpstart a Car?
The five basic steps are parking safely, turning off both vehicles, connecting the cables in the correct order, starting the donor vehicle, and starting the dead vehicle. After the car starts, remove the cables in reverse order and keep the revived vehicle running.
How Do You Use a Jump Starter Step by Step?
Make sure the jump starter has enough charge before you use it. Connect the positive clamp to the positive jump point, connect the negative clamp to a safe ground point, turn on the jump starter, and start your vehicle. Follow the jump starter’s manual for exact timing and safety steps.
How Do You Jump Start a Toyota?
You jump start a Toyota by connecting positive clamps first, then connecting the negative clamp from the donor battery to a clean metal ground point on the Toyota. Start the donor vehicle, then start the Toyota. Always check your owner’s manual for model-specific jump-start points.
What’s the Correct Order for Jumping a Car?
Connect red to the dead battery’s positive terminal, then red to the donor battery’s positive terminal. Connect black to the donor battery’s negative terminal, then black to a clean, unpainted metal ground point on the disabled vehicle. Remove the cables in the opposite order.
How Long Should You Let a Supra Run After a Jump Start?
Let the Supra run for at least 15 minutes after a successful jump start. A longer drive may help the battery recover more charge, but a weak or failing battery may still need testing or replacement.
Safety Disclaimer
Safety Disclaimer: This article provides general information only and does not replace your Toyota owner’s manual or advice from a qualified automotive technician. If you see battery damage, smell gas, notice leaking fluid, or feel unsure about any step, stop and get professional help.
Conclusion
Jump-starting your Toyota Supra comes down to safe parking, correct cable order, and careful cable removal. Check your owner’s manual before you begin, and never rush the setup. If the Supra starts, let it run and schedule a battery test if the problem repeats. With the right habits, you can reduce battery trouble and keep your Supra ready for the next drive.