Your dash cam only works well when it gets the right power. A quick plug-in setup can record while you drive, but parking mode often needs a stronger and more stable power plan. This guide explains each dash cam power source, so you can choose the safest setup for daily driving and parked monitoring.
What’s in This Article
- What You Need to Know About Dash Cam Power Sources
- Quick Comparison of Dash Cam Power Options
- The Cigarette Lighter Socket: Easy and Convenient
- Pros and Cons of Using a Cigarette Lighter for Dash Cams
- Hardwiring Your Dash Cam: Why It Makes Sense
- Advantages and Disadvantages of Hardwiring
- Power Your Dash Cam With USB
- Benefits and Limitations of USB Power Options
- Understanding OBD-II Power for Dash Cams
- Key Benefits and Drawbacks of OBD-II Power
- When External Battery Packs Make Sense
- How to Choose the Best Power Source for Your Dash Cam
Quick Answer
The easiest dash cam power source is the 12-volt (12V) accessory outlet, also called the cigarette lighter socket. For parking mode, a hardwire kit, compatible on-board diagnostics II (OBD-II) cable, or dedicated battery pack works better because it can power the camera while the car is off. Choose USB only after you confirm that the port supplies enough power for your camera.
Key Takeaways
- Use the 12V accessory outlet if you want the fastest dash cam setup.
- Choose hardwiring if you need cleaner cable routing and reliable parking mode support.
- Check USB output before you power a dash cam from a vehicle USB or USB-C port.
- Use a compatible OBD-II power cable if you want parking mode without fuse box wiring.
- Pick a dedicated battery pack if you want parked recording with less risk to the car battery.
What You Need to Know About Dash Cam Power Sources

Dash cams usually draw power from one of five sources: the 12V accessory outlet, a hardwire kit, a Universal Serial Bus (USB) or USB-C port, an OBD-II power cable, or a dedicated battery pack. Each option affects setup time, cable routing, parking mode, and battery protection.
The 12V outlet gives you the fastest setup, but many vehicles cut power to that outlet when you turn off the ignition. According to BlackVue, parking mode usually needs a connection to the vehicle battery through a parking mode kit, or it needs a dedicated parking mode battery. Garmin also states that parked recording features need constant power, such as an always-on 12V cable, a parking mode cable, or a constant power cable.
Quick Comparison of Dash Cam Power Options
Use this quick table to match your power source to your main goal. Your exact results still depend on your vehicle, dash cam model, cable type, and installation quality.
| Power Source | Best For | Main Limit |
|---|---|---|
| 12V accessory outlet | Fast setup for driving footage | Often loses power when parked |
| Hardwire kit | Clean setup and parking mode | Needs safe fuse box installation |
| USB or USB-C port | Simple setup in newer vehicles | May not supply enough power |
| OBD-II power cable | Parking mode without fuse taps | Requires adapter and camera compatibility |
| External battery pack | Parked monitoring with less car battery risk | Needs charging and space |
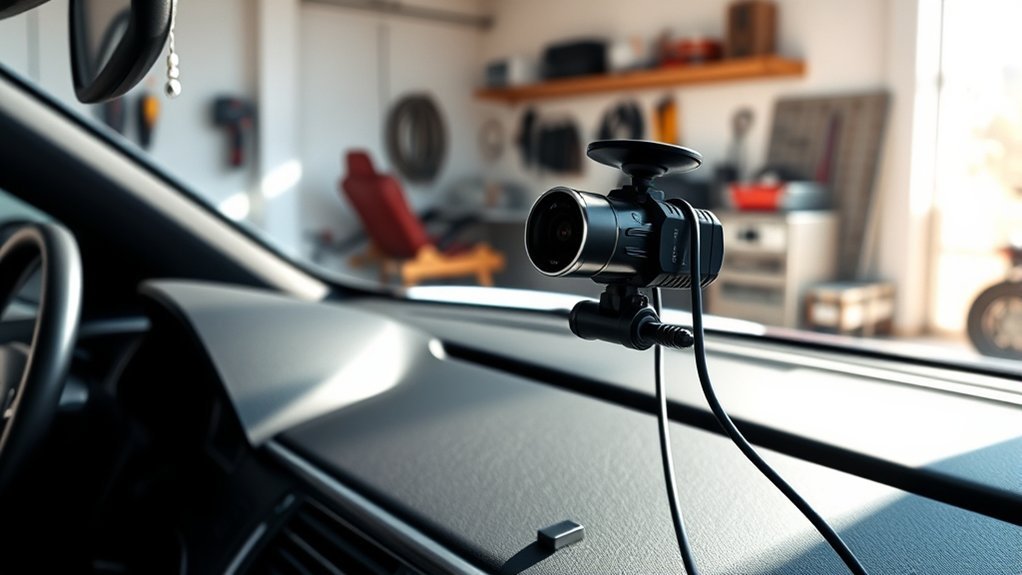
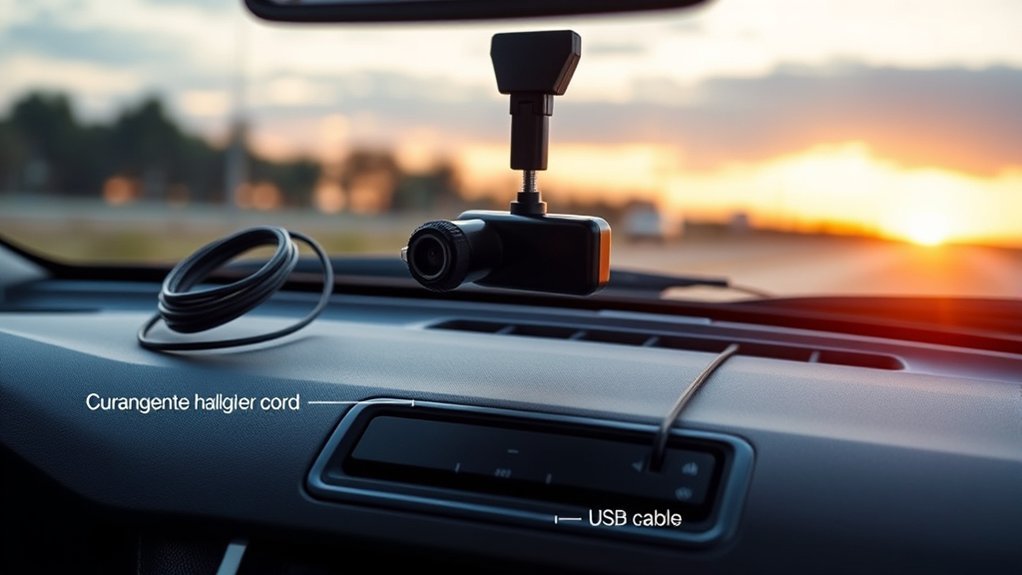
The Cigarette Lighter Socket: Easy and Convenient
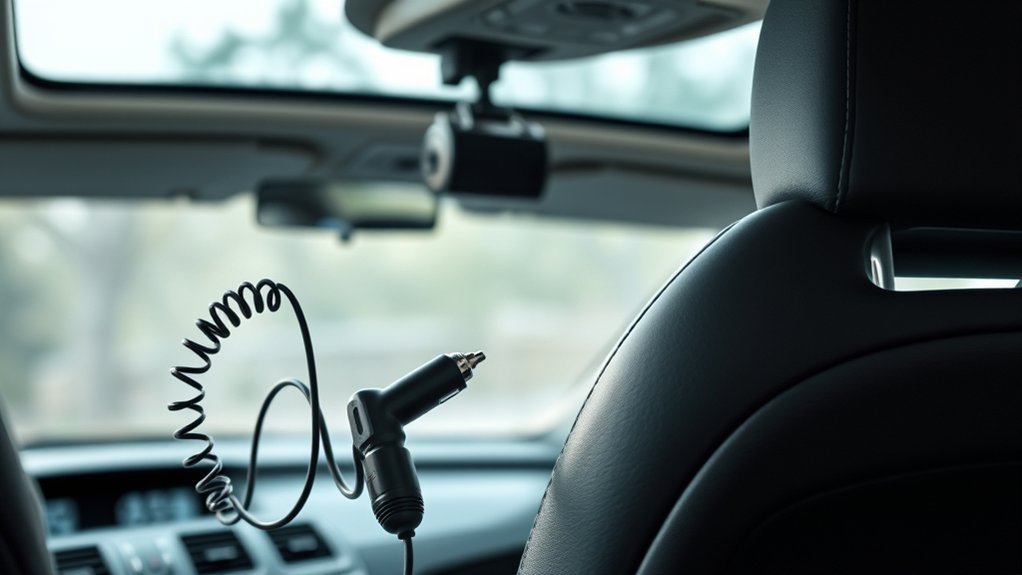
The cigarette lighter socket, or 12V accessory outlet, gives you the simplest way to power your dash cam. Most dash cams include a plug for this outlet, so you can start recording soon after you connect the camera and start the vehicle.
This setup works well if you only need footage while driving. It also lets you move the camera between vehicles with little effort. But the outlet may turn off with the ignition, so your dash cam may not record while parked.
Pros and Cons of Using a Cigarette Lighter for Dash Cams
Using a cigarette lighter to power your dash cam keeps setup simple, but it limits some features. You can unplug the camera, move it to another vehicle, and avoid changes to your car wiring. You also avoid fuse taps, trim removal, and extra installation tools.
The main drawback involves parking mode. If your 12V outlet shuts off with the ignition, the camera loses power when you park. A high-end or multi-channel dash cam may also need more stable power than some 12V adapters provide.
- Choose it if: You want quick installation and driving footage only.
- Skip it if: You need parked monitoring, cleaner cable routing, or a free 12V outlet.
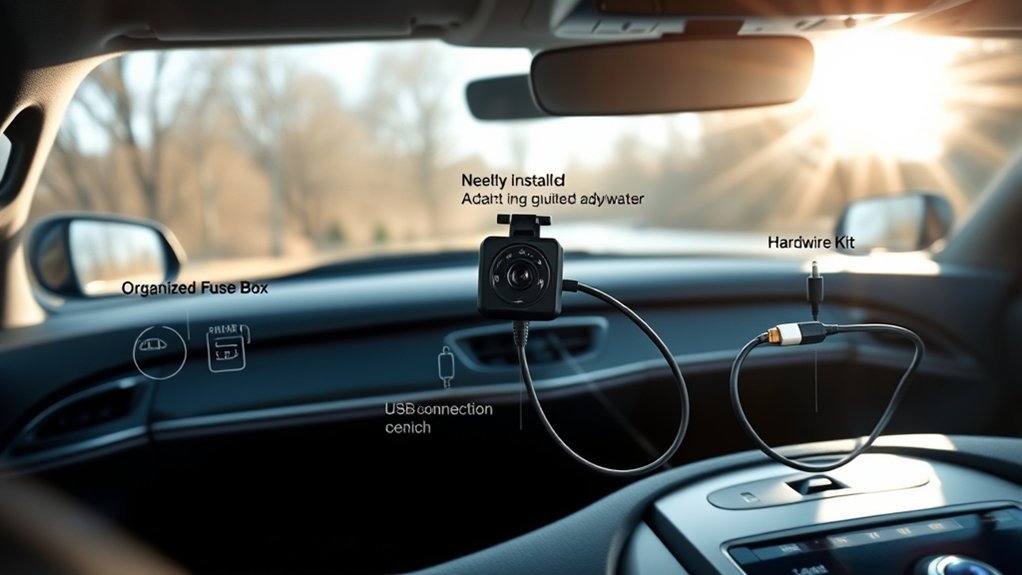
Hardwiring Your Dash Cam: Why It Makes Sense
If you want a reliable and clean way to power your dash cam, hardwiring it to the fuse box can make sense. VIOFO explains that many hardwire kits connect to a switched accessory (ACC) fuse and a constant battery (BATT) fuse. This lets the camera record normally while driving and switch to parking mode after the engine turns off.
Hardwiring can improve cable routing and free your 12V outlet. It also supports parking mode on compatible dash cams when the cable and settings allow it. Many hardwire kits add low-voltage cutoff, which stops power when the vehicle battery drops below a set level.
- Cleaner installation: Hidden wires give the cabin a neater look.
- Parking mode support: The camera can monitor the car while parked when your model supports it.
- Better outlet use: Your 12V socket stays free for chargers and other devices.
- Battery protection options: Low-voltage cutoff can reduce the risk of a weak starter battery.
Warning: Incorrect wiring can damage the vehicle or battery, so use a qualified installer if you do not know automotive electrical systems.
Advantages and Disadvantages of Hardwiring
Hardwiring gives your dash cam a stable power path and a cleaner look. It also gives you the best chance of using parking mode the way the camera maker designed it. But it takes more care than plugging into a 12V outlet.
Before you hardwire, check your dash cam manual, hardwire kit instructions, and vehicle fuse layout. Pick the correct fuse taps and low-voltage cutoff setting. If the job feels unclear, choose professional installation.
| Advantages | Disadvantages |
|---|---|
| Cleaner installation | More complex installation |
| Parking mode support | Possible battery drain if set up poorly |
| Secure power connection | Requires electrical knowledge |
| Frees the 12V outlet | Incorrect wiring can cause damage |
Hardwiring works best for drivers who want parked monitoring and do not want visible cables. It works poorly if you guess at fuse locations or ignore battery protection settings.
Power Your Dash Cam With USB
Powering your dash cam with USB can work well in newer vehicles that include USB or USB-C ports near the dashboard. This setup can reduce cable clutter and leave the 12V socket open.
Before you use this method, check the dash cam power requirement and the port output. Some vehicle USB ports only charge phones slowly or shut off when the ignition turns off. Others may not give enough stable power for a front-and-rear camera system.
- Use USB only when your dash cam maker supports that input method.
- Check whether the vehicle USB port stays on while driving and after shutdown.
- Use the correct cable type and avoid loose adapters.
- Do not assume USB will support parking mode unless your camera and vehicle support it.
Benefits and Limitations of USB Power Options
Using USB power for your dash cam gives you a simple setup, especially if your vehicle has a nearby port. It also helps you avoid fuse box wiring. But USB power can limit camera features when the port output is weak or ignition-based.
Note: A USB-C shape does not always mean high power, so check the port rating before you rely on it.
Convenience and Accessibility
Many drivers like USB power options because they keep installation fast and simple. You may not need a long cable across the cabin. You may also keep the 12V outlet free for a phone charger or tire inflator.
- Retains the 12V socket: Keeps the accessory outlet open for other devices.
- Creates a cleaner setup: Reduces visible wiring when the port sits near the camera.
- Simplifies installation: Avoids fuse taps and electrical work.
- Works for some basic setups: Can power supported single-channel cameras while driving.
USB works best when your dash cam draws modest power and your vehicle port supplies stable output. If the camera restarts, overheats, or fails to save clips, switch to the maker’s recommended cable.
Power Limitations and Compatibility
USB power can fail when the port does not deliver enough current. It can also fail when the vehicle shuts the port off after you remove the key. This matters most for parking mode and multi-camera systems.
| USB Power Options | Considerations |
|---|---|
| Limited power delivery | May restrict dash cam features |
| Compatibility issues | Check USB output specs |
| Ignition dependency | Some ports shut off when parked |
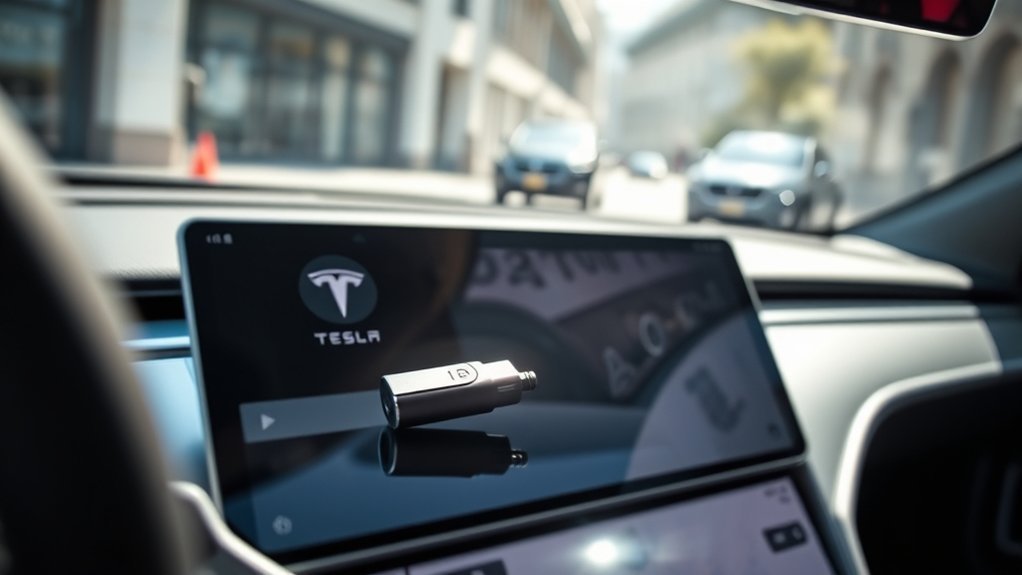
Understanding OBD-II Power for Dash Cams
The OBD-II port can power a dash cam through a compatible adapter. Garmin describes its Constant Power Cable as an always-on 12V adapter that connects to the OBD-II port and can power compatible dash cams for a selected time after the vehicle turns off.
This method can help you avoid fuse box wiring. It also keeps the 12V outlet free. But you must confirm that your camera, cable, and vehicle support the setup.
- Convenience: You plug the adapter into the OBD-II port instead of accessing the fuse box.
- Outlet availability: Your 12V socket stays open for other devices.
- Parking mode support: Compatible adapters can power the camera after shutdown.
- Compatibility check: Not all dash cams or vehicles work well with OBD-II power.
Key Benefits and Drawbacks of OBD-II Power
Powering your dash cam through the OBD-II port gives you an easier path to parked monitoring than a traditional hardwire kit. You avoid fuse taps, and you can often remove the adapter later. This makes it useful for leased vehicles or drivers who do not want wiring changes.
The downside is compatibility. Some adapters only work with certain camera brands or connector types. The adapter and cable can also sit near your legs, so cable routing matters for safety.
Easy Installation Process
If you want a simple way to install your dash cam, using OBD-II power can work well. You plug the adapter into the OBD-II port, route the cable safely, and connect it to the camera. This setup suits drivers who want fewer wiring steps.
- Simple setup: Plug the compact adapter into the OBD-II port.
- Free 12V socket: Use your cigarette lighter for other devices.
- Parking mode support: Keep the dash cam powered after the car turns off when supported.
- Cable routing concern: Keep the cable away from pedals and foot space.
Limited Compatibility Concerns
While OBD-II power offers a straightforward installation method, it does not fit every dash cam. Check your camera connector, voltage needs, parking mode settings, and adapter brand before you buy. Also check whether the adapter includes timer or low-voltage cutoff settings.
BlackVue notes that voltage cutoff can stop a dash cam from drawing power when the battery reaches a set value. That type of protection matters if you want parked monitoring without weakening the starter battery. Still, no adapter removes all risk, especially if your vehicle battery is old or the car sits for many days.
When External Battery Packs Make Sense
A dedicated dash cam battery pack powers the camera while your vehicle sits parked. This can reduce the load on your starter battery. It also helps when you want parking mode but do not want a hardwire kit connected directly to the fuse box.
Battery packs work best for drivers who park in public lots, garages, or streets for long periods. You still need to charge the pack during driving or with the maker’s approved charger. You also need enough space to mount it safely.
- Choose it if: You want parked recording with less strain on the car battery.
- Skip it if: You do not want to manage charging, mounting, or extra cost.
How to Choose the Best Power Source for Your Dash Cam
To choose the best power source, start with how you use your dash cam. If you only want driving footage, the 12V outlet or a supported USB port may be enough. If you want parked monitoring, look at hardwiring, OBD-II power, or a battery pack.
- For the easiest setup: Use the 12V accessory outlet.
- For the cleanest parking mode setup: Use a proper hardwire kit with low-voltage cutoff.
- For newer vehicles: Try USB only after checking power output and camera support.
- For less wiring work: Use a compatible OBD-II power cable.
- For less starter battery risk: Use a dedicated dash cam battery pack.
Your best choice depends on your vehicle, camera model, and comfort with installation. When in doubt, follow the dash cam maker’s power instructions first.
Frequently Asked Questions
Do All Dashcams Need to Be Plugged In?
Most dash cams need external power for normal use. A small built-in battery or capacitor usually helps save files or handle short shutdowns, but it does not power long recording sessions.
How Do You Power Dashcams?
You can power a dash cam through a 12V outlet, hardwire kit, USB port, OBD-II cable, or external battery pack. Pick the method that fits your need for driving footage, parking mode, cable routing, and battery protection.
Can a Dash Cam Drain Your Car Battery?
Yes, a dash cam can drain your car battery if it keeps drawing power while parked. Use low-voltage cutoff, a parking mode timer, or a dedicated battery pack to reduce that risk.
Is Hardwiring a Dash Cam Worth It?
Hardwiring is worth it if you want parking mode and a clean setup with fewer visible cables. It may not be worth it if you only need driving footage or do not want electrical installation work.
Can I Use a USB Port for Parking Mode?
You can use USB for parking mode only if the port stays powered, supplies enough output, and your dash cam supports it. Many vehicle USB ports shut off with the ignition, so they often work better for driving footage only.
Conclusion
The right dash cam power source depends on how much coverage you need when the car is moving and parked. Use the 12V outlet for the fastest setup, hardwire for strong parking mode support, USB for simple supported setups, OBD-II for less wiring, or a battery pack for extra battery protection. Check your camera manual and vehicle power behavior before you decide. A safe power setup helps your dash cam record the moments that matter most.
References
- Vehicle Battery Impact While Using a Garmin Dash Cam in Parking Guard or Parking Mode — Garmin Support, accessed 2026
- Constant Power Cable — Garmin Owner’s Manual, accessed 2026
- VIOFO Hardwire Kits — VIOFO, accessed 2026
- BLACKVUE Dashcam Parking Mode — BlackVue, accessed 2026
- Battery Protection Features: Low Voltage Cutoff — BlackVue Support, accessed 2026