
Check tire pressure when tires are cold. Find and clean the valve stem. For a dial gauge, press the gauge squarely onto the stem until the hissing stops. Wait for the needle to settle and read the PSI where the needle points. For a stick gauge, press firmly, remove it, and read the extended bar markings. Compare this to the manufacturer’s cold-PSI. Add or release air as needed and recheck. Continue reading for tips on timing, common errors, and tool choices.
Quick Answer
- Check your tire pressure when the tires are cold (parked for at least three hours).
- Locate the valve stem, wipe it clean, and press the gauge squarely onto it.
- Read the dial needle or the extended stick to find your current PSI.
- Compare this reading to the recommended PSI on your driver’s side door jamb.
- Add or release air until the pressure matches the manufacturer’s exact specifications.
Read an Analog Tire Gauge in 3 Quick Steps
When checking tire pressure, start with the tires cold. This means the vehicle has been stationary for at least three hours. Firmly attach a dial gauge to the valve stem until the hissing stops, then read the needle on the PSI-marked dial. For stick-style gauges, press it on the valve, remove the gauge, and read the extended bar. You can read your tire pressure in three clear steps: attach, observe, and compare.
First, engage the tire valve with your analog gauge. Ensure the seal stops escaping air so you get an accurate reading. Second, note the PSI shown on the dial needle or the extended bar to measure the air pressure precisely. Use only gauges calibrated for PSI. Third, compare the measured value to the manufacturer’s recommended level printed on the vehicle placard. Add or bleed air until you reach the proper tire pressure. This method keeps you safe and helps your tires last longer.
Why Check Tires Cold (And When to Do It)
Check tires cold so you get a true baseline reading that matches the manufacturer’s cold-PSI specifications. Driving heats the air inside the tire and raises the pressure. Measuring after motion will give inflated values that can easily mask underinflation. For consistent results, check pressures before the first trip of the day or after a minimum three-hour rest. You should also recheck if the ambient temperature changes considerably.
Cold Tire Definition
Tires warm up as you drive. Measure pressure after the car has been parked for at least three hours so the air inside cools and stabilizes. This cold reading matches manufacturer PSI specs and avoids the roughly 1 PSI increase per 10°F of heat that driving can add. Cold tire pressure is simply the tire’s pressure when it has had time to match the ambient temperature. You will get accurate tire pressure only by measuring in this state using reliable tire pressure gauges and a consistent technique. Regularly checking cold tire pressure prevents underinflation or overinflation. Check before long trips or after long rests to maintain control, efficiency, and tire longevity.
Temperature Effects On Pressure
If you have driven recently, heat will raise the air pressure inside your tires. Always measure them cold to match the manufacturer’s PSI specs. You will get accurate tire pressure readings only when the air temperature stabilizes. Driving heats the rubber and raises pressure, creating misleading high readings. Expect roughly a 1 PSI change per 10°F shift. Seasonal temperature changes demand attention to avoid underinflated tires in cold weather. Underinflation increases heat buildup, accelerates wear, and risks failure. Check pressures against the manufacturer’s specifications specified for cold tires to sustain peak performance and safety.
Best Checking Times
Heat skews readings. Measure tire pressure when the tires are cold to get repeatable, accurate numbers. For consistency, perform tire pressure checks in the morning. Ambient temperatures are lower, tires are cold, and your reading will not be inflated by heat. Remember that pressure can rise about 1 PSI per 10°F, so checking cold avoids misleading high values.
Make checking a habit. Check monthly and before long trips to maintain peak performance and safe driving. Use your tire gauge the same way each time, record readings, and adjust to the manufacturer’s spec. This routine promotes longer tire life, better fuel economy, and predictable handling.
Where to Find Your Recommended Tire Pressure
Before measuring, you need to know your target PSI. Never use the “max pressure” number printed on the sidewall of the tire itself. Instead, look for the tire and loading information placard. You can almost always find this sticker on the driver’s side door jamb. If it is not there, check your vehicle’s owner’s manual, inside the glove box door, or on the inside of the fuel filler flap. This sticker provides the ideal cold tire pressure for both your front and rear tires.
Find and Clean the Valve Stem Before Measuring
Start by locating the valve stem on each tire. This is a small rubber or metal nipple near the rim. Wipe it clean with a dry cloth to remove dirt, debris, and moisture that can distort your readings. Check for cuts, cracks, or loose cores. A damaged valve stem leaks air and ruins accurate readings. Dry the area completely, as moisture can mask true pressure. Then, screw the cap back on until snug to keep out grime. This simple prep gives you control over your tire safety.
Locate and clean each valve stem. Remove debris, dry thoroughly, check for damage, and then snug the cap for accurate pressure readings.
- Clean valves ensure your gauge will report true pressure.
- You can trust every reading when contaminants are completely removed.
- Spotting valve damage early allows you to act before a slow leak causes a flat.
- Routine cleaning keeps dirt out of the delicate valve core.
Minimal steps, clear inspection, and consistent cleaning guarantee reliable measurements on the road.
Attach the Gauge: Position, Firm Press, and the Hissing
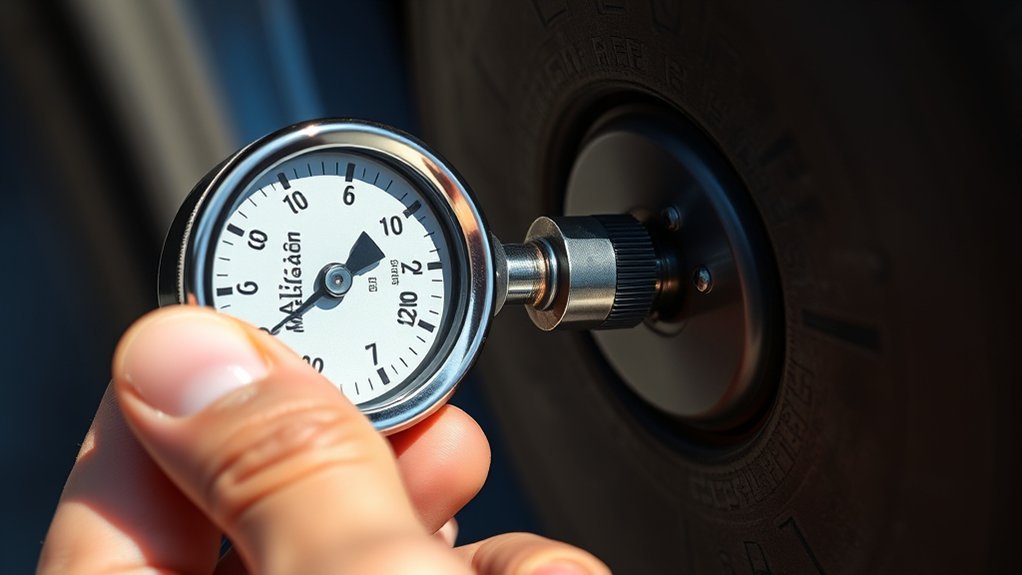
Place the gauge squarely over the exposed valve stem and press firmly to form a tight seal. You will hear a brief hiss as trapped air evacuates and the gauge engages. When you attach the gauge, align it perpendicular to the valve stem so the contact is even. Any tilt lets air escape and skews the result. Use steady, controlled force to keep the connection stable. Listen for the hissing sound. It confirms initial engagement and then stops as the seal holds. Maintain pressure until the hiss ceases and the instrument stabilizes. That pause yields an accurate reading.
Release smoothly to avoid disturbing the valve. Compare the measured pressure to the vehicle’s recommended PSI immediately, then adjust inflation for ideal tire performance. Disciplined technique ensures safer, more efficient travel.
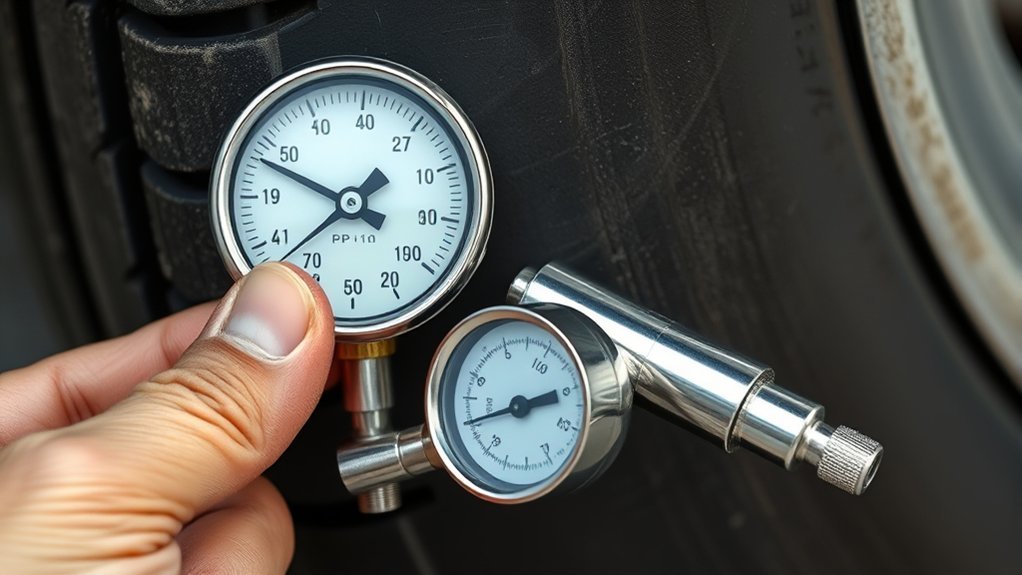
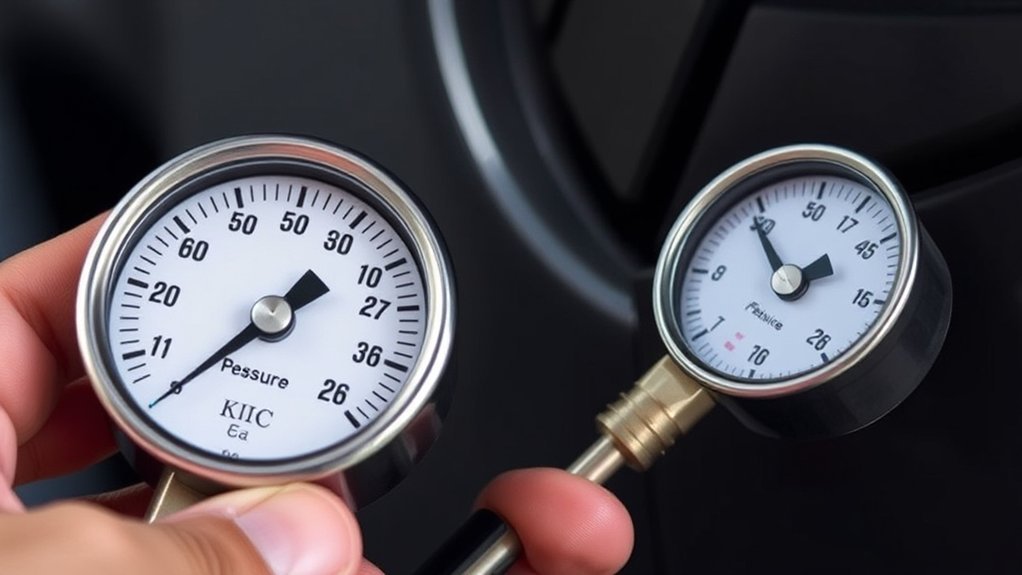
Read a Dial Analog Tire Gauge: Interpreting the Needle
Look at where the needle settles on the dial to read the current pressure. Match the needle to the correct scale. Use the outer scale for higher PSI and the inner for lower, depending on your gauge. Note the closest marking. If the needle lands between marks, estimate the PSI based on its position, then compare it to the manufacturer’s recommended pressure.
Read The Needle Position
When you have the gauge firmly seated on the valve stem, watch the needle on the circular face settle. Its tip points to the tire pressure in PSI and will stabilize after a moment. You read the needle position on a dial gauge to find the pressure value in pounds per square inch. Note the nearest number and any increments. Compare the result with the manufacturer’s recommended level to decide if you need to add or release air. Knowing exact PSI gives you control over ideal tire performance and safety.
- Hands-on measuring removes guesswork from vehicle maintenance.
- Precision tools bring clarity to your tire pressure status.
- Prompt adjustments help reclaim optimal fuel efficiency.
- Proper inflation maintains freedom and safety on the road.
Match Needle To Scale
Start by steadying the gauge on the valve stem and watch the needle settle. The value you want is the highest whole-number mark the needle has passed on the PSI scale. Make sure vibration stops so you get an accurate read. Match the needle to the clear markings and note the last whole PSI it passed. Compare pressure levels to the manufacturer’s recommended level for peak tire performance. Some gauges use color zones to help flag under- or over-inflation. Stay precise by knowing your tires, acting, and adjusting accordingly.
| Step | What to watch | Action |
|---|---|---|
| 1 | Needle display | Steady gauge |
| 2 | Clear markings | Read the pressure |
| 3 | Color zones | Compare to recommended |
Read a Stick (Pencil) Gauge: How the Bar Shows PSI
A stick (pencil) gauge gives you a direct PSI readout by extending a sliding bar from its barrel when you press the tip onto the valve stem. The bar’s top aligns with the printed scale to show the tire’s current pressure. To read a stick gauge, press firmly to the valve stem so no air escapes, then watch the sliding bar pop out. The number at the bar’s top corresponds to PSI. Higher numbers mean more pressure. This lets you take quick, accurate readings with a compact and portable tool. It is simple, fast, and highly effective.
- This simple tool confirms your tire pressure readings instantly.
- The sliding bar provides precise PSI feedback when pressed firmly.
- Its compact size allows for easy on-the-spot maintenance without bulky gear.
- Portable clarity encourages more frequent checks for safer driving.
What to Do After Reading: Add Air, Release, and Recheck
Now that you have read the PSI, it is time to take action. If the number is below the manufacturer’s recommendation, attach an air compressor firmly to the valve stem and add air in short bursts. If it is above the recommendation, press the valve core briefly to release small amounts of air. Act deliberately. Add air in controlled bursts, then pause and check tire pressure to avoid overshooting recommended levels.
Make small adjustments and confirm each change with the gauge. Maintain a firm connection to the valve stem to prevent leaks while you adjust. Aim for the manufacturer’s recommended levels for safety, fuel economy, and longevity. Correct deviations, perform measured adjustments, and recheck until pressures are stable and within spec.
[Products Worth Considering]

[Fast & Efficient Inflation] The OlarHike tire inflator features a high-performance motor that delivers rapid airflow—inflate a standard car tire (195/65 R15) from 30 to 35 PSI(+5 PSI) in just 55 seconds, or a larger SUV tire (235/65 R17) from 30 to 35 PSI(+5 PSI) in only 2.2 minutes. Ideal for cars, SUVs, light Pickup(Within 51 PSI), motorcycles, bicycles, and sports balls. Important Note: The unit can only inflate car/pickup truck tires up to 51 PSI
COMPATIBLE WITH both ¼” and ½” NPT air compressors outputs. COMPATIBLE WITH Standard Schrader Valves.

Fast-Inflation & Compact: Our compact and lightning-fast upgrade to the popular R7 air compressor portable. With a powerful 40L/Min cylinder, this air pump for car can inflate a tire (215/50 R17) in under a minute (26-35PSI) and even Tesla tires (235/40 R19) in just 1.5 minutes (28-36PSI). Say goodbye to slow and cumbersome inflation processes – This 150PSI tire inflator portable air compressor offers a smoother, faster solution for all your inflation needs.
Common Reading Errors and How to Avoid Them
Small mistakes can skew your PSI, so take steps to get a true reading. Press the gauge firmly and squarely onto the valve stem to stop leaks. Read it immediately so escaping air does not lower the value. View the scale straight-on to avoid parallax. You want an accurate measurement. Prevent air leaks by seating the gauge fully. A loose fit or tilted view invites parallax errors and false readings.
For dial gauges, wait for the needle to stabilize before recording the number. For pencil (stick) gauges, confirm the bar is not partially extended. Only a fully extended bar gives a valid value. Avoid delayed reading. Note the pressure right away to stop escape-driven drops.
Press the gauge squarely, read immediately, and view straight-on to make your PSI readings fast and reliable.
- Ensure accuracy by double-checking unexpectedly low readings.
- Prevent air leaks by maintaining firm, straight contact with the valve.
- Avoid parallax errors by looking directly down at the dial face.
- Act fast to eliminate pressure drops caused by slow, delayed reading.
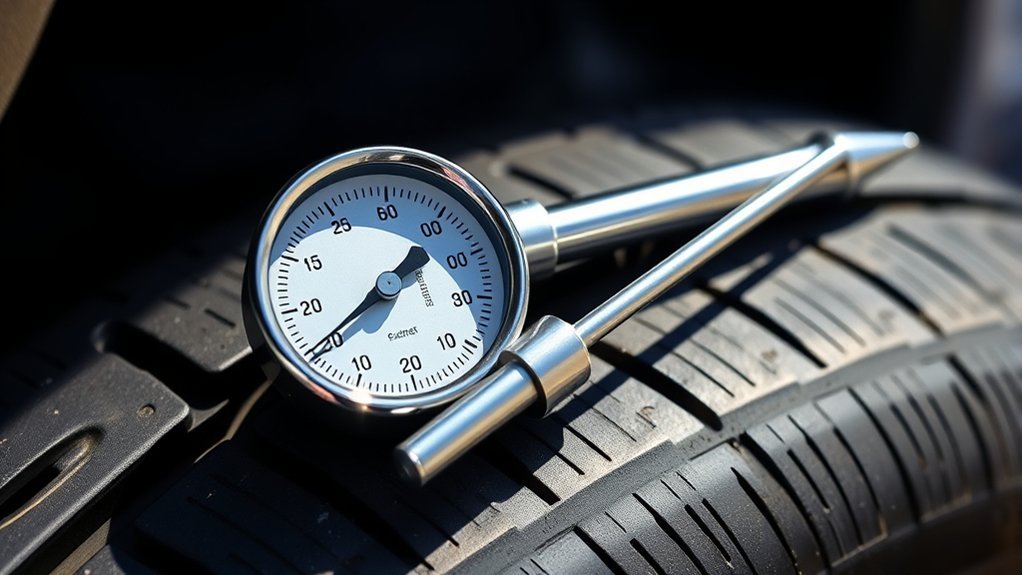
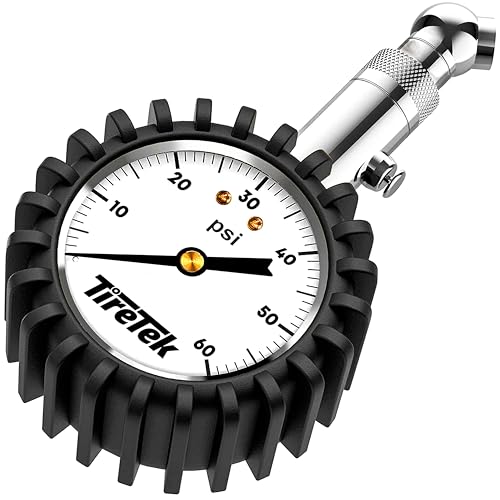
Dial vs. Stick Analog Gauges: Pros, Cons, and When to Buy
When choosing between dial and stick analog gauges, you should weigh precision and durability against portability and cost. Dial gauges give you a large needle readout, tend to hold readings longer, and feature sturdier construction. Stick gauges are compact, cheaper, and easier to carry, but they can be less accurate and more prone to wear. Match your choice to how often you measure pressure, the accuracy you need, and whether you will be carrying the gauge on the go.
[Products Worth Considering]

High Accuracy: The AstroAI Tire Pressure Gauge accurately measures from 0-60 PSI. With certified ANSI B40.1 accuracy and professional calibration, it always returns precise tire pressure readings, eliminating guesswork with a large 2" glow dial.

High Accuracy: The AstroAI Tire Pressure Gauge accurately measures from 0-60 PSI. With certified ANSI B40.1 accuracy and professional calibration, it always returns precise tire pressure readings, eliminating guesswork with a large 2" glow dial.

Quickly check your tire pressure and save some money on gas with Slime's Large Face Dial Tire Gauge
Dial Gauges: Strengths And Tradeoffs
Both types get the job done, but dial gauges provide larger, easier-to-read numbers. The needle stays put so you can confirm pressure without guessing. They also tend to be more precise and durable. Stick gauges trade some accuracy and ruggedness for compactness, lower cost, and simplicity. Choose a dial gauge if visibility and holdable readings matter more than portability and price.
You will get clear visual readings, better accuracy, and a user-friendly experience with dial gauges. They resist shock, deliver repeatable precision, and reduce reading errors. Expect a slightly higher cost and more bulk, but you gain reliable performance for routine maintenance.
- Clear visual feedback improves reading accuracy.
- Reliable data replaces roadside guesswork.
- Sturdy construction handles frequent garage use well.
- Durability makes it a better long-term investment.
Stick Gauges: Portability And Limits
A stick gauge gives you compact, grab-and-go portability at the cost of some usability and robustness. It slips easily into a glovebox or pocket and is cheap to replace. However, it requires a direct valve connection, can be harder to read under low light, and often does not retain the reading after you remove it.
Choose stick gauges when portability and simplicity matter. They are compact, low-cost analog gauges that let you check pressure readings quickly. Use them for immediate checks, but do not expect a long-term display or the flexibility to reach awkward stems easily.
| Feature | Benefit | Limit |
|---|---|---|
| Portability | Carry anywhere | Smaller face |
| Cost | Cheap replacement | Less readable |
| Speed | Quick checks | May not retain reading |
Simple Tire-Check Routine and Essential Tools
Because tire pressure affects safety, wear, and fuel economy, you should check every tire at least once a month and before long trips using a simple, repeatable routine. Measure cold tire pressure with a reliable gauge. Compare the readings to the manufacturer’s recommended psi. Add air with a compressor as needed, and record the results for trend tracking. Start at the driver’s side door jamb to find the recommended psi.
For accurate tire pressure measurement, test when tires are cold and use essential tools. You need a quality analog gauge, an air compressor for topping up, and a valve stem tool for minor fixes. Keep a log to spot slow leaks and to maintain proper inflation. Properly inflated tires can boost fuel efficiency and extend tread life. Your routine should be methodical. Check all four tires plus the spare, top to bottom, and document the readings.
- Monthly checks ensure consistent vehicle safety.
- Proper inflation maximizes your vehicle’s fuel economy.
- Tracking readings helps spot slow leaks early on.
- Routine maintenance significantly extends tire lifespan.
[Products Worth Considering]

PROCESS LEVEL ACCURACY: This heavy duty tire pressure gauge is calibrated manually to ANSI B40.1 Grade A (plus-minus 1% of span)
Professional Tire Pressure Gauge for Cars – This heavy duty mechanical tire pressure gauge is calibrated to ANSI B40.1 Grade A (2%) international accuracy standard so you get a precise, accurate pressure reading every time you use it. Makes great car accessories, car stuff, tire deflator, car stuff for men, cool car gadgets, car gifts for men, him, dad

High Accuracy: The AstroAI Tire Pressure Gauge accurately measures from 6-170 PSI. With certified ANSI B40.1(1%) accuracy and professional calibration, it always returns precise tire pressure readings, eliminating guesswork with a large 2" glow dial.
Frequently Asked Questions
How to Read an Analog Tire Pressure Gauge?
Read it by pressing the gauge squarely onto the valve, noting the needle or stick position, and comparing it to pressure recommendations. Ensure your gauge is accurate by testing it against a known standard occasionally.
How to Read a Manual Pressure Gauge?
Seat it firmly on the valve stem, note the indicator, and account for reading accuracy factors like temperature. Adjust the pressure by adding or releasing air until you reach the manufacturer’s target.
How to Read a Dial Pressure Gauge?
Press the dial firmly against the valve stem and watch the needle settle to read the PSI. Dial gauges offer high accuracy and are generally easier to read than stick gauges.
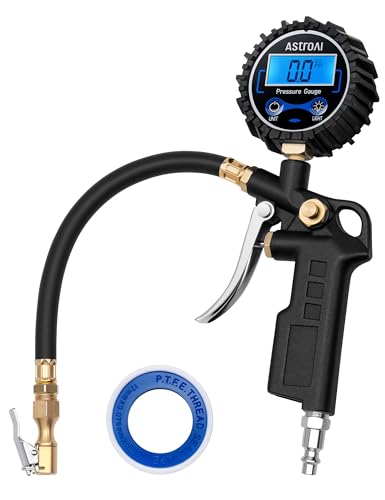
How to Use an Analog Tire Inflator?
Press the nozzle on the valve, add air while monitoring the built-in gauge, and stop at the recommended PSI. Make sure to release air if you accidentally overshoot the target pressure.
Conclusion
You now have the basics. Check cold, clean the stem, press the gauge straight, read the dial or stick, then add or release air and recheck. Keep a simple routine and the right tools in your trunk, and your tires will not surprise you on the highway. Practical habits save you from roadside drama and costly mistakes.


Leave a Reply