How to Install a Rear Dash Cam
What’s in This Article
- Before You Begin: Check Safety, Power, and Local Rules
- Choose the Right Location for Your Rear Dash Cam
- What You’ll Need for a Rear Dash Cam Install
- Install and Wire Your Rear Dash Cam Step by Step
- Mount Your Rear Camera for Clear Footage
- Troubleshoot Common Rear Dash Cam Problems
- Frequently Asked Questions
- Conclusion
A rear dash cam can help you record what happens behind your vehicle, but a rushed install can block your view, pinch a cable, or cross an airbag path. You need a clean mount, safe cable route, and correct camera angle before you trust the footage. This guide shows you how to install a rear dash cam, route the cable, test the live view, and fix common setup problems.
Quick Answer
To install a rear dash cam, mount the camera near the center or top center of the rear windshield, clean the glass first, and keep the lens clear of defroster lines when possible. Connect the rear camera cable to the front camera, route it along the headliner and trim, then test the angle through live view before you press the mount firmly in place.
Key Takeaways
- Choose a rear camera location that gives a clear view without blocking your rear sightline.
- Clean and dry the glass before you apply the adhesive mount.
- Route the cable away from airbags, hinges, pedals, and moving trim.
- Leave a small service loop of cable near the liftgate or hatch.
- Check audio and mounting laws in your area before you use recording features.
Estimated time: Plan for about 45 to 90 minutes, depending on your vehicle trim and power setup.
Before You Begin: Check Safety, Power, and Local Rules
Turn off the engine before you start, and read your dash cam manual for your exact model. Check your vehicle manual for side-curtain airbag locations, especially around the A, B, and C pillars.
Choose your power method before you route any wire. A 12V outlet setup works well for a simple install, while parking mode often needs a hardwire kit or battery pack.
Check your local rules for windshield mounting and audio recording before you turn on sound. Recording laws can depend on consent, location, and whether people expect privacy.
Warning: Do not route or zip-tie a cable across an airbag cover or airbag deployment path.
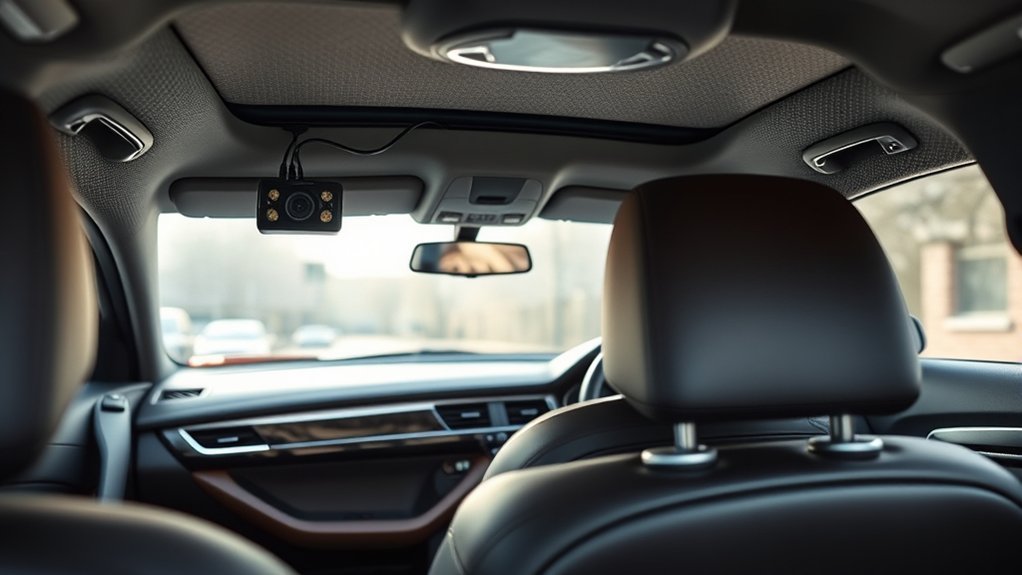
Choose the Right Location for Your Rear Dash Cam
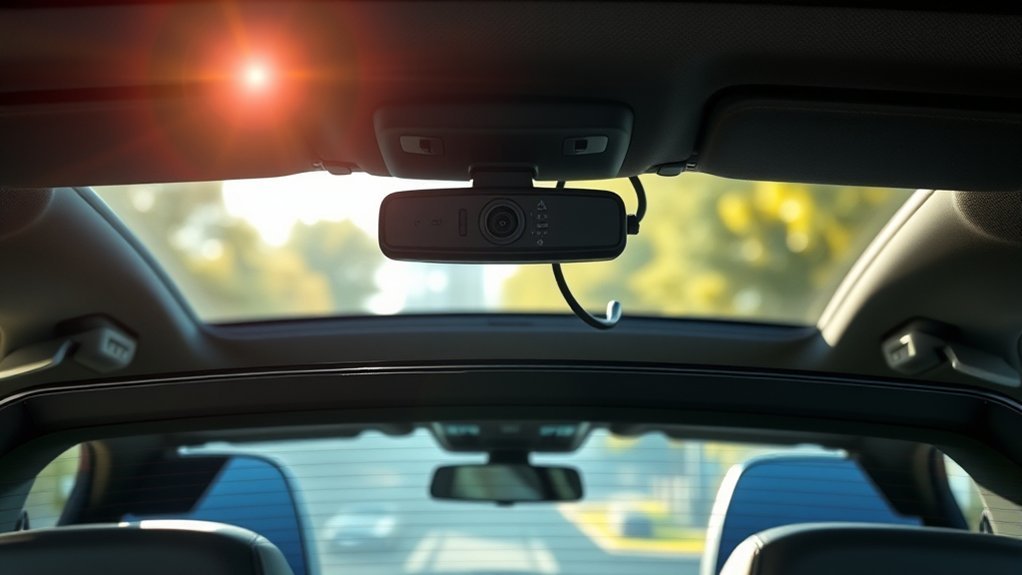
Choose a spot that gives the rear camera a clear view through the back glass. For many vehicles, the best location sits near the top center or center of the rear windshield.
BlackVue’s installation guidance recommends cleaning and drying the rear windshield before you mount the camera. It also warns you not to place the product where it can block the driver’s field of vision.
Avoid defroster lines when possible, since they can cross the lens view and may weaken the adhesive hold. If the rear glass shape causes glare or poor angle, use a safe trim or roof-adjacent mounting point that your camera maker supports.
After you choose the location, open the live view in your dash cam app and check the frame. Adjust the lens until it captures the lane behind you without too much sky, headliner, or cargo area.
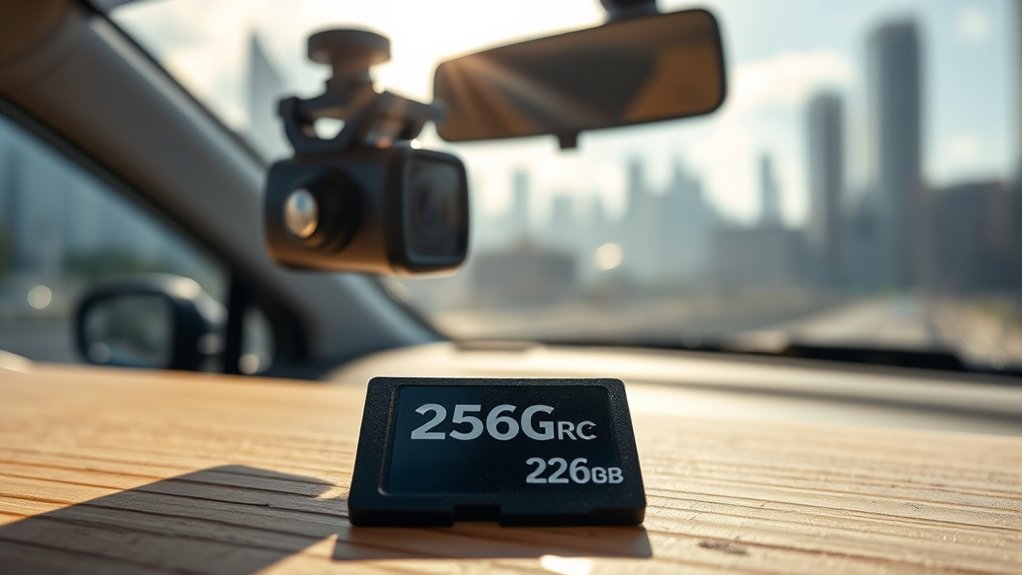
What You’ll Need for a Rear Dash Cam Install
Gather every tool before you remove trim or start cable routing. This keeps the install clean and helps you avoid pulling the same panel more than once.
- Rear dash camera and compatible front dash cam unit
- Rear camera cable supplied by the dash cam maker
- Adhesive mount or approved mounting bracket
- Trim removal tool for headliner and weather seal gaps
- Microfiber towel and glass cleaner or alcohol pad
- Cable clips, electrical tape, or small cable ties
- Vehicle manual for trim and airbag locations
- Hardwire kit or battery pack, only if your setup needs parking mode
Use the cable that came with your camera when possible. Rear camera cables often use specific connectors, and a random cable may fail or damage the port.
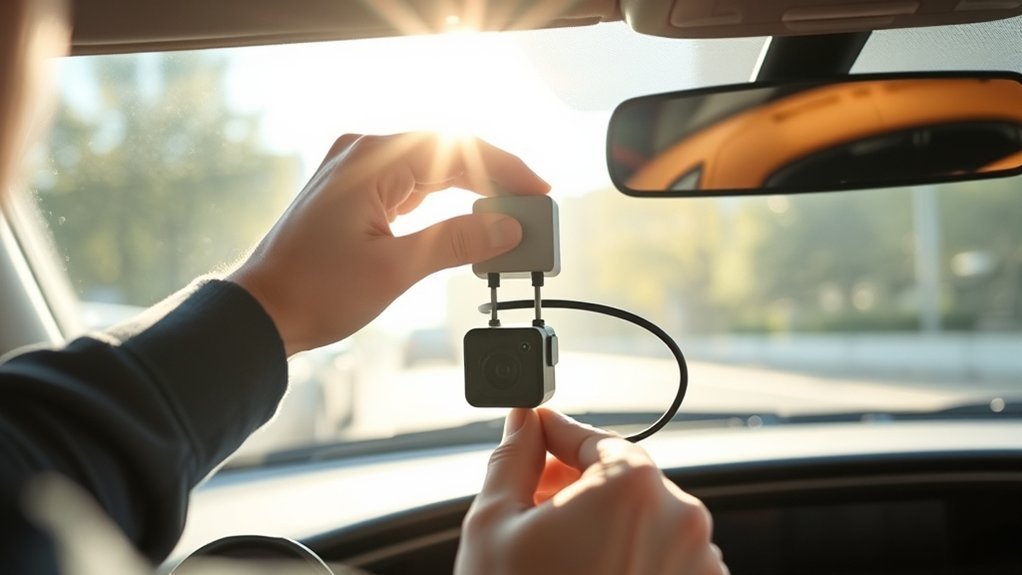
Install and Wire Your Rear Dash Cam Step by Step
Follow these steps slowly, and test the camera before you press every panel fully back into place. You want a hidden cable, but you also need safe trim movement and a clean signal.
- Turn off the engine and camera power. Remove the key or switch off accessory power before you connect the rear camera cable.
- Clean the rear windshield. Wipe the mounting area with glass cleaner or an alcohol pad, then let the surface dry fully.
- Connect the rear camera cable. Plug one end into the front camera’s rear camera port, then plug the other end into the rear camera.
- Route the cable along the headliner. Tuck the cable behind the upper trim, weather seals, or headliner edge with a trim tool.
- Guide the cable past the A, B, and C pillars safely. Keep the cable away from airbag covers and follow the vehicle manual if you need to remove trim.
- Use the factory rubber boot near the liftgate. Leave enough slack for the hatch or trunk to open fully without pulling the cable tight.
- Secure loose cable sections. Use cable clips or tape only where they won’t touch hinges, seat belts, pedals, or airbag zones.
- Power on the dash cam and test live view. Check the rear image, rotate the camera body if needed, and confirm the app or screen shows a stable feed.
If you plan to hardwire the camera, use the correct fuse taps and an unpainted metal ground point. Hire a qualified installer if you don’t know how to identify safe fuses or test circuits.
Pro tip: Take a quick phone photo before you remove trim, so you can return each clip to the right spot.
Mount Your Rear Camera for Clear Footage
Mounting angle controls how useful your rear dash cam footage looks. A lens that points too high may capture bright sky, while a lens that points too low may miss vehicles behind you.
Use the live view feature before you press the adhesive firmly. Center the lane behind your vehicle, then check both sides of the frame for blind spots.
Use these checks before you finish:
- Press the mount firmly only after you confirm the angle.
- Keep the lens away from defroster lines, stickers, tint edges, and wiper marks.
- Route cable slack so the liftgate opens without pulling the wire.
- Keep loose wires out of the rear cargo area and away from folding seats.
After the first drive, check the mount again. Heat, cold, and glass texture can reveal a weak adhesive bond during the first few days.
Troubleshoot Common Rear Dash Cam Problems
If your rear dash cam does not work after installation, start with the simple checks first. Most setup problems come from loose plugs, poor cable routing, or an incorrect camera angle.
Use this checklist to find the likely cause:
- No rear camera feed: Push both cable ends firmly into the front and rear camera ports.
- Intermittent video: Check the cable for tight bends, crushed trim points, or tension near the liftgate.
- Blurry footage: Clean the lens and rear glass, then check for tint, stickers, or defroster lines in front of the lens.
- Poor night footage: Lower the lens angle slightly and remove reflective items near the rear window.
- Parking mode fails: Check the hardwire kit, battery pack, voltage cutoff setting, and fuse choice.
If the cable runs near airbag trim or you hear rattles after reassembly, stop and inspect the route again. A clean install should not block safety parts or create loose trim.
Frequently Asked Questions
Can I Use a Rear Dash Cam While Parked?
Yes, you can use a rear dash cam while parked if your model supports parking mode. You may need a hardwire kit, dash cam battery pack, or built-in low-voltage protection so the camera does not drain your vehicle battery.
How Do I Maintain My Rear Dash Cam?
Clean the rear camera lens and rear windshield often, especially after rain, dust, or road salt. Check the mount, update firmware through the app when your camera maker provides it, and format the memory card based on the manual.
Does a Rear Dash Cam Record Audio?
Some rear dash cam systems can record audio, but many record sound through the front unit instead of the rear camera. Check consent laws in your area before you record cabin audio, and turn audio off if you feel unsure.
What Resolution Should I Choose for Recording?
Choose at least 1080p if your camera supports it, since that gives you clearer rear footage than lower settings. Higher resolutions can help with detail, but they also use more memory card space.
Are There Legal Restrictions for Dash Cams in My Area?
Yes, dash cam mounting and audio rules can vary by state, country, or city. Check your local rules for windshield obstruction, privacy, and audio consent before you install or use recording features.
Legal and Safety Disclaimer: This article is for informational purposes only and does not constitute professional legal or vehicle safety advice. Always check local recording laws, follow your vehicle manual, and consult a qualified installer when wiring could affect airbags, fuses, or safety systems.
Conclusion
A good rear dash cam install depends on safe placement, clean wiring, and careful testing before you finish the job. Mount the camera where it can record a clear rear view without blocking visibility or crossing airbag zones.
Your next step is simple: test the live view, check the cable path, and save a short sample clip before your first real drive. Once everything works, your rear dash cam can give you clear footage and more confidence on the road.
References
- Installing the BlackVue Dashcam DR970X – BlackVue Product Manuals.
- Tips for Perfect Installation of Your BlackVue Dashcam – BlackVue.
- Installation Instructions, Guidelines, and Common Tips – BlackVue Support.
- Introduction to the Reporter’s Recording Guide – Reporters Committee for Freedom of the Press.
- Recording Phone Calls and Conversations: 50 State Survey – Justia.