A loose or crooked front plate can make your Toyota RAV4 look unfinished and may cause trouble in states that require one. You can install the front license plate bracket at home with a 10 mm nut driver or Phillips screwdriver, standard license plate screws, and careful alignment. This guide shows you what to use, where to mount the bracket, how to keep it level, and what to check after you drive.
Quick Answer
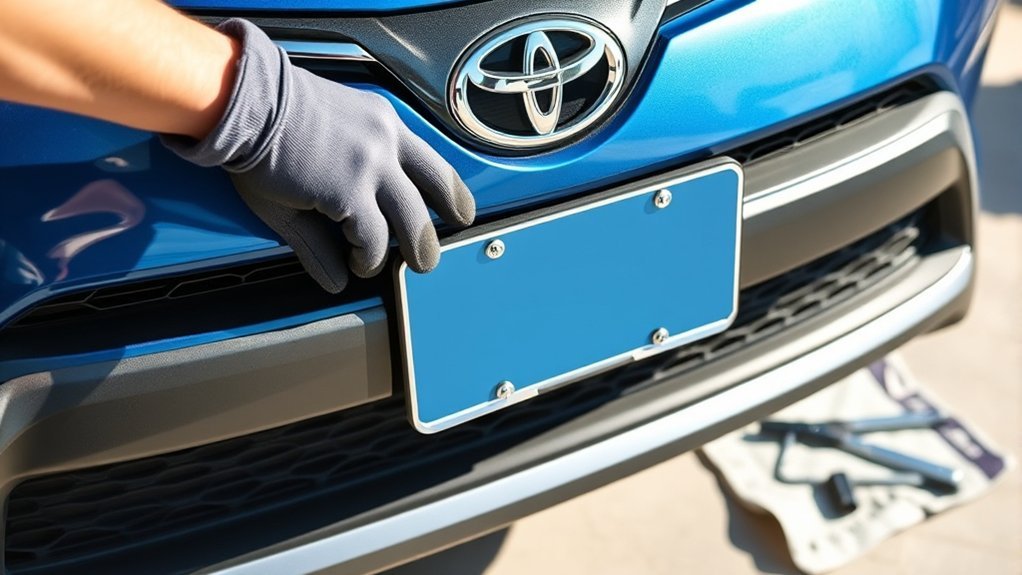
To install a front license plate on a Toyota RAV4, line up the front bracket with the factory dimples on the bumper. Start the bracket screws by hand, tighten them until snug, then attach the license plate with standard screws. Check that the bracket sits level before you drive.
Key Takeaways
- Use a 10 mm nut driver or Phillips screwdriver for the bracket screws.
- Line up the bracket with the factory dimples before you tighten anything.
- Tighten screws until snug, but stop before you strip the plastic mounting points.
- Attach the plate with standard license plate screws after the bracket sits level.
- Check the bracket again after a few days of driving.
What’s in This Article
- Tools Needed for Your License Plate Bracket Installation
- Before You Begin: Check the Bracket and Bumper
- Step-by-Step Guide to Installing Your License Plate Bracket
- Aligning Your License Plate Bracket: Here’s How
- Tips for a Level License Plate Bracket
- Troubleshooting: Common Mistakes and Solutions
- Final Checks After Installing Your License Plate Bracket
- Additional Considerations for Your License Plate Installation
- Frequently Asked Questions
- Conclusion
Tools Needed for Your License Plate Bracket Installation
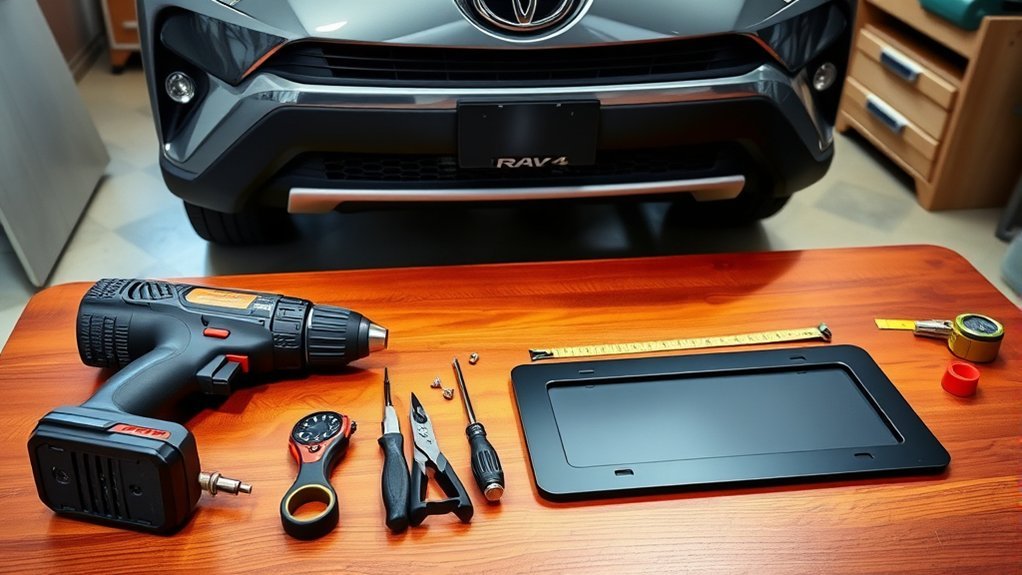
To install the front license plate bracket on your 2019-2025 Toyota RAV4, gather the right tools first. You need a 10 mm nut driver or a Phillips screwdriver for the bracket screws.
- Front license plate bracket
- Included bracket screws, if supplied with your kit
- Standard license plate screws for the plate
- 10 mm nut driver or Phillips screwdriver
- Measuring tape or small level, if you want extra alignment help
Standard license plate screws may not come in the bracket hardware bag, so check before you start. Understanding the bracket shape and the dimples on your bumper helps you set the bracket in the right place.
Before You Begin: Check the Bracket and Bumper
Park your RAV4 on a flat surface and clean the front bumper area where the bracket will sit. Dirt under the bracket can make it shift or sit unevenly.
Look for the factory dimples on the front bumper. These small marks guide the bracket position and help you avoid drilling in the wrong spot.
Warning: Do not overtighten screws into plastic bumper parts, because stripped holes can weaken the bracket mount.
Step-by-Step Guide to Installing Your License Plate Bracket
Estimated time: About 20 to 30 minutes.
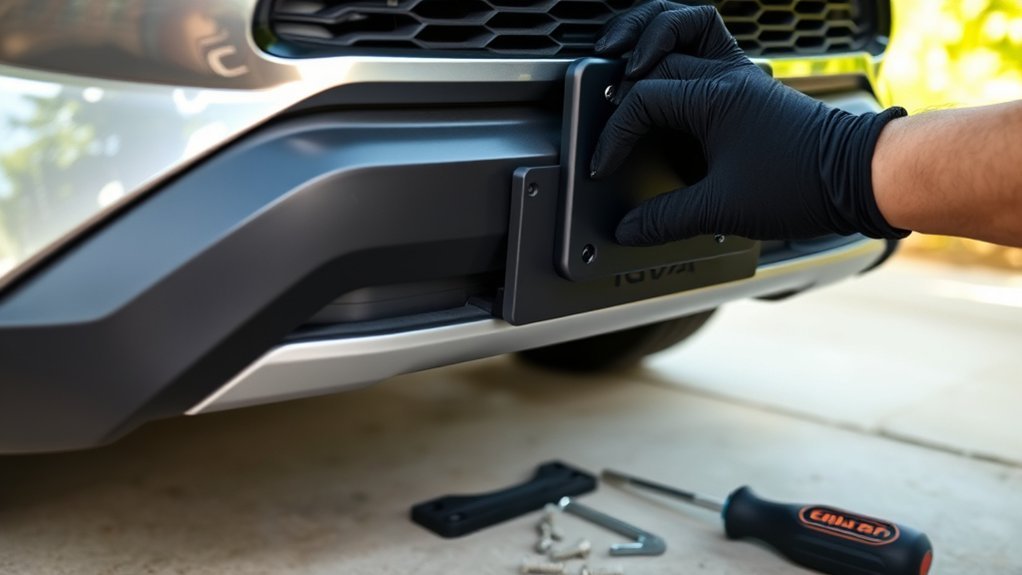
- Locate the dimples. Find the two small dimples on the front of your RAV4 bumper. These marks show where the bracket mounts.
- Position the bracket. Hold the bracket against the bumper and line up the elongated mounting side with the dimples.
- Start the screws. Insert the bracket screws into the marked spots and turn them by hand or with light pressure.
- Lift and level the bracket. Adjust the bracket while the screws remain loose enough to move slightly.
- Tighten the screws. Use the 10 mm nut driver or Phillips screwdriver to tighten the screws until snug.
- Attach the plate. Fasten your license plate to the bracket with standard license plate screws.
- Check the finished mount. Step back and make sure the plate sits level and secure.
Do not overtighten the screws, because too much force can damage the plastic. A snug fit holds the bracket without warping it.
Aligning Your License Plate Bracket: Here’s How
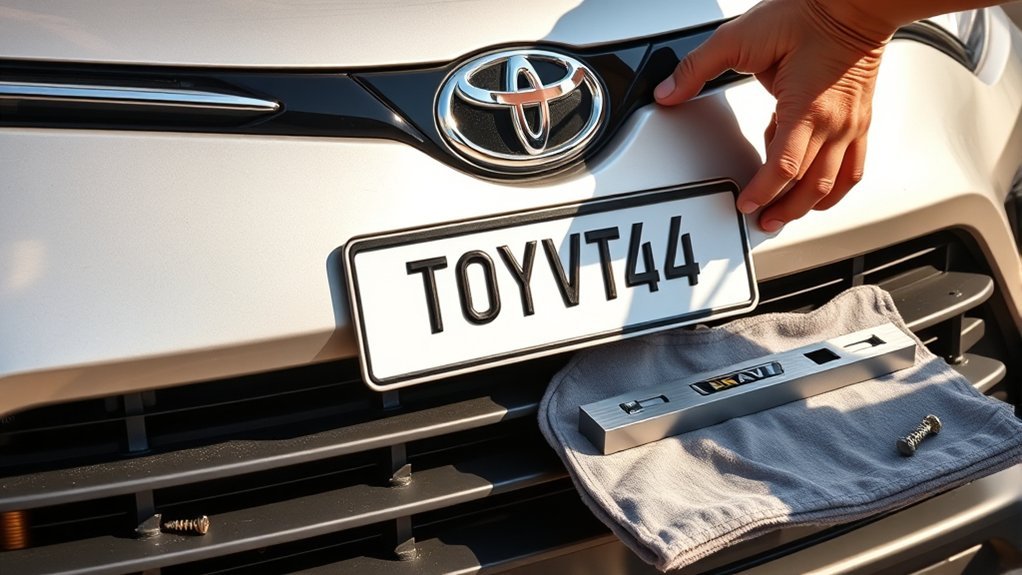
Good alignment gives your RAV4 a clean look and helps the bracket stay secure. Start by using the factory dimples to place the bracket in the correct mounting position.
Align the elongated side of the bracket with the dimples before you tighten the screws. Insert both screws loosely first, then lift or shift the bracket until it sits straight.
After you tighten the screws, stand in front of the vehicle and check the plate from several angles. The bracket should look level with the front fascia and centered across the bumper area.
Tips for a Level License Plate Bracket
You can keep the license plate bracket level by adjusting it before the screws fully tighten. Use the dimples as your guide, then check the top edge of the bracket against the front bumper line.
Tighten each screw a little at a time instead of fully tightening one side first. This keeps the bracket from twisting as you secure it.
Pro tip: Take a photo from straight ahead before attaching the plate, since small alignment issues show clearly in a photo.
After installation, inspect the bracket from the front and both sides. If one side looks higher, loosen the screws slightly, adjust the bracket, and tighten them again.
Troubleshooting: Common Mistakes and Solutions
Small installation mistakes can make the plate crooked, loose, or hard to secure. Most problems come from poor alignment, the wrong screws, or too much force.
- The bracket looks crooked: Loosen the screws, realign the bracket with the dimples, and tighten each side evenly.
- The screws will not start: Check that the bracket holes sit over the dimples before you apply more pressure.
- The bracket feels loose: Tighten the screws until snug and confirm that the plate screws also hold firmly.
- The holes feel stripped: Stop tightening and inspect the mounting area before you add more force.
- The plate rattles while driving: Recheck all screws and confirm the plate sits flat against the bracket.
Using non-standard screws can make the plate unstable. Use screws that fit the bracket and hold the plate without bottoming out.
Final Checks After Installing Your License Plate Bracket
After you install the license plate bracket, check its visual alignment with the front of your RAV4. The plate should sit level and should not tilt to one side.
Next, test the screw tightness. Each screw should feel secure, but you should not see bent plastic or stress marks around the mounting points.
Gently pull on the bracket to confirm that it does not move. If you notice any movement, tighten the screws slightly and inspect the fit again.
Visual Alignment Check
Once you install the license plate bracket on your Toyota RAV4, conduct a careful visual alignment check. Stand back, view the front of the vehicle, and confirm that the bracket sits level with the front fascia.
Use a measuring tape if you want a more exact check. Compare the distance from each side of the bracket to nearby bumper edges.
| Step | Action |
|---|---|
| Level Check | Inspect alignment with the front fascia |
| Distance Measurement | Measure from the bracket to vehicle edges |
| Angled View | Observe from different perspectives |
| Stability Check | Confirm all screws are snug, not overtightened |
| Regular Evaluation | Check alignment and stability from time to time |
Screw Tightness Evaluation
Check each screw after you finish the installation. Screws should sit flush with the bracket and should not angle away from the mounting holes.
Use light, steady pressure when you tighten the screws. Stop when each screw feels snug and the bracket no longer shifts.
Recheck screw tightness after a few longer drives. Road vibration can loosen hardware, especially during the first week after installation.
Stability Inspection Reminder
Finish the job with a simple stability inspection. Hold the bracket with one hand and gently pull forward to confirm that it stays firmly attached.
Do not force the bracket or bend the plate during this check. You only need enough pressure to spot loose hardware.
If the bracket moves, re-tighten the screws and inspect the plate screws too. A loose plate can wear the bracket and create noise while you drive.
Additional Considerations for Your License Plate Installation
After you install the front plate, keep an eye on the stability of the bracket. Regular checks help prevent loose screws, rattles, and plate damage.
You should also check your local license plate laws before you drive. Front plate rules vary by state, and local requirements may affect how your plate must sit.
Regular Stability Checks
Inspect the license plate bracket about once a month. Look for loose screws, cracked plastic, or signs that the bracket has shifted.
Clean the area around the bracket when dirt builds up. Dirt and grit can hide small cracks and make the plate harder to inspect.
If you hear rattling while driving, check the screw tightness and bracket alignment right away. A quick adjustment can prevent more wear.
Compliance With Local Laws
Make sure your front license plate installation follows the rules where you register and drive your vehicle. Some states require a front plate, while others do not.
- Confirm whether your state requires a front license plate.
- Mount the plate so it stays visible and secure.
- Follow local rules for plate placement and visibility.
- Review the rules again if you move to another state.
Failure to follow local plate rules can lead to fines or vehicle registration issues. A secure, visible mount helps you avoid those problems.
Frequently Asked Questions
How do you install a front plate on a RAV4?
Line up the front bracket with the factory dimples on the bumper. Start the screws, adjust the bracket until level, then tighten the screws until snug. Attach the license plate to the bracket with standard plate screws.
What is the lawsuit against the Toyota RAV4?
Some Toyota RAV4 lawsuits have involved issues such as fuel systems, oil consumption, or safety claims. These topics do not affect the basic steps for installing a front license plate bracket. Check official recall notices or legal updates if you need information about a specific model year.
How do you put a front license plate on a car that doesn’t have one?
Use a model-specific bracket when one exists, because it lines up with the bumper shape and mounting points. If your car has no factory marks or bracket option, confirm local rules and choose a mount designed for your vehicle.
What size screw fits a Toyota RAV4 license plate?
Many Toyota RAV4 plate mounts use standard license plate screws, but the exact size can vary by bracket. Common options include 1/4″-14 x 1″ or 1/4″-20 x 1″ screws. Use rust-resistant screws that fit the bracket without forcing the holes.
Do you have to drill holes for a RAV4 front plate bracket?
Many RAV4 front brackets mount at the factory dimples on the bumper. The screws may create or enter the mounting points as you install the bracket. Check your bracket instructions before you drill, because drilling in the wrong place can damage the bumper.
Conclusion
A front license plate bracket looks best and works best when you align it before you tighten the screws. Start with the factory dimples, tighten the bracket only until snug, and check the plate from several angles. After a few days of driving, inspect the bracket again and tighten any loose hardware. With a careful install, your RAV4 stays compliant, secure, and clean-looking on the road.