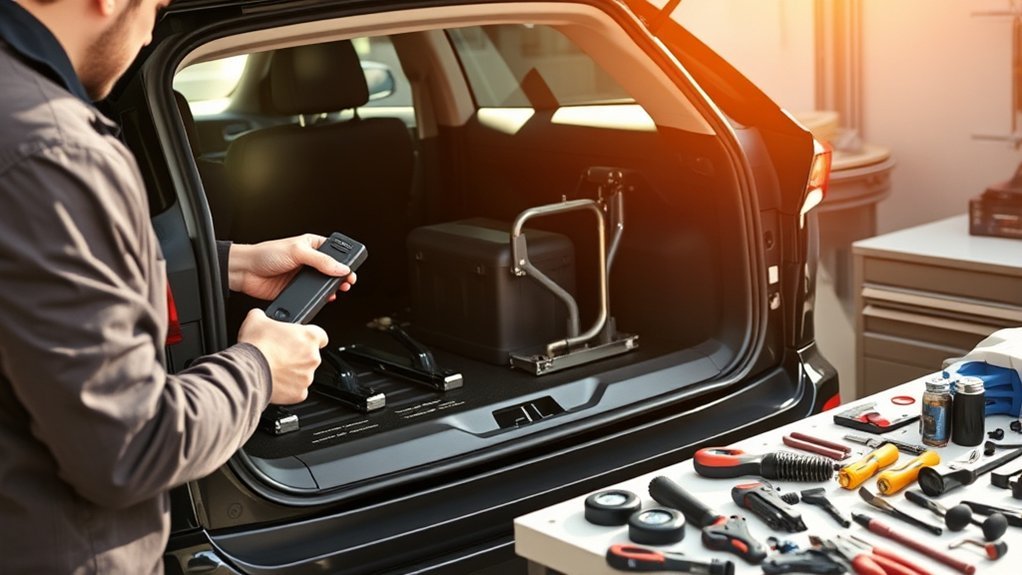
To install an auto liftgate on your Toyota RAV4, start by removing the liftgate panel carefully to avoid damaging clips. Next, connect the wiring harness according to the color codes, then secure the power liftgate struts at their mounting points. Test the liftgate to guarantee it operates smoothly, and program the height settings as needed. Be aware of common challenges you may encounter during the process, and find out how to address them effectively.
Benefits of Installing a Power Liftgate for Your RAV4
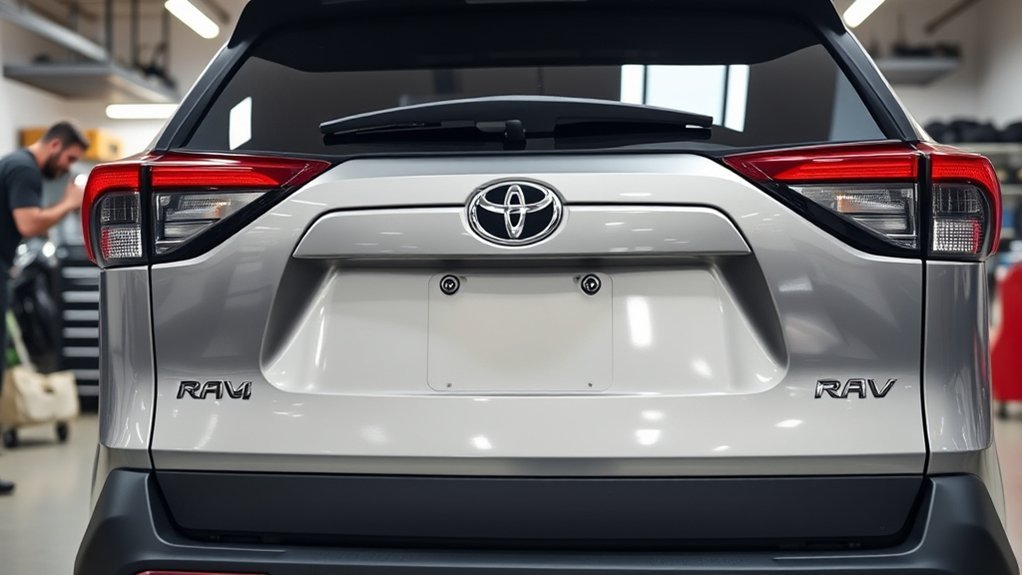
When you install a power liftgate in your RAV4, you gain hands-free operation that simplifies loading and unloading, particularly when your hands are full. This upgrade greatly enhances convenience, allowing you to access your trunk without the hassle of manually lifting a heavy hatch. Many aftermarket power liftgate kits come equipped with features like remote control compatibility, customizable height settings, and an anti-pinch function, ensuring both usability and safety. Integrating seamlessly with your existing keyless entry system, a power liftgate modernizes your RAV4 and elevates your driving experience. With this advanced tailgate technology, you’ll enjoy a new level of freedom and efficiency, making your daily tasks feel effortless and more manageable.
Essential Tools and Materials for Installation
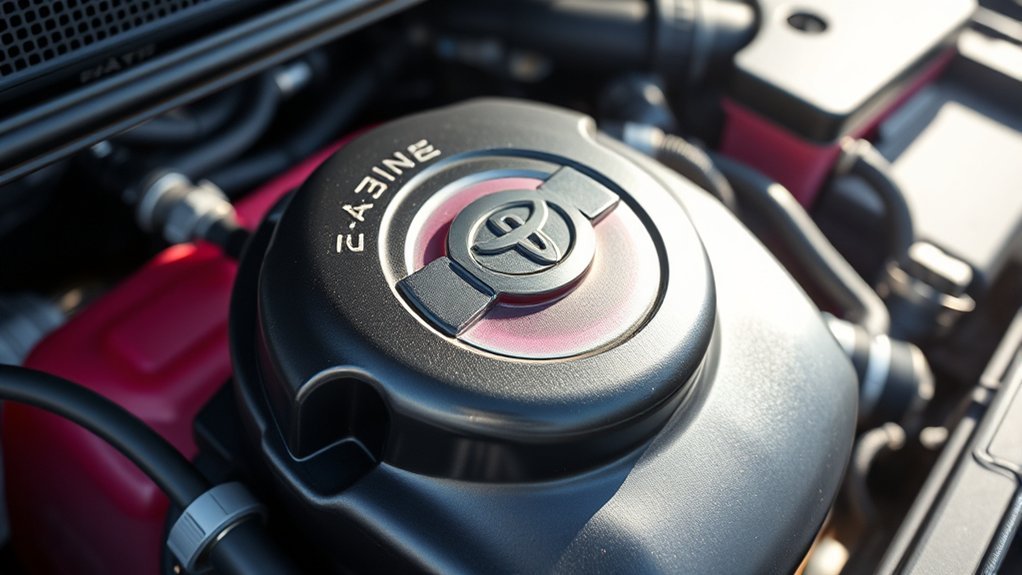
To successfully install a power liftgate on your Toyota RAV4, you’ll need several essential tools and materials. Gather these before you begin to guarantee a smooth installation process:
- Socket set – For loosening and tightening bolts.
- Screwdrivers – To secure components in place.
- Wire strippers – For preparing electrical connections.
- Multimeter – To verify electrical functionality.
In addition to these essential tools, have the following installation materials ready: power liftgate struts, wiring harness, control module, and the provided installation instructions. Don’t forget electrical tape and zip ties for organizing wiring. A torque wrench will help you tighten everything to manufacturer’s specifications. Having a second person can also make this process easier and more efficient.
Step-by-Step Guide to Installing the Power Liftgate Kit
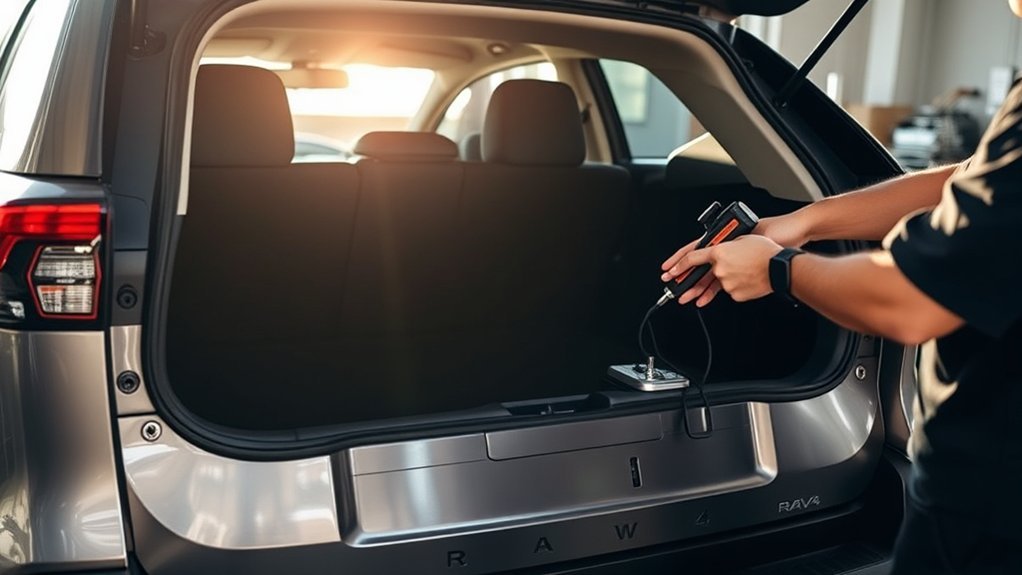
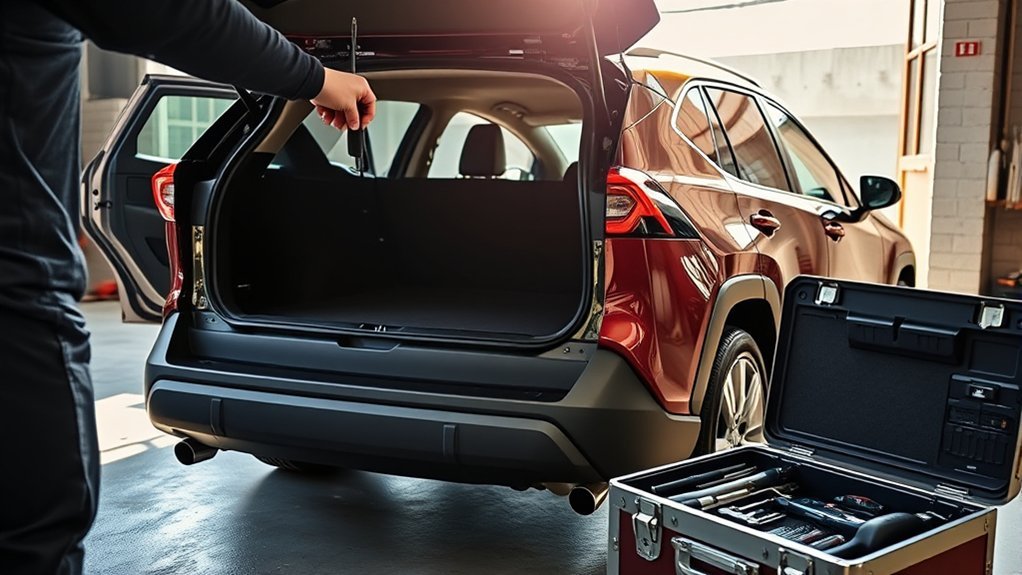
Installing the power liftgate kit on your Toyota RAV4 requires careful attention to detail and adherence to the provided instructions. Start by gathering your tools and the power liftgate kit components.
| Step | Action | Notes |
|---|---|---|
| 1 | Remove liftgate panel | Avoid damaging clips |
| 2 | Connect wiring harness | Follow color coding |
| 3 | Attach power liftgate struts | Secure mounting points |
| 4 | Test liftgate operation | Verify functionality |
Once the wiring is connected as per the installation instructions, attach the struts securely. Before reassembling the interior panel, test the liftgate’s operation thoroughly. After installation, program the height settings and check all functions to verify everything operates smoothly and safely.
How to Set Your Liftgate’s Height Just Right?
Setting the height of your liftgate accurately verifies it opens perfectly within your space constraints, whether in your garage or at other storage areas. Follow these steps to guarantee your Toyota RAV4’s power liftgate functions seamlessly:
- Locate the height adjustment button on the liftgate or inside the vehicle.
- Open the liftgate fully to your desired height.
- Press and hold the height adjustment button until you hear a beep, confirming the new height is set.
- Test the liftgate by closing and reopening it to verify it operates smoothly at the adjusted position.
Common Challenges During Power Liftgate Installation and Solutions
Even after successfully adjusting your liftgate’s height, you might face challenges during the installation of the power liftgate itself. Wiring discrepancies, especially between the Chinese and US versions of the RAV4, often lead to trial and error in identifying correct wire connections. Pay close attention to installation instructions, as differing color codes can confuse, causing potential operational problems if mismatched. You may notice that the front button only opens the back door while the back button closes it but doesn’t open it initially, indicating underlying wiring issues. Meticulous attention to detail during installation is essential, and consulting online resources or community forums can provide valuable assistance in overcoming these challenges.
Testing Your Liftgate After Installation
Once you’ve completed the installation of your power liftgate, it’s crucial to thoroughly test its functionality to verify everything operates as intended. Here are the key steps for effective testing:
After installing your power liftgate, it’s essential to test its functionality to ensure everything works correctly.
- Remote and Manual Operation: Use both the remote control and manual buttons to ensure the liftgate opens and closes smoothly.
- Adjustable Height Settings: Program the liftgate to your preferred height and confirm it responds accurately during operation.
- Anti-Pinch Function: Place an object in the liftgate’s path to verify it stops and reverses appropriately for safety.
- Keyless Entry Compatibility: Test the liftgate with your key fob to ensure seamless operation.
Maintaining Your Power Liftgate for Longevity
To guarantee your power liftgate operates effectively over time, regular maintenance is essential. Start by lubricating the liftgate struts and hinges to facilitate smooth operation and prevent stiffness. Periodically check and clean the wiring connections to avoid corrosion that can hinder performance. Inspect the liftgate’s sensors and safety features, including the anti-pinch function, to verify they’re functioning properly. Keep the liftgate’s track clear of debris and obstructions to prevent mechanical strain during operation. Always follow the manufacturer’s maintenance guidelines and address any unusual noises or operational issues promptly. By maintaining these aspects, you’ll enhance the longevity of your power liftgate, assuring it continues to serve you efficiently and reliably.
Read User Experiences With Aftermarket Power Liftgate Kits
When considering aftermarket power liftgate kits, you’ll find a mix of user experiences that highlight both convenience and installation challenges. Many appreciate the hands-free operation and customizable height settings, but some encounter wiring issues that complicate the setup process. Understanding these shared experiences can help you make informed decisions and better prepare for potential installation hurdles.
Installation Experiences Shared
While many users have successfully installed aftermarket power liftgate kits on their Toyota RAV4s, the experiences shared highlight a variety of challenges that can arise during the process. Here are some common issues you might face:
- Wiring discrepancies due to differing installation instructions between US and international models.
- Buttons that perform only one function, like the front button opening the back door while the back button only closes it.
- Operational issues stemming from incorrect wire connections during installation.
- The need for adjustments in door opening heights, which can be tricky.
Paying careful attention to these details is essential for a smooth installation, as the aftermarket kits may not integrate as seamlessly as factory-installed options.
Convenience Of Power Liftgate
The convenience of a power liftgate transforms your experience with the Toyota RAV4, especially for those juggling bags or other items. You’ll appreciate how easily you can access the trunk without needing to set everything down. Aftermarket power liftgate kits enhance convenience with features like remote control and adjustable opening heights.
| Feature | Benefit | User Feedback |
|---|---|---|
| Remote Control | Hands-free operation | Highly appreciated |
| Adjustable Opening Heights | Customization for various needs | Convenient for all users |
| Easy Installation | Manageable process | Rewarding experience |
| Modern Functionality | Upgrade from manual liftgates | Significant satisfaction |
Common Installation Challenges
Installing an aftermarket power liftgate kit for your Toyota RAV4 can greatly enhance your vehicle’s convenience, but users have encountered several common challenges during the process. Here are a few installation challenges you might face:
- Wiring discrepancies between model variants can complicate connections.
- Malfunctioning buttons may occur, with the front button only opening the back door while the rear button operates inconsistently.
- Adjustments to door opening heights might not function correctly due to wiring issues.
- Installation can take around 7 hours, particularly when removing the liftgate panel.
Despite these hurdles, many users report improved functionality after installation, including effective anti-pinch protection. Stay patient and methodical to guarantee a successful upgrade.
Frequently Asked Questions
Can You Add a Power Liftgate to a RAV4?
Yes, you can add a power liftgate to your RAV4. Consider power liftgate benefits like convenience and safety, but keep installation process complexities and cost considerations in mind, as expenses can escalate considerably.
Can an Automatic Lift Gate Be Installed?
Yes, you can install an automatic liftgate. Consider your options carefully; the installation process can be intricate and costly, often reaching thousands. Weigh the benefits against the investment for your freedom of access.
What Is the Liftgate Lawsuit on the RAV4?
The liftgate lawsuit on the RAV4 addresses liftgate malfunction issues, alleging safety risks. It highlights Toyota customer complaints regarding warranty implications and unreliable performance, prompting legal action for compensation and accountability from the automaker.
What Year of RAV4 to Stay Away From?
“Better safe than sorry.” You should stay away from 2010-2012 RAV4s due to reliability issues and common problems. For a dependable choice, consider later models after thorough Toyota model comparisons to avoid headaches.
Conclusion
In wrapping up your journey with the power liftgate installation, you’ve transformed your Toyota RAV4 into a more convenient companion. With the right tools and a little patience, you’ve added a touch of modern ease to your daily routine. Remember, regular maintenance will keep your liftgate humming along smoothly for years to come. So, embrace this upgrade and enjoy the effortless access to your trunk, making every trip just a bit more enjoyable.