
To install a dash cam, start by cleaning the windshield and choosing a spot behind the rearview mirror for minimal obstruction. Secure the mount and connect the power cable to the vehicle’s outlet. Route the cable neatly, using clips to keep it tidy. Identify a suitable fuse for power and guarantee it’s labeled “hot in start.” Once everything’s set up, test the functionality to confirm it records correctly. There’s more to optimizing your dash cam setup—keep going for additional tips!
Benefits of Installing a Dash Cam
Installing a dash cam offers numerous benefits that can enhance your driving experience and provide peace of mind. One of the key advantages is having a reliable record of driving incidents, which is invaluable in disputes with insurance companies or law enforcement after accidents. Dash cams also enhance vehicle security by capturing footage of potential theft or vandalism, giving you solid evidence to present to authorities. Many dash cams come with features like GPS tracking and parking mode, ensuring your vehicle remains safe even when you’re not around. Plus, you can share footage on social media or with friends, reliving scenic drives or funny moments. In conclusion, studies show that having a dash cam can lower your insurance premiums, as insurers appreciate the added accountability and protection they provide. Embracing the benefits of installing a dash cam can truly liberate your driving experience.
Preparing Your Vehicle for Dash Cam Installation
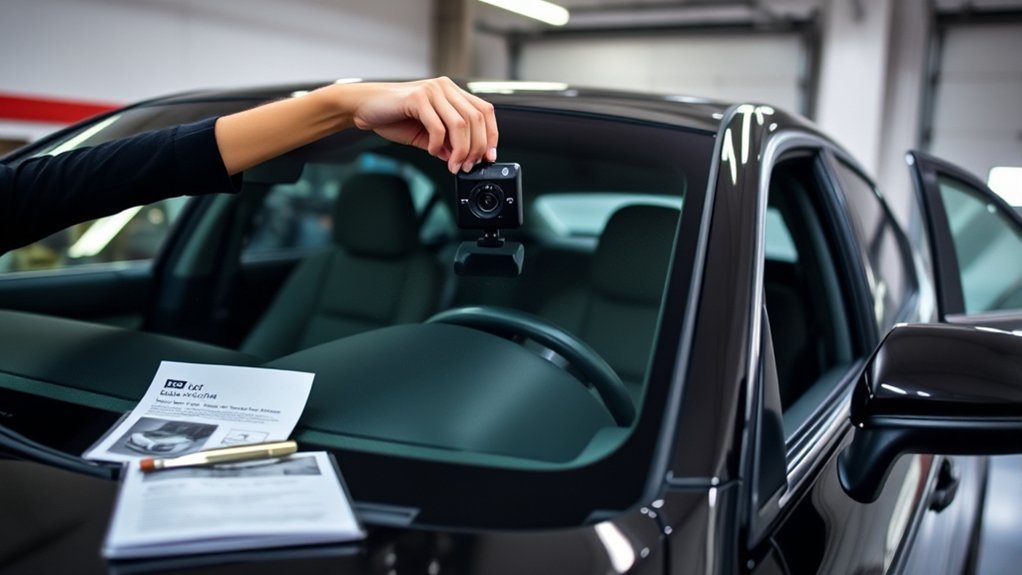
Before you plunge into installing your dash cam, it’s essential to prepare your vehicle properly to guarantee peak performance. Start by cleaning the windshield area where you’ll have the dash cam mounted. This guarantees ideal adhesion and visibility for the camera. Choose a position behind the rearview mirror; it maximizes road visibility without obstructing your view. Check that the installation spot is free from any tint, stickers, or black dotted areas that could interfere with functionality.
Next, confirm that the mount is secure before proceeding with installation to prevent any movement while driving. Gather all necessary tools and materials, including the dash cam, mount, power cable, and cleaning supplies, to streamline the process. Taking these steps will set you up for success, allowing your dash cam to operate effectively and provide you peace of mind on the road.
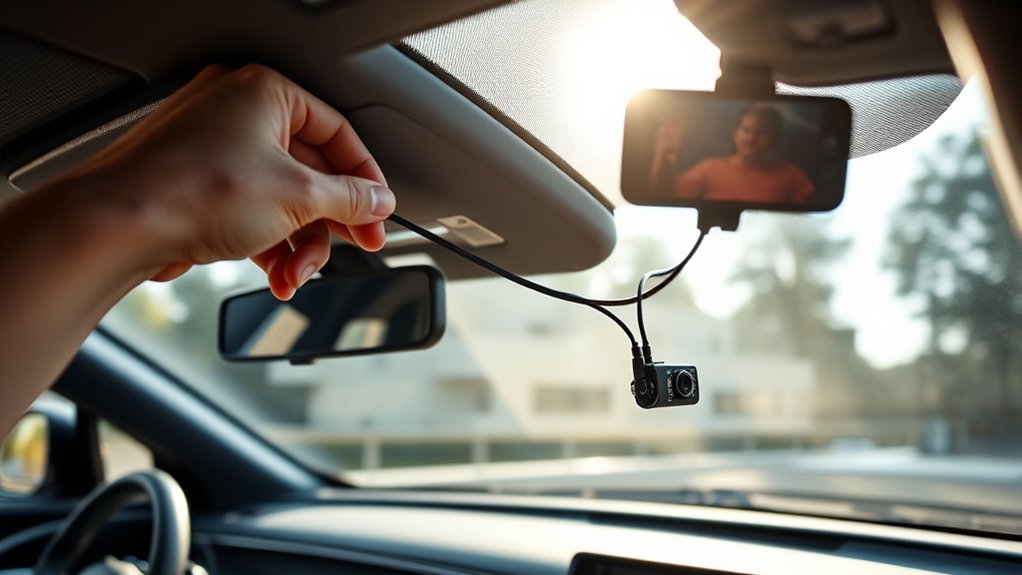
Where Should You Place Your Dash Cam?
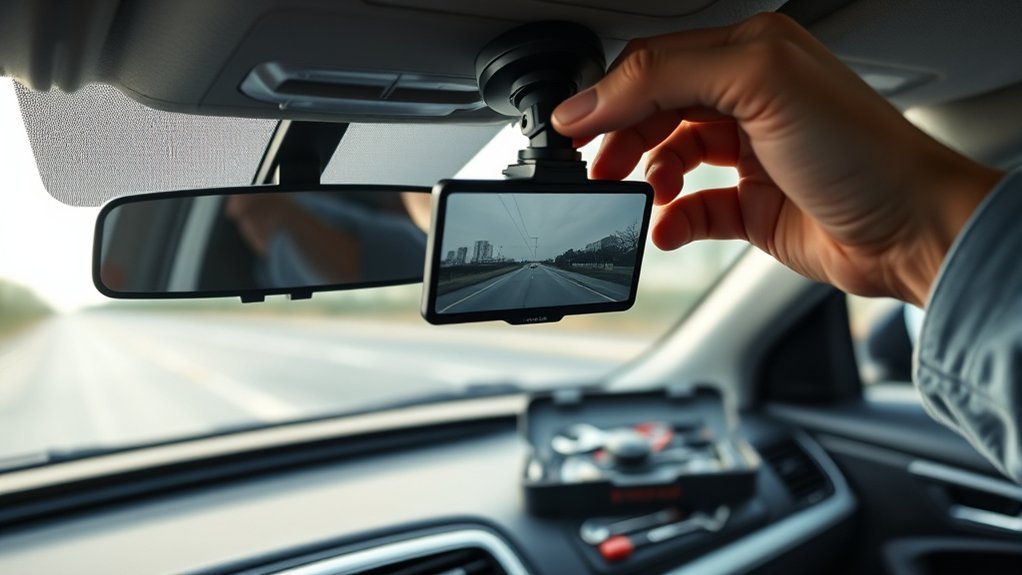
Finding the right spot for your dash cam can greatly impact its performance and your driving experience. Aim to mount it directly behind the rearview mirror; this position minimizes obstruction while maximizing the camera’s field of vision. Avoid the black dotted area on the windshield, as it can affect adhesion and stability.
| Placement Option | Benefits |
|---|---|
| Behind the Rearview | Clear view, less distraction |
| Side Windows | Wider angle for side views |
| Dashboard | Easy access but may block vision |
Verify the surface is flat and smooth for ideal attachment. Check that the lens is unobstructed and clean for clear footage. Finally, confirm the camera’s visibility and verify it doesn’t interfere with vehicle features or distract you while driving. Proper dash cam installation can enhance your safety and peace of mind on the road.
How to Route the Power Cable to the Fuse Box
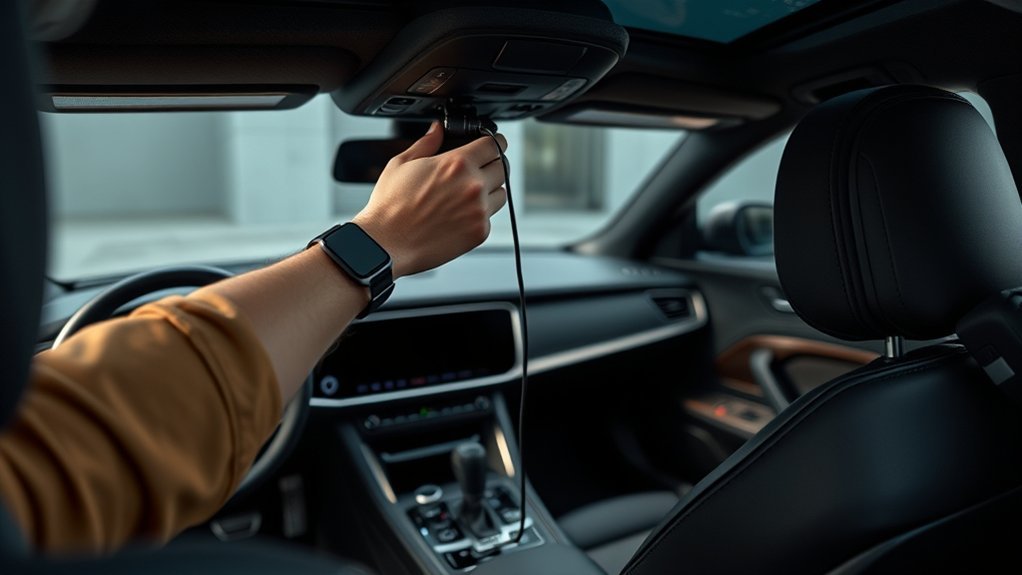
Routing the power cable to your vehicle’s fuse box is a crucial step in making certain your dash cam operates effectively. Start by locating the fuse box, usually under the dashboard on either side; check your owner’s manual for specifics. Next, route the power cable from your dash cam along the headliner and down the A-pillar. Use rubber trim to conceal the cable, keeping your installation clean and professional. If you need easier access, remove the A-pillar cover.
Once you’ve got the cable in place, utilize a circuit tester to find a fuse that’s only active when the ignition is in the ‘run’ position. This guarantees your dash cam gets power only while the vehicle is running. Finally, secure the power cable behind interior panels and connect it to the fuse box with an add-a-circuit power cable, making sure you establish a proper ground connection for peak performance.
[Products Worth Considering]

【Low Voltage Protection】 Once the input voltage drops below 11.6V (23.2V for 24V input), the battery drain protection will cut off the power supply, leaving enough power to ignite the engine without damaging the battery.

Dual-slot Fuse Holder: Provides 1 fuse holder to protect existing circuits and a second fuse holder to protect new circuit. Blue flexible socket tail, very easy to connect to any naked wires by only use a vise

【Compatible for ROVE R2-4K with USB-C Port, R2-4K PRO, R2-4K DUAL, R2-4K DUAL PRO, and R3 Dash Cam with USB Type C】 This dash cam hardwire kit is specially designed for R2, R2-PRO, R2-DUAL, R2-4K DUAL PRO and R3 dash cams to be used for 24-hours parking monitor.
Identifying a Suitable Fuse for Power Connection
How can you guarantee your dash cam gets the right power source? Start by identifying a suitable fuse in your vehicle’s fuse box. Look for fuses labeled as “hot in start,” which means they only provide power when your ignition is in the “run” position. Grab a circuit tester and check the voltage on the fuses. Make sure the one you choose doesn’t have power when the ignition is off. Fuses for accessories or interior lights often work well since they usually fall into this category. It’s vital to consult your vehicle’s owner’s manual to understand the specific fuse layout and avoid disconnecting critical systems. Finally, confirm that the selected fuse can handle your dash cam’s current load. This guarantees a smooth operation without blowing the fuse, keeping your dash cam powered and ready when you hit the road.
[Products Worth Considering]

Dual-slot Fuse Holder: Provides 1 fuse holder to protect existing circuits and a second fuse holder to protect new circuit. Blue flexible socket tail, very easy to connect to any naked wires by only use a vise

DUAL-SLOT FUSE HOLDER: The dual-slot fuse jumper connector provides two fuse holders, one fuse holder to protect existing circuits and the second fuse holder to protect new circuits, making it safe and reliable to use in daily life

Package Dimensions: 11.684 cm (L) X 8.636 cm (W) X 2.286 cm (H)
Install the Add-a-Circuit Power Cable
Before diving into the installation of your dash cam, it’s essential to verify a secure power connection with an add-a-circuit power cable. Start by removing the key from the ignition to guarantee your safety during this process. Next, use a fuse puller or pliers to gently extract the identified fuse from the fuse box that’s designated as hot in start. Once removed, insert this fuse into the add-a-circuit kit, making sure it fits snugly.
Now, plug the add-a-circuit kit back into the original fuse slot in the fuse box, ensuring it’s properly seated for a reliable connection. Finally, locate a suitable ground point for the installation wiring kit to complete your dash cam’s power supply. Following these steps will help you install a dash cam effectively, making certain it’s powered and ready to capture every moment on the road.
[Products Worth Considering]

【Compatible 12–24V Vehicles】This hardwire kit dash cam connects the camera directly to the car, truck, bus, SUVs, or big rig for continuous power, accepts voltage from any type of vehicles runs on 12–24V.

【24 Hours Parking Surveillance】When the engine is off, HK4 hardwire kit provides continuous power to the camera, any collisions, event will be recorded.

[Compatible with 12-28V Vehicles] this hardwire kit allows the dash camera to be connected directly to a car, truck, bus, suv, or large truck for continuous power supply, accepting 12-28V from any type of vehicle.
How to Properly Ground Your Dash Cam for Optimal Performance
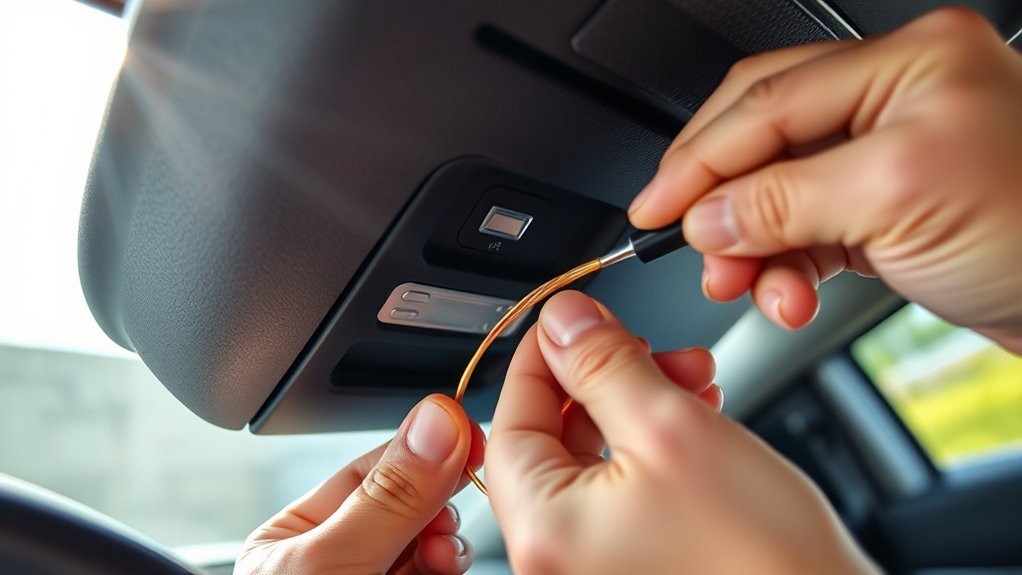
To guarantee peak performance, you need to choose the right grounding location for your dash cam. Securely connecting the ground wire to a solid metal chassis point will help prevent electrical interference. Always double-check that your connections are tight and free from corrosion to keep your dash cam running smoothly.
Choosing Grounding Locations
Choosing the right grounding location for your dash cam is essential for guaranteeing ideal performance. To achieve a solid electrical connection, consider these key points when selecting grounding locations:
- Opt for unpainted metal surfaces, like the chassis or metal brackets.
- Make sure the area is free from rust and dirt to prevent interference.
- Use a ring terminal attached to the grounding wire for a secure fit.
- Choose a spot that’s easily accessible for future maintenance or troubleshooting.
- If needed, clean the area with sandpaper or a wire brush to remove any corrosion.
Ensuring Secure Connections
When grounding your dash cam, securing a reliable connection to the vehicle’s chassis is essential for maximum performance. Start by using a wire stripper to remove insulation from the ground wire, ensuring a solid electrical connection. Next, clean the grounding area with a wire brush or sandpaper to eliminate any rust or paint that could interfere with the installation. For a secure attachment, utilize a ring terminal connector and fasten it tightly with a screw or bolt. After everything’s in place, confirm the continuity of the ground connection with a multimeter. This step is vital to verify there are no breaks in the circuit, guaranteeing the best power supply to your dash cam. Enjoy your drive with peace of mind!
Tips for Hiding and Securing Your Dash Cam Cables
Hiding and securing your dash cam cables can make a significant difference in your vehicle’s interior appearance and safety. By following these tips, you’ll keep your setup neat and avoid distractions while driving:
- Route the power cable along the headliner and tuck it into the A-pillar trim.
- Use rubber trim along the A-pillar to conceal the cable effectively.
- Secure excess wire with cable clips underneath carpets or along interior panels.
- Remove the A-pillar cover gently to prevent damage to any clips or trim.
- Always check that the power cable isn’t pinched or obstructed to avoid wear and electrical issues.
How to Test Your Dash Cam After Installation
Once you’ve installed your dash cam, it’s essential to test its power functionality. Start your vehicle and guarantee the cam powers on without any issues. Next, record a short video while driving to confirm that the recording feature works properly.
Check Power Functionality
To guarantee your dash cam is functioning properly after installation, start by plugging it into your car’s power outlet. This step is essential to check power functionality. Once connected, verify the dash cam powers on and begins recording automatically when you start your vehicle. Here are some additional checks to perform:
- Verify the camera lens is clean and unobstructed.
- Test video playback and recording settings for functionality.
- If your dash cam has Wi-Fi, connect it to check for software updates.
- Confirm all features are operational, including any specific settings you may need.
- Listen for any unusual sounds that might indicate a malfunction.
Test Video Recording
After you’ve installed your dash cam, it’s essential to test the video recording functionality to guarantee everything’s working as it should. Start by plugging in the dash cam and ensuring it powers on, with all indicator lights functioning correctly. Then, start your vehicle to confirm the dash cam activates automatically and records during your drive. After your test drive, review the recorded footage on the microSD card—check for clear video quality and functioning audio, if applicable. Don’t forget to check the dash cam settings, ensuring features like loop recording and G-sensor are enabled. Regularly format the microSD card after saving important videos to maintain performance. If you encounter issues, don’t hesitate to consult a professional for assistance.
Routine Maintenance for Your Dash Cam
Maintaining your dash cam is essential for guaranteeing it captures clear, reliable footage when you need it most. Regular routine maintenance for your dash cam doesn’t take much time and can greatly enhance performance. Here are some key tasks to keep in mind:
Regular maintenance of your dash cam is crucial for ensuring clear and dependable footage when it matters most.
- Clean the camera lens and windshield using a microfiber cloth and gentle glass cleaner to prevent blurry footage.
- Reformat the microSD card every few months to maintain peak performance and avoid data corruption.
- Check for firmware updates on the manufacturer’s website to confirm you have the latest features.
- Inspect the power connection and cable routing regularly for any signs of wear that could lead to power loss.
- Keep the dash cam’s internal settings calibrated, adjusting recording resolution based on your needs and local regulations.
Frequently Asked Questions
Can I Install a Dash Cam by Myself?
Yes, you can definitely install a dash cam by yourself! With DIY installation options available, you’ll find it easy to follow tutorials online and use included kits. Just gather your tools, and you’re all set!
Will My Insurance Go Down if I Have a Dashcam?
Yes, your insurance could go down with a dashcam. Insurance benefits often include discounts for proactive safety measures. Always check with your provider, as policies and potential savings vary based on your specific situation.
Are There Dashcams Without Wires?
Yes, there are wireless dashcams available! These wireless options operate on battery power or Wi-Fi, making installation simple and hassle-free. Just keep an eye on battery life and connectivity for uninterrupted recording.
Will Hardwiring a Dash Cam Drain the Battery?
Hardwiring a dash cam can indeed impact your battery, especially if it lacks a voltage cutoff feature. To prevent excessive drain, consider using a hardwiring kit or auxiliary battery for peace of mind.
Conclusion
Installing a dash cam not only enhances your vehicle’s security but also provides peace of mind while driving. Did you know that nearly 70% of drivers believe dash cams can help reduce insurance premiums by providing clear evidence in case of accidents? By following these steps, you’ll guarantee your dash cam is set up correctly and ready to capture your journeys. Regular maintenance keeps it functioning efficiently, so you can drive with confidence, knowing you’re protected on the road.


Leave a Reply