To fix the side mirror on your Toyota RAV4, start by removing the door panel for access. Use a trim tool and Phillips screwdriver to take off screws and covers. Disconnect the wiring harness, then use a 10 mm socket to remove the nuts securing the mirror. Gently detach the mirror, replace it with the new one, and reassemble everything carefully. For additional tips and techniques, there’s more helpful information ahead.
Understanding Why a Functional Side Mirror Matters

While you might think of side mirrors as simple accessories, they play an essential role in driving safety. A functional side mirror is critical for enhancing mirror safety, as it provides you with a clear view of the rear and side areas of your vehicle. This visibility is significant when changing lanes or merging, helping you avoid potential accidents caused by blind spots. In many regions, driving without a working side mirror can lead to legal penalties, underscoring the visibility importance for compliance with vehicle safety regulations. Modern mirrors often feature enhancements like blind-spot monitoring and integrated turn signals, further improving safety. Timely repairs are necessary to mitigate risks and guarantee you maintain ideal visibility on the road.
Signs It’s Time to Fix Your Side Mirror
How can you tell if it’s time to fix your side mirror? Look out for cracks or shattering, as these impair visibility and considerably increase accident risks. If your mirror feels loose or wobbly, it likely indicates damaged mounting hardware that needs addressing. Misalignment in the mirror glass can hinder your view, necessitating adjustments or replacements to guarantee safety while driving. Additionally, inoperative electronic features like power adjustments signal possible electrical issues requiring prompt attention. Continuous vibrations or shaking during driving also point to problems that demand immediate action. Follow these mirror maintenance tips and adhere to safety inspection guidelines to keep your side mirrors functional and your driving experience safe.
Tools Needed for RAV4 Side Mirror Replacement
To replace the side mirror on your Toyota RAV4, you’ll need specific tools to guarantee a smooth process. A 10 mm socket, Phillips screwdriver, and trim tool are essential, while safety gear is vital to protect yourself during the task. Additionally, optional tools like a clip remover can enhance your efficiency and simplify the job.
Essential Tools Required
When replacing the side mirror on your Toyota RAV4, having the right tools at hand is vital for a smooth and efficient process. Start with a 10 mm socket and an impact gun to remove the nuts securing the mirror. A socket wrench with an extension helps you reach those tight spaces around the mirror. You’ll also need a Phillips screwdriver to detach screws from the door panel. A trim tool is essential for safely removing the plastic cover and the inner door handle without damaging the trim. Finally, use a clip remover tool to completely detach any stubborn plastic covers during the process. Following these maintenance tips will streamline your tool selection and guarantee a successful replacement.
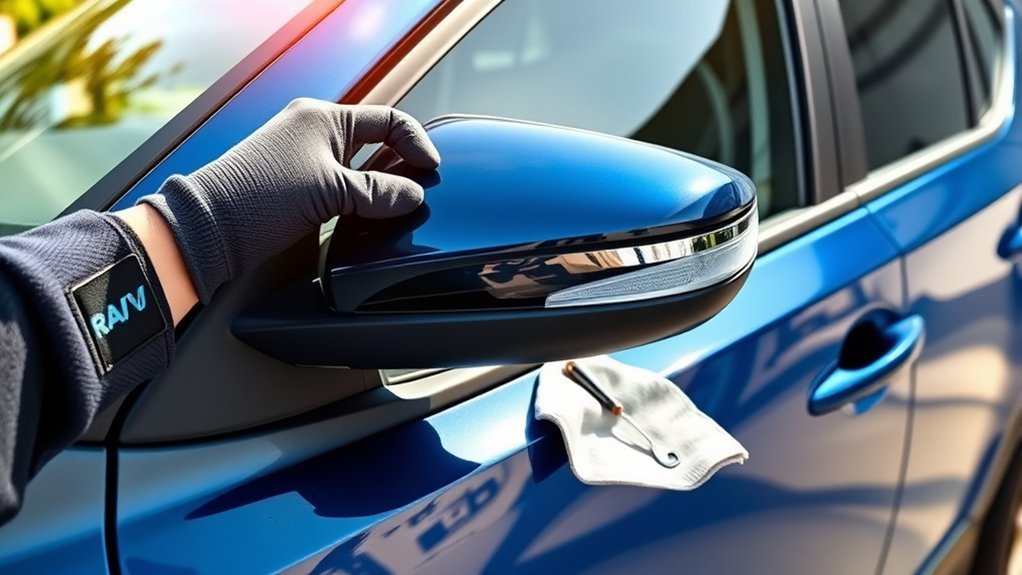
Safety Gear Importance
Replacing the side mirror on your Toyota RAV4 requires not only the right tools but also proper safety gear to guarantee a secure and injury-free process. Start by wearing safety goggles to shield your eyes from debris. Gloves are essential too; they protect your hands from cuts caused by sharp edges on the door panel and mirror assembly. A trim removal tool helps you safely detach plastic covers without damaging the door panel. Make sure you have a Phillips screwdriver and a 10 mm socket wrench ready, as these are vital for screw and nut removal. If you encounter stubborn screws or nuts, an impact gun can speed up the process, ensuring your safety and efficiency throughout the replacement.
Optional Tools For Efficiency
Having the right tools can greatly streamline the process of replacing your RAV4’s side mirror. Effective tool selection enhances your efficiency and minimizes frustration during the task. Here are some optional tools that can help:
| Tool | Purpose |
|---|---|
| 10 mm Socket | Removes screws securing the side mirror and plastic cover |
| Impact Gun | Speeds up screw removal |
| Socket Wrench & Ext. | Loosens the three nuts holding the side mirror in place |
| Trim Tool | Pries off plastic covers without damaging the door panel |
| Clip Remover Tool | Detaches stubborn plastic covers |
| Phillips Screwdriver | Simplifies screw removal behind trim cover and door panel |
Utilizing these tools will enhance your efficiency and make the replacement process smoother.
How to Remove the Door Panel for Side Mirror Access
To access the side mirror on your Toyota RAV4, you’ll need to remove the door panel carefully. Follow these steps for effective door panel removal:
- Use a trim tool to remove the plastic cover behind the inner door handle and unscrew the hidden screw with a Phillips screwdriver.
- Remove the large plastic trim cover along the armrest and unscrew additional screws behind it and at the bottom of the door panel.
- Pull the door panel outward from the bottom corners and lift it upwards to detach completely from the door frame.
- After panel removal, disconnect the two wiring connections: the green wire for the inner door lock, followed by the white wire for the inner door handle.
Now you’re ready to access the mirror!
Disconnecting Your RAV4 Side Mirror Wiring
To disconnect your RAV4 side mirror wiring, start by identifying the correct wiring connections behind the door panel. Make sure to follow a safe disconnection process, beginning with the green wire for the inner door lock, then the white wire for the inner door handle. Always handle the wiring and connectors carefully to prevent any damage.
Identifying Wiring Connections
Before you proceed with any repairs to the side mirror of your Toyota RAV4, it’s essential to disconnect the wiring connections properly. Understanding the wiring color coding is vital for maintaining mirror functionality. You’ll find two specific connections behind the door panel:
- Green wire: Inner door lock
- White wire: Inner door handle
To disconnect, press and hold the tab on the green wire‘s plug and pull it outwards. Repeat this process for the white wire to fully detach the inner door handle wiring. Confirm the wiring harness is completely detached before proceeding with any mirror repairs. If the switch panel separates during disconnection, reattach it carefully to guarantee proper functionality.
Safe Disconnection Process
Verifying your vehicle is turned off, begin the safe disconnection process for your Toyota RAV4’s side mirror wiring by locating the plug behind the mirror. Press and hold the tab while gently pulling it outwards. Follow the proper disconnection sequence: first, disconnect the inner door lock wiring (green wire), then the inner door handle (white wire) if applicable. Always observe wiring precautions by avoiding any forceful pulls that could damage the wiring harness or connectors. Confirm the wiring is completely detached and free of obstructions before you proceed with the side mirror removal. This careful approach will guarantee proper functionality when you reinstall the components, granting you confidence in your repair skills.
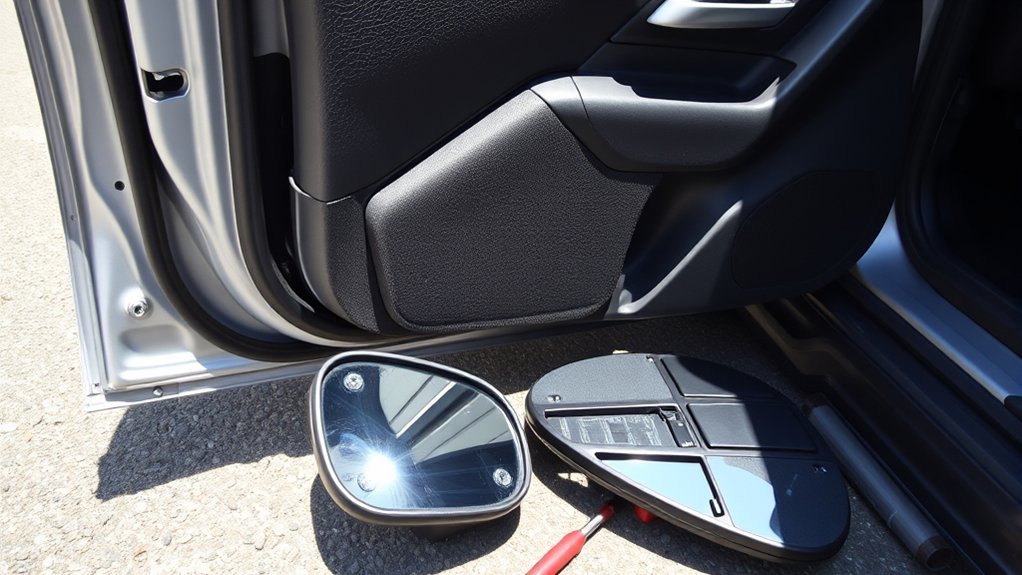
Essential Tips for Removing Side Mirror Nuts
When you’re ready to remove the side mirror nuts on your Toyota RAV4, gather your tools: a socket wrench, extension, and a 10 mm socket. Follow these essential tips for effective mirror maintenance:
- Locate the three nuts securing the side mirror; you’ll need to remove all of them.
- Keep a finger on each nut as you unscrew it to prevent dropping and losing them.
- Store the nuts in a small container or magnetic tray for easy nut storage.
- Double-check that all nuts are fully loosened before attempting to detach the side mirror.
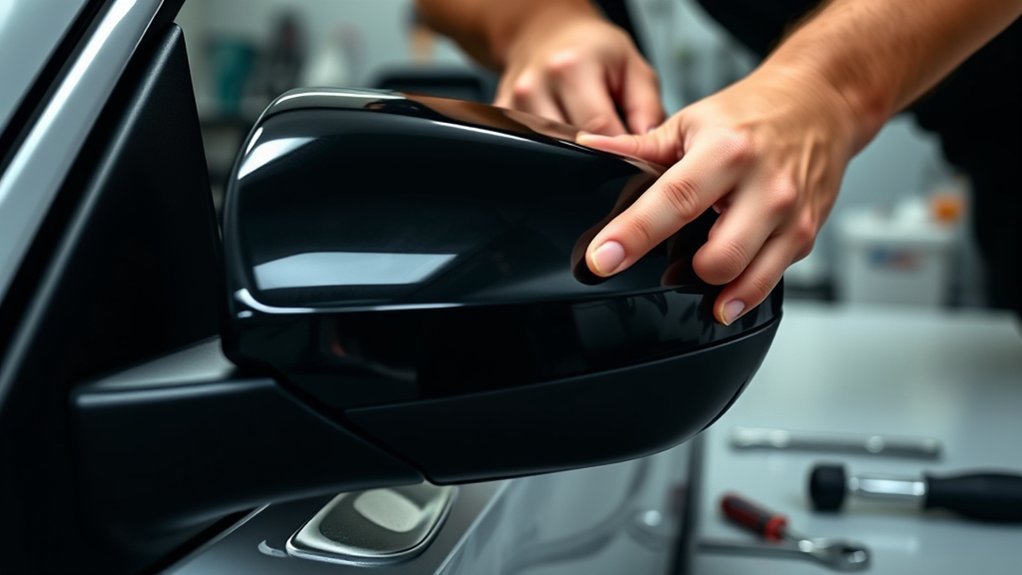
Safely Detaching the Side Mirror: Techniques You Should Know
To safely detach the side mirror on your Toyota RAV4, start by removing the door panel’s screws and plastic cover, which grants you access to the mirror’s wiring and securing nuts. Carefully disconnect the wiring harness by pressing and holding the tab before pulling it outwards, ensuring you don’t damage the connector. Next, use a 10 mm socket and a socket wrench to remove the three nuts securing the side mirror. Hold the nuts with a finger to prevent dropping them. Gently rock and roll the side mirror to detach it completely from the door, being mindful of any attached components. Following these mirror attachment techniques and detaching safety precautions will help you avoid damage during this process.
Reinstalling Your New Side Mirror: A Quick Guide
Now that you’ve safely detached the old side mirror, reinstalling the new one is straightforward. Follow these steps for proper mirror alignment and securing hardware:
- Align the new side mirror with the mounting holes on the door and gently push it into place.
- Secure the mirror by threading and tightening the three nuts you previously removed using a socket wrench and 10 mm socket.
- Reconnect the wiring plug by pressing and holding the tab, then firmly push it back into the socket until it clicks.
- Replace the plastic cover by aligning it properly and securing it with the 10 mm screw you removed earlier.
Finally, reattach the door panel by lifting it upwards and ensuring all screws and trim covers are well-fitted.
Top 5 Mistakes to Avoid When Replacing Your Side Mirror?
Replacing your side mirror can be straightforward, but it’s easy to make mistakes that could complicate the process. First, always disconnect the wiring harness properly; press and hold the tab while pulling out the plugs to avoid damaging electrical components. Second, don’t overlook the plastic cover and its 10 mm securing screw; remove these before detaching the mirror. Third, secure the nuts while unscrewing them—holding each with a finger prevents dropping them. Fourth, gently rock the side mirror during removal to protect the mounting mechanism. Finally, remember to reverse your removal steps during reinstallation; following the original order guarantees proper fit and function. Avoid these common side mirror issues to enhance your side mirror maintenance experience.
Frequently Asked Questions
How Much Does It Cost to Replace a Side Mirror on a RAV4?
Replacing a side mirror on your RAV4 typically costs between $150 and $500. Consider labor costs of $50 to $150. Explore replacement options like OEM, aftermarket, or DIY for cost-effective solutions tailored to your needs.
Why Is My Toyota Side Mirror Not Working?
If your Toyota side mirror isn’t working, start with mirror troubleshooting. Check for electrical issues, like blown fuses or faulty wiring. Inspect the motor and switch panel too; they might need repair or replacement to restore functionality.
What Is the Most Common Issue With the Toyota RAV4?
The most common problems with your Toyota RAV4 include faulty power window systems and premature suspension wear. Regular RAV4 maintenance can prevent these issues, ensuring a smoother ride and longer vehicle longevity. Stay proactive!
Can I Fix My Own Side Mirror?
Absolutely, you can fix your own side mirror! Think of it as piecing together a puzzle; just follow the DIY repairs, handle the mirror components carefully, and you’ll restore your RAV4’s reflection in no time.
Conclusion
So, you’ve bravely ventured into the world of side mirror replacement—congratulations! Just remember, while you might feel like a DIY superhero now, don’t let a rogue nut or a stubborn wiring harness turn you into a side mirror villain. With careful steps, you can avoid those classic blunders that lead to more than just a crooked view. Embrace your inner mechanic and drive confidently, secure in the knowledge that you’ve conquered the side mirror saga.