How to Connect a Dash Cam to Power and Your Phone
What’s in This Article
- Before You Begin: Check Compatibility and Tools
- Step 1: Connect Your Dash Cam to the Right Power Source
- Step 2: Download and Set Up the Dash Cam App
- Step 3: Pair Your Dash Cam With Your Smartphone
- Fix Common Dash Cam Setup Issues
- When Should You Get Professional Help?
- Frequently Asked Questions
- Conclusion
- References
A dash cam only helps when it powers on, records clearly, and connects to your phone without a fight. Most setup problems come from the power source, app permissions, Wi-Fi pairing, or the wrong microSD card. This guide shows you how to connect your dash cam safely, pair it with a compatible app, and fix the most common setup issues.
Quick Answer
Connect your dash cam by powering it through the 12V outlet or a compatible hardwire kit. Insert a supported microSD card, turn the camera on, then use the correct app for your model. For compatible Nextbase models, open the MyNextbase Connect app, allow phone permissions, pair through Bluetooth, and join the camera’s Wi-Fi when the app asks.
Key Takeaways
- Use the 12V outlet for the easiest setup or a compatible hardwire kit for a cleaner install.
- Check your dash cam model before you download an app because not every camera uses the same app.
- Allow Bluetooth, Wi-Fi, location, and notification permissions when the app asks for them.
- Use a supported high-speed microSD card and format it in the camera before regular use.
- Keep the camera and cable away from your view, airbags, pedals, and vehicle controls.
Before You Begin: Check Compatibility and Tools
Estimated total time: Plan on about 20 to 45 minutes for a basic plug-in setup. Hardwiring can take longer if you need to route cables, check fuses, or remove trim panels.
Before you install your dash cam, turn off your vehicle and read the camera manual. Check the mount, power cable, app name, and microSD card requirements for your exact model.
Gather these items before you start:
- Your dash cam, mount, and power cable
- A 12V power adapter or compatible hardwire kit
- A supported high-speed microSD card
- A clean cloth for the windshield
- A trim removal tool if you plan to hide cables
- Your smartphone with Bluetooth and Wi-Fi turned on
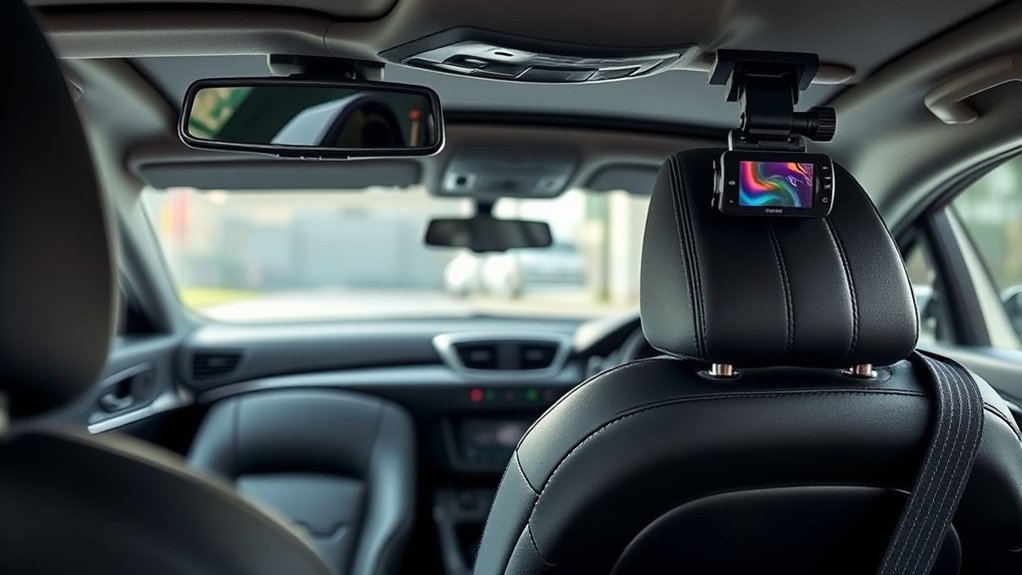
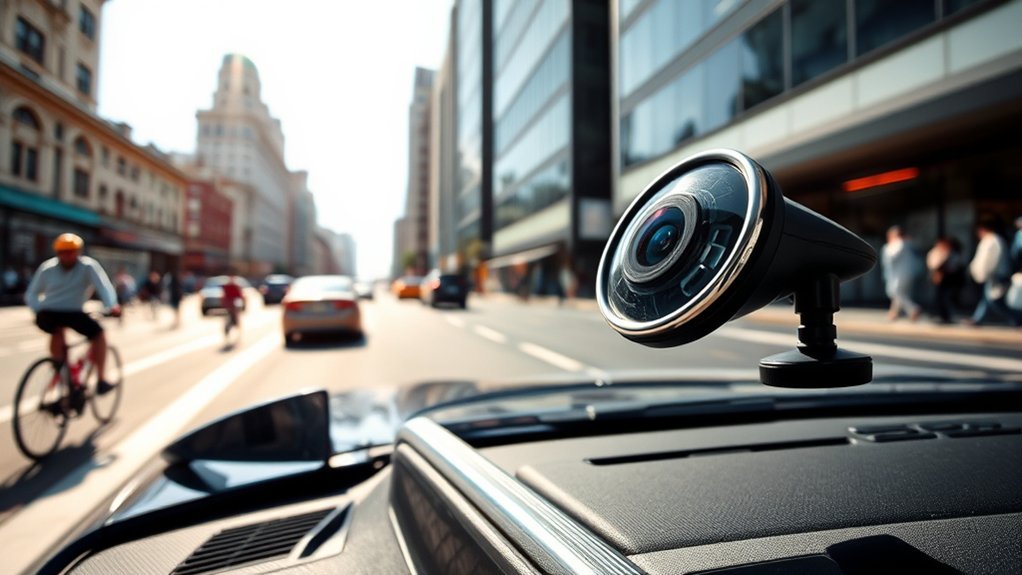
Mount the camera high on the windshield only if local rules allow it and it does not block your view. Avoid airbag areas, steering controls, pedals, and any sensor housing near the mirror.
If your vehicle uses a rearview mirror power adapter, a vehicle gateway, or a model-specific cable, confirm the exact fit before you connect anything. Do not copy a connector location from another vehicle unless the adapter maker or vehicle manual confirms it for your model.
Step 1: Connect Your Dash Cam to the Right Power Source
You can power most dash cams in two main ways. The 12V outlet gives you the fastest setup, while a compatible hardwiring kit gives you a cleaner cable path and can support parking mode on some models.
- Choose your power method. Use the 12V outlet if you want a simple setup. Use a hardwire kit only if it matches your dash cam and vehicle fuse type.
- Attach the camera to the mount. Place it near the top center of the windshield or behind the mirror, as long as it does not block your sight line.
- Route the cable neatly. Tuck the cable along the headliner and side trim without forcing it behind airbag covers.
- Connect the power cable. Plug the cable into the dash cam mount or camera port as your manual shows.
- Turn on accessory mode. Start the vehicle or switch to accessory mode so the dash cam can power on.
Warning: Do not route wiring across airbags, steering parts, pedals, or any area that can block your view of the road.
A hardwire kit usually connects through the fuse box and keeps your 12V outlet free. If you are unsure which fuse to use, stop and ask a qualified installer.
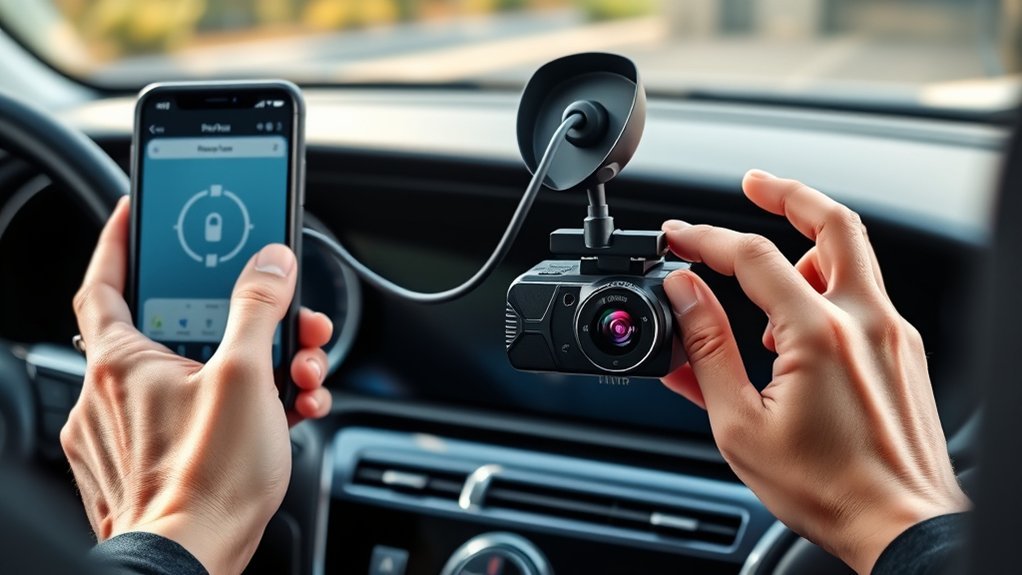
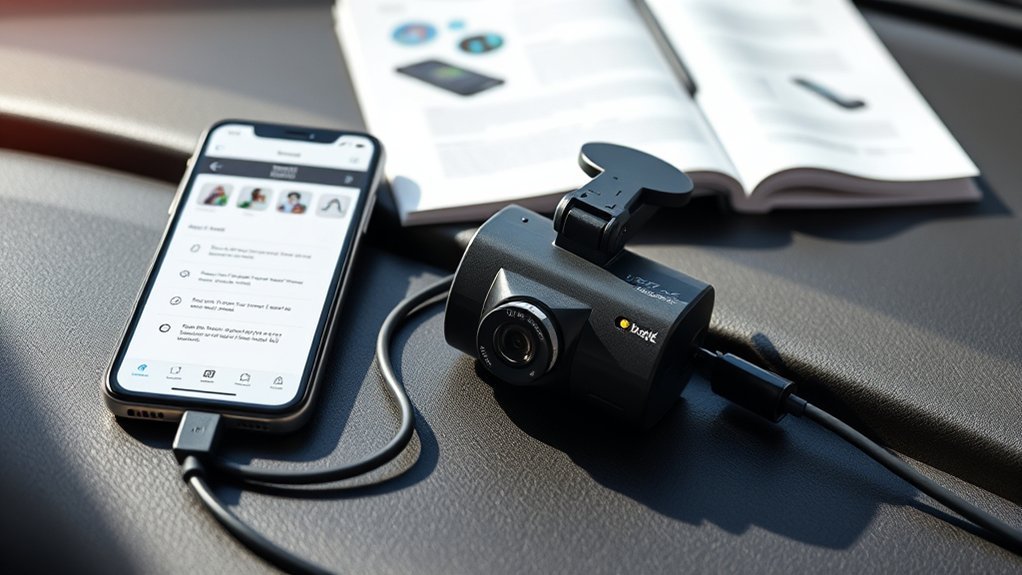
Step 2: Download and Set Up the Dash Cam App
Download the app that matches your dash cam model. For compatible Nextbase models, use the MyNextbase Connect app. Nextbase lists the app as a tool for viewing, editing, and sharing footage through your phone.
Check your model before you start. Some Nextbase Series 2 Wi-Fi models support MyNextbase Connect, but older or entry-level models may use other setup methods.
- Install the correct app. Use the app name shown in your dash cam manual or on the model support page.
- Turn on your dash cam. Start the car or switch to accessory mode so the camera has power.
- Allow phone permissions. Grant Bluetooth, Wi-Fi, location, and notification access when the app asks.
- Check firmware. Use the app or support page to see if your camera needs a firmware update.
- Insert and format the microSD card. Format the card in the dash cam menu before regular recording.
Firmware updates can fix app pairing issues, recording problems, and feature bugs. Keep your camera powered during the update and do not remove the microSD card while the camera writes data.
Step 3: Pair Your Dash Cam With Your Smartphone

Pairing usually uses Bluetooth first and Wi-Fi next. Bluetooth helps the app find the camera, while Wi-Fi helps move larger video files from the dash cam to your phone.
Do not connect your phone to your vehicle’s Wi-Fi during pairing unless your dash cam manual tells you to do that. Let the dash cam app guide the connection so your phone joins the camera’s own Wi-Fi network at the right time.
Here’s a quick reference table to help you:
| Step | Action | Why It Matters |
|---|---|---|
| Power On | Turn on your dash cam | The app can only find an active camera |
| Open App | Launch the correct dash cam app | Wrong apps will not pair with your model |
| Allow Permissions | Enable Bluetooth, Wi-Fi, and location | The app needs access to find and connect |
| Join Camera Wi-Fi | Follow the app prompt | Video transfer needs a direct camera link |
| Update Firmware | Check the app or support page | Updates can fix bugs and improve stability |
If the app shows a dash cam ID or password, save it in a safe place. You may need it again after a phone reset, camera reset, or app reinstall.
Fix Common Dash Cam Setup Issues
Dash cam setup issues usually come from power, app permissions, Wi-Fi conflict, firmware, or the microSD card. Start with the easy checks before you reset the camera or change settings.
Your Dash Cam Will Not Power On
Check the 12V outlet, cable, mount connection, and vehicle accessory mode. If your camera has a reset button, use the reset method listed in your manual rather than holding random buttons.
The App Cannot Find Your Dash Cam
Turn Bluetooth and Wi-Fi off and on again, then reopen the app. Remove old dash cam pairings from your phone’s Bluetooth list if the app keeps trying to connect to an old profile.
Your Phone Connects, But Footage Will Not Load
Move your phone close to the camera and disconnect from vehicle Wi-Fi or home Wi-Fi. Large video clips need a stable direct link between the phone and dash cam.
Your Camera Does Not Recognize the microSD Card
Use the card type and capacity your dash cam maker recommends. Format the card in the camera menu, but copy any footage you want to keep before you format it because formatting deletes stored files.
Parking Mode Does Not Work
Parking mode often needs a hardwire kit, correct fuse connection, battery protection, and an enabled setting in the camera menu. If your car has dealer-controlled settings, ask the dealer or installer to check the feature.
When Should You Get Professional Help?
Ask a qualified installer for help if you need to hardwire the camera and you do not know how to test fuses. A wrong connection can drain the battery, stop the camera from working, or affect nearby vehicle systems.
You should also get help if your vehicle has complex mirror electronics, built-in cameras, rain sensors, driver assistance hardware, or airbags near the cable path. A clean install should not create a new safety risk.
Frequently Asked Questions
Why won’t my dash cam connect to the app?
Your dash cam may not connect because the wrong app is installed, the phone permissions are blocked, or the camera firmware needs an update. Restart the phone and camera, then allow Bluetooth, Wi-Fi, and location access before you try again.
Why is my dash cam not connecting to my phone?
Your phone may connect to your vehicle Wi-Fi or another saved network instead of the dash cam. Forget old camera pairings, stay close to the dash cam, and follow the app’s pairing screen in order.
How do I connect my phone to my dash cam?
Turn on the dash cam, open the correct app, and allow the required phone permissions. Pair through Bluetooth first if the app asks, then join the dash cam’s Wi-Fi network when the app prompts you.
How do I connect my dash cam to power?
Plug the camera into the 12V outlet for the simplest setup. Use a compatible hardwire kit if you want hidden wiring, parking mode support, or a free 12V socket.
What kind of microSD card does a dash cam need?
Use the card speed, capacity, and type listed by your dash cam maker. Many modern dash cams need a high-endurance or high-speed microSD card because the camera writes video files again and again.
Safety Disclaimer: This article is for informational purposes only and does not replace professional automotive advice. Always follow your dash cam manual, vehicle manual, and local road rules. Ask a qualified installer or dealer before you hardwire a dash cam or route cables near airbags, sensors, or vehicle controls.
Conclusion
A good dash cam setup starts with stable power, correct app pairing, and a compatible microSD card. Use the 12V outlet for a fast install, or choose a proper hardwire kit if you want a cleaner setup with parking mode support.
Before you drive, check that the camera records, the app connects, and the view stays clear. Once those basics work, your dash cam can give you useful footage and more confidence on every trip.
References
- Dash Cam Hardwire Kit — Nextbase, accessed 2026
- Series 2 Dash Cam Hardwire Kit — Nextbase UK, accessed 2026
- MyNextbase Connect App — Nextbase UK, accessed 2026
- Dash Cam Support and App Permissions — Nextbase, accessed 2026
- Choosing an SD Card For Your Dash Cam — Nextbase, 2024
- Guidelines to Limit Distraction from Visual Displays in Vehicles — Transport Canada, 2019