Inspect the cord, hose, connectors, and O-rings for cuts, cracks, corrosion, or kinks, and replace damaged parts. Wipe the exterior and nozzles with a soft cloth or brush, let everything air-dry, and clean adapter threads. Lightly coat O-rings with silicone lubricant and keep spares handy. Store the inflator and batteries in a cool, dry place out of direct sun. If you’re storing batteries long-term, keep them at around 40–60% charge. Continue below for step-by-step care and troubleshooting.
Quick Answer
Tire inflator maintenance comes down to three habits: inspect all cords, hoses, and connectors for damage before each use. Clean the exterior, nozzles, and hose with a soft cloth or brush, then let parts air-dry fully. Store the unit and batteries in a cool, dry spot away from sunlight. For O-rings, use silicone-based lubricant (never petroleum-based products) and replace any that look flat or cracked. These small steps prevent leaks, extend the inflator’s life, and keep it ready when you need it.
Quick Checklist: Inspect, Clean, Store (1‑Minute)
Here’s a fast 1-minute routine. Inspect the cord and hose for wear. Wipe the exterior with a soft cloth. Stow the unit in a cool, dry spot away from sunlight.
You’re looking for cuts, frays, or kinks that could create a safety issue. Catching problems early means you can replace damaged parts before they get worse.
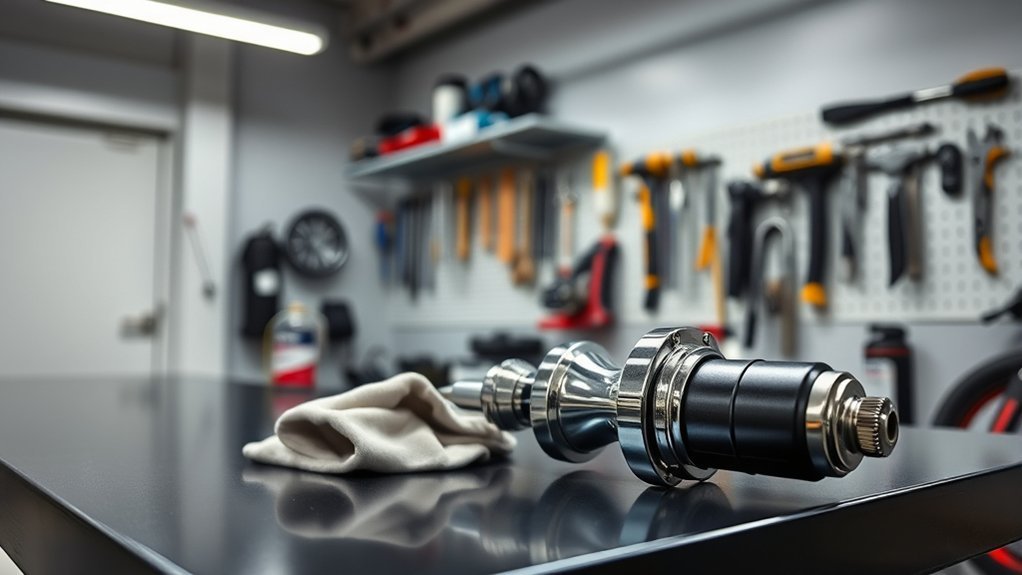
Clean the inflator’s exterior and nozzle with a soft cloth. Avoid abrasives that scratch finishes or push grime into openings. Don’t skip the hose and connector, either. A quick wipe and visual check prevents leaks and keeps everything performing well.
After cleaning, store the unit where temperature and humidity won’t corrode parts. Keep the storage area dust-free so the inflator stays ready to go. Follow this compact routine and you’ll reduce failures and extend its service life. Inspect, clean, store. Simple and quick.
Inspect Your Tire Inflator: Cords, Hose, Connectors
Before you plug in the inflator, visually scan the power cord for frays, exposed wires, or damaged insulation. Any of these can create a shock hazard or cause intermittent power. Inspect the entire length of the cord, bending it gently to reveal hidden nicks, and check the plug for loose prongs.
Next, move to the hose. Look for cracks, stiff spots, or soft bulges that signal internal breakdown. A compromised hose won’t hold pressure and will slow or stop inflation when you’re on the road.
Finally, check all connectors: threads, quick-fit couplers, and valve attachments. Look for debris, corrosion, or bent components that can prevent an airtight seal. Note any wear or damage right away and document it so you can repair or replace parts before they fail.
Routine inspections keep the inflator reliable, extend its lifespan, and save you from avoidable delays and unsafe situations.
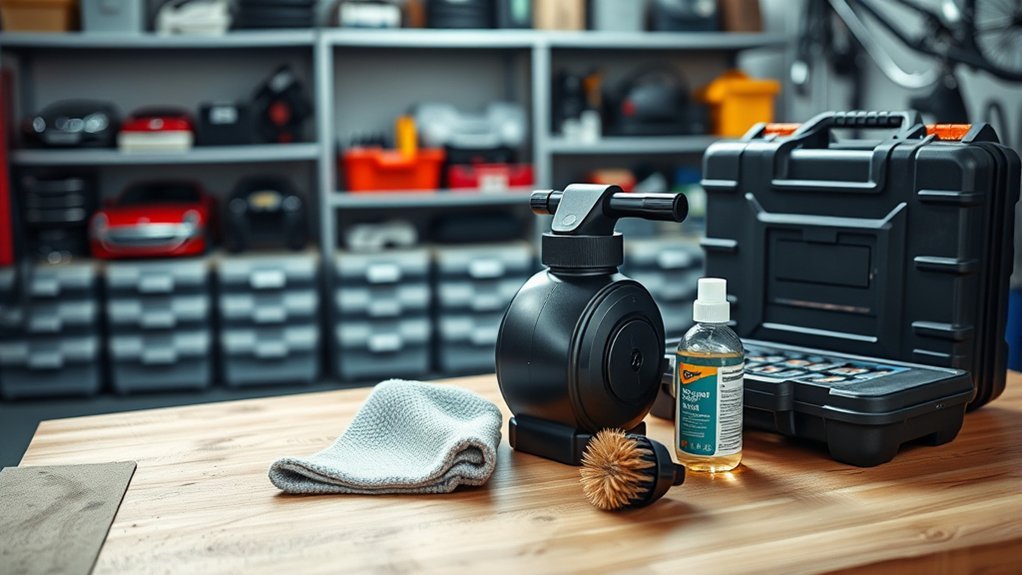
Clean the Hose, Nozzles, and Exterior
Use a soft-bristled brush or cloth to remove dirt and debris from the hose, nozzles, and exterior. Dirt can obstruct airflow and cause leaks. Inspect each nozzle for cracks or defects as you go, and wipe the unit’s body with a damp, non-abrasive cloth to remove grime.
Work methodically. Uncoil the hose, brush along its length, then run a dry cloth to lift loosened particles. Check each nozzle for hairline cracks or warping and replace any that show damage.
Don’t use solvents or abrasive pads. They’ll scratch surfaces or harm seals. After cleaning, let everything air-dry completely. Trapped moisture invites corrosion and can damage electrical components.
Stow the gear in a clean, dry, cool spot out of direct sun. Proper storage preserves performance and prevents failures when you need inflation most.
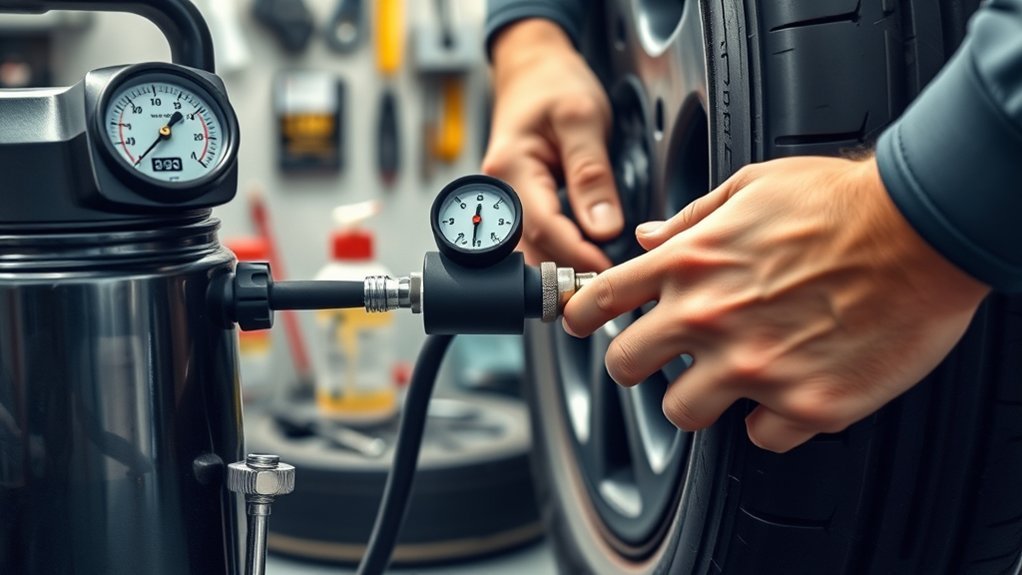
Care for O‑Rings & Adapters (Inspect, Lubricate, Replace)
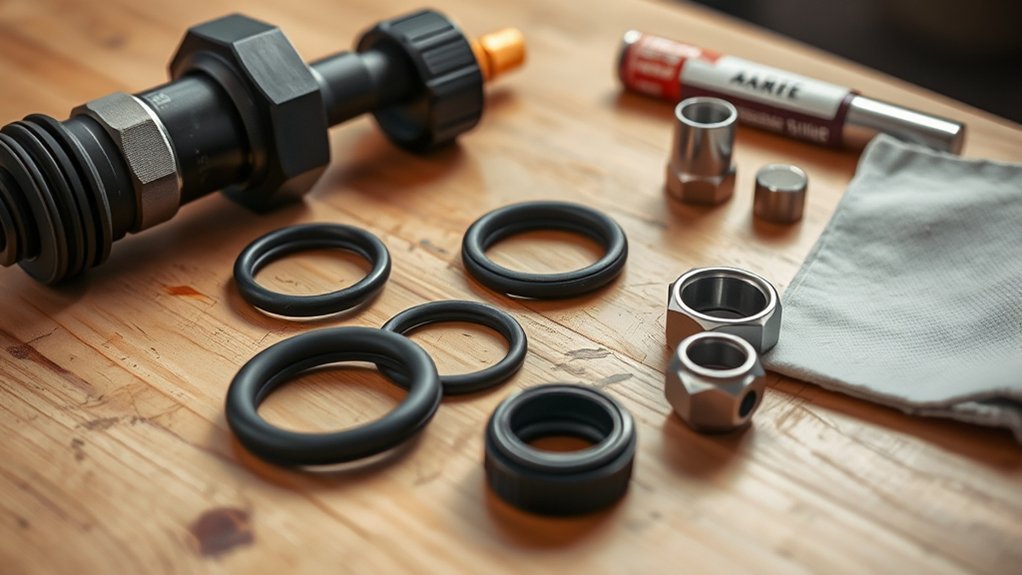
After you’ve cleaned the hose and nozzles, give the O-rings and adapters the same attention. These small parts make or break an airtight connection. Inspect O-rings and adapter threads every time before use. Look for nibbling, flattening, or grit that can ruin a seal or cause cross-threading. Clean adapters to remove contaminants, especially after tough conditions, so parts move freely.
After cleaning hose and nozzles, inspect, clean, and lightly lubricate O‑rings and adapters to ensure airtight, trouble-free connections.
- Inspect: Visually examine O-rings and threads for wear or debris. Test-fit to detect extrusion or loose seals.
- Lubricate: Apply a thin coat of silicone-based lubricant to O-rings. Never use petroleum products, which can cause rubber to swell, crack, or dry out.
- Replace: Swap any damaged or flattened O-rings immediately. Keep spare seals and common adapters handy.
Reliable seals let you act fast and stay ready on the road. Routine inspection, proper lubrication, and prompt replacement preserve performance and prevent frustrating leaks.
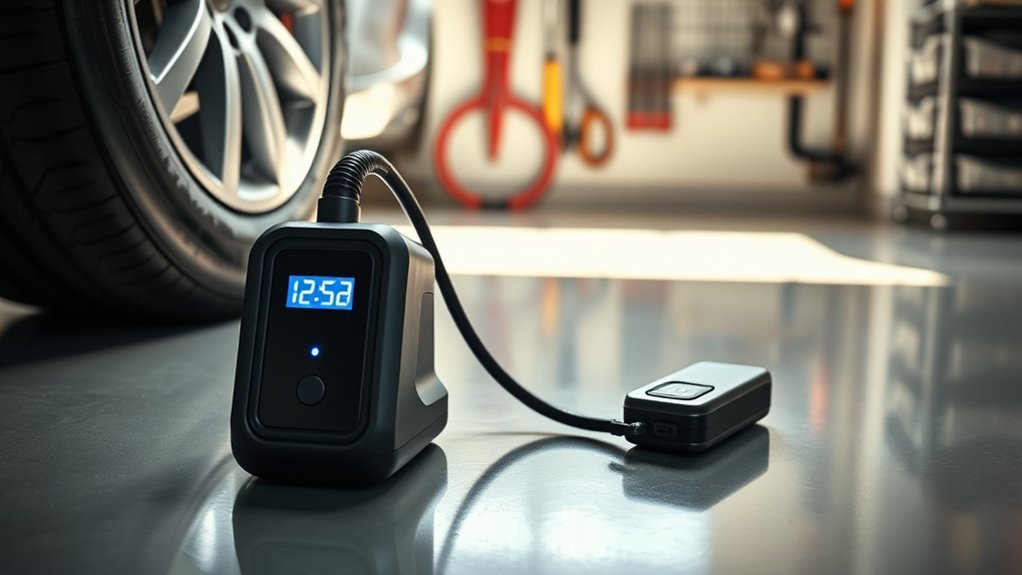
Store Batteries: Temperature Tips and Placement
If you want your inflator’s batteries to last and perform reliably, store them at roughly a 40–60% charge in a cool, dry spot away from direct sunlight and extreme temperatures. Avoid trunks or garages that bake in summer or freeze in winter. Extreme heat or cold accelerates capacity loss and can cause leaks.
Check cells monthly for swelling, corrosion, or residue. If you see damage, dispose of them safely and replace them. Use the device’s storage mode if it has one, or remove batteries for long-term storage to prevent drain and damage.
Label battery packs with the date you stored them so you can rotate stock and avoid forgotten, degraded power. Store different chemistries separately and keep terminals covered to prevent shorts. These steps keep your inflator ready when you need it.
How to Tell if Your Inflator Needs Repair
Sometimes maintenance alone isn’t enough. Watch for these signs that your inflator may need professional repair or replacement:
The motor runs but pressure builds slowly or not at all. This often points to a worn piston seal or a cracked hose. If the gauge reading doesn’t match actual tire pressure (checked with a separate gauge), the built-in gauge may be faulty. Unusual grinding or rattling noises during operation can signal internal wear.
Overheating after short use is another red flag. Most portable inflators are designed for intermittent use, not continuous running. If yours shuts down after just a minute or two, the motor or thermal fuse may be failing. When in doubt, consult the manufacturer’s warranty or contact their support line before attempting internal repairs.
Frequently Asked Questions
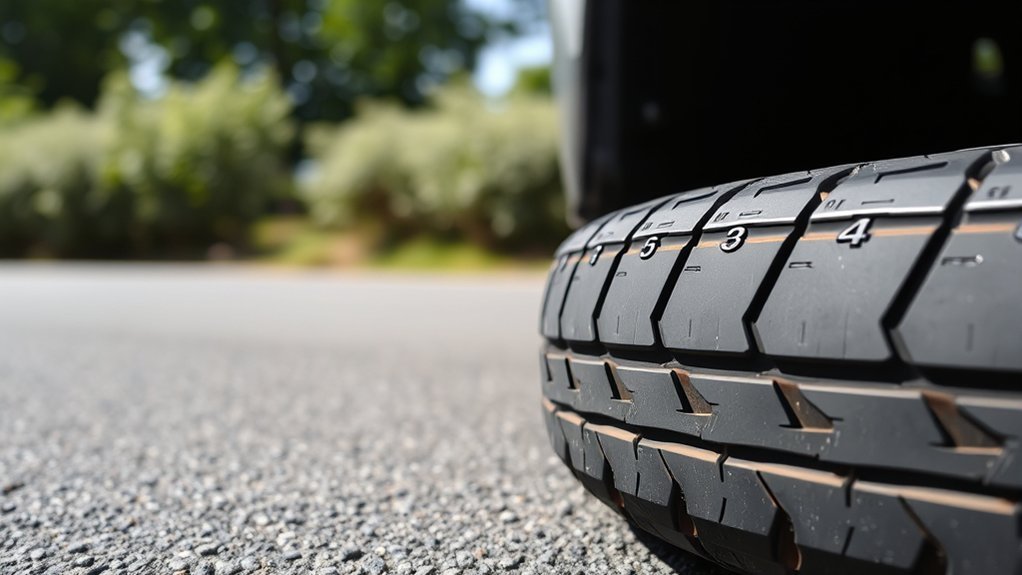
Should Tires Be Stored Flat or Standing Up?
Store tires in a standing (upright) position. This preserves their shape and helps prevent flat spots. If you need to stack them, use spacers between each tire to keep them from deforming.
Is It Better to Store Tires Inflated or Deflated?
Keep tires inflated to the recommended pressure before storage. Proper inflation preserves the tire’s shape, prevents flat spots, and reduces stress on the sidewalls. Monitor pressure periodically, especially during long storage periods, and keep temperature swings in mind.
Is It Safe to Keep a Tyre Inflator in a Car?
Yes, you can keep a tyre inflator in your car. Secure it in a dry case, make sure it’s powered off, and check for damage regularly. Be mindful of temperature, as extreme heat in a parked car can harm batteries and seals over time.
How to Keep Tires From Getting Flat Spots During Storage?
Inflate tires to the recommended spec, rotate them periodically, and use tire cradles or breathable covers. Choose a cool, dry storage location. These steps are the best defense against flat spots during extended storage.
Conclusion
Keep your tire inflator ready like a trusted tool in a tidy workshop. Inspect cords, hose, and connectors for wear. Clean the hose, nozzles, and exterior. Tend O-rings and adapters with light lubricant and replace any that are cracked. Remove or charge batteries and store at moderate temperatures. Stash the unit where it’s dry, accessible, and away from direct sun. Do this routinely and your inflator will be ready when you need it most.