
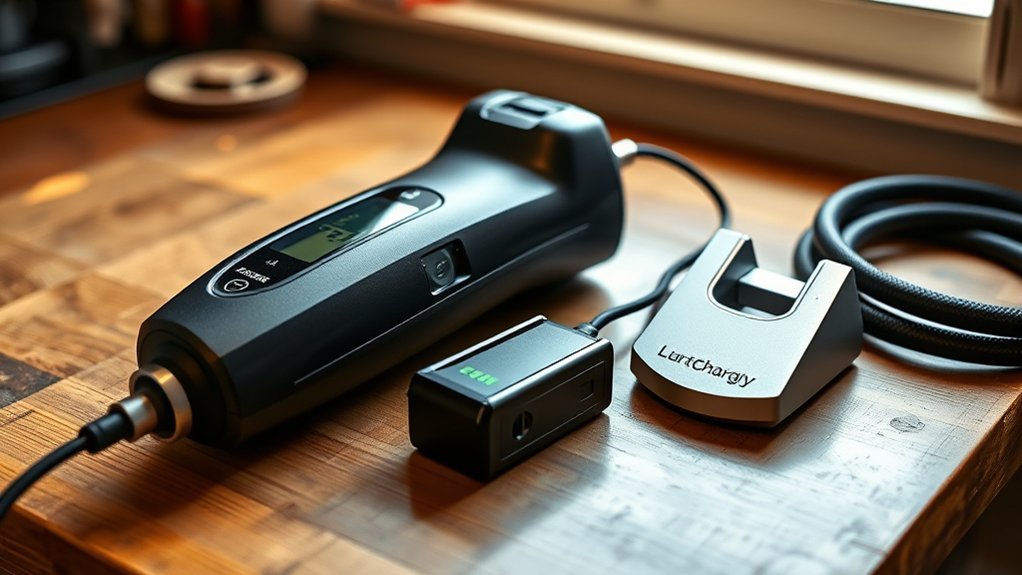
Turn the inflator off. Wipe the charging port and battery contacts so the plug can seat well. Then use the charger the brand recommends and plug it in straight. Use a solid wall outlet and don’t use a frayed cord. Charge for the time listed in your manual, and unplug when the “full” light shows.
Key takeaways
- Use the correct charger and cable for your inflator.
- Charge time depends on the battery size and the charger’s output—follow your manual and the charge lights.
- For long storage, keep lithium-ion batteries cool and partly charged (not full or empty).
Quick Checklist Before You Plug In the Cordless Inflator Battery
Before you charge, make sure the inflator is off, the port and contacts are clean and dry, and you’re using the correct charger. Set a timer for the charge time in the manual. Check that the charging light comes on. When the light shows full (often a steady light or a color change), unplug to keep heat down and help the battery last longer.
Connect the Charger Safely: Step-by-Step for Cordless Inflators
Plug the charger straight into a known-good wall outlet (avoid power strips and extension cords). Then connect it to the inflator, lining up any guides so the plug seats fully. Stop charging if the charger, cable, or battery gets very hot.
- Make sure the charger matches the inflator (wrong chargers can harm the battery).
- Check the outlet and charger for looseness, scorch marks, frayed insulation, or bent pins.
- Push the plug in straight so it fits snugly; a loose fit can cause stop-and-start charging.
- Look for the charging light. If nothing lights up, unplug and recheck the fit.
Follow the instructions in your manual for charging and handling.
[Products Worth Considering]
Onerbl New Global 21V AC/DC Adapter Compatible with Autder AD380 AD-380 AD380-01 180PSI Pistol-Shaped Handheld Cordless Smart Tire Inflator Air Compressor 21VDC 2.0Ah Lithium Battery Powered Pump 21.0V 1A DC21V 1000mA DC21.0V 1.0A 21.0VDC 21 Volt 21 Volts 21 V 21.0 VDC Class 2 Transformer Switching Power Supply Cord Cable PS Wall Home Battery Charger Mains PSU

COMPATIBILITY: Specifically designed as a replacement power adapter for Air Hawk Pro Automatic Tire Inflator system

T-Power Made with Lithium-ion Batteries Charging adapter Power Supply Charger Fast Charging , Brand-new Input Voltage Range: AC 100V – 240V – ( 18V ~ 20V Compatible ) – S/N: 220425 JY23P160-2301812
How Long to Charge the Cordless Inflator Battery and Signs It’s Full
Charge time depends on the battery size and the charger. Your manual is the best source. For example, one cordless inflator manual says it takes about 4 hours to fully charge from a 2.1A USB wall adapter.
Most inflators use lights that blink while charging and turn solid (or change color) when full. If your lights don’t work, stick to the manual’s time and don’t leave the inflator charging for long periods when you can’t check on it.
| Situation | What to watch for |
|---|---|
| Charging in unit | Light turns solid or changes color = full (varies) |
| Removable battery | Charger LED turns solid = full (varies) |
| Unknown model | Follow the manual; time depends on battery/charger |
Fast-Charge vs Standard Charge: When to Use Each for Your Inflator
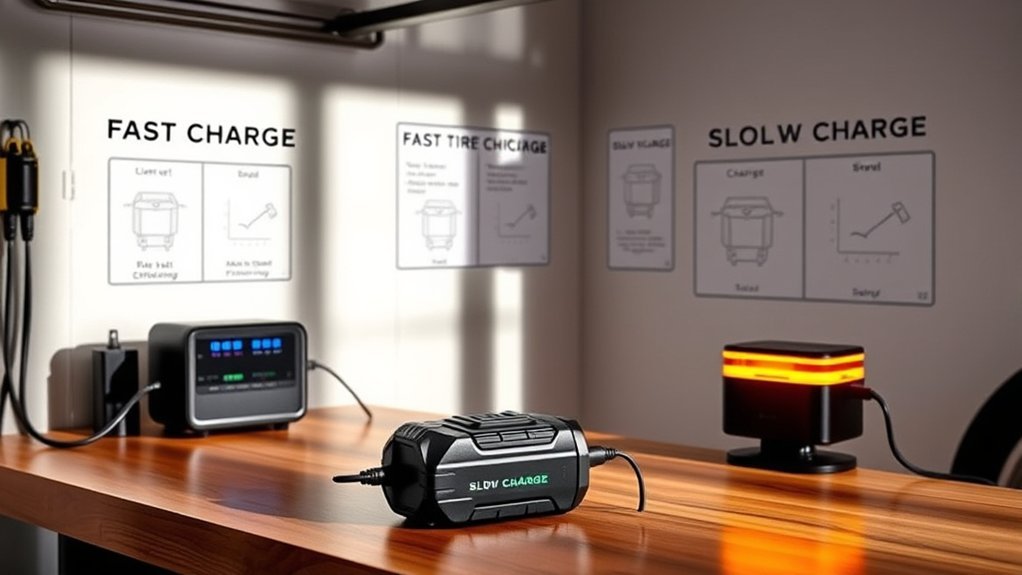
If your inflator supports more than one charge speed, use fast charging when time matters and standard charging for normal use. Faster charging can add heat. If the battery or charger feels hot, pause charging and let it cool.
- Need it soon: use fast charge only if the brand supports it.
- Everyday charging: use standard charge to keep temps lower.
- Safety: charge on a hard surface, keep vents clear, and don’t cover the charger.
[Products Worth Considering]

[Compatible Products] Compatible with ROCGORLD R8 tire inflator

【Specifications】Charger for EMSON bullseye pro tire Inflator portable air compressor, Have extra long 180cm/5.9 ft power cords, Output: 12V Input: 100-240V (Worldwide Compliant).

1.5V 2A AC Adapter Charger & USB C Type C Charging Cable Cord
How to Store and Care for the Battery to Extend Runtime and Life
Store the battery in a cool, dry place out of direct sun. For lithium-ion batteries, long storage is usually best with a partial charge (roughly half to three-quarters full), not 0% and not 100%.
Basic care keeps charging reliable: keep the contacts clean, avoid leaving the battery empty, and check the charge level every few months. If your manual says to top up on a schedule, follow it.
Troubleshooting Charging Problems and When to Replace the Battery
If your inflator won’t charge, check the outlet, cable, and plug fit first. Then check the port and contacts for dirt or damage. Slow or on-and-off charging often means a loose connection, a bad charger, or a worn battery. If it still won’t charge after a few good tries, you may need a replacement battery (or a new inflator if the battery can’t be replaced).
[Products Worth Considering]

[Compatible] 20V Battery Charger Compatible with AstroAI JYP160-2301812 / JY16P160-18 Cordless Tire Inflator Air Compressor Adapter Power Supply

✨Compatibility: Compatible replacement AC/DC adapter for Portable Automatic Tire Inflator Battery.

【Compatible Model】Power adapter fits for KeenPower C218Y CT160 C219 BC219 21V battery cordless tire Inflator portable air compressor.
Battery Not Charging
- Try another wall outlet.
- Try another compatible charger if you have one.
- Clean the port and contacts; reseat the plug or battery.
- If the battery is swollen, leaking, cracked, or smells hot, stop using it and replace it.
Slow Or Intermittent Charging
When charging is slow or cuts out, clean the port, make sure you’re using the right charger, and test with a known-good charger if possible.
| Symptom | Quick action |
|---|---|
| Slow charge | Clean port; confirm correct charger |
| Cuts out | Reseat plug; try another charger |
| Low runtime | Keep it cool; consider replacement |
When To Replace
Replace the battery (or the inflator) if charging problems keep happening, the runtime drops a lot, or the battery looks damaged.
- Charge behavior: takes much longer than before, or never reaches “full.”
- Performance: weak output, short runtime, or sudden shutdowns.
- Safety: swelling, leaking, cracks, or a burning smell.
Frequently Asked Questions
How Do I Charge My Portable Tire Inflator?
Turn it off, connect the correct charger firmly, and plug into a reliable wall outlet. Confirm the charging light turns on, then unplug when it shows full.
Do Portable Tire Inflators Drain the Battery?
Yes. Running the motor uses power, and most batteries slowly self-discharge over time. Top up as your manual suggests, especially if it’s stored in a hot or cold place.
How Long Does It Take to Charge a Cordless Tire Inflator?
It depends on the battery size and the charger. Follow the time in your manual and the charge lights on the inflator or charger.
How to Charge Slime Cordless Inflator?
Use the charging method listed in the Slime manual for your model (some charge from a USB wall adapter). Charge until the light shows full, then unplug and store it in a cool, dry place.
Conclusion
Charge your cordless tire inflator with the correct charger, a firm connection, and a safe wall outlet. Stop charging when the light shows full. For storage, keep lithium-ion batteries cool and partly charged. Check them now and then for damage, because heat, age, and charge cycles slowly reduce capacity over time.


Leave a Reply