Changing the oil on your Toyota Supra takes careful prep, the right oil, and a clean work area. Use the oil grade and service capacity listed in your owner’s manual or service information, since Supra engines and model years can vary. This guide walks you through the tools, safe setup, draining steps, filter replacement, oil level check, and service light reset.
Quick Answer
To change the oil on a Toyota Supra, secure the car, remove the engine cover, drain the old oil, replace the oil filter, and refill the engine with the correct oil. Check the oil level through the vehicle display after warming the engine, then reset the service light.
Key Takeaways
- Use the oil grade and fill amount listed for your exact Supra model and engine.
- Secure the car before lifting it, and never work under a car held only by a jack.
- Replace the oil filter O-ring when you install the new filter.
- Check the oil level after the engine warms up and oil has circulated.
- Reset the service light only after you complete the oil change.
What Do You Need for an Oil Change?
Before you start, gather the oil, filter, and tools for your exact Toyota Supra. Many modern Supra models use synthetic oil, but you should confirm the oil grade in your owner’s manual or on the under-hood service label.
You may need:
- Correct synthetic engine oil for your model
- Factory-style oil filter and new O-ring
- Replacement drain plug or crush washer, if required
- 32mm socket with an extension for many cartridge-style filters
- Oil drain pan and shop rags
- Wooden ramps, a floor jack, and jack stands if extra clearance is needed
- Gloves and safety glasses
Keep your workspace clean before you open the oil system. Dirt near the fill cap or filter housing can enter the engine while you work.
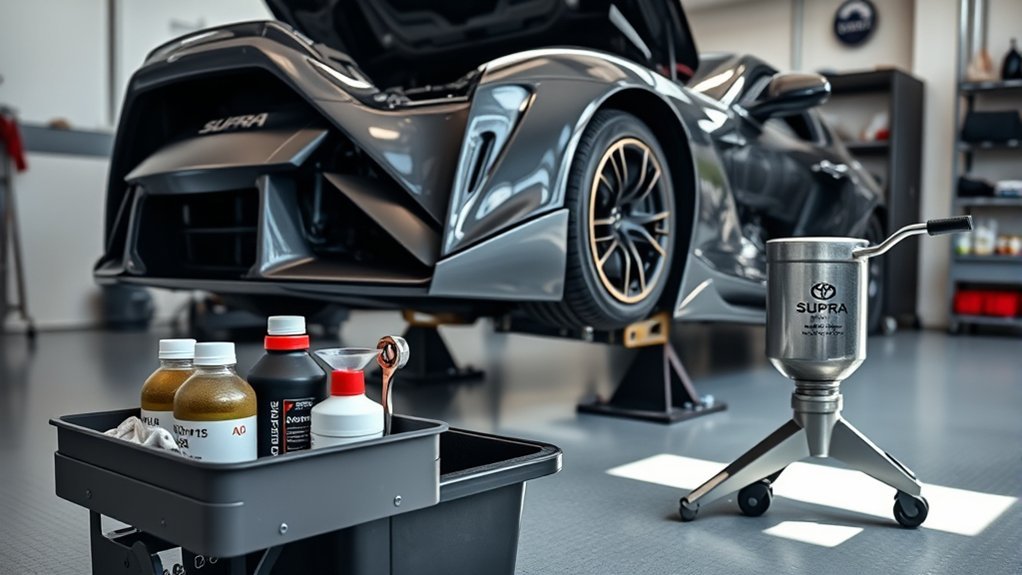
Prepare Your Toyota Supra for Maintenance
Park your Supra on a level surface before you start the oil change. Set the parking brake, put the transmission in park, and chock the wheels to stop the car from moving.
If you need to lift the vehicle, use ramps or a jack with jack stands rated for the car’s weight. Never rely on a floor jack alone while you work under the vehicle.
Warning: Let hot oil cool enough to handle safely, since engine oil can burn your skin.
Required Tools and Parts
Set out every tool and part before you remove the drain plug. A prepared work area helps you finish the oil change without rushing.
- Correct engine oil for your Supra
- Factory-style oil filter and O-ring
- Drain plug or washer, if your service procedure calls for one
- 32mm socket and extension, if your filter housing uses that size
- Drain pan large enough to hold the used oil
Check that your drain pan sits under the drain plug before you loosen it. Keep shop rags nearby so you can clean spills right away.
Safety Precautions to Follow
Wear gloves and safety glasses before you open the drain plug or oil filter housing. Oil can splash as it starts to drain, especially if the engine ran shortly before service.
Use ramps or jack stands on a flat, solid surface. Avoid soft ground, steep driveways, or uneven pavement because they can make the car unstable.
You usually don’t need to disconnect the battery for a basic oil change. Keep the key away from the cabin so no one starts the car while you’re working.
How to Remove the Engine Cover
Some Supra engine covers lift off without screws, while others may use clips or fasteners. Check your exact setup before you pull on the cover.
- Confirm the car sits secure and level.
- Let the engine cool enough to touch safely.
- Grip the engine cover near its mounting points.
- Lift straight up if the cover uses rubber grommets.
- Set the cover aside where it won’t get scratched.
Once the cover comes off, you’ll have better access to the oil fill cap and filter housing.
Before You Begin: Check Time and Service Info
Plan on about 45 to 90 minutes for a careful do-it-yourself oil change. The time depends on your tools, vehicle height, and experience.
Read the service information for your exact Supra before you loosen any parts. Torque specs, oil capacity, and filter design can vary by model year and engine.
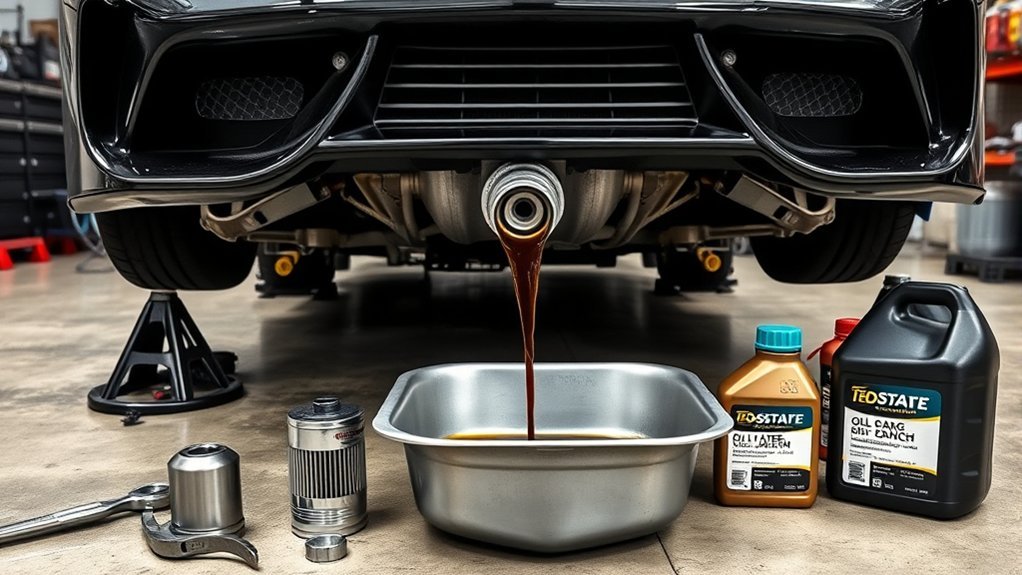
How to Drain the Old Oil: Step-by-Step Instructions
Follow the steps in order so the oil drains cleanly and safely.
- Position the drain pan. Place the pan under the drain plug before you loosen anything.
- Open the oil fill cap. Remove the fill cap to help the oil drain more smoothly.
- Remove the drain plug. Loosen the plug with the correct tool, then back it out by hand.
- Let the oil drain fully. Give the oil time to slow to a drip before you reinstall the plug.
- Inspect the plug and washer. Replace the washer or plug if the service procedure calls for it.
- Reinstall the drain plug. Tighten it to the correct torque spec for your Supra.
Keep rags nearby so you can wipe the drain plug area clean. A clean surface makes leaks easier to spot after the refill.
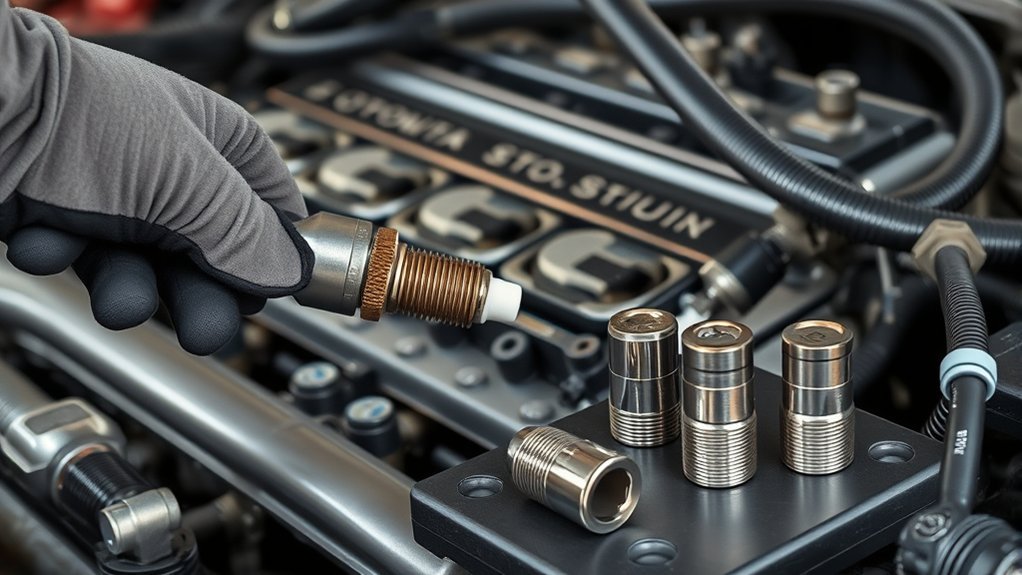
How to Replace Your Oil Filter Easily
Replace the oil filter after the old oil has drained. A fresh filter helps trap debris and protects the engine between oil changes.
- Loosen the filter housing. Use the correct socket, such as a 32mm socket on many cartridge-style housings.
- Remove the old filter. Keep rags nearby because oil may spill from the housing.
- Remove the old O-ring. Make sure the old O-ring doesn’t stay stuck in the groove.
- Lubricate the new O-ring. Coat it lightly with fresh oil before you install it.
- Install the new filter. Seat the filter correctly, then thread the housing by hand.
- Tighten the housing. Use the correct torque spec and avoid overtightening.
Pro tip: Mark the filter box or oil jug with the mileage and date so you can track your next service.
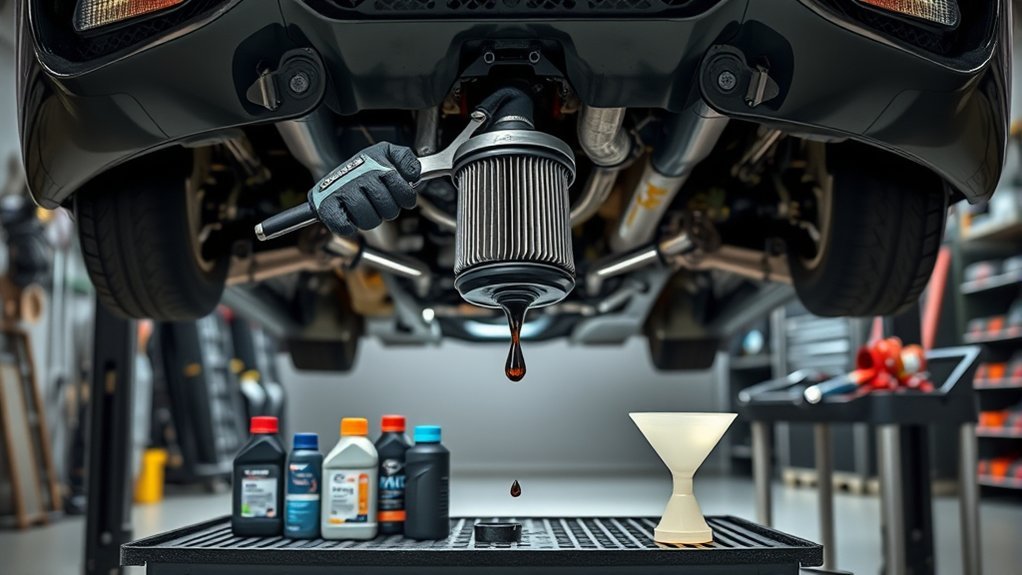
How Much Oil Should You Add?
Oil capacity can vary by Supra model year and engine, so use your owner’s manual or service information as the final authority. Some modern Supra oil changes take about 6 to 7 quarts when you replace the filter.
Start slightly below the listed capacity, then check the level after the oil circulates. This approach helps you avoid overfilling the engine.
Recommended Oil Amount
Use the oil capacity listed for your exact car. If your service information lists a capacity near 6.8 quarts, start with about six quarts or six liters, then top off as needed.
- Add less than the full listed amount at first.
- Reinstall the oil fill cap before you start the engine.
- Warm the engine long enough for the oil to circulate.
- Check the oil level through the vehicle display.
- Add small amounts until the level reaches the correct range.
Initial Oil Addition
Pour the new oil through a clean funnel to avoid spills. Add oil slowly so you don’t overfill the engine.
After the first fill, reinstall the cap and start the engine briefly. Turn it off if you see leaks or warning messages.
Final Oil Measurement
Warm the engine and follow the oil level check procedure on the vehicle display. Modern Supra models may use an electronic oil level reading instead of a traditional dipstick.
- Park on level ground before you measure.
- Let the engine reach the required temperature.
- Follow the prompts on the vehicle display.
- Add oil in small amounts if the level reads low.
- Stop before the display reaches overfilled status.
Too much oil can cause engine problems, so don’t fill past the approved range.
How Do You Check Oil Level After an Oil Change?
Start the engine and let it warm up as your owner’s manual directs. Then use the oil level menu on the vehicle display to run the measurement.
The oil level should sit within the approved range, not above it. If the display shows a low reading, add a small amount of oil and check again.
Before you finish, inspect the drain plug and filter housing for leaks. Shut the engine off and wipe any spilled oil from the engine bay and underbody.
How Do You Reset the Service Light on Your Supra?

Reset the service light only after you finish the oil change and confirm the oil level. The exact menu steps can vary by model year and display software.
- Keep your foot off the brake. This helps you enter accessory mode without starting the engine.
- Press the start button three times. Do not crank the engine during this step.
- Turn off the climate controls. This can help prevent menu interruptions.
- Open the service reset menu. Hold the button on the lower left of the dashboard display if your model uses that control.
- Select the oil service reset. Confirm the reset only after you complete the service.
- Verify the interval. Check the multimedia screen or service menu for the updated service status.
If these steps don’t match your Supra, use the owner’s manual procedure for your model year.
Common Mistakes to Avoid During a Supra Oil Change
Small mistakes can cause leaks, warning lights, or an inaccurate oil level reading. Work slowly and check each step before you move on.
- Don’t reuse a damaged O-ring or crush washer.
- Don’t overtighten the filter housing or drain plug.
- Don’t add the full oil capacity before checking the level.
- Don’t reset the service light before finishing the oil change.
- Don’t ignore oil leaks after the engine runs.
Keep a record of the oil brand, viscosity, mileage, and date. Service records help with maintenance planning and resale value.
Frequently Asked Questions
How do you do an oil change step by step?
Secure the car, drain the old oil, replace the filter, reinstall the drain plug, and add fresh oil. Then check the oil level, inspect for leaks, and reset the service light.
How many quarts of oil does a Supra take?
Some modern Toyota Supra oil changes take about 6 to 7 quarts with a filter change. Always check your owner’s manual because the correct amount depends on the model year and engine.
How do you do an oil change on a Toyota?
Most Toyota oil changes follow the same basic process: drain the oil, replace the filter, reinstall the plug, and add the correct oil. Your owner’s manual gives the right oil grade, capacity, and service interval for your vehicle.
How much does a Supra oil change cost?
A Supra oil change often costs more than a basic economy-car oil change because it uses synthetic oil and a performance-focused engine. The final price depends on your location, shop labor rate, oil choice, and whether you use dealer service.
Can you change Supra oil at home?
You can change Supra oil at home if you have the right tools, safe lifting equipment, and service information. If you don’t have a safe way to raise the car, use a qualified shop instead.
Conclusion
A clean oil change helps your Toyota Supra run well and protects the engine between service intervals. Use the correct oil, replace the filter O-ring, and check the level through the proper display procedure. Before you drive, inspect for leaks and confirm the service reminder reset worked. With careful maintenance, your Supra stays ready for the next drive.