To change a coil pack on your Toyota RAV4, begin by gathering essential tools like a 10 mm socket and dielectric grease. First, remove the engine cover and disconnect the old ignition coil. Pull it out and apply dielectric grease to the new coil before installation. Secure it in place and use a torque wrench to tighten the bolt to 7 ft-lbs. There’s more to guarantee proper function and efficiency, so let’s explore further steps.
Signs You Need to Replace Your Ignition Coil
Have you noticed your Toyota RAV4 struggling to perform as it should? There are several signs that indicate you might need to replace your ignition coil. First, engine misfires can lead to rough idling or hesitation during acceleration, making your ride uncomfortable. If you’ve experienced a decrease in fuel efficiency, it could signal that the ignition coil isn’t igniting the fuel-air mixture properly.
Another clear sign is the illumination of the Check Engine Light, which often relates to ignition coil issues and triggers diagnostic trouble codes. You might also find it difficult to start your engine, particularly after it’s been running; this could mean the ignition coil isn’t supplying the necessary spark. Finally, listen for unusual sounds, like sputtering or popping noises from the engine, as these may suggest a failing ignition coil. Stay alert for these signs to keep your RAV4 running smoothly.
Essential Tools for Ignition Coil Replacement
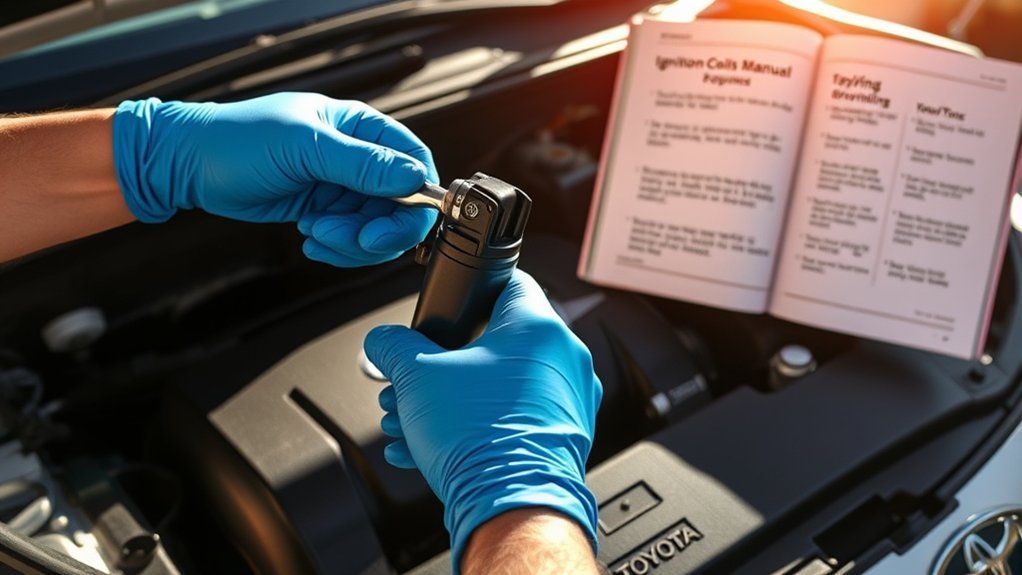
When you’re ready to replace the ignition coils on your Toyota RAV4, having the right tools on hand is vital for a smooth process. I’m going to take a 10 mm socket or wrench to remove the engine cover and mounting bolts. This step is important for accessing the coils efficiently. A small screwdriver will also be handy for applying dielectric grease to the ceramic part of the new ignition coil, making certain of a secure fit. To maintain proper torque, you’ll need a torque wrench to tighten the mounting bolt to the specified 7 foot lbs. Don’t forget to have dielectric grease on hand; it prevents electrical arcing and guarantees a solid connection when reinstalling the ignition coil connector. Finally, check for any missing rubber bushings before securing the coils; this step ensures proper alignment and function of your ignition system, leading to ideal performance.
Step-by-Step Guide to Removing the Old Ignition Coil
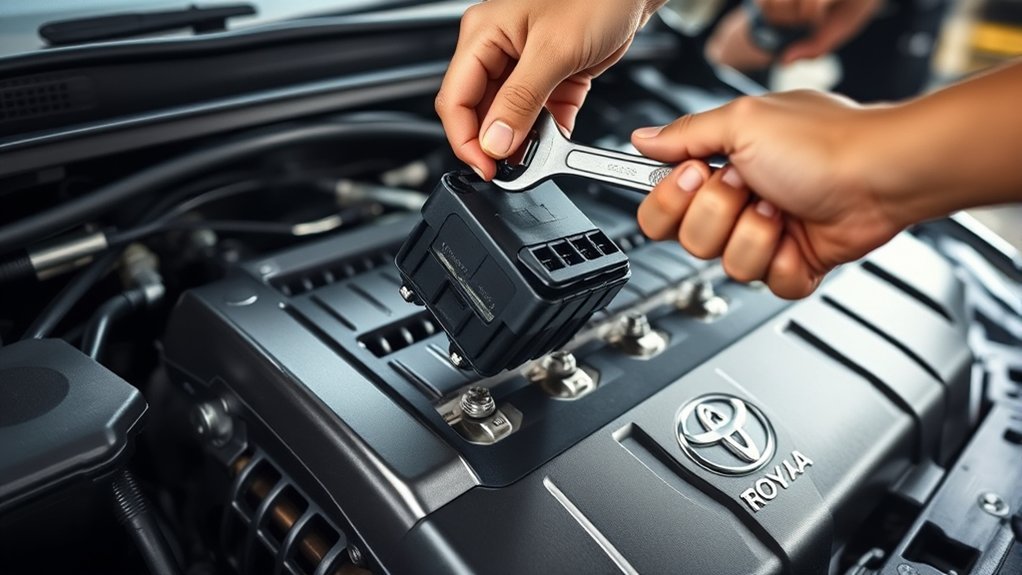
With the right tools gathered, you’re now set to remove the old ignition coil from your Toyota RAV4. Start by securing the engine cover using a 10 mm socket or wrench, and then remove the mounting screw to access the ignition coil. Next, disconnect the ignition coil pigtail—press down on the tab and gently pull it off to avoid damaging the connector.
After that, carefully twist and pull the ignition coil out from the valve cover, ensuring the boot remains intact and is removed along with the coil. If you’re replacing multiple coils, repeat this process for each one, as the procedure is consistent across all coils. Once you’ve removed the coil, inspect the surrounding area for any debris or damage, ensuring a clean workspace for the installation of your new coil.
How to Properly Install Your New Ignition Coil
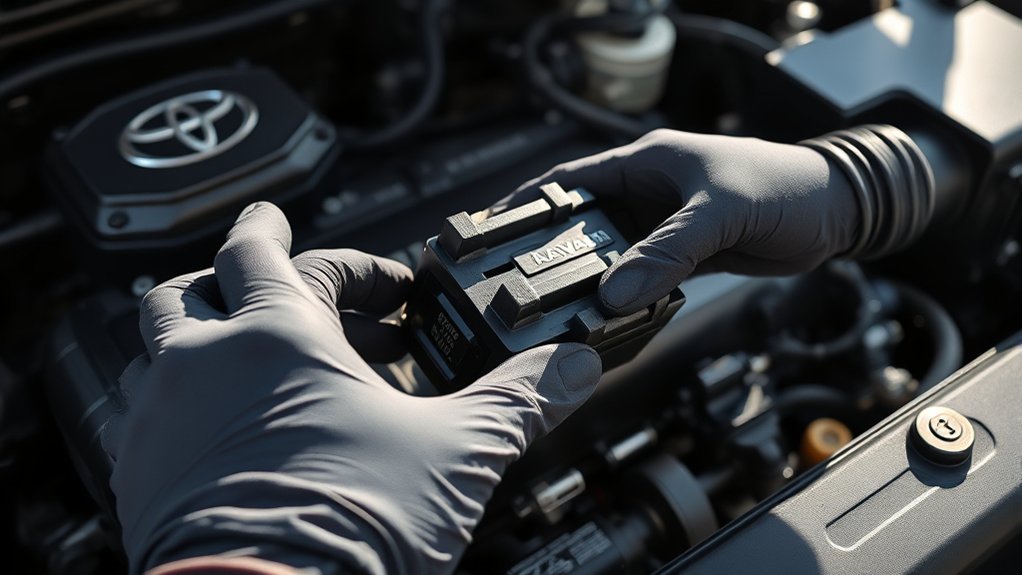
Before you install your new ignition coil, make sure to apply dielectric grease to the top, taking care not to touch the firing point for a proper electrical connection. I’m going to place the coil directly on the cylinder, aligning it with the three pins and rubber bushings for a secure fit.
| Step | Action | Tool Required |
|---|---|---|
| Apply Grease | Coat the top of the ignition coil | Dielectric grease |
| Position Coil | Align with pins and bushings | N/A |
| Start Mounting Bolt | Hand-tighten to avoid cross-threading | N/A |
| Tighten Bolt | Use a 10 mm socket until it bottoms out | 10 mm socket |
| Final Torque | Set torque wrench to 7 ft-lbs | Torque wrench |
Inspect the connector for damage before reattachment, ensuring it clicks securely into place to maintain a reliable electrical connection.
Quick Tips for Replacing Multiple Ignition Coils
Replacing multiple ignition coils can streamline your maintenance process and guarantee your vehicle runs smoothly. To confirm consistency and efficiency, follow the same removal and installation steps for each coil. When you remove the coils, inspect each pigtail connector for breaks or burnt marks to maintain a solid electrical connection.
During installation, verify all three pins of the ignition coil align with the rubber bushings for a secure fit. Before tightening, check for any missing bushings that could affect performance. Use a torque wrench to tighten the mounting bolt to 7 foot lbs; this precise measurement prevents over-tightening and potential damage.
Frequently Asked Questions
Can I Replace a Coil Pack Myself?
Yes, you can replace a coil pack yourself. With basic mechanical skills and the right tools, you’ll handle DIY repairs efficiently. Just follow the steps carefully, and guarantee proper connections for reliable performance.
How Much Does It Cost to Replace Ignition Coils on a Toyota RAV4?
Replacing ignition coils on a Toyota RAV4 typically costs between $150 and $300 per coil. Coil pack pricing varies based on OEM or aftermarket options, with labor accounting for a significant portion of expenses.
What Is the Most Common Problem With a Toyota RAV4?
When it rains, it pours; the most common problem with a Toyota RAV4 is engine misfires, often linked to ignition coils or spark plugs, impacting RAV4 reliability and overall performance. Address these issues promptly.
What Are the Symptoms of a Failing Coil Pack?
Coil pack symptoms include engine misfires, rough idling, poor acceleration, and decreased fuel economy. You might notice a check engine light or unusual vibrations, indicating that your vehicle’s ignition system is struggling to perform effectively.
Conclusion
Replacing the ignition coil in your Toyota RAV4 is like tuning a musical instrument—getting the right parts in place guarantees your engine runs smoothly. By recognizing the signs of a failing coil and following the step-by-step guide, you can restore your vehicle’s performance. Always remember to double-check your work and consider changing multiple coils if needed. With the right tools and approach, you’ll keep your RAV4 humming along the road with confidence.