How to Adjust the Handbrake on a Toyota RAV4
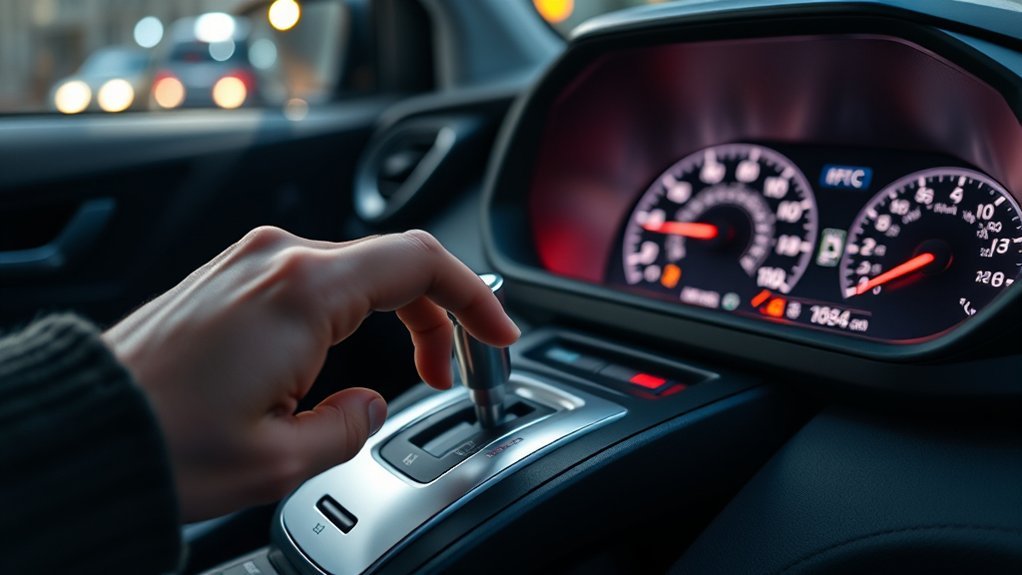
A weak parking brake can let your Toyota RAV4 move when you think it’s secure. If your RAV4 uses a manual handbrake lever, you can often adjust cable tension from the center console area with basic tools. This guide shows you how to check the brake, access the adjustment nuts, set the tension, test the result, and know when to stop and get professional help.
What’s in This Article
- How to Identify When Your Handbrake Needs Adjustment
- Before You Begin: Safety and Model Check
- Tools You’ll Need for Handbrake Adjustment
- How to Adjust the Handbrake Step by Step
- Accessing the Handbrake Adjustment Area: A Simple Guide
- Loosening and Tightening Handbrake Nuts
- Testing Your Handbrake After Adjustment
- Reinstalling the Cover Securely
- Checking Electrical Connections After Adjustment
- Top Handbrake Adjustment Mistakes and How to Avoid Them
- Handbrake Adjustment Tips for Better Performance
- Understanding the Importance of Handbrake Maintenance
- Frequently Asked Questions
- Conclusion
Quick Answer
To adjust the handbrake on a Toyota RAV4 with a manual parking brake lever, remove the center console cover, hold the lower nut, and turn the upper adjustment nut to set cable tension. The lever should feel firm and hold the vehicle on a mild slope. Stop if the brake still slips, the lever feels uneven, or your RAV4 uses an electronic parking brake.
Key Takeaways
- Check your RAV4’s parking brake type before you start, because electronic systems need different service steps.
- Adjust the handbrake only after you check the rear brakes, cables, and lever movement.
- Use the correct wrench or deep socket so you don’t round the adjustment nuts.
- Test the brake on a safe incline after every adjustment.
- Get a mechanic to inspect the system if the brake still slips after proper adjustment.
How to Identify When Your Handbrake Needs Adjustment
You can spot a weak handbrake by checking lever height, holding power, and brake feel. If the lever pulls much higher than normal, the parking brake cable may have stretched.
Find a safe, gentle slope and apply the handbrake while the vehicle sits in Park. If your RAV4 moves, rolls slightly, or feels unsecured, inspect the system before relying on it.
Listen for grinding, squeaking, or uneven clicking when you apply the lever. These signs can point to worn rear brake parts, cable issues, or poor adjustment.
Before You Begin: Safety and Model Check
Estimated time: about 30 to 60 minutes for a simple manual handbrake adjustment. Difficulty: beginner to intermediate if you have basic hand tools and safe workspace access.
Confirm that your RAV4 has a manual handbrake lever before you follow these steps. Many newer RAV4 models use an electronic parking brake, which may need scan-tool procedures or service-mode steps.
Warning: Never work under or around a vehicle that can move, so park on level ground, chock the wheels, and keep the transmission in Park.
Inspect the rear brakes before you adjust cable tension. A cable adjustment cannot fix badly worn brake shoes, worn pads, damaged hardware, or a seized parking brake cable.
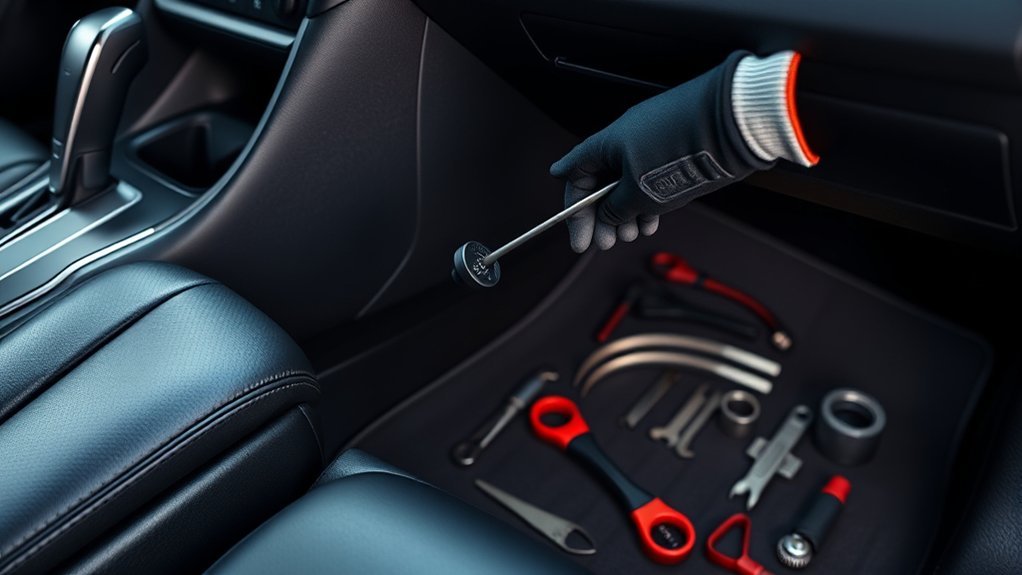
Tools You’ll Need for Handbrake Adjustment
Gather the tools before you remove any trim. This keeps the job simple and helps you avoid damaged clips, rounded nuts, or loose parts.
Essential Tools Overview
Use the table below as a basic checklist for a manual handbrake lever adjustment.
| Tool Type | Purpose |
|---|---|
| Wrench | Holds the lower nut during adjustment |
| Deep Socket | Turns the upper adjustment nut |
| Basic Hand Tools | Removes and reinstalls the console cover |
| Trim Tool | Helps lift plastic trim without scratches |
| Wheel Chocks | Keeps the vehicle from moving during testing |
Use the right size tool for each nut. A loose-fitting wrench can round the hardware and make the job harder.
Helpful Optional Tools
A flashlight helps you see the adjustment area under the console trim. A magnetic parts tray also helps you keep clips and screws in one place.
Some RAV4 trim layouts may have nearby wiring or small modules under the console. Do not pull on any connector unless you understand its purpose and can reconnect it safely.
Safety Equipment Considerations
Wear gloves and eye protection when you work around trim, cables, and metal hardware. Small clips can snap loose, and older parts may have sharp edges.
Disconnect the battery only when you need to handle electrical connectors near the console. If you disconnect it, follow your owner’s manual so you avoid warning lights or lost settings.
How to Adjust the Handbrake Step by Step
Use these steps as a general guide for RAV4 models with a manual handbrake lever. Your exact trim layout may differ by model year.
- Park safely. Place the RAV4 on level ground, shift into Park, turn off the engine, and chock the wheels.
- Check the lever feel. Pull the handbrake slowly and count the clicks so you know the starting point.
- Remove the console cover. Lift or unclip the trim around the handbrake area with care.
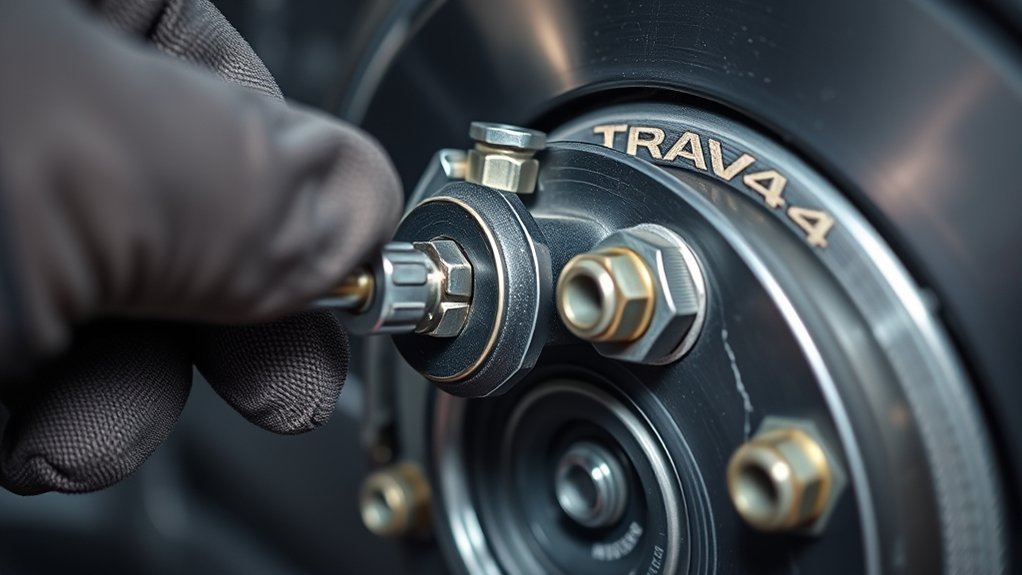
- Locate the adjustment nuts. Find the nut assembly connected to the parking brake cable near the lever.
- Hold the lower nut. Use one wrench to keep the lower nut steady while you adjust the upper nut.
- Turn the adjustment nut. Tighten in small moves to reduce excess lever travel without over-tightening the cable.
- Test the lever. Pull the handbrake and check that it feels firm without dragging the rear brakes.
- Reinstall the cover. Refit the trim only after the brake holds properly and all connectors sit secure.
- Road-test carefully. Check for brake drag, warning lights, odd noises, or poor holding power.
Pro tip: Make small adjustments and test often, because an over-tightened cable can cause brake drag and heat.
Accessing the Handbrake Adjustment Area: A Simple Guide
To access the handbrake adjustment area in your Toyota RAV4, locate the parking brake trim near the center console. Use a trim tool and basic hand tools so you can remove the cover without breaking clips.
Once the cover comes off, inspect the area and find the adjustment nuts for cable tension. Keep your work area clean so loose clips or screws don’t fall into the console.
Locate the Parking Brake Cover Area
Find the cover around the handbrake lever and gear selector area. Work slowly around the edges so you don’t bend the plastic trim or mark the console.
After you lift the cover, look for the threaded rod and nut assembly linked to the parking brake cable. Before you adjust anything, note the current nut position so you can return to it if needed.
Tools Needed for Access
You’ll usually need a trim tool, wrench, deep socket, and small hand tools. Some covers use clips, while others may use screws hidden near the console.
Hold the lower nut steady with one tool while you use the other to turn the adjustment nut. This keeps the cable assembly from twisting while you set tension.
Remove and Inspect the Cover
Remove the cover with steady pressure and avoid pulling sharply. If the cover resists, check for hidden clips or screws before using more force.
Once the cover is off, inspect the cable, lever base, and nearby wiring. Look for rust, loose hardware, broken clips, or frayed cable strands.
Loosening and Tightening Handbrake Nuts
Loosening and tightening the handbrake nuts controls cable tension on manual lever systems. Start by locating the adjustment area under the center console cover.
Use one wrench to hold the lower nut, then use a deep socket or second wrench to turn the upper nut. Turn it in small steps, then check the lever feel before you make another change.
Do not tighten the cable until the rear brakes drag. If the wheels feel tight or the brakes smell hot after a short drive, loosen the adjustment and inspect the rear brake system.
Testing Your Handbrake After Adjustment
After you adjust the handbrake, test it before you reinstall every trim piece. Pull the lever and make sure it feels firm, even, and smooth.
Park on a safe, mild incline and apply the handbrake fully. The vehicle should stay still without rolling or needing repeated lever pulls.
Check the dashboard brake warning light when the handbrake is engaged. It should turn on when you apply the brake and turn off when you release it.
Take a short drive in a safe area after the adjustment. Listen for scraping, dragging, squeaking, or heat from the rear brakes.
Reinstalling the Cover Securely
Once the handbrake works correctly, reinstall the console cover with care. Align the cover holes with the shifter opening and the handbrake lever area.
| Step | Action | Notes |
|---|---|---|
| 1 | Align the cover with the shifter hole | Check for a clean fit |
| 2 | Set the boot cover around the handbrake | Keep it clear of lever movement |
| 3 | Install push pin clips | Lock each clip in place |
| 4 | Reinstall the gear selector knob if removed | Tighten it by hand |
After the cover sits in place, press lightly around the edges. Make sure the trim does not rub the handbrake lever or block its movement.
Checking Electrical Connections After Adjustment
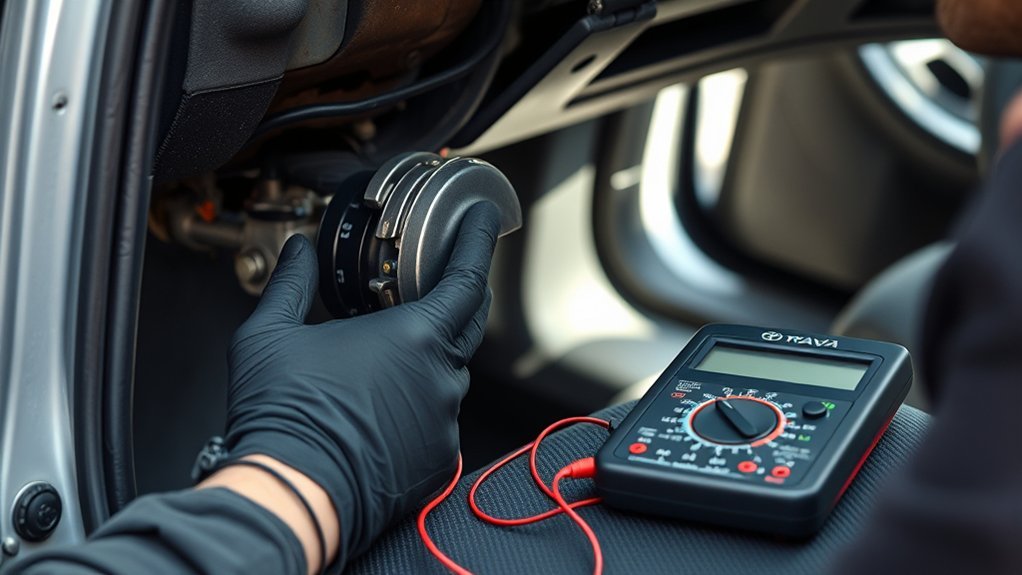
Check nearby electrical connections before you finish the job. A loose connector can cause warning lights, switch issues, or poor console control operation.
- Confirm that each connector sits fully in place.
- Inspect wires for looseness, corrosion, cuts, or pinched sections.
- Test the parking brake warning light after you reconnect anything.
- Reconnect the battery correctly if you disconnected it during the job.
Do not force a connector that will not seat. Check the connector shape and locking tab before you push it back in place.
Top Handbrake Adjustment Mistakes and How to Avoid Them
Small mistakes can make the parking brake weak, noisy, or too tight. Avoid the common problems below before you rely on the handbrake again.
Ignoring Brake Wear Indicators
Worn rear brake parts can make a handbrake adjustment fail. Check the rear brakes before you tighten the cable.
- Inspect brake pads, shoes, rotors, drums, and hardware when possible.
- Fix worn brake parts before you adjust the cable.
- Follow the service interval in your owner’s manual.
If the rear brake parts have heavy wear, cable tension alone will not restore safe holding power.
Using the Wrong Tools
Use the correct wrench or socket size for the adjustment nuts. The wrong tool can round the nut and turn a simple job into a repair.
Avoid over-tightening the nut. Too much cable tension can keep the rear brakes partly engaged and cause heat, noise, or extra wear.
Neglecting Electrical Connections
Loose or damaged electrical connections can cause warning light problems after the console cover comes off. Check every nearby connector before you reinstall the trim.
- Look for warning lights on the dashboard.
- Check for inconsistent parking brake warning light behavior.
- Listen for odd sounds when you apply or release the lever.
If a warning light stays on after adjustment, stop and inspect the switch, wiring, and brake fluid warning circuit before you drive far.
Handbrake Adjustment Tips for Better Performance
Adjust the handbrake only after you understand why it feels weak. A stretched cable, worn rear brakes, or damaged hardware can create similar symptoms.
Set cable tension in small steps and test after each change. The lever should feel firm, but the rear brakes should not drag after release.
Note: If your RAV4 has an electronic parking brake switch instead of a manual lever, use the service steps for that system instead.
Keep notes on your adjustment if the brake needs frequent attention. Repeated adjustment can point to cable stretch, worn rear brake parts, or a seized mechanism.
Understanding the Importance of Handbrake Maintenance
Your handbrake helps secure your RAV4 when parked, especially on hills. Regular checks help you spot weak holding power before it becomes a safety risk.
- Check the lever feel during routine maintenance.
- Test holding power on a safe incline.
- Inspect cables and rear brakes if the lever travel changes.
- Follow the maintenance advice in your owner’s manual.
A properly adjusted handbrake supports safer parking and reduces strain on the transmission parking pawl. It also helps you catch rear brake issues early.
Frequently Asked Questions
How do you set the parking brake on a Toyota RAV4?
For a manual lever, press the brake pedal, shift into Park, and pull the lever until it feels secure. For an electronic parking brake, use the parking brake switch and confirm the dashboard indicator turns on.
Can you adjust the handbrake yourself?
You can adjust a manual handbrake yourself if you have basic tools and safe working conditions. Do not adjust an electronic parking brake unless you know the correct service procedure for your model.
How many clicks should a RAV4 handbrake have?
The correct click range can vary by model year and brake condition. Use your owner’s manual or service information for the exact range, then test the brake on a safe incline.
Where is the handbrake adjustment screw?
On many manual lever setups, the adjustment nut sits under the center console near the handbrake lever. You usually need to remove the trim cover to reach it.
When should a mechanic check the parking brake?
Ask a mechanic to check it if the vehicle still rolls after adjustment, the rear brakes drag, or warning lights stay on. You should also get help if you find rusted, frayed, or seized cables.
Conclusion
A safe handbrake adjustment starts with the right diagnosis, not just a tighter cable. Check your RAV4’s parking brake type, inspect the rear brake parts, and adjust the nut in small steps. Test the handbrake on a safe incline before you trust it on steeper ground. If the brake still slips or feels wrong, get a qualified mechanic to inspect the full parking brake system.