What’s in This Article
- How to Understand Engine Codes in Your Toyota Supra
- Before You Begin: Know Your Supra’s Diagnostic System
- What You’ll Need
- How to Retrieve Engine Codes Easily
- How to Read Flash Codes Correctly
- Common Toyota Supra Engine Error Codes
- How to Clear Engine Codes From Your Toyota Supra
- Troubleshooting Your Toyota Supra’s Engine Code Issues
- What Should I Do After Clearing Engine Codes?
- Frequently Asked Questions
- Conclusion
A check engine light on your Toyota Supra can feel stressful, but the code gives you a clear place to start. You can read many older Supra engine codes with a jumper wire and the check engine light, while later models need an on-board diagnostics 2 (OBD2) scan tool. This guide shows you how to retrieve, read, clear, and follow up on Toyota Supra engine codes safely.
Quick Answer
For many 1993.5 to 1995 MKIV Toyota Supra models, you can read OBD1 engine codes by bridging TE1 and E1 in the diagnostic connector, turning the ignition on, and counting check engine light flashes. For 1996 to 1998 U.S.-market Supra models, use an OBD2 scan tool at the DLC3 under the dash. Always write down the codes before you clear them.
Key Takeaways
- Check your Supra’s model year first because OBD1 and OBD2 cars use different diagnostic methods.
- Use TE1 and E1 only when your diagnostic connector labels match that OBD1 procedure.
- Count the check engine light flashes carefully and write down every diagnostic trouble code.
- Fix the cause before you clear codes, or the warning light may return.
- Use a service manual or qualified technician when the code points to wiring, the engine control module, or safety-critical systems.
How to Understand Engine Codes in Your Toyota Supra
Engine codes help you narrow down a fault before you replace parts. A diagnostic trouble code (DTC) points to a circuit, sensor signal, or operating condition that the engine control module detected.
On many 1993.5 to 1995 MKIV Supra models, you can read OBD1 flash codes without a scanner. According to MKIV.com, you connect a wire between TE1 and E1, turn the ignition switch on, and watch the check engine light flash a code pattern.
The pattern uses two groups of flashes for each two-digit code. For example, two flashes, a pause, and one flash indicate code 21.
That code does not always mean the sensor itself has failed. It means you need to inspect the related circuit, connector, wiring, sensor, and engine control module path before you buy parts.
Before You Begin: Know Your Supra’s Diagnostic System
Check your model year and market before you start. MKIV.com notes that 1993.5 to 1995 Supra models use the OBD1 flash-code method, while 1996 to 1998 cars use an OBD2 scanner.
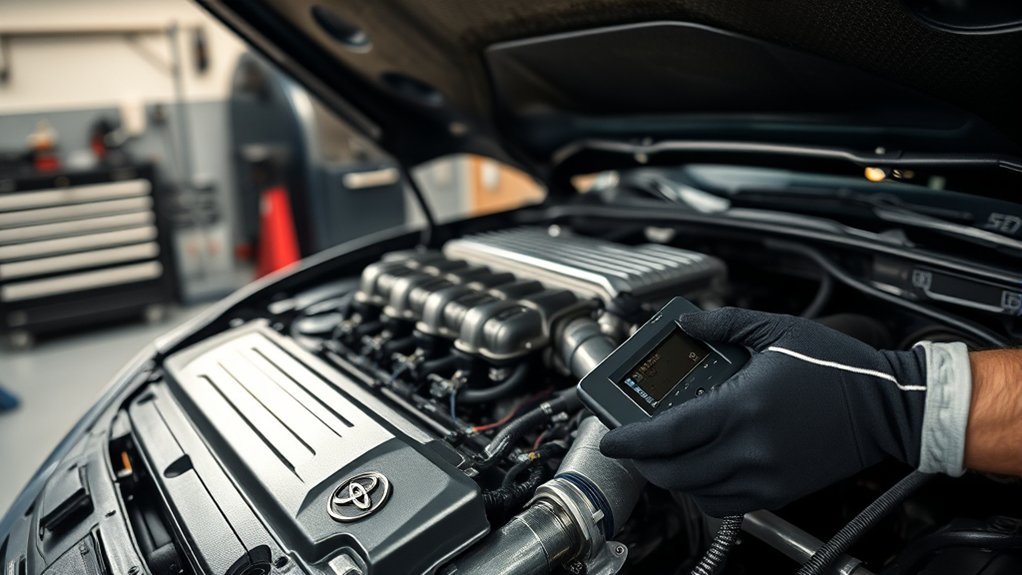
The 1997 Supra diagnostics manual also explains that OBD2 cars use the Data Link Connector 3 (DLC3) near the lower left side of the instrument panel. Use a scan tool for those cars instead of forcing an OBD1 jumper method.
Note: Connector labels can vary by model year, engine, and market, so match the terminal labels on your own car before you bridge anything.
What You’ll Need
Estimated total time: about 10 to 20 minutes for a basic code check, not including repairs.
- A short jumper wire or paper clip for compatible OBD1 cars
- An OBD2 scan tool for 1996 to 1998 U.S.-market cars
- A flashlight to read the diagnostic connector labels
- A notepad or phone to record each code
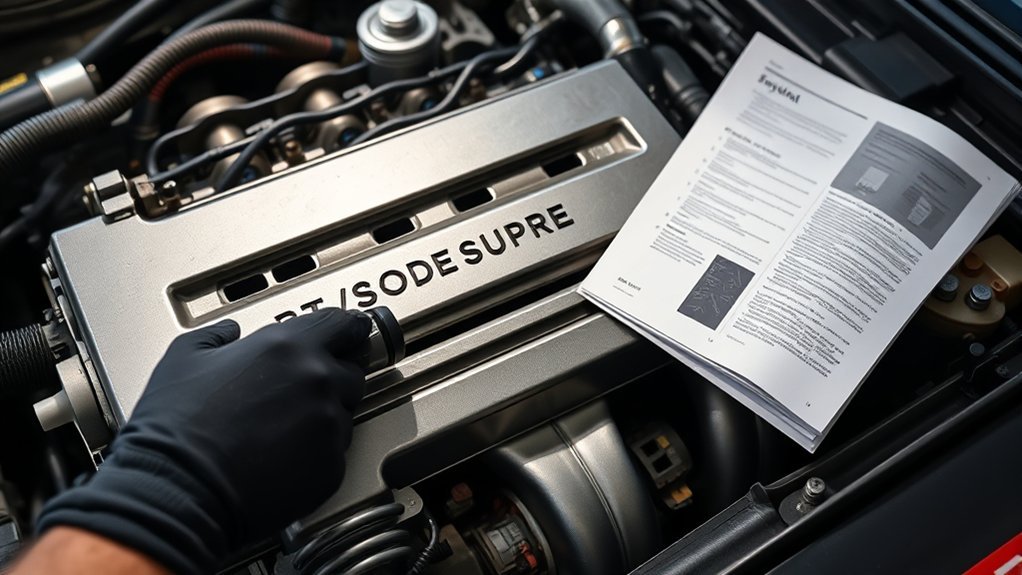
- Your Supra service manual or a trusted repair reference
Park on level ground, set the parking brake, and keep the engine off unless a procedure tells you to start it. Make sure the battery has enough charge before you read codes because low voltage can affect diagnostics.
How to Retrieve Engine Codes Easily
Use these steps only for a compatible OBD1 Supra with matching TE1 and E1 terminal labels.
- Switch the ignition off. Start with the key off and the engine not running.
- Find the diagnostic connector. Check under the hood or under the driver-side dash, depending on your car.
- Bridge TE1 and E1. Connect a small jumper wire only across the correct labeled terminals.
- Turn the ignition to ON. Do not start the engine for a normal code check.
- Count the check engine light flashes. Watch the light and write down each two-digit code.
- Compare the codes with a trusted chart. Use a Toyota repair manual or a Supra-specific code list.
- Remove the jumper wire. Switch the ignition off before you disconnect the jumper.
If the check engine light flashes steadily, the system may not have stored a fault code. If the light does not come on with the ignition on and engine off, inspect the bulb, cluster, fuse, or related circuit before you trust the test.
How to Read Flash Codes Correctly
The Toyota Supra Community flash-code guide describes each code as two groups of flashes. A short pause separates flashes within a digit, and a longer pause separates the two digits.
A 0.5-second flash pause separates individual signals. A 1.5-second pause separates the two digit groups, and a 2.5-second pause separates different codes.
After the last stored code, the light pauses longer, then repeats the stored sequence. Watch the sequence at least twice so you don’t mix up one code with the next.
Common Toyota Supra Engine Error Codes
Common Toyota OBD1 code meanings can help you start your diagnosis. Still, your exact Supra model, engine, and market can affect the final code chart, so confirm every code with your repair manual.
Here’s a quick reference table for common Toyota OBD1-style engine codes:
| Error Code | Common Meaning |
|---|---|
| 21 | Main oxygen sensor signal fault |
| 22 | Water temperature sensor circuit fault |
| 23 or 24 | Intake air temperature signal fault |
| 31 or 32 | Air flow meter or vacuum sensor circuit fault |
| 41 | Throttle position sensor circuit fault |
| 43 | Starter signal fault |
| 51 | Switch condition signal, often linked to A/C or diagnostic conditions |
Use this table as a starting point, not a final diagnosis. A code can point to a bad sensor, but it can also point to a loose connector, corroded wire, ground fault, or engine control module issue.
How to Clear Engine Codes From Your Toyota Supra

Clear codes only after you record them and fix the likely cause. If you erase codes too soon, you may lose clues that help you diagnose the real problem.
For the OBD1-style MKIV procedure, switch off the ignition and remove the EFI No. 1 fuse, 30 A, from the engine-compartment fuse box for at least 10 seconds. Reinstall the fuse, then run the diagnostic test again to confirm the fault memory cleared.
You can also disconnect the battery cables to clear stored entries. The 1997 Supra diagnostics manual also notes that an OBD2 scan tool or Toyota hand-held tester can erase DTC and freeze frame data on OBD2 cars.
Warning: Disconnecting the battery can erase radio, clock, and electronic memory settings, so save needed codes or settings first.
Troubleshooting Your Toyota Supra’s Engine Code Issues
Start with the easiest checks before you replace parts. Look for loose plugs, damaged wires, blown fuses, poor grounds, and vacuum leaks near the affected circuit.
Then match the code to a service-manual diagnostic path. A code tells you where to test, but it does not prove which part has failed.
Common Error Code Causes
Oxygen sensor codes can come from a worn sensor, wiring fault, exhaust leak, or fuel mixture problem. Temperature sensor codes can come from the sensor, the connector, wiring, or a sensor-ground issue.
Throttle position sensor faults usually point to code 41 in Toyota OBD1-style charts. Test the circuit and adjustment before you replace the sensor.
If you see smoke, rough running, or boost problems, treat the code as one clue in a larger diagnosis. Check air leaks, ignition parts, fuel delivery, and turbo-related controls when symptoms point in that direction.
Diagnostic Procedures Explained
For OBD1 flash-code checks, keep the ignition on while you read the light pattern. Count every flash group, write down each code, and repeat the sequence to confirm your notes.
For OBD2 cars, connect a scan tool to the DLC3 and read the stored DTC and freeze frame data. The 1997 Supra diagnostics manual says freeze frame data can show engine conditions at the time of the fault, which can help you narrow the cause.
If you use check mode or a special test-mode procedure, follow the service manual exactly. The Toyota Supra Community guide notes that incorrect test-mode steps can trigger code 43, while code 51 may appear during the correct procedure.
Code Deletion Techniques
Use the EFI No. 1 fuse method only when it matches your Supra’s diagnostic system. Low ambient temperature may require a longer fuse-removal time before the code memory clears.
After you clear codes, run the diagnostic check again. If the same code returns right away, the fault likely remains active.
What Should I Do After Clearing Engine Codes?
Once you’ve cleared the engine codes, perform a fresh diagnostic check before you call the repair complete. This helps you confirm that the engine control module no longer stores the same fault.
After you clear engine codes, test again and monitor the check engine light before you assume the fault has gone away.
- Run the diagnostic test again. Confirm that the system no longer shows the same code.
- Drive under varied conditions. Use normal speeds, light throttle, and moderate load so the engine can repeat the original conditions.
- Monitor the check engine light. If it comes back, read the new code before you clear anything else.
- Review code 51 with context. During certain test-mode procedures, code 51 may appear because of switch conditions, but you should confirm that with your manual.
If your Supra runs poorly after you clear codes, stop driving it and recheck the diagnosis. A stored code can return quickly when the fault affects fuel, ignition, temperature, or boost control.
Frequently Asked Questions
How do I read my Toyota Supra engine code without a scanner?
On many OBD1 Supra models, you bridge TE1 and E1, turn the ignition on, and count the check engine light flashes. Use this only when your connector labels match the procedure. For OBD2 cars, use a scan tool instead.
Can I check Toyota Supra engine codes without a scanner?
You can do this on many older OBD1 Supra models with the flash-code method. You cannot use that same method for every Supra, especially 1996 to 1998 U.S.-market models that use OBD2 diagnostics.
How do I put a Supra in diagnostic mode?
For a normal OBD1 code check, you usually bridge TE1 and E1, then turn the ignition on. Some test-mode procedures use E1 and TE2, but you should follow your exact service manual because the wrong sequence can create misleading codes.
How do I look up Toyota Supra check engine codes?
Write down each two-digit code first, then compare it with a Supra-specific repair manual or trusted Toyota OBD1 chart. Use a scanner’s code description for OBD2 cars, but still test the circuit before you replace parts.
Safety Disclaimer: This article is for informational purposes only and does not replace professional automotive advice. Vehicle electrical work can cause injury, fire, or vehicle damage if you use the wrong terminal or disconnect the wrong part. Consult a qualified mechanic or your Toyota service manual before you perform any repair you’re not sure about.
Conclusion
Toyota Supra engine codes give you a clear path from warning light to likely fault area. Check your diagnostic system first, read the codes carefully, and record every result before you clear anything. Then repair the root cause and run the test again. With a careful process, you can protect your Supra and make smarter repair choices.
References
- 93-98 Supra Twin Turbo FAQ – MKIV.com
- 1997 Supra Engine Diagnostics, 2JZ-GE – Toyota repair manual copy, 1997
- Read Error Code of the Motor – Toyota Supra Community, 2017
- How to Retrieve Toyota OBD1 Codes with Definitions – 2CarPros