

If your inflator won’t shut off at set pressure, check power, gauge accuracy, and for leaks first—you’ll want a solid supply, intact fuse, and no kinks or loose connectors causing backpressure. Inspect the pressure switch and sensor for dirt, corrosion, or loose wiring; compare readings with a trusted gauge and adjust the cutoff screw if available. Clean or replace pitted switch contacts and damaged hoses, and consider warranty or replacement if repairs are costly—keep going to learn specific tests and fixes.
Quick Checks to Try When Auto Shutoff Fails
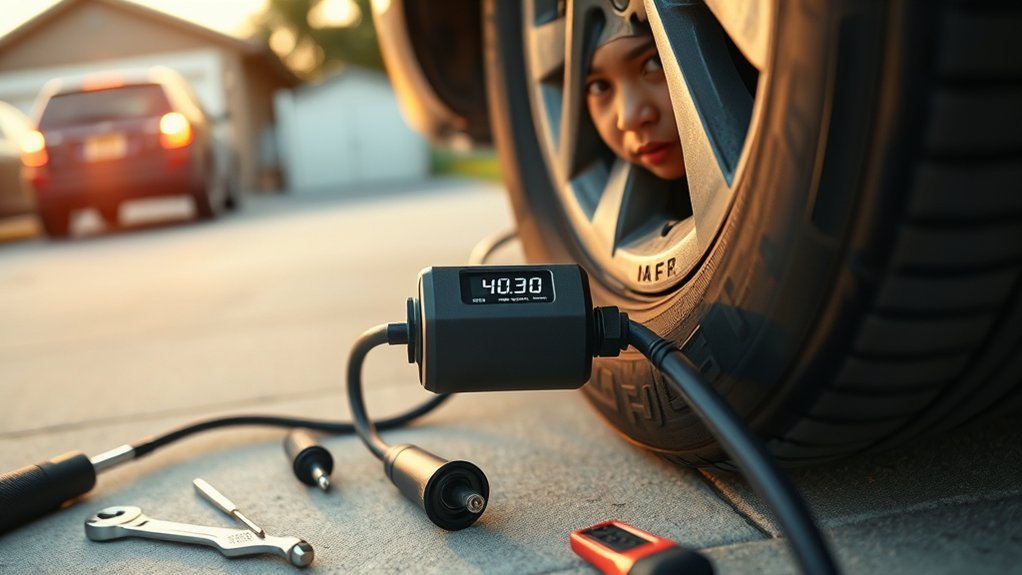
Start by checking the basics you can fix quickly: confirm the inflator has solid power (battery charged or plug snug), verify the gauge reads correctly, and scan the hose and fittings for leaks or blockages that could skew pressure readings. You’ll want to confirm the power supply is stable — intermittent voltage prevents the auto shutoff from sensing target pressure. Calibrate or swap the pressure gauge to rule out a faulty sensor; an inaccurate gauge won’t trigger shutoff at the set PSI. Inspect for air leaks along the hose, fittings, and valve connector; even small leaks change dynamic pressure and confuse the switch. Verify the unit’s rated pressure range matches your tire spec; operating beyond specs disables reliable shutoff. Clean the pressure switch and ports to remove debris or corrosion that can jam mechanical contacts. These quick, technical steps let you reclaim control without dismantling the inflator, keeping you autonomous and operational.
Power, Fuses, and Switch Checks That Affect Auto Shutoff
If you’re having auto shutoff problems, check the power path first: verify the inflator’s plug and outlet deliver consistent voltage, test with an alternate power source, inspect the internal fuse for continuity, and confirm the power switch and internal wiring are intact and making solid connections—any intermittent supply or blown fuse can prevent the pressure-sensing circuit from closing and stop the auto shutoff from engaging.
Next, isolate variables: swap outlets or use a known-good battery/12V source to eliminate external supply faults. Open the case only after unplugging and discharge; use a multimeter to check fuse continuity and voltage at the switch terminals. Replace any blown fuses with identical ratings. Actuate the power switch while probing for intermittent contact or corrosion; a faulty switch will produce voltage drop or noise that defeats the control electronics. Inspect wiring for frays, cold solder joints, or loose connectors and repair solder joints or crimp new terminals. These steps restore reliable power flow so the pressure sensor and auto shutoff can operate without being starved or interrupted.
Inspect Hoses, Valves, and Connectors for Leaks or Backpressure
When you inspect hoses, valves, and connectors, focus on any kinks, cuts, loose fittings, or debris that can restrict flow or let air escape, because even small leaks or blockages will skew pressure readings and stop the auto‑shutoff from working reliably. You’ll want to inspect hoses for splits or internal collapse, check valves for sealing defects, and guarantee connectors seat fully on the tire stem. Addressing these stops you from being tethered to faulty gear.
- Verify hose integrity: no kinks, abrasions, or occlusions.
- Test connector fit: tight seating prevents persistent air leakage.
- Check valve sealing: confirm no backpressure from the tire valve.
Work methodically: disconnect, visually examine, flex hoses under light, and feel for escaping air while a partner applies pressure. Replace damaged hoses or worn connectors; use thread sealant or replacement valve cores for persistent leaks. Regular inspection and maintenance free you from unreliable shutoff behavior and keep inflation predictable.
[Products Worth Considering]

Feature: The air compressor valve is made of high quality brass with characteristics of high temperature resistance and corrosion resistance.
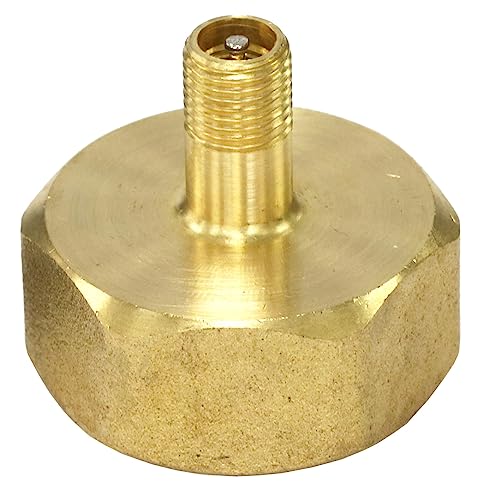
The Schrader air valve is identical to those found on car tires. The female garden hose connection will fit standard garden hoses in USA and Canada.

✔ INCLUDES 2pcs USA Universal Type Coupler , 1pc I/M Type Female Plug, 1pc Swivel Connector, Steel,allows connection of 2 tools to a single outlet.
Test the Pressure Gauge and Sensor That Control Auto Shutoff
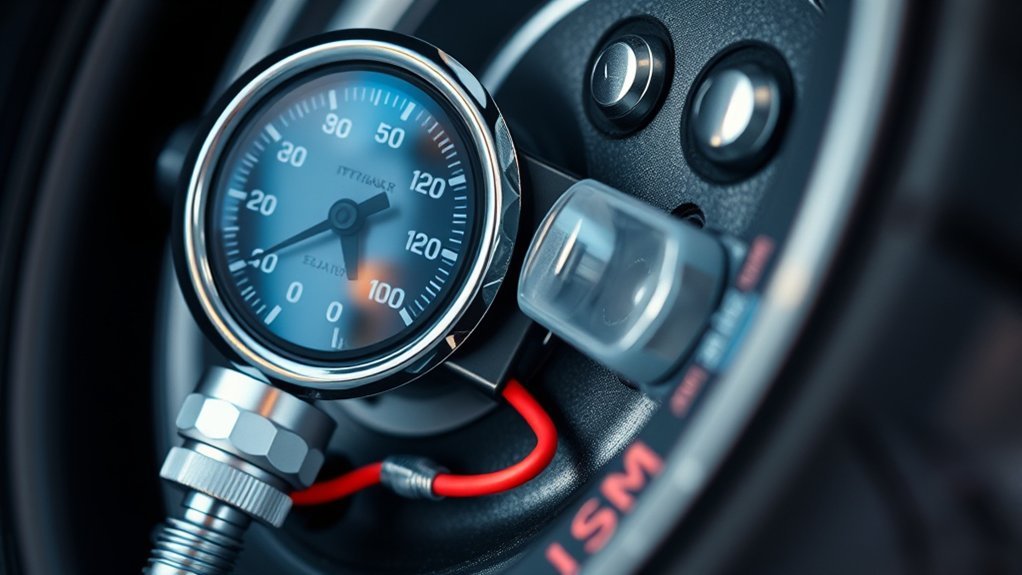
Start by comparing the inflator’s pressure reading to a known-good external gauge to spot calibration errors or sensor drift. Then inspect the sensor connections and valve attachment for contamination, loose fittings, or improper seating that can affect readings. If discrepancies persist after cleaning and tightening, plan to replace the gauge or sensor to restore reliable auto shutoff.
Compare With External Gauge
Want to know whether the inflator’s auto shutoff is trustworthy? Compare its pressure gauge readings to a reliable external gauge to confirm accuracy. Attach both to the tire, inflate slowly, and note differences at multiple pressures. If readings diverge, you may have a calibration issue that compromises the auto shutoff and risks over- or under-inflation.
- Test at low, mid, and target pressures to spot non-linear errors.
- Record discrepancies and repeat to rule out transient variance.
- If differences persist, recalibrate or replace the inflator pressure gauge.
You control your safety and freedom on the road—verify instruments routinely so the auto shutoff acts as intended, not by assumption.
Inspect Sensor Connections
If your inflator keeps cutting out at the wrong pressure, inspect the pressure gauge and sensor connections immediately to rule out communication faults. You’ll first verify the pressure gauge against a calibrated external unit; discrepancies mean the gauge or sensor is misreporting and won’t trigger the auto shutoff correctly. Next, secure all sensor connections: tighten fittings, remove corrosion, and clear debris that interrupts signal paths. Probe the sensor for visible damage or wear; a compromised sensor needs replacement. Test functionality by comparing readings across multiple pressures and log deviations. Finally, clean and maintain sensor components routinely to prevent false readings. Do this to reclaim control, eliminate dependency on faulty parts, and guarantee reliable auto shutoff operation.
How to Safely Recalibrate the Auto Shutoff Pressure
Before you touch anything, unplug the inflator and let it cool completely to prevent shocks or burns. Verify the gauge with a reliable external pressure gauge so you know the target cutoff is accurate, then locate the adjustment screw near the pressure switch. Turn the screw clockwise to raise or counterclockwise to lower the shutoff pressure, plug the unit back in, and test on a tire to confirm the new cutoff.
Safety First Always
When you’re ready to recalibrate the auto shutoff, unplug the inflator and let it cool to eliminate electrical and burn risks, then consult the manufacturer’s manual to locate the calibration screw and adjustment procedure. You’ll work deliberately: preserve your freedom to travel by keeping tools and knowledge precise. Treat the safety mechanism as non-negotiable—inspect and clean the pressure switch and gauge for debris or corrosion before adjusting. Use a reliable external gauge to check the pressure gauge readings before and after calibration. After adjustment, inflate a tire to the target pressure and confirm the auto shutoff engages. Follow these steps:
- Power off and cool; read the manual.
- Clean switches and fittings; then adjust the screw.
- Test with a tire and confirm shutoff activation.
Verify Gauge Accuracy
Start by unplugging the inflator and attaching a trusted external pressure gauge to the tire so you can compare readings without risking electrical activation. You’ll verify gauge accuracy by inflating to a target pressure using the inflator’s gauge, then reading that pressure with the external pressure gauge. If readings differ beyond tolerance, locate the calibration screw on the back or side of the inflator gauge. With the unit still powered off, make small clockwise or counterclockwise turns per manufacturer guidance to shift the needle toward the external gauge’s value. Reinflate and recheck until both match at several pressures. Regularly repeat this process after drops or temperature exposure to maintain reliable auto shutoff behavior and autonomous control over air pressure.
Adjust Cutoff Screw
Locate the cutoff adjustment screw near the gauge, power the inflator down and unplug it, then use a screwdriver to turn the screw clockwise to raise the shutoff pressure or counterclockwise to lower it—consult your user manual for the target pressure before you adjust. You’ll adjust cutoff screw settings with safety and intent: disconnect power, reference the desired pressure in the user manual, and make small incremental turns. After each change, reconnect and test on a tire to confirm the auto shutoff activates at the new setpoint. Keep records of adjustments so you can return to safe defaults.
- Unplug and lock out power before touching the screw
- Make quarter-turn adjustments only
- Verify with a calibrated gauge after each test
Regular recalibration protects freedom from unsafe inflation.
Cleaning or Replacing Switch Contacts to Restore Function
One simple maintenance step that often restores an inflator’s auto shutoff is cleaning the switch contacts; you’ll first disconnect power, then use a fine abrasive or contact cleaner to gently remove corrosion or debris without nicking the metal. You want cleaning to restore reliable electrical connection and bring back shutoff functionality. Work deliberately: open the housing, expose the switch, and inspect for grime or oxidation. Use a lint-free cloth, isopropyl, or a specialized contact cleaner and a fiberglass pick or polishing stick for light corrosion. Don’t over-abrade conductive surfaces.
If contacts show pitting, burning, or material loss, replace them to regain consistent operation. After cleaning or swapping parts, reassemble and bench-test the inflator, confirming it activates and deactivates at intended pressure settings. Schedule periodic inspections as part of your maintenance routine to prevent recurrence and keep the inflator operating dependably, freeing you from unpredictable failures.
When Electrical or Mechanical Repair Fixes the Problem
When you’ve ruled out simple maintenance steps, electrical or mechanical repairs often resolve an inflator that won’t auto‑shutoff: inspect internal wiring and components for loose connections or visible damage, test the control switch and pressure gauge for proper operation, and clean contacts to restore reliable electrical flow. You’ll want a methodical approach: open the casing, visually scan for frayed wires, burnt traces, or bent mechanical components, and measure continuity on the switch and sensor circuits. Calibrate or replace a faulty gauge so the control logic sees set pressure.
- Verify wiring continuity and secure all connectors.
- Test the control switch under load; replace if intermittent.
- Clean or replace corroded contacts and check pressure sensor response.
If issues persist beyond basic fixes, consider a professional repair — especially when soldering, circuit-board diagnostics, or actuator replacement are needed. Keep a tire repair kit handy for safe temporary inflation while you pursue a durable, liberated solution.
[Products Worth Considering]

250 PSI RATED BRASS COMPONENTS are designed for heavy-duty use with tire inflators and gauges

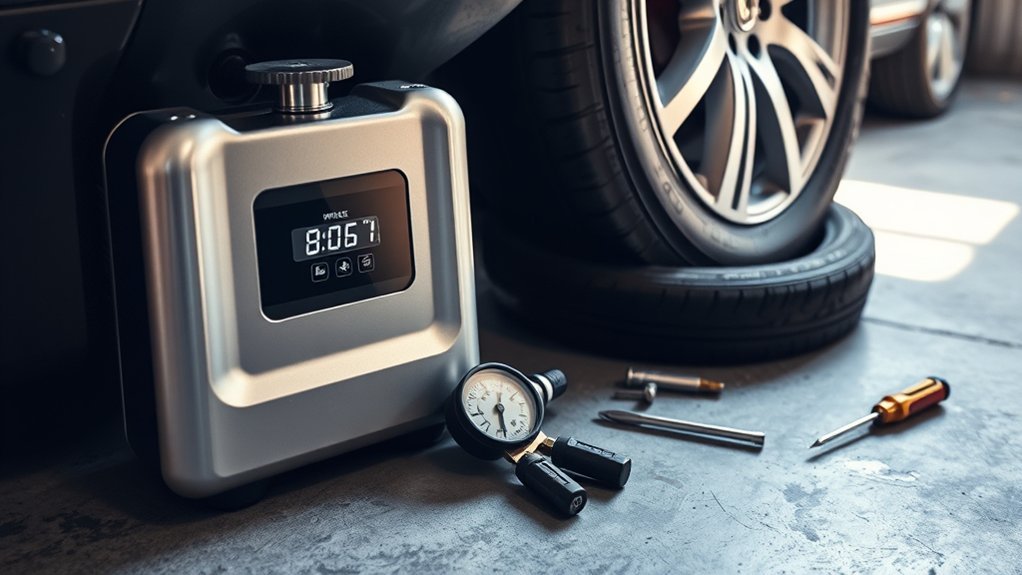
Accurate: Spurtar tire inflator air pressure gauges with rubber hose are performance-tested and calibrated to the ANSI B40.1 Grade B (2%) international accuracy standard. This device allows you to measure your tire pressure accurately and inflate your tires without the need to drive to a gas station or garage. Easily use the tire pressure gauge with an air pump or compressor to inflate your tires efficiently

WHAT YOU CAN GET: This tire inflator gauge includes aluminium tire inflator and deflator, 0-220PSI 0-16kg/CM2 2-1/2" large dial mechanical air pressure gauge, 13" long maximum pressure up to 250PSI rubber hose, brass straight chuck with leak free valve core. It is a complete 3 in 1 function tool ready for testing tire pressure, deflating and inflating tyre with air pump or compressor (not included).
Repair vs Replace: Warranty, Cost, and Replacement Criteria
After you’ve checked wiring, switches, and sensors, decide whether to repair or replace the inflator by weighing warranty coverage, repair cost, and future reliability. First verify warranty status—many brands offer a one-year warranty that covers defects. If it’s covered, contact customer support with receipts and warranty documents; they’ll often authorize repair or replacement, saving you time and uncertainty.
If out of warranty, get a repair estimate: list parts, labor, and turnaround. Compare that total to current retail for a unit meeting your required compressor specifications and tire pressure range. If repair cost approaches or exceeds replacement, choose replacement to reclaim freedom from repeated failures. Use customer support for troubleshooting before spending; they can confirm whether the fault is systemic or isolated.
Keep records of diagnostics and costs. Prioritize reliability and specification match over sentimentality—replace when repairs don’t restore specified performance or when costs negate the benefit of fixing.
[Products Worth Considering]

ADVANCED TRUEGAUGE SCREEN: This battery tire inflator includes updated sensor technology, capable of collecting pressure data from tire inflators at a frequency of 200 times per second. Its valid data rate is higher than 80%, which is 60% better than the market average. Wherever you go, accurate readings help you drive safely.

【Fast and Efficient Inflation】Equipped with a powerful motor that delivers rapid airflow, this inflator can inflate a standard car tire (195/65 R15) from 30 to 35 PSI (+5 PSI) in just about 55 seconds. Ideal for cars, motorcycles, bicycles, and sports balls, this portable tire inflator enhances convenience for everyday life and travel. Note: It can only inflate car tires up to 51 PSI

Please Note: This product must be powered by a 12V DC Cigarette Lighter to function properly, and ensure the vehicle is in a running state. And it equipped with a 9.8-foot cord, which can meet the usage needs of most regular-sized vehicles.
Simple Maintenance Habits to Keep Auto Shutoff Working Reliably
If you want the auto-shutoff to stay reliable, adopt a few straightforward maintenance habits: clean the pressure gauge and switch points regularly to remove corrosion and debris, inspect and replace worn components (especially the gauge) so readings stay accurate, and periodically check calibration against your vehicle’s recommended tire pressure. You’ll keep control and avoid being stranded by a faulty auto shutoff.
Adopt a routine:
- Clean contacts and gauge face; remove grime that alters readings.
- Inspect hoses, fittings, and the pressure gauge; replace degraded parts promptly.
- Verify calibration with a trusted gauge and adjust to vehicle specs.
Also maintain stable power: check battery or supply voltage and connections so the auto shutoff gets consistent input. Follow the manufacturer’s maintenance schedule to catch wear early. These steps are technical, achievable, and liberating—you reclaim reliability by preventing failures rather than reacting to them.
Frequently Asked Questions
Why Is My Air Compressor Not Shutting off Automatically?
Your compressor’s not shutting off because the pressure switch or gauge may be faulty, misadjusted, or corroded, or a leak’s cycling it; use pressure switch troubleshooting, follow compressor maintenance tips, and you’ll reclaim control.
How to Reset a Portable Tire Inflator?
Unplug the inflator, let it cool, then use the manual’s reset methods or designated button sequence; reconnect, set proper pressure settings, and test. If it won’t reset, follow inflator troubleshooting or contact support for liberation.
What Would Cause a Compressor Motor That Is Controlled by a Pressure Switch to Not Shut off at Its Upper Pressure Limit?
Like a stubborn gate, a pressure switch failure lets your compressor motor issues persist: corrosion, misadjustment, faulty gauge, or air leakage problems keep it running. You’ll inspect, clean, adjust, and seal to regain control.
How Does an Air Compressor Shut off Switch Work?
A shutoff switch mechanism senses compressor pressure settings via a pressure sensor/gauge, then cuts power when the set point’s reached; you’ll maintain freedom by following inflator maintenance tips, inspecting contacts, adjusting setpoints, and testing regularly.
Conclusion
If your inflator won’t auto shutoff, start with quick checks, then inspect power, hoses, sensors, and switch contacts; recalibrate or clean parts if needed, and decide repair vs replace based on warranty and cost. For example, a delivery driver fixed intermittent shutoffs by replacing a corroded pressure-switch contact for $25 instead of buying a new unit. Keep hoses tight, store dry, and test calibration monthly to prevent recurrence and maintain reliable automatic stopping.


Leave a Reply