You’ll need a pump that fits Presta or a Presta-to-Schrader adapter. Remove the valve cap and unscrew the tiny locknut until air flows, then wipe the stem clean. Thread the adapter straight onto the valve until snug—don’t overtighten—and confirm the valve core isn’t blocked. Attach your pump head, pump to the recommended pressure, then remove the pump and retighten the locknut and cap. Keep reading for tips on troubleshooting, maintenance, and better pump choices.
Key Takeaways
- Unscrew the Locknut: You must manually loosen the tiny nut at the tip of the Presta valve before the adapter will work.
- Don’t Overtighten: Screw the adapter on until just snug to avoid damaging the rubber seal or the valve core.
- Check Compatibility: Adapters allow you to use standard “car style” (Schrader) pumps, including those at gas stations.
What a Presta Valve Is and When You Need an Adapter
A Presta valve is the narrow, high-pressure valve found on many road and high-performance bikes. It features a small threaded stem with a tiny locknut you must unscrew before adding air. You’ll recognize Presta valves by their slim profile and manual locknut, designed to hold high pressure and reduce leaks. When you ride modern or tubeless setups, Presta valves preserve pressure better than wider types.
You need a valve adapter when your pump accepts only Schrader fittings (the wider valves found on cars). The adapter converts the Presta stem to a Schrader-sized interface so you can inflate without changing pumps. Screw the adapter onto the open Presta valve securely to prevent air loss during pumping. Mastering this small conversion frees you from pump-type limits—carry a small valve adapter, and you won’t be stranded with incompatible gear.
Tools to Check First (Pump Types, Adapter Parts, Seals)
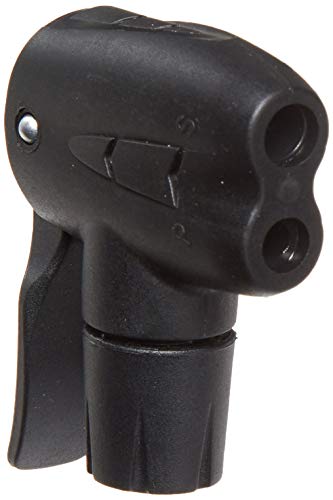
Before you start, run a quick checklist: confirm your pump accepts Presta or that you have the right adapter. Inspect the adapter’s rubber seal for wear, guarantee the Presta locknut is fully unscrewed, and check the adapter’s length so it won’t prevent a good chuck seal. Also, verify your pump reads PSI accurately so you can set the correct pressure.
Identify the pump type you own—dedicated Presta, dual-head, or Schrader-only with an adapter. Lay out the adapter parts: body, threaded cap, and rubber seal. Examine the rubber seal closely; any cracks or flattening require replacement, or you’ll lose air. Check adapter length against your valve stem; if it’s too long, the pump chuck won’t seat; too short, and threads won’t engage. These quick checks free you from roadside guesswork.
[Products Worth Considering]
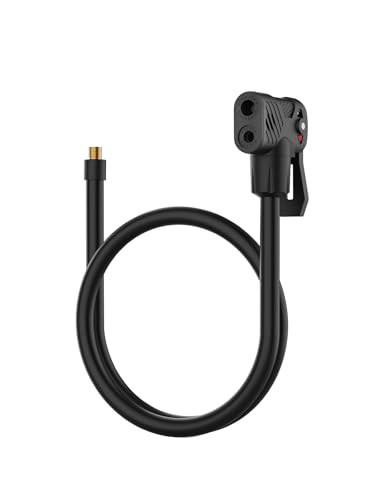
【UNIVERSAL VALVE COMPATIBILITY】Effortlessly switch between Presta and Schrader valves with dual independent nozzles. Perfect for cyclists using hybrid bikes or multiple tire types, this Presta Schrader valve adaptor ensures airtight seals without leaks. Its locking Presta/Schrader air chuck design guarantees stability during inflation, while the 20-inch hose offers flexibility for hard-to-reach valves. Works seamlessly with Presta valve pumps or Schrader-compatible inflators.
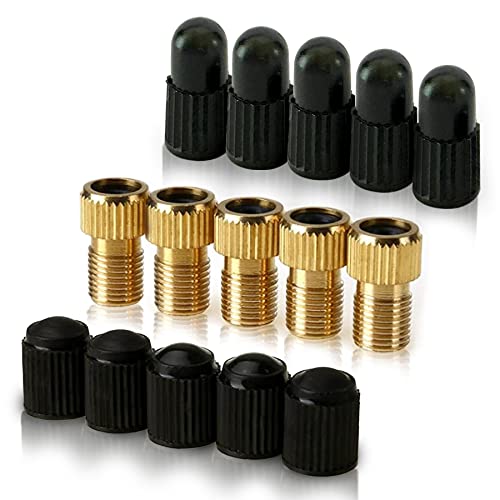
UNIVERSAL FITMENT: This Shrader valve tool conveniently converts your bicycles or e-scooter Presta valve to Schrader, allowing you to inflate tires using a standard pump or air compressor. Be prepared! This five-set offers peace of mind whilst cycling long and short distances. Universal fitment for all bike tires with Presta valves including kids and adult mountain bike, drift trike, electric bicycles, electric moped, and electric motorbike.

[Widely Applicable] With its convertible valve, it supports both Standard Schrader Valve and Presta valve, the tire inflator extension hose is suitable for most vehicle tires filling like car, bicycle, mountain bicycle, motorcycle, electric bike, balls. This tire inflator extension hose will be a good auxiliary tool.
Prepare the Presta Valve (Cap Off, Unscrew Locknut)
Proper preparation is critical. If the locknut isn’t loose, no air will enter the tire, regardless of how hard you pump. Follow these steps to ensure the airway is open.
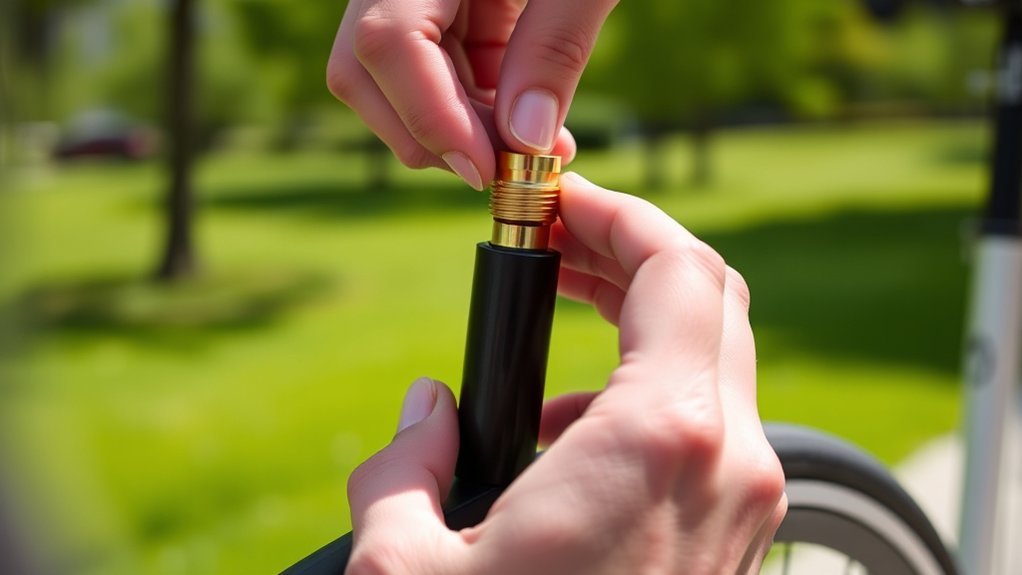
1. Remove the Valve Cap
Start by taking off the plastic or metal cap so you can access the Presta valve stem directly. Keep this cap safe, as it protects the valve mechanism from mud and debris. Check the stem for dirt or grit and wipe it clean; contamination blocks proper seating and risks leaks. Only proceed when the cap is off and the stem is clean and unobstructed.
2. Unscrew Locknut Fully
Turn the tiny locknut counter-clockwise until it stops at the top of the threaded stem. It should feel loose. Depress the nut briefly with your finger to hear a short hiss of air—this “burping” ensures the valve core isn’t stuck. If you skip this step, the valve remains sealed, and your adapter will effectively be plugged.
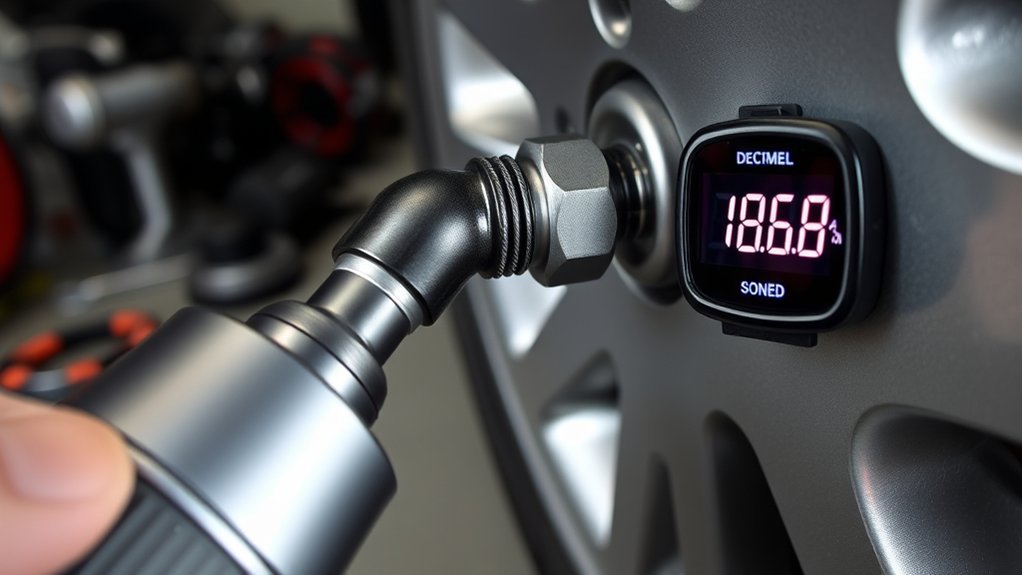
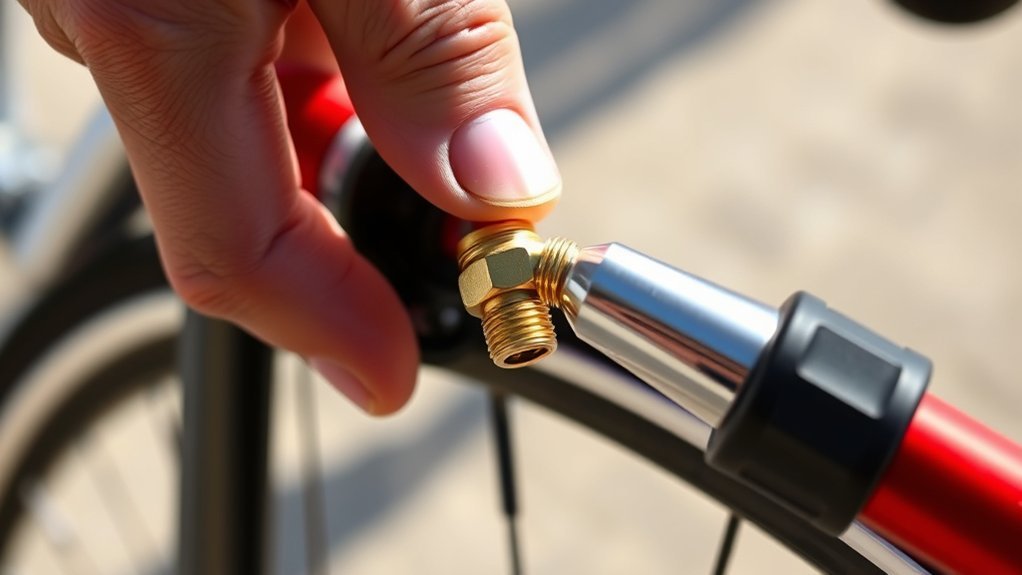
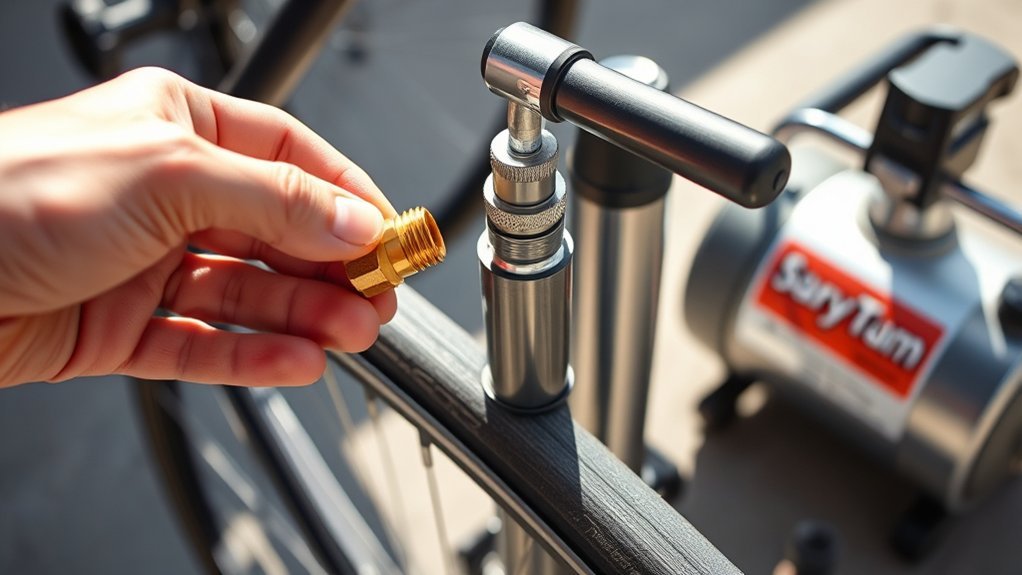
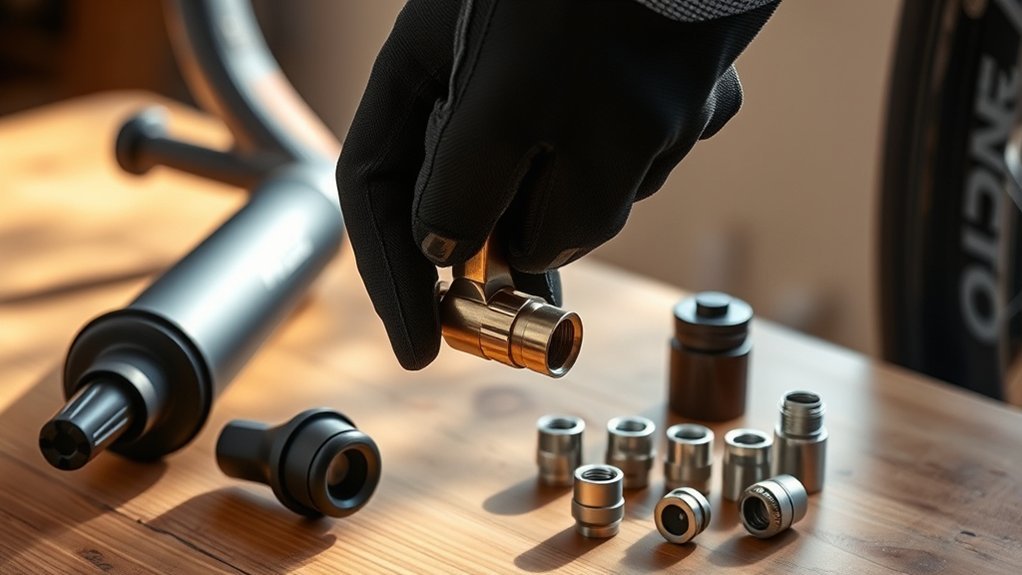
Attach a Presta Valve Adapter Correctly
Once the locknut is loose, attach the adapter. Align it straight, thread clockwise until snug, and don’t overtighten—tight is secure, but not strained. The adapter must be short enough to leave the valve opening clear so air flow isn’t blocked.
| Step | Action | Check |
|---|---|---|
| 1 | Align adapter straight | Visual check (no cross-threading) |
| 2 | Thread clockwise | Stops when snug |
| 3 | Avoid overtightening | Rubber seal is not crushed |
Stay deliberate. If the adapter feels loose or blocks the valve, re-seat it. A correct fit is immediate, functional, and reversible. Finish confident—your valve is accessible, the adapter sealed, and the tire ready for inflation.
Inflate the Tire (Floor Pump, Hand Pump, Gas‑Station Workarounds)
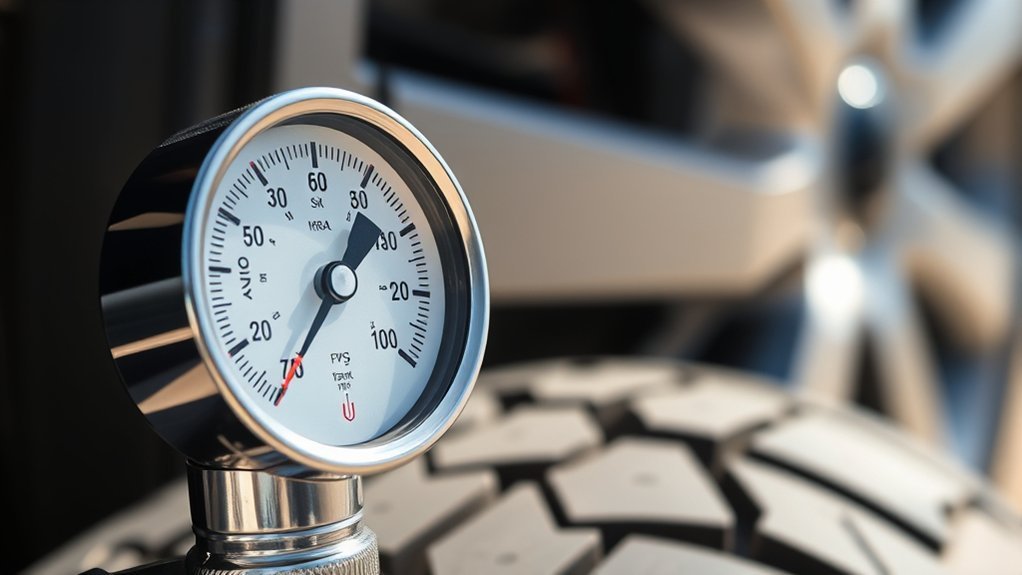
With the adapter straight and snug, attach your pump head. On a standard floor pump, lock the lever securely. Watch the pressure gauge as you inflate the tire to the recommended PSI (usually printed on the tire sidewall).
If using a hand pump, stabilize the valve with one hand while pumping with the other to avoid bending the delicate Presta core. If you are at a gas station, the adapter allows the standard compressor chuck to fit. However, be extremely careful: gas station compressors deliver high volume very fast. Pulse the air in short bursts to avoid overinflation and damage.
When you reach target PSI, detach the pump and adapter promptly. Important: You must re-tighten the Presta locknut (clockwise) after removing the adapter to seal the valve manually.
[Products Worth Considering]

COMFORTABLE HANDLE because of ergonomically designed air pump for bike handle.

【VERSATILE CONNECTION TYPE】LUMITECO double mouth air chuck is universal for Presta valves and Schrader valves. Threaded end can be used as an accessory for most 12V portable tire inflators. Also comes with 1/4'' Female NPT to use with air compressor gauges and standard 1/4" NPT fittings (see product images).
EXCELLENT COMPATIBILITY: Our versatile bike air pump seamlessly accommodates both Presta and Schrader valves, making it a perfect choice for various tasks including bicycles, baby stroller tires sports equipment, or inflatables. Ideal for use with BOB, Bumbleride, Joggers, Thule, Graco, Bugaboo, Trend strollers, and more.
Troubleshoot Presta Adapter Problems
If your Presta adapter won’t hold or let air through, check these common issues:
- Is the locknut loose? If you forgot to unscrew the tiny nut under the adapter, air cannot enter. Remove the adapter and check.
- Is the seal damaged? Inspect the rubber O-ring inside the adapter. Cracks or flattening cause leaks.
- Is the valve core stuck? Sometimes the valve sticks even if the nut is loose. Tap the top of the valve to free it before attaching the adapter.
Throughout, keep components clean and dry. These steps free you from stallouts: inspect seals, verify valve position, and match adapter height to pump.
Maintain and Replace Adapters and Seals
Make maintenance part of your routine. Check the rubber seal inside the adapter frequently for hardening or compression; a compromised seal leaks air. Don’t leave adapters on the valve stem for long periods—remove them after use to prevent corrosion and wear. Store adapters in a dry case and carry a spare.
- Inspect seals before every ride.
- Store adapters in a dry kit; moisture can corrode the brass threads.
- Remove adapters after inflation to prevent unnecessary exposure to road grit.
Alternatives: Pumps and Adapters That Avoid These Issues
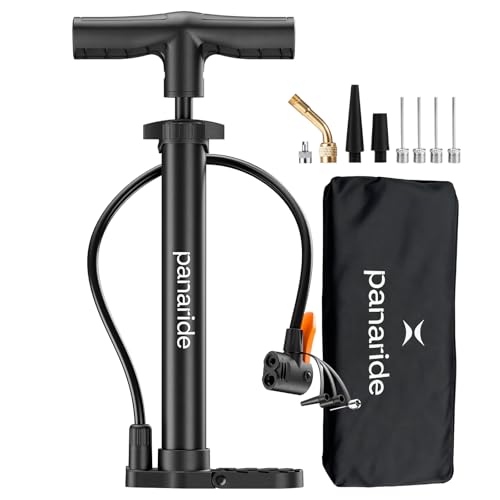
While adapters work well, dedicated equipment is often easier. A quality floor pump with a native Presta head or a dual-head pump handles both valve types without extra parts. For tubeless setups, a dedicated tubeless pump helps seat beads quickly. Carrying a compact hand pump that fits Presta valves directly is lighter and less failure-prone than relying on loose adapters.
[Products Worth Considering]

The lezyne slip-fit dual valve pump head for lezyne floor pumps is engineered with durable composite matrix and aluminum construction.

UNIVERSAL VALVE FIT - SIMPLIFY YOUR SETUP: Compatible with Presta and Schrader valves. This presta pump head ensures quick inflation - whether you're at home, in the garage, or out on the trail.
Compatible with Planet Bike ALX, SSX, ST, STX, COMP and Sport Floor pumps
Frequently Asked Questions
How Do I Use a Presta Valve Adapter?
Thread the adapter onto the open Presta valve (after loosening the locknut), connect your pump, inflate to desired PSI, then remove the adapter and re-tighten the locknut. It adapts the skinny Presta valve to fit standard car-style pumps.
Can You Inflate a Presta Valve With a Regular Pump?
Yes, but you need a Presta-to-Schrader adapter. A regular (Schrader) pump cannot clamp onto the narrow Presta stem without this small brass converter.
How Do I Pump up a Bike Tire With a Presta Valve?
Remove the cap, loosen the small locknut at the tip, attach your pump (or adapter + pump), and inflate. Once finished, tighten the locknut to secure the air seal.
Conclusion
You’ll get the hang of Presta adapters fast. It often feels tricky the first time, but the logic is simple: keep the cap off, loosen the locknut, thread the adapter snugly, and watch the pressure rise. With a little care, this simple tool ensures you are never stranded with a flat tire, regardless of what pump is available.