
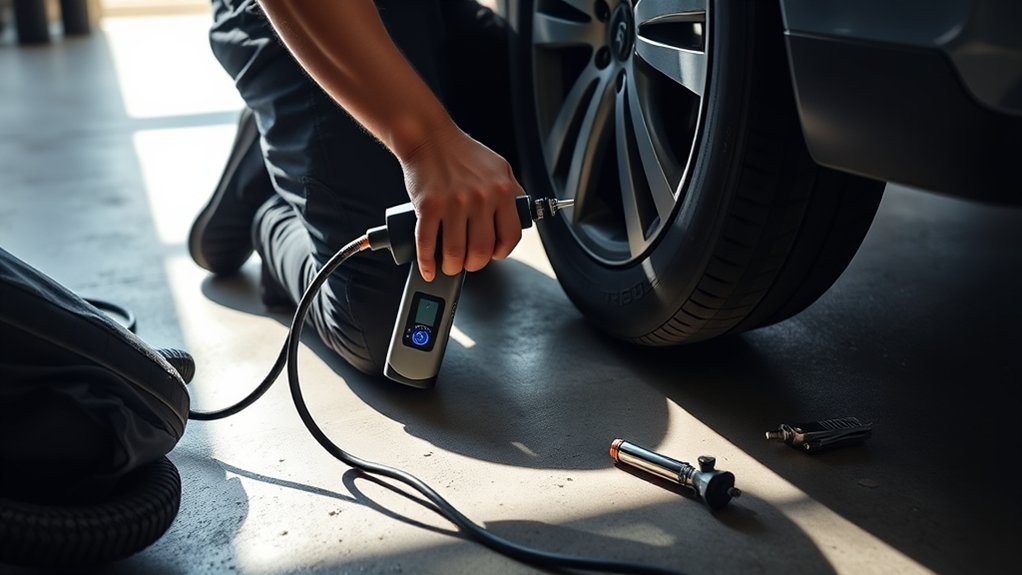
Charge the battery, gather a pressure gauge and valve cap tool, and park on level ground away from traffic with hazards on. Check the driver‑side door jamb for the recommended PSI, remove the valve cap, press the hose straight onto the valve stem, lock the chuck, then hold the inflator and squeeze the trigger while watching the display. Stop at the target PSI, rest the unit five minutes if needed, reseal the valve, and follow safety and duty‑cycle tips below for more details.
Quick Checklist: Tools, Battery, and Safety Gear
Before you start inflating, gather a charged battery for your cordless inflator, a valve cap remover, a reliable pressure gauge, and wear gloves and safety glasses; also check the inflator for visible damage and confirm the recommended tire pressure on the driver-side door jamb. Inspect the battery charge—don’t risk a midway shutdown that leaves you with a low tire and limited options. Remove valve caps with your tool and keep them in a safe place. Use the pressure gauge to verify current PSI before connecting the inflator. Scan the inflator for cracks, frayed wires, or loose fittings; any damage means stop and repair or replace. When you approach the side door area to note the sticker, commit the recommended tire pressure to memory or jot it down so you won’t guess. Keep gloves on to protect your hands and safety glasses to shield your eyes from debris. This checklist frees you to act confidently and avoid common, avoidable mistakes.
[Products Worth Considering]

Accurate: Spurtar tire inflator air pressure gauges with rubber hose are performance-tested and calibrated to the ANSI B40.1 Grade B (2%) international accuracy standard. This device allows you to measure your tire pressure accurately and inflate your tires without the need to drive to a gas station or garage. Easily use the tire pressure gauge with an air pump or compressor to inflate your tires efficiently
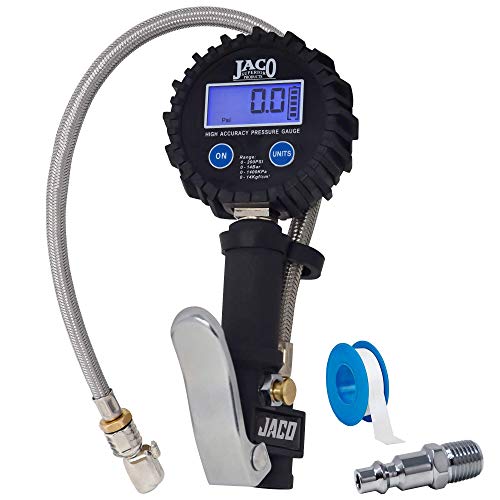
ANSI 1A ACCURACY: Performance tested & calibrated accurate to ±1% full scale with 0.5 PSI resolution for precise tire inflation. Bright 200 PSI LCD display & auto-off feature conserve battery life.

1/4''NPT(F) air inlet with Max working pressure of 160PSI
Find Your Vehicle’s Recommended Tire Pressure (Where to Look)
Where do you find the correct tire pressure for your vehicle? Check the sticker in the driver-side door jamb first; it lists the ideal PSI for front and rear tires. Make sure you read the numbers for your load and model—these figures matter for safety, handling, and fuel efficiency. You can also consult the owner’s manual or the manufacturer’s website if the sticker’s missing.
Before you use a portable inflator, confirm the PSI target and inspect tires for obvious damage. Remember that pressure can climb 1.5–2 PSI after you finish inflating, so release the trigger and recheck for an accurate reading. Check pressure at least once a month and before long trips to prevent issues and keep performance high. Stay proactive: keeping pressure at the recommended level frees you from roadside surprises and preserves control, economy, and safety.
Step‑by‑Step: Attach the Hose and Secure the Valve
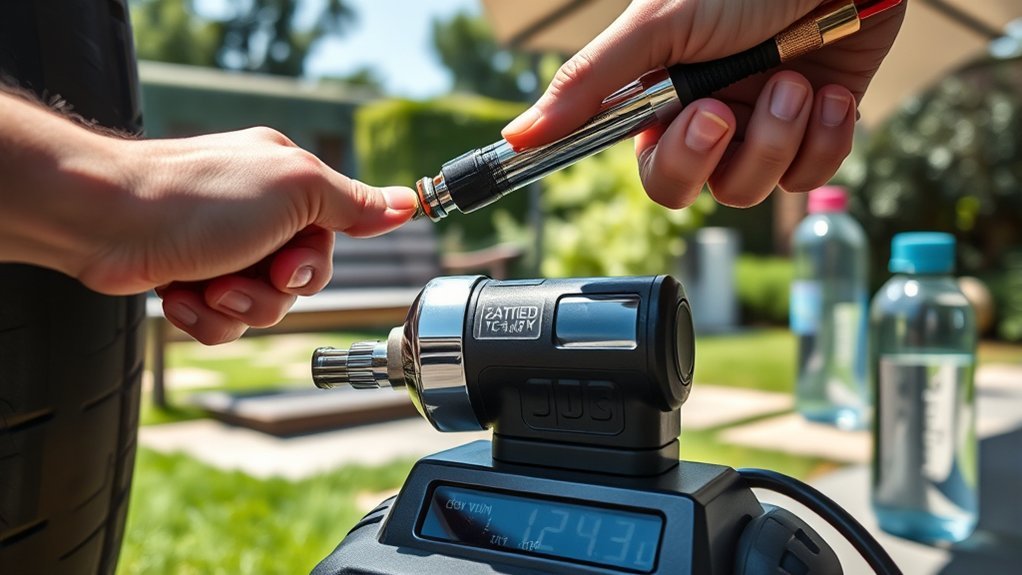
Now that you know the target PSI and have inspected the tires, remove the valve cap and press the inflator hose onto the valve stem so it seats tightly. Choose the correct connection for different valve types (Schrader or Presta) and align the fitting straight to avoid cross-threading. Insert the hose fully, then pull the lever down to lock the chuck; you’ll feel it grip when it’s secure. Hold the inflator handle firmly to maintain that seal while you operate controls. Watch the pressure display closely; this is central to safe inflation techniques and to avoid overshoot.
Avoid common mistakes: don’t attach at an angle, don’t leave the cap off after finishing, and don’t rely on a loose connection that hisses. If you hear leakage, reseat the hose and re-lock the lever. These precise steps free you to inflate confidently and move on to starting inflation without surprises.
[Products Worth Considering]

【PACKAGE INCLUDES】: You will receive 7pcs inflator hose set, including 1x 33''/84cm extend air pump hose, 1x Presta Valve Adaptor(American type to French type), 1x Ball Pump Needle Adaptor, 2x Tapered Nozzles, 2x Converting Nuts.
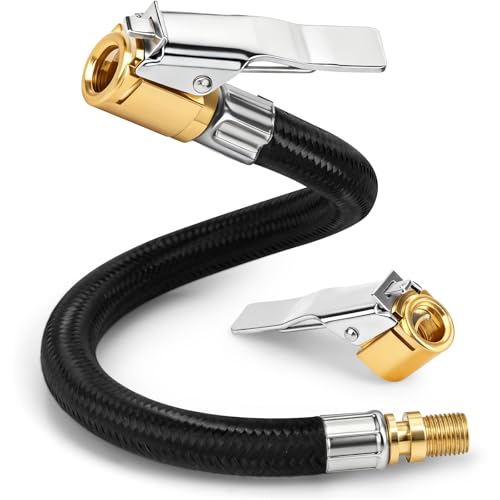
Upgraded Durable Material: Made with high-pressure woven fabric and equipped with solid brass quick-connect chucks for superior durability. The reinforced hose resists cracking and abrasion, ensuring long-lasting stability and reliable performance.
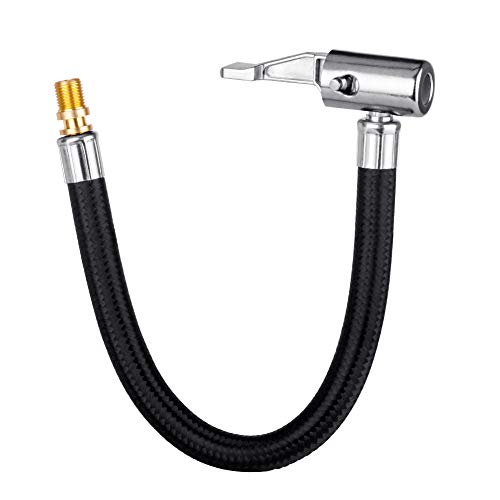
Please Note Before You Buy This:this is only an inflator hose adapter, was designed to convert screw-on(twist-on) air chuck to lock-on air chuck, not for connecting to tire inflator/pump directly, please refer to the left second&third product image.Hose end thread is standard us fine thread connection(0.305"x32TPI), the same as the thread on all USA standard car valve stems, compatible with screw-on(twist-on) air chuck's inner thread.
Step‑by‑Step: Start Inflating and Use the Trigger
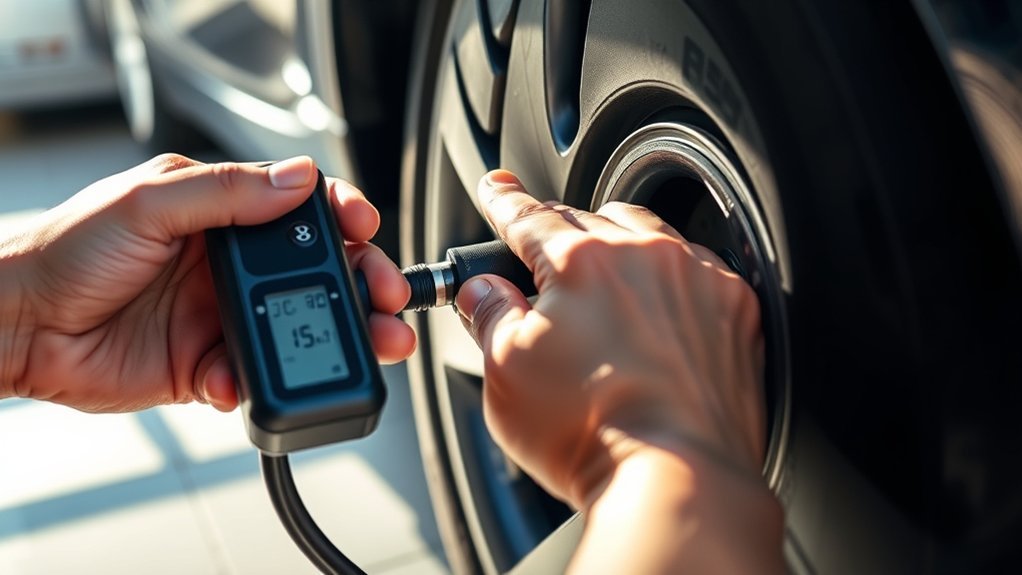
Once the hose is locked onto the valve, grip the inflator handle firmly and pull the trigger to start airflow while watching the pressure display closely. Remove the valve cover first and confirm the hose is seated; different inflator types use threaded or clip fittings, so lock the lever down securely. Hold steady pressure on the handle; the trigger opens the air path and you’ll see readings on the pressure gauges rise. Know that while the trigger is held you may observe a temporary 1.5–2 PSI increase; release the trigger briefly to see the true pressure. Aim for the recommended PSI listed on your driver-side door jam — typically about 35 PSI — to keep tire maintenance effective and predictable. Monitor heat: run the inflator up to five minutes, then rest it for five to prevent overheating. Work deliberately, check the gauge often, and use the trigger in short bursts until you reach the target pressure.
[Products Worth Considering]

ALL-IN-ONE Feature: The LED backlit screen features measurements in PSI, KPA, Bar, and Kg/cm²; Includes an inflation gun, chuck, gauge, Thread seal tape roll, and bleed valve, all in one unit; Compatible with ¼" NPT air compressor's output

【Accurate Digital Tire Gauge】The digital pressure gauge always returns a stable reading within 1% of the exact pressure of your tire by incredible 0.1 display resolution. No more guessing!
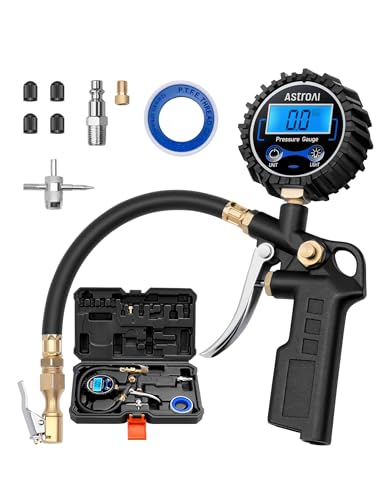
COMPATIBLE WITH both ¼” and ½” NPT air compressors outputs. COMPATIBLE WITH Standard Schrader Valves.
Read and Confirm the Tire Pressure Accurately
Start by checking the recommended PSI on the driver‑side door jamb and compare it to your gauge before you inflate: remove the valve cap, attach the gauge or release the inflator trigger briefly to get an accurate reading (the trigger can add about 1.5–2 PSI), and note whether the tire is below the recommended value so you know how much air to add. Use a reliable gauge and practice accurate gauge usage by seating the chuck firmly and reading immediately; wavering contact skews results. If your inflator displays while triggered, release the trigger for the true pressure. Record the reading and adjust in short bursts, then recheck until the pressure matches the recommended figure. Integrate tire pressure monitoring into your routine—check monthly and before long trips per inflation frequency recommendations. Regular checks free you from surprise flats and worn handling; they preserve safety and autonomy. Replace faulty gauges and document readings so you stay in control of your vehicle’s performance.
Avoid Overinflation: Target PSI and Common Rules
Having confirmed your tire’s pressure against the recommended PSI on the door jamb, focus on avoiding overinflation by targeting that exact value (for example, 35 PSI) and checking the gauge with the inflator trigger released, since holding the trigger can add about 1.5–2 PSI to the reading. Aim for the listed tire pressure; don’t guess. Use steady inflation techniques and pause to verify readings with the trigger off.
- Check recommended PSI, set target, and start slow to control increments.
- Release the trigger before reading the gauge; compensate if you saw a higher reading while holding it.
- If you overinflate, bleed air slowly and recheck until the target PSI is reached.
- Monitor pressure regularly; adopt these safety practices to prevent wear, handling loss, and blowouts.
You’re choosing freedom from roadside failures by following clear, procedural steps. Precise inflation techniques protect you and extend tire life without sacrificing safety.
Cooling Breaks and Duty Cycle: Rest 5 Minutes Every 5 Minutes
When inflating, run the pump for no more than 5 minutes, then let it rest for 5 minutes to prevent overheating. This duty cycle protects the motor and extends the inflator’s lifespan. Adhering to these breaks keeps performance consistent across multiple uses.
Prevent Overheating
If you run the inflator continuously, let it cool for 5 minutes after every 5 minutes of use to prevent overheating and protect its components. You’ll follow a strict duty cycle to avoid overheating causes that reduce reliability, to limit performance impact, and to observe safety precautions.
- Time your sessions: set a timer for 5 minutes of inflation, then stop immediately.
- Rest the unit: allow a full 5-minute cooling break before restarting to maintain safe temperatures.
- Monitor outcomes: check pressure and feel the housing; repeated heat signals performance impact or potential damage.
- Repeat responsibly: alternate 5 on/5 off cycles for multiple tires so you stay safe and free from unexpected failures.
Stay deliberate; this preserves function and your freedom to travel.
Extend Motor Lifespan
You’ve seen how stopping every five minutes prevents overheating; now apply that same five-on/five-off duty cycle to extend the motor’s lifespan. You’ll run the inflator for 5 minutes, then rest it 5 minutes. This simple routine protects internal components, supports motor maintenance, and boosts inflator longevity. Monitor heat and repeat cycles during long jobs. Efficient usage means planning strokes, avoiding continuous runs, and keeping vents clear so cooling breaks work. These habits free you from emergency failures and keep the tool reliable when you need it.
| Cycle | Action | Purpose |
|---|---|---|
| 1 | Run 5 min | Inflate safely |
| 2 | Rest 5 min | Cool motor |
| 3 | Repeat | Preserve lifespan |
| 4 | Monitor | guarantee safety |
Maintain Performance Consistency
Because heat buildup reduces efficiency and risks damage, rest your inflator for 5 minutes after every 5 minutes of continuous use to keep operating temperatures safe and performance consistent. You’ll preserve power, avoid failures, and practice disciplined inflator maintenance for long-term freedom on the road.
- Time each 5-minute run and enforce a 5-minute cooling break to honor the duty cycle and prevent overheating.
- Use cooling periods for quick checks: fittings, hose integrity, and pressure gauge accuracy for performance optimization.
- During breaks, store the inflator in a ventilated spot; avoid cramped spaces that trap heat and shorten motor life.
- If you must inflate many tires, stagger cycles and note temperature trends to refine your routine and protect reliability.
Troubleshooting: Leaks, Inaccurate Gauges, and Poor Inflation
When a tire won’t hold pressure or the inflator’s readings seem off, start by checking the hose and valve connections for secure seating, damage, or debris that can prevent a proper seal. If you find a leak while inflating, reseat the hose, clear debris from the valve, and replace cracked fittings—these are core leak prevention strategies. Release the trigger to read true pressure, since inflating can show 1.5–2 PSI high; use that habit with gauge calibration techniques to confirm accuracy. If readings remain inconsistent, test against a trusted gauge, then recalibrate or replace the inflator if it still fails. When inflation is slow or stalls, inspect for crimped lines or worn connectors; straighten and tighten or swap components per hose maintenance tips. Routinely inspect hoses and connectors for wear, and keep spare fittings and a small gauge handy so you can act quickly and reclaim control over your mobility.
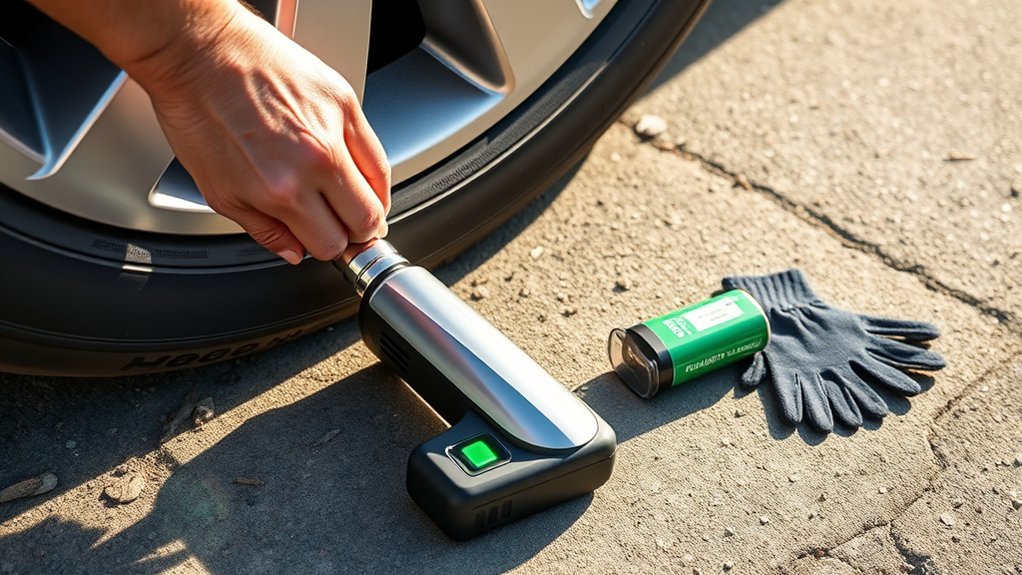
Roadside Safety: Positioning, Hazards, and Battery Precautions
Park off the road on a flat, stable surface and turn on your hazard lights so passing traffic can see you. Keep clear of traffic lanes and inspect the ground for potholes, uneven surfaces, or slopes before you start. Monitor the inflator’s battery and its temperature, and have a backup power source ready to avoid failure or overheating.
Park Off The Road
Choose a level, stable spot well off the roadway before you start inflating tires; this reduces accident risk and keeps you safer from passing traffic. Use safety precautions as your guide: pick parking locations that give clear escape paths and avoid soft shoulders. Turn on hazards and lock the doors while you work. Check your battery-operated inflator’s charge and carry a backup power source so you won’t be stranded.
- Assess parking locations: flat, firm ground, away from curves and blind spots.
- Signal and secure: hazards on, parking brake set, wheels chocked if needed.
- Monitor surroundings: maintain traffic awareness without staring at the roadway.
- Power check: confirm inflator battery level and keep a spare.
Watch For Traffic
Keep at least 10–15 feet between your vehicle and moving traffic, turn on hazards, and stay alert for changing road conditions while you work. Position your car so you create a clear buffer and use vehicle positioning to guide approaching drivers. Activate hazard lights and deploy a reflective triangle or flares behind you to boost visibility. Maintain traffic awareness: scan lanes, watch speeds, and be ready to move if a hazard approaches. Inspect the roadside for potholes, debris, or uneven ground before you kneel or place equipment. Follow safety precautions with your inflator: keep it off when not inflating, handle the battery gently, and avoid leaving it connected unattended. Stay calm, assertive, and free to act if conditions change.
Monitor Battery Temperature
With your vehicle positioned and hazards set, pay attention to the inflator’s battery temperature while you work. You’ll protect yourself and keep tools ready for the next ride.
- Place the inflator on a stable, ventilated surface away from traffic; this basic battery maintenance tip reduces hazards and helps heat dissipate.
- Check the battery temperature regularly using touch or a handheld sensor; these temperature monitoring techniques reveal overuse or malfunction early.
- If the battery feels hot to the touch, stop and let it cool 10–15 minutes before resuming; this overheating prevention strategy avoids damage and fire risk.
- Turn off and unplug when idle to preserve battery life and maintain ideal temperature, empowering you to stay free and mobile.
Inflator Care, Storage, and Battery Tips
Before you put the inflator away, wipe down the unit and hose, check the cord and connectors for wear, and fully charge the battery if you’ll store it for a while. Follow these inflator maintenance tips: after each use clean surfaces and hose to remove dirt and moisture, inspect battery contacts for corrosion, and gently clean contacts with a dry cloth. For safe storage solutions, keep the inflator in its original case or a dedicated bag, place it in a cool, dry spot away from direct sunlight, and coil the hose without kinks. Before each use scan the power cord and fittings for cuts or frays; replace damaged parts immediately. To support battery longevity, charge fully before long-term storage, avoid storing at extreme temperatures, and recharge periodically if unused. These steps free you from avoidable failures, extend service life, and keep the inflator ready when you need it.
Frequently Asked Questions
How to Properly Use a Portable Tire Inflator?
Check tire pressure on the door jamb, remove valve cap, attach hose, lock lever, and inflate while monitoring display; follow safety precautions, rest periodically to avoid overheating, and perform inflator maintenance so you stay free and self-reliant.
Does a Car Need to Be Running to Use a Tire Inflator?
No, you don’t need the car running to use a tire inflator; check tire pressure with the vehicle off, choose the right inflator types, guarantee batteries or outlet power, and follow safety precautions to stay independent and confident.
How Do You Use an Air Compressor for the First Time?
Don’t worry about breaking anything — you’ll be fine. Identify air compressor types, check tire pressure basics on the door jam, remove valve cap, attach hose tightly, monitor gauge, rest every 5 minutes, follow safety precautions throughout.
How to Set a Tire Inflator?
Set the inflator settings to your door-jam tire pressure, attach the hose and lock the chuck, pull the trigger while watching the gauge, release to read true pressure, and follow safety precautions to prevent overheating and injury.
Conclusion
You’ve got the basics: check tools and pressure, attach the hose, inflate while watching the gauge, and rest the unit on its duty cycle. One useful stat: properly inflated tires can improve fuel economy by about 3.3% on average — that adds up. Practice the steps in a safe spot so you do them quickly roadside. Store the inflator charged, dry, and clean to keep it ready for the next use.


Leave a Reply