
Check your vehicle’s recommended PSI on the door jamb or owner’s manual, then inspect the tire for cuts or bulges. Remove the valve cap, attach the inflator’s chuck tightly, and plug the unit into your 12V socket or confirm its battery is charged. Set the target PSI on the inflator, start it, and let the automatic stop or monitor a handheld gauge to avoid overfilling. Replace the valve cap, verify pressure, then move on to troubleshooting and maintenance tips.
Quick Step-By-Step: Inflate a Tire in a Few Minutes

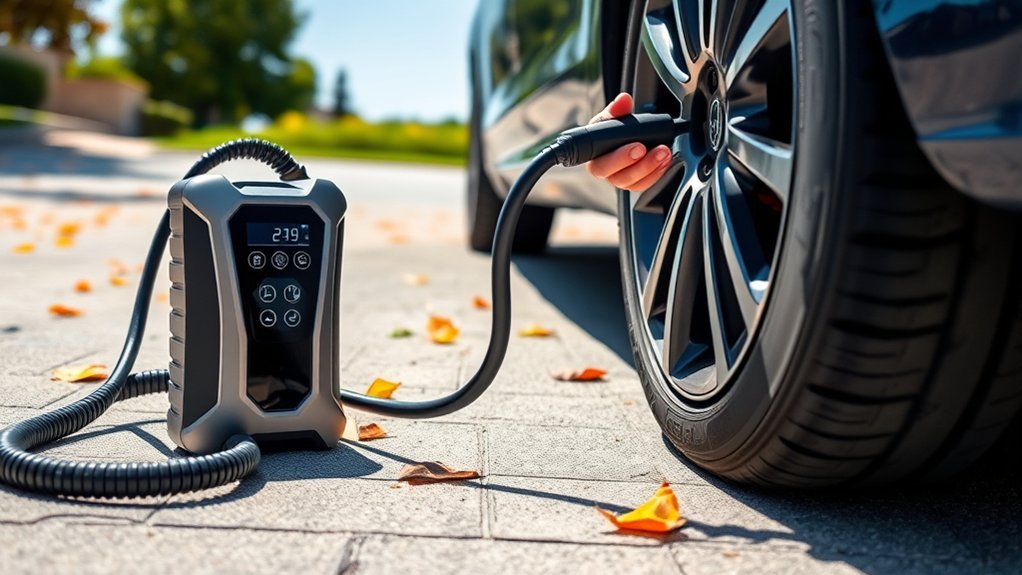
Start by confirming the recommended PSI on your driver’s door jamb or owner’s manual, then plug the inflator into your vehicle’s power socket and securely attach the nozzle to the tire valve stem. You’re using a portable tire inflator to restore control quickly: connect the unit to the power source, seating the plug firmly so the device draws stable current. Set the desired pressure on the inflator’s interface—many models will auto-stop at target PSI—then press Start to inflate your tires. Monitor the digital readout as the compressor runs; the unit should cut off when the desired pressure is reached. After the cycle, detach the nozzle, recap the tire valve stem, and verify tire pressure with a handheld gauge to confirm accuracy. If readings differ, repeat the process in short bursts until the pressure matches the recommended value. This method reduces guesswork and gets you back on the road quickly and safely.
[Products Worth Considering]

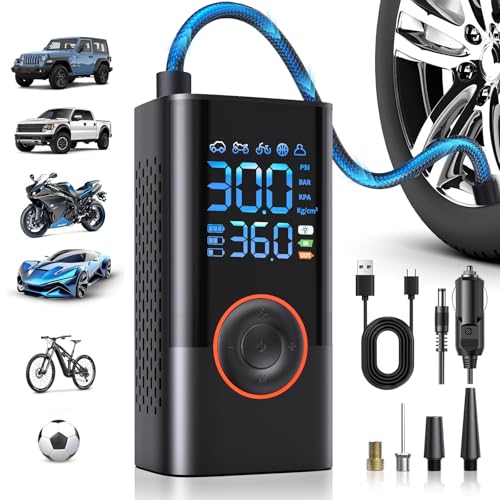
【Fast & Powerful Inflation】The ZOPOM tire inflator portable air compressor delivers up to 150 PSI with an airflow rate of 35L/min, allowing you to inflate a standard 195/65/R15 tire from 0 to 35 PSI in under 5 minutes. Whether you're dealing with a low tire or prepping for a long drive, this powerful air compressor gets the job done quickly and efficiently.
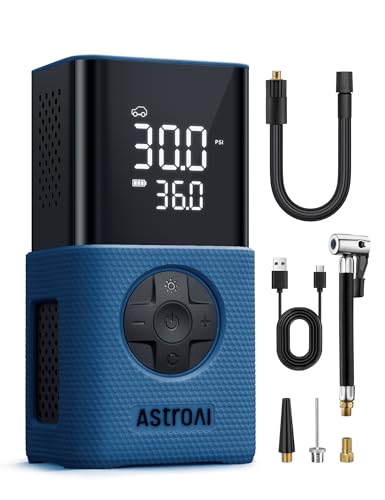
Anti-Slip & Shock-Resistant Silicone Protection: This silicone sleeve shields the tire inflator fromdrops, bumps and scratches while improving grip and reducing noise and vibration. It also boosts durability, portability, and safety to deliver a better user experience.Suitable as a Father's Day gift for your dad.

SMART ENOUGH: Simply press a button, and the ETENWOLF ball pump automatically inflates each ball to the desired pressure in just 1 minute
Safety Checks Before You Start Inflating
Before you start the inflator, inspect the tire for cuts, bulges, or other damage that could cause a blowout. Check the vehicle’s recommended pressure (usually on the driver’s door jamb or in the owner’s manual) and set your gauge accordingly. Make sure you’re working in a safe spot away from traffic and combustibles, and confirm the inflator’s power source is functioning before you begin.
Inspect Tire Condition
While the inflator sits ready, walk around each tire and inspect it closely for cuts, bulges, embedded objects, or uneven wear that could cause a failure during inflation. You’ll perform a visual inspection to check tire condition and check tread depth; severely worn or damaged tires may not hold air well. Verify the valve stem is straight, free of cracks, and not clogged so you can attach the hose without leaks. Do this work in good light and away from traffic to protect yourself. Note the recommended tire pressure on the driver’s door jamb before inflating, but don’t adjust it here. Use the table below to log findings quickly and move with intent toward safety.
| Item | Status |
|---|---|
| Tread depth | |
| Cuts/bulges | |
| Embedded objects | |
| Valve stem | |
| Visual inspection complete |
Confirm Recommended Pressure
Although it may seem simple, confirm the recommended tire pressure from your owner’s manual or the sticker on the driver’s door jamb (or fuel filler cap) and note the value in PSI; you’ll use that number to set the inflator and verify with a reliable gauge before and after inflating. You’ll want to check cold tires for accuracy—measure before driving. Use a quality tire pressure gauge to record current pressure and compare to the recommended tire pressure. If you find a low tire, don’t guess: set the inflator to the specified PSI and add air in short bursts, rechecking with the gauge after each increment. Accurate pressure preserves handling, fuel economy, and safety. Regular monthly checks help you catch slow leaks early.
Secure Safe Work Area
Now that you’ve confirmed the target PSI, make sure your work area and the tire itself are safe before you start inflating. You want a secure safe work area: park clear of traffic, on firm level ground, with the engine off. Inspect the tire for cuts, bulges, or debris that could cause a failure during inflation. Locate the recommended tire pressure so you know the target and won’t guess.
- Park away from traffic and combustibles; establish a visible safety perimeter.
- Inspect the tire thoroughly for damage before connecting the inflator.
- Set the inflator to the recommended tire pressure from the door pillar or manual.
- Monitor the gauge and use automatic shut-off to avoid over-inflation.
- Stay with the unit; never leave unattended while inflating.
Find and Confirm Your Vehicle’s Recommended PSI
Finding the right PSI for your tires starts with the vehicle’s documentation and labels: check the owner’s manual, the sticker on the driver’s side door jamb, and sometimes the fuel filler cap for the manufacturer’s recommended front and rear pressures. You’ll use that recommended tire pressure as your target when inflating. Record front/rear PSI, then inspect each valve stem for damage before connecting a tire inflator. Check cold tires—temperature affects readings—and measure with a reliable gauge.
| Item | Location | Purpose |
|---|---|---|
| Owner’s manual | Glovebox | Official PSI specs |
| Door jamb sticker | Driver’s side | Quick reference for PSI |
| Fuel filler cap | Fuel area | Alternate PSI label |
Confirm values against your gauge and the sticker. Aim for the specified PSI to preserve fuel efficiency, handling, and tire life. If pressures differ, adjust with your portable tire inflator until the gauge matches the recommended value. Regular checks help you avoid avoidable failures.
Choose the Right Portable Tire Inflator for Your Needs
Which power and feature set fits your routine and vehicle? You want a portable unit that matches your use: 12-volt models that draw from your car for regular driving, or battery-powered inflators for more flexibility. Prioritize measured capabilities over bells.
Which power fits your routine—12V from the car or battery flexibility? Match PSI, gauge clarity, and automatic shut-off.
- Match power output and maximum PSI to your vehicle—compact cars need less than SUVs or trucks.
- Choose a clear pressure gauge (digital preferred) and automatic shut-off to prevent overinflation.
- Verify valve stem compatibility and included adapters for cars, bikes, and sports gear.
- Look for added utility: built-in light for roadside use and USB power-bank functions for emergencies.
- Confirm physical portability, hose length, and durable construction for frequent carry and rough conditions.
You’ll get more reliable results when specifications align with your needs: correct power source, verified max pressure, reliable tire inflators performance, precise pressure gauge readout, and secure valve stem connection with automatic shut-off for safe operation.
[Products Worth Considering]
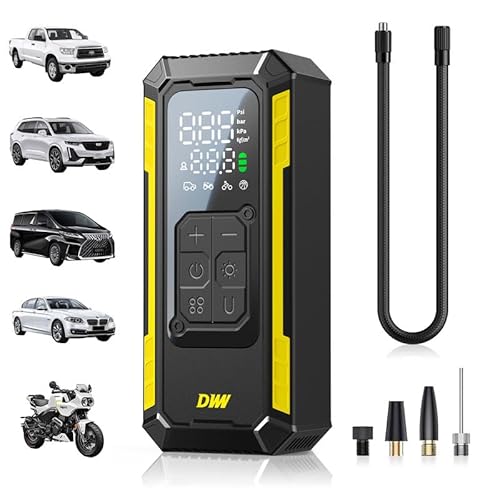
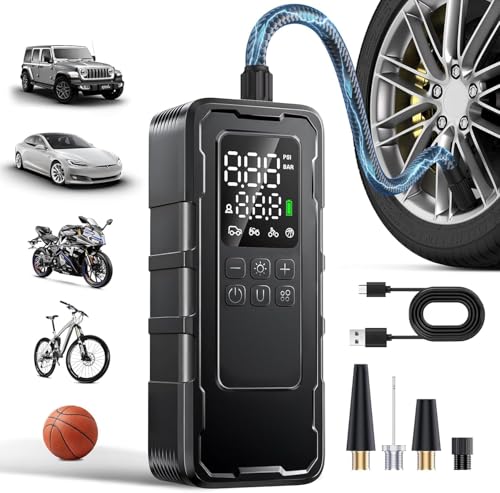
[Quick Inflate, No Delay] Heading out to work in the morning and suddenly find your tire pressure is low? Don't worry. This DWW tire inflator delivers up to 150 PSI with an airflow of 20 L/Min, quickly inflating your car tires in just minutes. No need to detour to a distant gas station or stress about being late for work. This cordless DWW tire inflator portable air compressor can efficiently help you solve your problem, letting you set off with ease and start your day with confidence
👍【𝗗𝘂𝗮𝗹 𝗜𝗻𝗳𝗹𝗮𝘁𝗶𝗼𝗻 𝗠𝗼𝗱𝗲𝘀 – 𝗔𝗹𝘄𝗮𝘆𝘀 𝗣𝗼𝘄𝗲𝗿𝗲𝗱】This portable air compressor has a built-in high-capacity rechargeable battery and can also be powered via a 12V DC car power cord, ensuring the inflator always has a sufficient power supply. It inflates up to three times faster than other ordinary cordless inflators on the market, with 35% more power. Can inflate 7 car tires or 21 bicycle tires, away from the problem of insufficient battery power
Fast & Quiet Inflation for Everyday Emergencies: This tire inflator delivers up to 150 PSI for fast, efficient inflation while operating with lower noise for a more comfortable experience. Ideal for roadside emergencies, daily commuting, road trips, and outdoor travel. Includes 4 nozzle attachments for car tires, motorcycles, bikes, sports balls, air mattresses, and other inflatables. Not suitable for heavy-duty truck tires or large paddle boards.
Step-By-Step: Connect, Set, and Start Your Inflator
Start by removing the valve cap and securing the inflator’s hose to the valve stem so you get an airtight connection. Power the unit, then use the digital display to select the exact PSI required for your tire. Press Start and let the inflator run until it automatically stops at the set pressure.
Secure The Hose Connection
- Start by removing the valve cap and exposing the stem. You’ll then attach the inflator’s hose to the valve: align the nozzle, push on, and ensure a snug fit to prevent air leakage. If your nozzle screws on, twist until it seats tightly for a reliable seal.
- Verify the connection visually and by feeling for hissing.
- If air leaks, re-seat and tighten the nozzle or try a different adapter.
- Keep the hose straight to avoid stress on the fitting.
- Hold the nozzle steady while you set the desired pressure on the inflator.
- Re-check the seal after setting controls but before powering on.
This practical approach gives you control and minimizes errors before inflation.
Select Desired Pressure
With the nozzle sealed and checked for leaks, set the target PSI before powering the inflator so it stops at the correct pressure. Find the recommended tire pressure on the door jamb or manual, then enter that desired tire pressure into the inflator’s controls. Use presets if available for quicker setup. Press Start to inflate; the unit will auto-stop at the set PSI. Confirm with a pressure gauge and adjust if needed to avoid guesswork.
| Step | Action | Check |
|---|---|---|
| 1 | Read recommended PSI | door jamb/manual |
| 2 | Set desired tire pressure | inflator controls |
| 3 | Verify final PSI | pressure gauge on car tires |
Use Automatic Stop and Manual Controls Correctly
Although the automatic shut-off takes the guesswork out of inflation, you should still understand and practice using both the auto and manual controls so you can set the exact PSI you need. Many tire inflators come with an automatic stop feature that halts inflation at your desired PSI, but you’ll be more confident by mastering manual controls too. Use the pressure gauge to verify readings and cross-check the device’s display. Practice switching quickly between modes so inflation tasks stay efficient and safe.
Master both auto and manual inflation: set PSI, verify with a gauge, and practice quick mode switching for accuracy and safety
- Learn where the auto/manual switch is and how long a press or dial entry takes.
- Set the desired PSI in auto mode, start inflation, then confirm with the pressure gauge.
- In manual mode, watch the pressure gauge and stop inflation just before the target.
- Use short bursts when nearing the target PSI to avoid overshoot.
- Practice with low-risk items (sports balls) to build confidence before vehicle use.
Troubleshoot: No Power, Slow Inflate, Leaks
After you’re comfortable switching between auto and manual modes, you’ll want to know what to do when the inflator won’t power on, inflates slowly, or leaks air. First, troubleshoot no power: confirm the plug is fully seated in the vehicle power outlet or that the unit battery is charged. Check fuse/inline connector if applicable. For slow inflate, verify the air hose is firmly attached to the tire valve and that the inflator isn’t overheated; allow cool-down periods and retry. Inspect the air hose and fittings for cuts, kinks, or worn seals that cause leaks; replace damaged hoses or use an approved extension hose to reach the tire valve without strain. Tighten the chuck to get a proper seal, and listen for escaping air to pinpoint leak locations. If problems persist after these checks, consult the manufacturer troubleshooting guide or contact support for diagnostics and authorized repair options.
[Products Worth Considering]

【360° ROTATING TIRE CHUCK】LUMITECO tire inflation hose with swivel tire chuck features more flexibility for a hassle-free inflation process, ensuring you can inflate with ease from any angle. No more struggling to position your portable air compressor, just adjust the air chuck and inflate.

【PACKAGE INCLUDES】: You will receive 5pcs inflator hose set, including 1x 21''/54cm tire inflator extension tube, 1x Presta Valve Adaptor(American type to French type), 1x Ball Needle Adaptor, 2x Tapered Nozzles.

【360-DEGREE ROTATING HOSE END】LUMITECO tire inflator extension hose with swivel hose end designed for ultimate flexibility, ensuring you can inflate with ease from any angle. No more struggling to position your portable air compressor, simply rotate the end of the hose to adjust it to the proper position for inflation.
Maintenance, Storage, and When to Call a Pro
If you want the inflator to stay reliable, perform regular maintenance, store it properly, and know when to call a pro. You’ll prolong service life by cleaning the hose and connections, following manufacturer maintenance schedules, and noting parts replacement intervals. Check seals and fittings for leaks, and verify the power source before each use.
- Clean hose and connectors after use to prevent debris and air leaks.
- Store the unit in a dry, cool place to avoid moisture and temperature damage.
- Check battery charge or vehicle connection; don’t attempt inflation with weak power.
- Follow manufacturer guidance on parts replacement and routine inspections.
- If overheating, persistent failure to inflate, or odd noises occur, consult a professional.
These steps help you avoid roadside surprises. You’ll keep the inflator ready, avoid unsafe repairs, and make informed decisions about repair versus replacement. Practical upkeep supports your mobility and safety.
Frequently Asked Questions
How Do I Use a Portable Tire Inflator?
You connect the nozzle, set desired tire pressure, choose appropriate inflator types, start inflation, monitor PSI and safety precautions, recheck with a gauge. Follow inflation tips, maintenance advice, and address common issues to stay prepared and confident.
How to Use a Portable Air Compressor for the First Time?
For your first use, check the recommended tire pressure, attach the hose securely, set the target PSI, and start inflation. Watch the gauge as it fills, stop at the correct PSI (or let auto shut-off stop it), then confirm the final reading with a handheld gauge.
Does a Car Need to Be Running to Use a Tire Inflator?
Not always. Many 12V inflators can run with the engine off for a quick top-up, but running the engine may help prevent battery drain during longer inflation. Check your vehicle manual and inflator instructions to be safe.
Do Cordless Tire Inflators Really Work?
Yes—they can work well for topping up tires. Battery performance, pressure accuracy, and inflation speed vary by model, so focus on clear gauge readings, charging time, nozzle compatibility, and maintenance tips when choosing one.
Conclusion
You’ve got this: check safety, confirm PSI, choose the correct inflator, connect securely, set the pressure, and start. Stay sharp—stop automatically or manually at the target, troubleshoot power or leak problems, and perform routine maintenance. Store the unit properly and seek professional service for persistent issues. With practiced precision and proper preparation, portable pumps provide prompt, practical peace-of-mind, keeping your car ready for the road.


Leave a Reply