Toyota Supra Targa Roof Maintenance Guide
What’s in This Article
- Step-By-Step Guide to Removing the Targa Top
- Before You Begin
- What Makes a Supra Targa-Style Roof Different?
- What Tools Do You Need Before You Start?
- How Do You Inspect and Clean Targa Roof Seals?
- What Problems Can Supra Targa Tops Develop?
- How Do You Reassemble the Targa Roof Correctly?
- How Should You Prepare a Supra Targa Top for Paint?
- Why Do Clean Drainage Channels Matter?
- Which Targa Roof Upgrades Are Worth Considering?
- When Should You Get Professional Help?
- Frequently Asked Questions
A loose, dry, or poorly sealed targa-style roof can turn a fun Supra drive into a noisy, wet, and expensive problem. If you own a Toyota Supra with a removable Sport Roof, you need to handle the panel, seals, trim, and drains with care. This guide shows you how to remove, inspect, clean, reseal, and reassemble the roof without damaging rare parts.
Quick Answer
To maintain a Toyota Supra targa-style roof, remove the panel carefully, inspect the weatherstripping, clean the seals, clear the drains, and check for leaks after reassembly. Use gentle tools, follow your factory service manual, and replace damaged seals before water reaches the cabin or trim.
Key Takeaways
- Inspect the roof seals before each deep clean or long wet-season drive.
- Clean seals with mild soap, then protect them with a rubber-safe conditioner.
- Clear the drainage channels so water flows away from the roof opening.
- Use a factory manual because small clips, screws, and trim pieces can break easily.
- Check for leaks and wind noise before you reinstall interior trim.
Step-By-Step Guide to Removing the Targa Top
Estimated time: Plan for 45 to 90 minutes for a careful inspection or removal. Set aside more time if old adhesive, stuck trim, or worn fasteners slow you down.
Removing the targa top from your Toyota Supra can be simple when you work slowly and keep each part organized. Use your owner’s manual or factory service manual before you remove hardware, because part layout can vary by model year and roof design.
Warning: Stop if the panel binds, because forcing the roof can crack trim, damage seals, or bend mounting hardware.
- Park on level ground: Choose a dry, well-lit area with enough room to lift and store the roof panel safely.
- Prepare a padded storage spot: Lay down a clean blanket or foam pad so the roof panel does not scratch.
- Gather small parts: Place screws, clips, and washers in a magnetic tray or labeled bags as soon as you remove them.
- Release the roof panel: Follow the factory latch or fastener order, and keep steady pressure on the panel while you loosen it.
- Lift the panel with care: Use two hands, or ask another person to help if the panel feels awkward or heavy.
- Inspect the seals and contact points: Check for cracks, hard rubber, flattened areas, and old adhesive before you reinstall the roof.
If you need to remove weatherstripping, moldings, or headlining, work in small sections. Pulling too hard can tear old rubber or fabric, and some aged parts may not go back on cleanly.
Before You Begin
Confirm that your Supra has a removable Sport Roof or targa-style panel before you follow these steps. The current fifth-generation GR Supra uses a fixed coupe roof, while earlier Supra models could have factory removable roof options.
Check the weather before you start. You should not leave the car open when rain, dust, or strong wind can reach the cabin.
Wear gloves, protect painted edges with clean tape where needed, and keep children or pets away from the work area. A dropped roof panel can injure someone and damage rare parts.
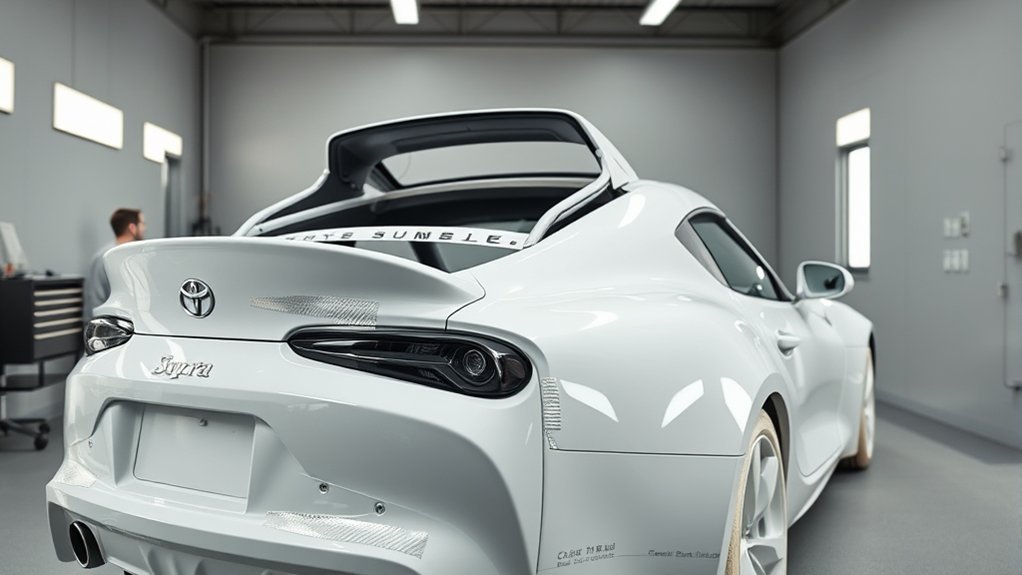
What Makes a Supra Targa-Style Roof Different?
A targa-style roof gives you open-air driving while keeping more body structure than a full convertible. On Toyota Supra models equipped with a removable Sport Roof, the roof panel comes out while the windshield frame and rear structure stay in place.
This design gives you a mix of coupe feel and open-roof fun. It also adds more seals, contact points, and drain paths that need regular care.
According to RM Sotheby’s listing details for a 1993 Toyota Supra Twin Turbo Sport Roof, some Mk IV cars came from the factory with a removable targa-style roof panel. That factory setup makes careful parts handling important because original trim and seals can be hard to replace.
Note: As of May 2026, Toyota has not announced a targa-style version of the fifth-generation GR Supra.
What Tools Do You Need Before You Start?
Maintaining the Targa roof of your Toyota Supra requires the right set of tools to keep the work clean and safe. Start with a basic toolkit that includes Phillips and flathead screwdrivers, pliers, and plastic trim removal tools.
A heat gun can help soften old adhesive, but use low heat and keep it moving. Too much heat can damage paint, rubber, fabric, or plastic trim.
You may also need a torque wrench if your factory service manual gives torque specs for roof hardware. Keep a magnetic tray nearby so you do not lose small screws, clips, or washers during disassembly.
- Phillips and flathead screwdrivers
- Plastic trim removal tools
- Pliers with protected jaws
- Magnetic tray or labeled bags
- Mild car-safe soap and clean microfiber towels
- Rubber-safe conditioner or silicone-based seal lubricant
- Low-heat gun for old adhesive, if needed
- Factory service manual for model-specific steps
How Do You Inspect and Clean Targa Roof Seals?
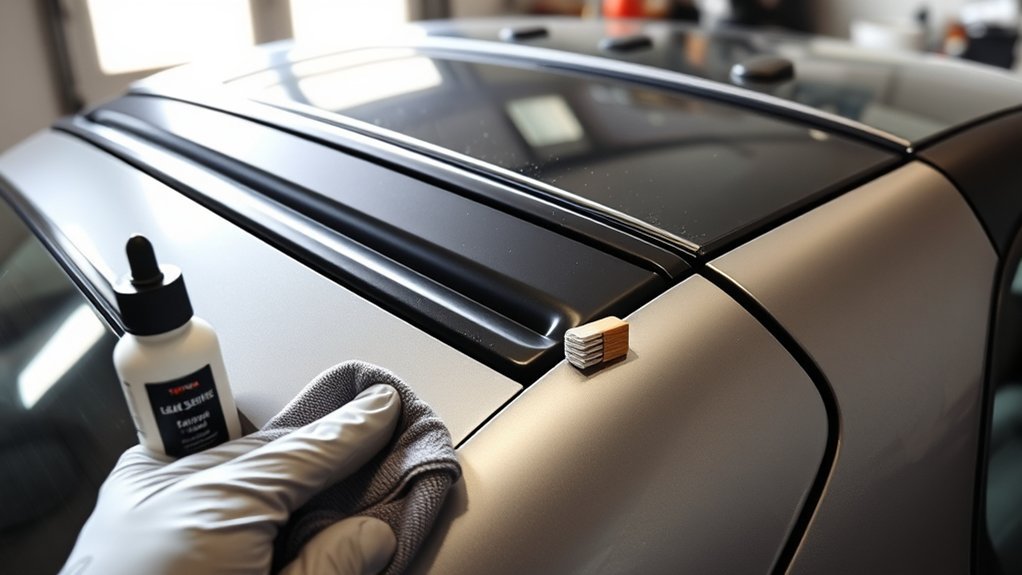
When you maintain your Targa roof, inspect the seals before you clean or lubricate them. A clean seal can still leak if it has cracks, flat spots, hardened rubber, or loose adhesive.
Clean the seals with a mild soap solution and a soft cloth. Rinse with clean water, dry the rubber fully, then apply a rubber-safe conditioner or lubricant only where the product label allows it.
Inspecting Seal Condition
The targa roof seals on your Toyota Supra help block water, wind, dust, and noise. Start by checking the corners and joints, because those areas often show wear first.
Look for cracks, tears, hard rubber, crushed edges, and gaps between the seal and the body. If you find damage, price the correct replacement part before you remove the old seal because availability can vary.
Cleaning Techniques for Seals
Good cleaning protects the seal and helps you spot hidden damage. Mix mild soap with water, then wipe the rubber with a clean microfiber cloth.
Do not use harsh solvents, petroleum-based cleaners, or stiff brushes on roof seals. Those products can dry out rubber and shorten seal life.
After cleaning, rinse the area and dry it well. Then apply a rubber conditioner made for automotive weatherstripping to help preserve flexibility.
Replacing Damaged Seals
After you confirm that your targa roof seals are clean and free from debris, inspect them again under bright light. Replace seals that show deep cracks, tears, heavy flattening, or poor contact with the roof panel.
- Choose the right part: Match the seal to your exact Supra generation, model year, and roof style.
- Remove the old seal slowly: Use gentle heat only when old adhesive will not release by hand.
- Clean the channel: Remove old adhesive and dirt before you place the new seal.
- Install the new seal evenly: Follow the factory path so the rubber does not twist or bunch.
- Test the fit: Reinstall the roof and check for even contact before you expose the car to rain.
Correct installation matters as much as the part itself. A high-quality seal can still leak if it sits in the wrong channel or pinches near a corner.
What Problems Can Supra Targa Tops Develop?
A targa-style roof can develop leaks, wind noise, squeaks, loose trim, mold smell, and water stains. Worn or damaged seals cause many of these problems, but clogged drains and poor reassembly can make them worse.
Old weatherstripping may tear when you remove it, so inspect it before you start a major repair or paint job. Replacement cost can vary widely by part number, condition, and supply, so confirm pricing with a trusted Toyota parts source first.
Drainage maintenance also matters. Clogged channels can trap water, push moisture toward the cabin, and create mildew or electrical issues over time.
Handle the headlining with care if you remove interior trim. A small tear can spread and make reinstallation harder.
How Do You Reassemble the Targa Roof Correctly?
Reassembling your targa roof takes patience because each seal, molding, and screw affects the final fit. Before you tighten anything, make sure the contact surfaces are clean and dry.
- Clean each part: Remove dirt, old adhesive, and loose debris from seals, channels, and moldings.
- Align the weatherstripping: Seat the rubber in the correct channel before you secure fasteners.
- Tighten hardware in stages: Follow the manual and avoid overtightening screws into trim or old mounting points.
- Check non-reusable parts: Replace clips, seals, or adhesive strips that cannot hold properly after removal.
- Test before final trim: Check for leaks, squeaks, and uneven gaps before you reinstall delicate interior pieces.
After reassembly, run a gentle water test instead of spraying high-pressure water at the seals. Start low and slow so you can spot the first sign of a leak.
How Should You Prepare a Supra Targa Top for Paint?
Before you start paint work on your Toyota Supra, plan how you will protect the targa top, seals, trim, and headlining. Do not mask over dirty rubber or loose trim, because paint edges can lift when you remove the tape.
Use a service manual to guide disassembly. Missing one hidden screw can crack a molding or bend a bracket when you try to pull the part free.
Clean the targa top drains during paint prep so water can leave the roof area after reassembly. Also protect the headlining and interior trim from dust, overspray, and adhesive residue.
Why Do Clean Drainage Channels Matter?
Clean drainage systems help move water away from the targa roof opening. When drains clog, water can pool near seals, overflow into the cabin, and raise the risk of rust or electrical damage.
Check drainage channels during each deep clean, after heavy pollen, and after leaves or dirt collect around the roof opening. A few minutes of cleaning can prevent much larger water damage later.
Pro tip: Pour a small amount of clean water into the drain path and confirm it exits where the manual says it should.
Preventing Water Damage
Clean drains help prevent water from pooling under the roof panel. Pooling water can move past weak seals and reach carpet, trim, wiring, or control modules.
- Inspect the Targa top drains for leaves, dust, and old seal debris.
- Clean the drainage channels with gentle tools that will not puncture hoses or seals.
- Check the rubber seals for hard spots, cracks, and poor contact.
- Fix small leaks early before moisture damages the interior.
Enhancing Structural Integrity
Clean drainage channels help protect the roof opening, seal channels, and nearby metal surfaces. Clogged drains can hold moisture against areas that need to stay dry.
Good seal care, clean channels, and correct hardware alignment all support the roof’s long-term fit. These small steps also reduce squeaks, wind noise, and water intrusion during normal driving.
Which Targa Roof Upgrades Are Worth Considering?
Upgrading your Targa roof can improve comfort, leak resistance, and cabin noise when you choose parts that fit your exact Supra. Focus on practical upgrades before cosmetic changes.
- Fresh weatherstripping: Replace cracked or hardened seals with correct OEM or high-quality compatible parts.
- Better headlining material: Use quality fabric to improve cabin feel and reduce minor noise.
- Sound-deadening material: Add light, heat-safe material during reassembly where it will not block drains or affect fit.
- Restored hardware: Replace worn clips, screws, and guides so the roof panel sits evenly.
- Lightweight roof parts: Consider specialty roof panels only when they come from a trusted maker and fit your car safely.
Avoid upgrades that block drainage, add too much weight, or change the roof fit. A targa-style roof needs proper alignment more than flashy parts.
When Should You Get Professional Help?
Get help from a qualified Toyota technician, restoration shop, or experienced body shop if the roof panel does not sit flat. You should also seek help if you find rust, cracked mounting points, damaged wiring, or water inside the cabin.
Professional help makes sense before major paint work, full seal replacement, or repairs on rare trim. A shop with Supra experience can help you avoid damage that costs more than the repair itself.
Frequently Asked Questions
Will Toyota Make a Targa Supra?
As of May 2026, Toyota has not announced a targa-style version of the fifth-generation GR Supra. Toyota’s 2026 GR Supra information focuses on fixed-roof coupe models, including the MkV Final Edition.
What Is the Point of a Targa Top?
A targa top gives you open-air driving without using a full convertible roof. You still keep more fixed body structure than many convertibles, which can help the car feel more like a coupe.
Why Are Toyota Supras So Rare?
Many older Toyota Supras feel rare because collector demand stays strong, and clean, unmodified cars have become harder to find. Factory Sport Roof examples can attract extra interest when they keep original parts and proper documentation.
Is a Supra Faster Than a Hellcat?
A late-model GR Supra with the automatic transmission has a Toyota-listed 0 to 60 mph time of 3.9 seconds. Some Hellcat models can beat that in a straight line, but a Supra can feel sharper on tight roads because of its size, balance, and handling.
How Often Should You Clean Supra Targa Roof Seals?
Clean the seals every few months if you drive often, park outside, or live in a dusty or rainy area. Inspect them sooner if you hear new wind noise, smell moisture, or see water marks near the roof opening.
Safety Disclaimer: This article is for informational purposes only and does not replace guidance from a qualified Toyota technician or factory service manual. Always use safe tools, support the roof panel correctly, and get professional help before you remove structural, electrical, or hard-to-replace parts.
Conclusion
Your Toyota Supra targa-style roof will last longer when you keep the seals clean, the drains clear, and the panel aligned. Start with a careful inspection, then fix small leaks or worn rubber before they damage the cabin.
Use the correct manual, protect rare trim, and avoid forcing any part that does not move freely. With steady care, your Supra can keep its open-roof feel without the leaks, rattles, and stress that come from neglected roof parts.
References
- 1993 Toyota Supra Twin Turbo Sport Roof — RM Sotheby’s, 2022
- Take One Last Lap in the Toyota GR Supra MkV Final Edition — Toyota USA Newsroom, 2025
- 2026 Toyota GR Supra — Toyota, 2026
- Supra Service Manuals, Owner’s Manuals, and Documents — The Supra Registry