To replace ignition coils in your Toyota Supra, first verify the engine is cool and disconnect the negative battery terminal. Remove any obstructing components to access the coils, then disconnect electrical connectors and unscrew the mounting bolts. Inspect spark plug wells for contaminants before installing new coils. Apply dielectric grease to enhance electrical connections. Finally, reconnect everything and test your vehicle’s performance to confirm proper installation. You’ll discover more tips and troubleshooting techniques ahead.
The Importance of Ignition Coils in Your Toyota Supra
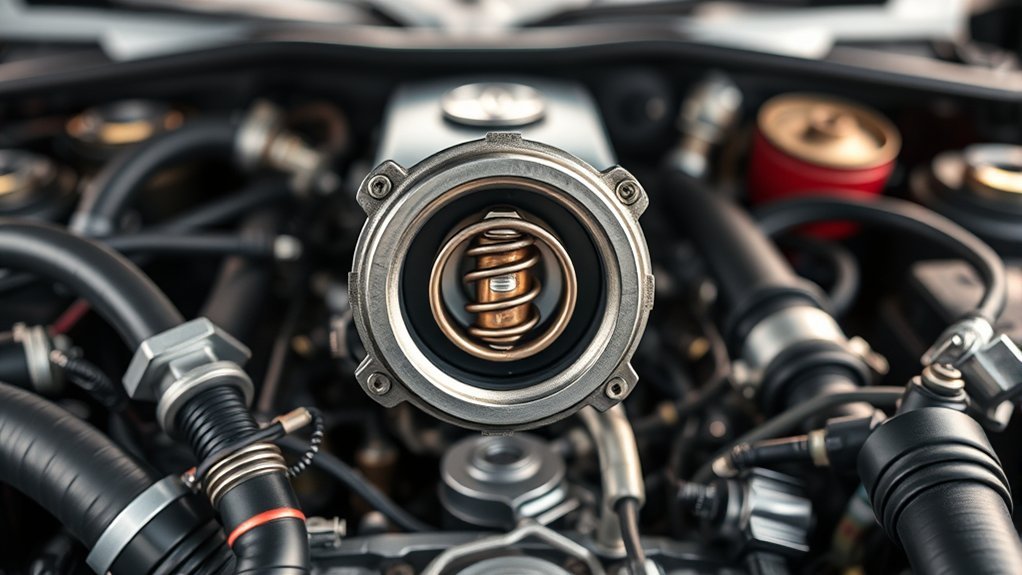
While you may not think about them often, ignition coils play an important role in your Toyota Supra’s performance. These components convert your battery’s low voltage into the high voltage necessary to create a spark at the spark plugs, enabling engine combustion. If an ignition coil malfunctions, you might experience engine misfires, rough idling, or stalling, greatly impacting your fuel efficiency. Your Toyota Supra uses multiple ignition coils, with each servicing one or two cylinders, ensuring precise ignition timing and enhancing overall engine performance. Regular inspections and timely replacements of faulty ignition coils are vital; neglecting this can lead to further engine damage and decreased performance. Additionally, well-functioning ignition coils help reduce harmful emissions by promoting complete combustion in your engine, contributing to a cleaner environment. Prioritize your ignition coils to maintain peak performance and enjoy a liberating driving experience.
Tools Needed for Replacing Ignition Coils
To replace ignition coils in your Toyota Supra, you’ll need essential tools for a smooth process. A socket set, ratchet wrench, extension bar, and torque wrench guarantee you can access and secure all necessary bolts effectively. Don’t forget to have both flathead and Phillips screwdrivers ready, along with safety equipment to protect yourself during the job.
Essential Tools Overview
Replacing ignition coils in a Toyota Supra requires a set of essential tools to guarantee a smooth and efficient process. Start with a reliable socket set for removing bolts and a ratchet wrench for easier access to fasteners. Pliers will help you disconnect electrical connections without damage. A torque wrench is significant to confirm that you tighten bolts to manufacturer specifications during installation. Don’t forget to apply dielectric grease to the electrical connections; this enhances conductivity and prevents moisture buildup. Additionally, wearing safety gear, like gloves and safety glasses, is important for protection. Finally, maintaining an organized workspace will help you keep track of small parts and guarantee a seamless installation process.
Safety Equipment Necessities
When tackling the ignition coil replacement in your Toyota Supra, maintaining your safety should be a top priority. Equip yourself with essential safety gear to safeguard against potential injuries.
| Safety Equipment | Purpose | Recommendations |
|---|---|---|
| Safety Goggles | Protects your eyes from debris | Use impact-resistant glasses |
| Mechanics Gloves | Shields hands from sharp edges and chemicals | Opt for neoprene or nitrile |
| Torque Wrench | Guarantees bolts are tightened to specs | Use a calibrated tool |
Additionally, work in a well-ventilated workspace to enhance visibility and air quality. Applying dielectric grease on electrical connectors can improve conductivity and prevent moisture issues, guaranteeing a reliable connection throughout your ignition system.
Safety Precautions Before You Start
Before diving into the ignition coil replacement, it’s vital to prioritize safety to prevent injuries and damage. Start by parking your Toyota Supra on a flat, stable surface and engaging the emergency brake. This will help avoid any unexpected movement during your work. Confirm the engine is cool before you begin, as hot components can cause burns or injuries.
Next, disconnect the negative terminal of the battery. This step is important to eliminate the risk of electrical shock and accidental short circuits while you’re handling the ignition system. Always wear safety gloves and goggles to protect your hands and eyes from sharp edges and debris in the engine bay. Finally, make sure you’re working in a well-ventilated area to minimize exposure to harmful fumes. Following these safety precautions will create a safer environment for your ignition coil replacement process.
Step-by-Step Guide: Removing and Installing New Ignition Coils
Before you start the removal process, gather the necessary tools, including a socket wrench and dielectric grease. Begin by disconnecting the negative battery terminal and removing any components blocking access to the ignition coils. Follow the step-by-step removal process to guarantee a smooth and efficient installation of the new coils.
Necessary Tools Overview
To successfully replace the ignition coils in your Toyota Supra, you’ll need a few essential tools that streamline the process. Start with a socket wrench and a complete socket set to remove the mounting bolts securing the ignition coils. A ratchet wrench and extension bar will help you reach any hard-to-access bolts. You’ll also need pliers for safely disconnecting electrical connectors without damaging the wiring. Don’t forget to apply dielectric grease to the spark plug boot and electrical connectors to enhance conductivity and prevent moisture buildup. Finally, prioritize personal protection by wearing safety gloves and glasses to keep yourself safe while working on the ignition system. Having these tools at hand will make your task much easier.
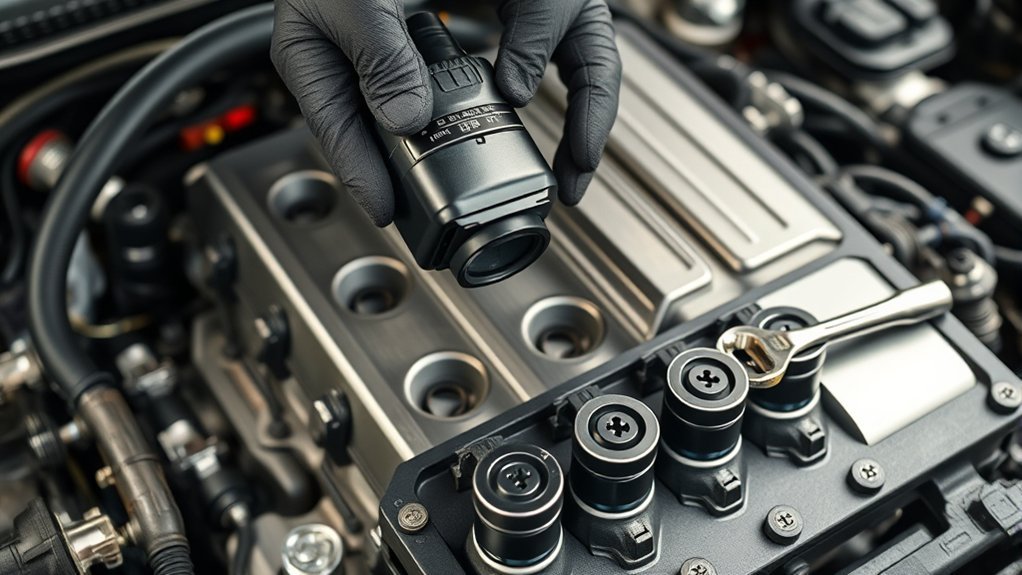
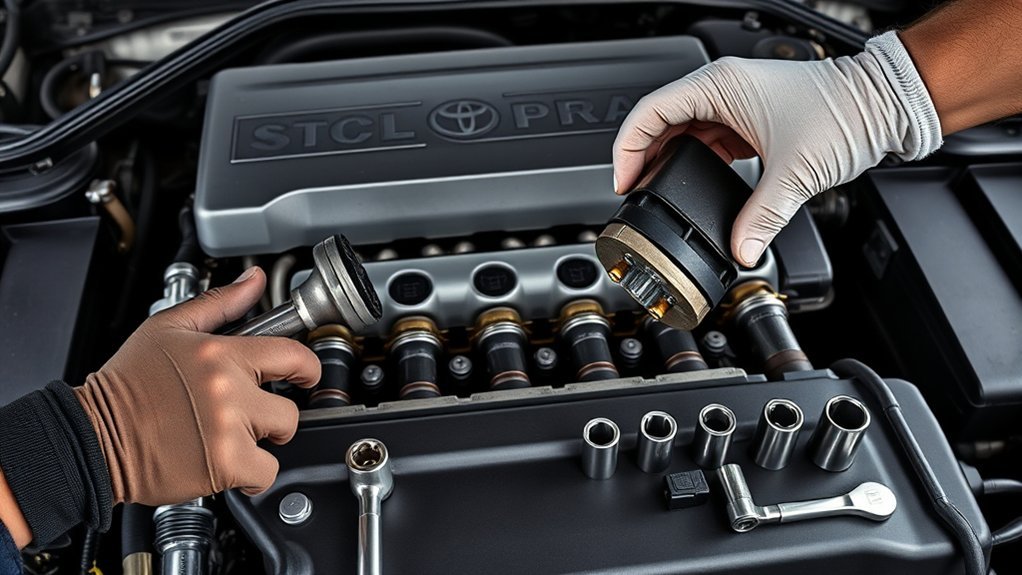
Step-by-Step Removal Process
Start by ensuring the engine is cool and disconnect the negative battery terminal to prevent any electrical hazards. Next, remove any obstructing components, such as engine covers or air intake tubing, to access where the ignition coils are located. Use a flathead screwdriver and socket set as needed. Carefully disconnect the electrical connectors from the ignition coils, noting their positions for accurate reconnection later. Unscrew the mounting bolts securing the ignition coils with a socket wrench. Gently pull the old ignition coils away from the spark plugs, taking care not to damage surrounding parts. After removing the coils, inspect the spark plug wells for any signs of oil or antifreeze contamination before you install the new ignition coils.
Common Mistakes to Avoid During Ignition Coil Replacement
When replacing ignition coils in a Toyota Supra, overlooking essential steps can lead to serious issues. To guarantee a successful replacement, avoid these common mistakes:
- Neglecting to disconnect the negative battery terminal: This can cause electrical shocks or short circuits, endangering both you and your vehicle’s electronics.
- Failing to label electrical connectors: Not labeling or photographing connectors can create confusion during reassembly, potentially leading to incorrect connections and engine misfires.
- Overtightening the mounting bolts: Adhering to the manufacturer’s torque specifications is critical; overtightening can damage the ignition coil and surrounding components.
Additionally, remember to apply dielectric grease to the new connections and inspect for oil or antifreeze contamination in the spark plug well. These steps are essential for guaranteeing peak performance and longevity of your new ignition coils. Finally, don’t forget to reconnect the battery before finishing up!
Test Your New Ignition Coils
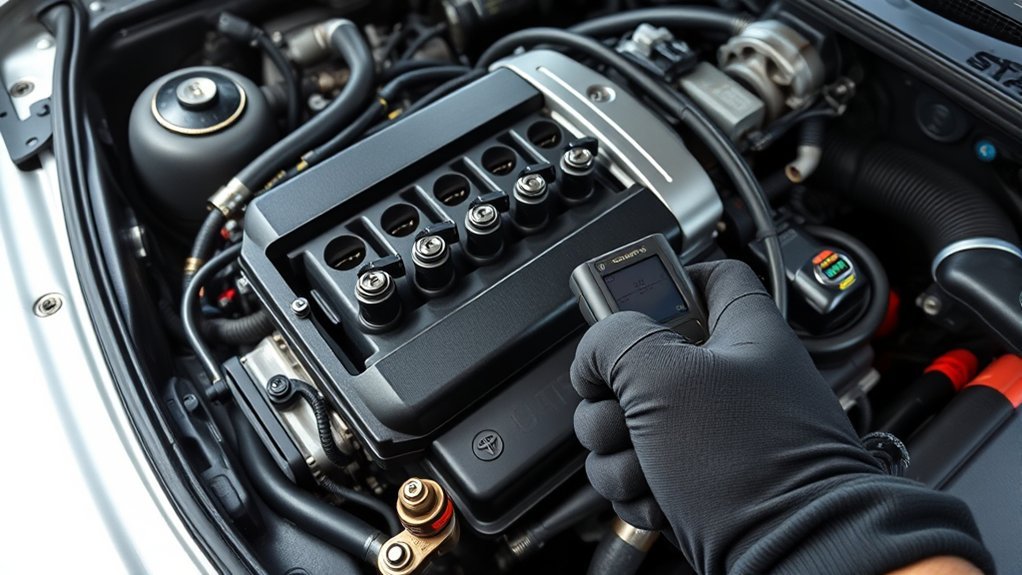
After guaranteeing a proper installation of your new ignition coils, it’s important to verify their functionality. Start by using an OBD-II scanner to check for any stored misfire codes and clear them. This guarantees accurate diagnostics moving forward. Then, start the vehicle and listen for any irregular engine sounds or warning lights, such as the check engine light, which could indicate issues with the ignition system parts.
Monitor the engine’s performance closely. Ideally, you should notice improvements in acceleration and reduced rough idling after replacing the ignition coils. Take your Supra for a test drive, focusing on how it responds under different driving conditions. This will help confirm that the new ignition coils are functioning as intended. If you still experience misfires or performance issues, revisit the installation, check electrical connections, and inspect spark plugs to guarantee everything is in order.
Troubleshooting Common Issues With Ignition Coil Installation
While replacing ignition coils in your Toyota Supra can enhance performance, several common issues might arise during installation. Addressing these concerns guarantees peak functionality and reliability:
- Compatibility: Confirm that the new ignition coils match your specific model and engine specifications to avoid installation issues.
- Electrical Connectors: After installation, if you experience misfires, double-check all electrical connectors. Loose connections often lead to performance problems.
- Contamination: Before installing, inspect spark plug wells for oil or coolant. Contamination can cause premature failure of the new ignition coils.
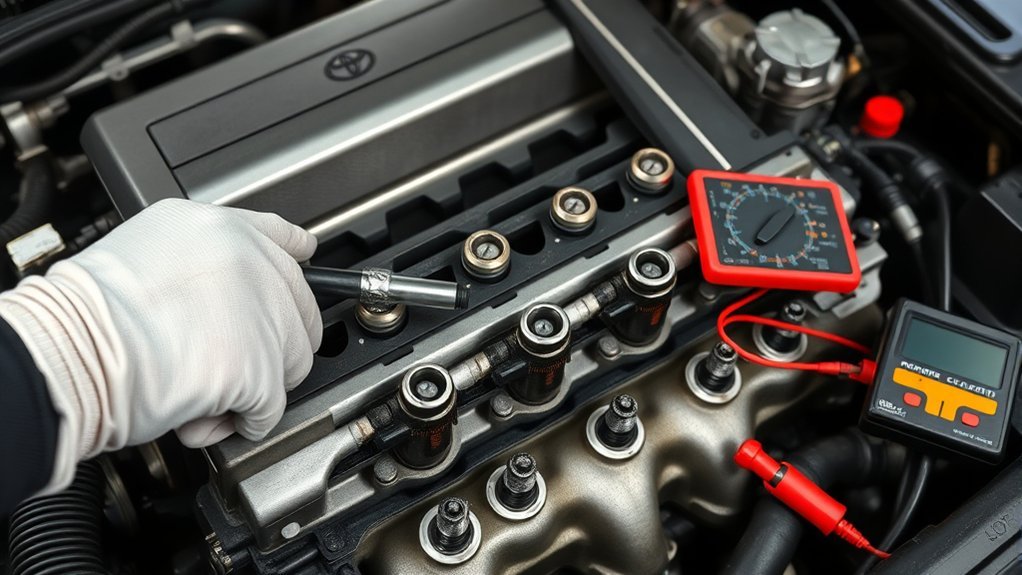
If warning lights persist post-installation, employ an OBD-II scanner to diagnose unrelated issues. Additionally, use a multimeter to verify the primary and secondary resistance of the ignition coils before reconnecting the battery, confirming they function within manufacturer specifications. Addressing these troubleshooting steps will keep your Supra running smoothly.
Keep Your Ignition System Running Smoothly
To keep your ignition system running smoothly, regularly inspecting and replacing ignition coils is essential for maintaining engine performance. A faulty ignition coil can greatly affect your vehicle’s performance, leading to engine misfires and reduced fuel efficiency—potentially up to a 25% decrease in mileage. To avoid costly repairs, replace old coils promptly. When installing new ignition coils, remember to apply dielectric grease to guarantee reliable electrical connections, which boosts their lifespan and overall system reliability.
Additionally, monitor your battery’s health, as a weak battery can strain your ignition system. Pay attention to symptoms like rough idling or difficulty starting, as these indicate the need for immediate action. Keeping your ignition system in prime condition not only enhances vehicle performance but also helps you comply with emissions standards, making for a smoother, more efficient driving experience. Regular maintenance is key to achieving that freedom on the road.
Signs That Indicate Ignition Coil Failure
Ignition coil failure can manifest through several distinct signs that drivers should be vigilant about. Ignoring these symptoms can lead to further engine issues and reduced performance. Here are three primary indicators:
- Check Engine Light: The illumination of the Check Engine Light is often the first alert. It usually comes with diagnostic trouble codes related to engine misfires.
- Engine Misfires: If you notice rough idling, hesitation during acceleration, or decreased power, your ignition coil may be malfunctioning, resulting in misfires.
- Reduced Fuel Efficiency: A failing ignition coil can cause your engine to struggle with combustion, leading to poor fuel efficiency and increased emissions.
Additionally, you may experience jerking or stalling as the ignition coil affects the performance of your spark plugs. Stay alert to these signs to prevent further damage and maintain your vehicle’s performance.
Frequently Asked Questions
Can I Replace the Ignition Coil Myself on a Toyota?
Yes, you can replace the ignition coil yourself on a Toyota. Gather basic tools, avoid common mistakes, and apply maintenance tips. Consider ignition coil types for Supra performance upgrades to guarantee maximum functionality.
How Do You Replace Ignition Coils?
To replace ignition coils, identify coil pack location, use installation tools for removal, and select appropriate ignition coil types. Regular maintenance frequency enhances performance. Always troubleshoot any issues before reinstallation for ideal results.
Do I Need to Disconnect the Battery When Changing Ignition Coils?
Disconnecting the battery’s essential for safety. It protects your electrical components while you tackle those ignition coils, preventing shocking surprises and ensuring peak performance. Prioritize battery safety during your DIY repairs to avoid troubleshooting issues later!
What Are Signs of Bad Ignition Coils?
You’ll notice symptoms of misfire, like rough idling and engine performance issues. The check engine light might illuminate, and you could experience poor fuel economy, indicating a shortened ignition coil lifespan affecting combustion efficiency.
Conclusion
Replacing the ignition coils in your Toyota Supra is like tuning a finely crafted instrument; each component must work in harmony for peak performance. By following the steps outlined, avoiding common mistakes, and testing your new coils, you guarantee your engine runs smoothly. Regular maintenance is key to preventing future issues. With your ignition system in top shape, you’ll not only enhance your car’s performance but also enjoy a more reliable driving experience. Keep the rhythm of your ride steady.