Installing a trailer hitch on your Toyota RAV4 takes careful prep, the right tools, and close attention to torque specs. You’ll need to lower the exhaust, trim the bumper fascia if your hitch design requires it, bolt the hitch to the frame, and check the final fit before you tow. This guide walks you through the main steps, common mistakes, wiring needs, and the choice between original equipment manufacturer (OEM) and aftermarket hitch options.
Quick Answer
You can install a trailer hitch on a Toyota RAV4 by lowering the exhaust, marking and trimming the bumper fascia if needed, aligning the hitch with the frame holes, and tightening the supplied bolts to the hitch maker’s specs. Most RAV4 hitch kits use M12 bolts, but you should always follow the instructions that came with your exact hitch. Add trailer wiring if your trailer needs brake lights, turn signals, or electric brakes.
Key Takeaways
- Check your RAV4 model year, trim, and hybrid status before you buy a hitch.
- Use the hitch maker’s torque specs rather than guessing from a general guide.
- Support the exhaust before you remove the rubber hangers.
- Add trailer wiring if your trailer uses lights, signals, or brakes.
- Inspect the hitch after installation and before your first tow.
Step-by-Step Guide to Installing a Trailer Hitch on Your RAV4
Installing a trailer hitch on your RAV4 can be a manageable do-it-yourself job if you follow the hitch instructions closely. Most installs start by supporting the exhaust, spraying lubricant on the rubber hangers, and lowering the exhaust enough to reach the frame mounting points.
Mark the center of the bumper fascia before you cut. Some hitch kits require a rectangular opening of about 2-5/8 inches wide by 4 to 4-3/4 inches tall, but the exact cut depends on the hitch and your RAV4 model.
Align the hitch with the vehicle frame mounting holes. Insert the supplied M12 bolts with the required washers, then hand-tighten each bolt before using a torque wrench.
Warning: Never tow until you confirm the hitch, wiring, and trailer setup match your RAV4 towing limits and the hitch maker’s instructions.
Many RAV4 hitch kits list 70 ft-lbs for M12 hardware and 96 in-lbs for 1/4-inch hardware. Still, use the torque values in your hitch manual because hardware and hitch designs can vary.
OEM vs. Aftermarket Hitches: Which Is Best for Your RAV4?
Choosing between an original equipment manufacturer (OEM) hitch and an aftermarket hitch depends on your budget, clearance needs, and preferred look. OEM hitches often fit cleanly with the bumper and may offer better ground clearance than some low-hanging aftermarket designs.
Aftermarket hitches from brands such as Curt, Draw-Tite, EcoHitch, and U-Haul often cost less and install faster. Some sit below the bumper, though, which can reduce departure angle and ground clearance.
OEM parts and dealer installation can cost more than an aftermarket setup. Prices also vary by model year, region, labor rate, and whether you add trailer wiring.
| Hitch Type | Best For | Main Tradeoff |
|---|---|---|
| OEM hitch | Factory-style fit and clean looks | Higher parts and labor cost |
| Aftermarket hitch | Lower cost and broad availability | Possible clearance or appearance concerns |
| Hidden or high-clearance hitch | Better appearance and clearance | Usually costs more than basic aftermarket kits |
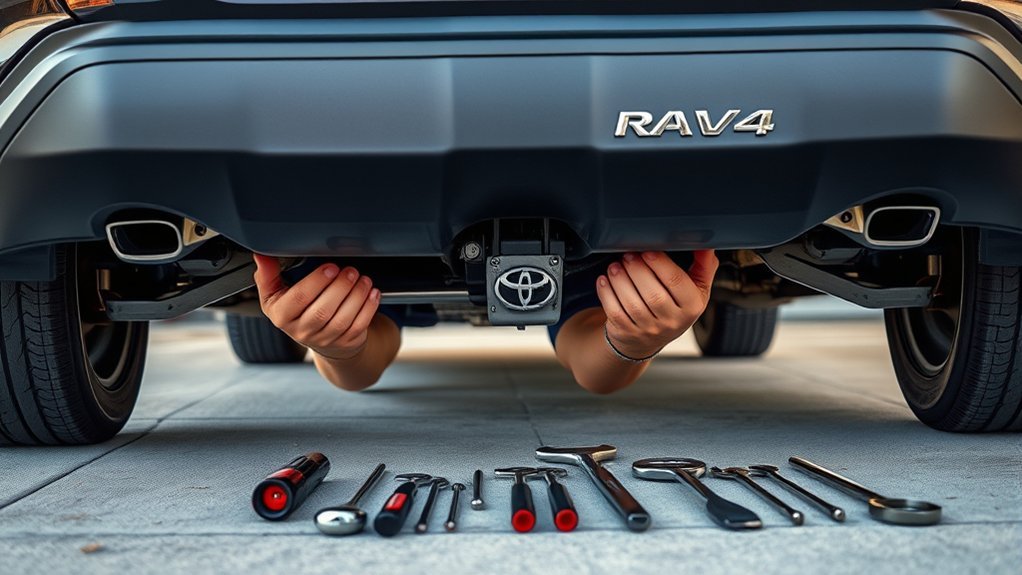
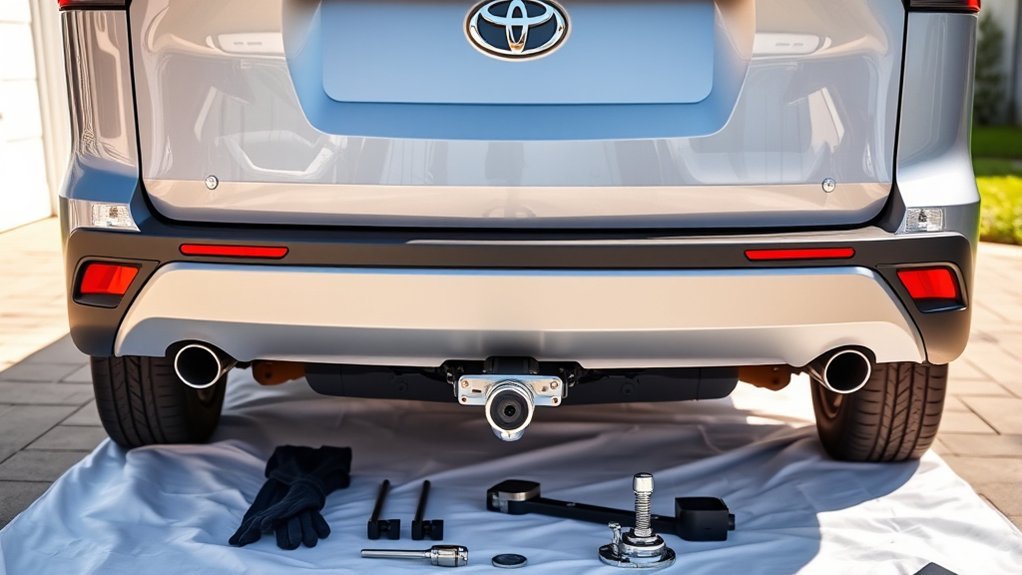
What You’ll Need Before Installing a RAV4 Trailer Hitch
A successful trailer hitch installation on your Toyota RAV4 requires the right tools, enough room to work, and the instructions for your exact hitch kit. Gather everything before you start so you don’t stop midway through the job.
- 19mm socket: Use this for many RAV4 hitch bolts, but verify the size with your kit.
- Torque wrench: Tighten each bolt to the torque value listed by the hitch maker.
- Impact drill or ratchet: Speed up bolt installation, but finish the final tightening with a torque wrench.
- Exhaust hanger pliers: Remove rubber hangers with less pulling and twisting.
- Support strap or wood block: Hold the exhaust safely while you work.
- Trim tool or cutting tool: Cut the bumper fascia only if your hitch design requires it.
- Helper: Lift and align the hitch more safely with another person.
Plan on about one to two hours for a basic hitch installation. Add more time if you need to trim the bumper fascia or install wiring.
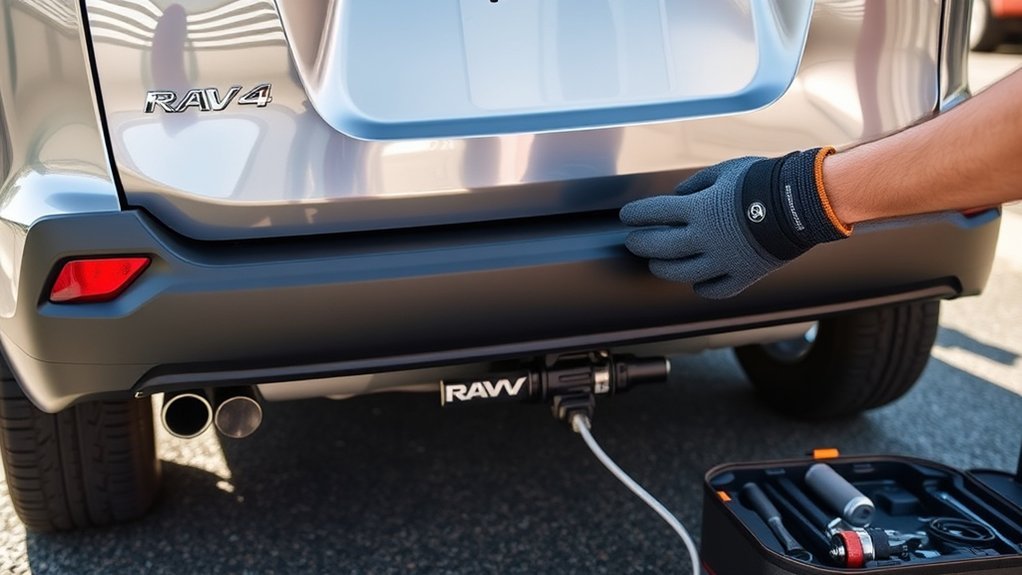
Preparing Your RAV4 for Hitch Installation
Start by parking your RAV4 on a flat surface and letting the exhaust cool fully. Use wheel chocks and follow safe lifting practices if you raise the vehicle.
Spray the rubber exhaust hangers with a lubricant such as WD-40, then support the exhaust with a stand, strap, or block of wood. Lower the exhaust only as much as you need for working space.
Next, clear any stickers, plugs, or debris from the frame mounting holes. Measure and mark the bumper fascia before cutting, and match your cut size to the template in your hitch manual.
| Task | Description |
|---|---|
| Cool and secure the vehicle | Park flat, chock the wheels, and use safe lifting points if needed |
| Support the exhaust | Use a stand, strap, or block of wood |
| Measure and mark | Prepare the bumper fascia before cutting |
| Clear the frame holes | Remove stickers or debris from each mounting point |
Trailer Hitch Installation: A Step-by-Step Walkthrough
Before you start the installation, read the full hitch manual and compare the supplied hardware with the parts list. Then follow these steps in order.
Required Tools and Equipment
Use the tools from the preparation section, plus any special parts listed in your hitch kit. Keep the bolts, washers, spacers, and brackets laid out in order so you can match each part to the instructions.
- Support the exhaust. Place a strap, stand, or block under the exhaust before you loosen the rubber hangers.
- Lower the exhaust. Spray the rubber hangers with lubricant, then slide the hangers off their posts.
- Mark the fascia. Find the bumper centerline and use the hitch template if your kit includes one.
- Cut the fascia if required. Make a careful, clean cut that matches your hitch kit instructions.
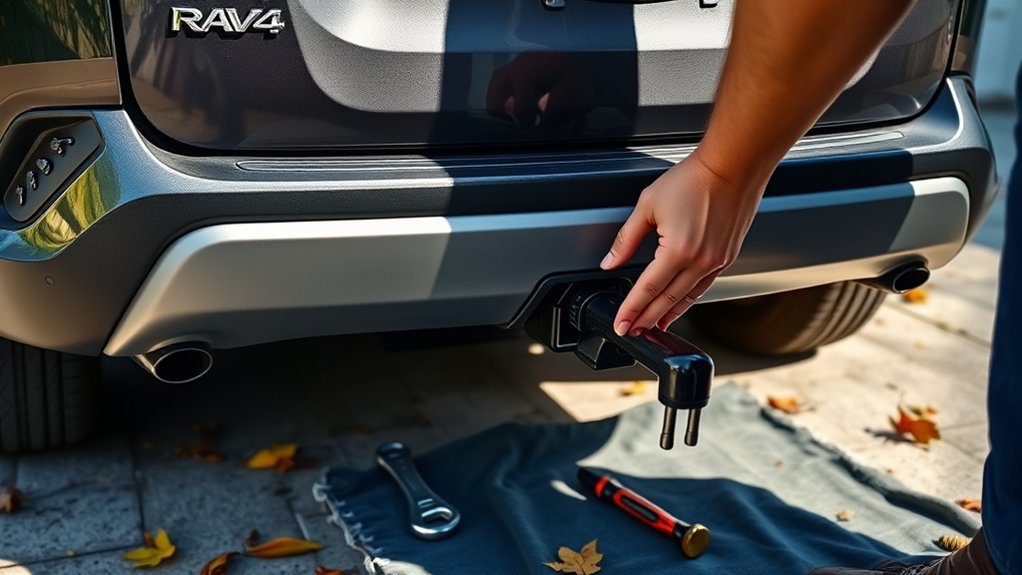
- Raise the hitch into place. Align the side plates with the factory mounting holes in the frame.
- Install the supplied bolts. Add the washers in the order shown by the hitch maker, then hand-tighten each bolt.
- Torque the hardware. Tighten all bolts to the published torque values for your exact hitch kit.
- Reattach the exhaust. Slide the hangers back onto their posts and check for proper clearance.
- Inspect the final fit. Confirm that the hitch sits straight, the receiver clears the bumper, and nothing rubs.
How to Secure the Hitch to the Frame
Raise the hitch slowly and align each side plate with the factory mounting holes. Start every bolt by hand before tightening any one side fully.
Once all bolts thread cleanly, snug them evenly from side to side. Then use a torque wrench to reach the hitch maker’s final torque value.
| Step | Action |
|---|---|
| 1. Align | Position the hitch with the frame mounting holes |
| 2. Insert | Install the supplied bolts and washers |
| 3. Hand-tighten | Start all bolts before tightening the hitch |
| 4. Torque | Use the torque specs from your hitch manual |
| 5. Reinstall exhaust | Confirm the exhaust sits securely on its hangers |
Final Installation Checks Before You Tow
After you torque the hardware, check the hitch from several angles. The receiver should sit centered, and the bumper opening should not press against the hitch.
- Check every bolt. Confirm each bolt has the correct washer and torque value.
- Check the exhaust. Make sure the exhaust hangs correctly and does not rattle against the hitch.
- Check the receiver. Insert your ball mount or accessory and confirm it fits without binding.
- Check the wiring. Test trailer lights before you drive with a trailer.
Final Steps: Torque and Reattach Your Hitch
Torque matters because loose hardware can shift under load. Use a calibrated torque wrench and tighten each bolt to the number listed in your hitch manual.
Some RAV4 hitch kits list 70 ft-lbs for M12 hardware and 96 in-lbs for 1/4-inch hardware. Treat those numbers as kit-specific examples, not a substitute for your manual.
After you finish tightening, reattach the exhaust to its rubber hangers. Then inspect the hitch, exhaust, and bumper fascia before your first drive.
Pro tip: Recheck the hitch hardware after your first towing trip, especially if the hitch maker recommends a break-in inspection.
Do You Need Wiring for Towing With Your RAV4?
You need trailer wiring if your trailer uses brake lights, turn signals, running lights, or electric brakes. A hitch alone only gives you a mounting point, not a working lighting connection.
Many small utility trailers use a 4-pin connector for basic lights. Larger trailers may use a 7-pin connector for electric brakes, charging, or added functions.
An OEM wiring harness can give you a factory-style fit, while aftermarket wiring kits often cost less. Choose the setup that matches your trailer, your RAV4, and your local towing rules.
Avoid These Common Mistakes When Installing Your Hitch
A trailer hitch install can look simple, but small mistakes can cause fit, noise, or safety problems. Slow down during measuring, cutting, bolt alignment, and final torque.
- Skipping the manual: Each hitch kit can use different hardware, cutouts, and torque specs.
- Cutting too soon: Measure twice and use the template before trimming the fascia.
- Forcing the bolts: Start bolts by hand so you don’t cross-thread the frame mounting points.
- Ignoring clearance: Check the exhaust, bumper, spare tire area, and receiver before driving.
- Skipping wiring tests: Test all trailer lights before you tow on public roads.
When to Get Professional Installation
Hire a professional if you don’t have a torque wrench, safe lifting gear, or the confidence to trim the bumper fascia. You should also get help if the frame threads look damaged or the hitch does not align with the mounting holes.
Professional installation can cost more, but it may save time and reduce the risk of poor fitment. Ask the installer to confirm the hitch rating, wiring type, and final torque check before you leave.
Frequently Asked Questions
Can I Add a Trailer Hitch to My RAV4?
Yes, you can add a trailer hitch to many Toyota RAV4 models. Before you buy one, confirm your model year, trim, drivetrain, and hybrid status because fitment can vary.
Can I Install a Trailer Hitch Myself?
Yes, you can install many RAV4 trailer hitches yourself if you have the right tools and follow the instructions. A helper makes the job safer because the hitch can feel heavy and awkward under the bumper.
What Is the Weakness of the Toyota RAV4 for Towing?
The Toyota RAV4 works well for light towing, but it is not a heavy-duty tow vehicle. Depending on the model and trim, towing capacity may be much lower than a truck or larger SUV, so check your owner’s manual before choosing a trailer.
How Much Does It Cost to Have a Trailer Hitch Installed?
Professional hitch installation often costs about $100 to $300 for labor, but prices vary by shop, region, and hitch type. The total cost rises if you choose an OEM hitch, hidden-style hitch, or trailer wiring installation.
Do I Need to Cut the Bumper to Install a RAV4 Hitch?
Some RAV4 hitch kits require trimming the lower bumper fascia, while others mount below the bumper with little or no cutting. Check the instructions for your exact hitch before you mark or cut anything.
Conclusion
A safe RAV4 trailer hitch installation depends on correct fitment, careful alignment, and proper torque. Read your hitch manual first, gather the right tools, and test your trailer wiring before you tow. If any step feels uncertain, hire a qualified installer. Once the hitch checks out, your RAV4 can handle light towing and hitch-mounted gear with more confidence.
References
- Toyota Owner’s Manuals — Toyota, 2026
- Trailer Safety — National Highway Traffic Safety Administration, 2026