To install a backup camera in your Toyota RAV4, start by gathering your tools, including a Phillips screwdriver and a multimeter. Remove the rear floor panel and scuff plate to access wiring. Use T-taps to connect to reverse power and ground, then connect the yellow RCA for video. Secure all connections and test functionality with a multimeter. With some adjustments and checks, you can guarantee peak performance. Keep looking for details on specific wiring color codes and troubleshooting tips.
Preparing Your Toyota RAV4 for Backup Camera Installation

Installing a backup camera in your Toyota RAV4 can greatly enhance your driving safety and convenience. To prepare for installation, start by ensuring you have a compatible backup camera, like the Kenwood CMOS-320, and a Kenwood head unit. Gather your tools, including a pry tool, screwdrivers, and zip ties for securing wiring. Next, remove the rear floor panel near the back door and the rear passenger scuff plate, moving the rear seats forward to access hidden storage for wire routing. Disconnect the back light plug located at the door to help with wiring. Be ready to remove additional clips and panels as needed, ensuring a clean and efficient installation without removing entire panels. This setup lays the groundwork for your backup camera.
What You’ll Need for the Backup Camera Install
To successfully install your backup camera, you’ll need specific tools and wiring components. Gather items like a pry tool, Phillips screwdrivers, and a 10mm socket wrench to tackle the installation. Don’t forget the necessary wiring materials, such as T-taps and split loom, to guarantee everything is connected and protected properly.
Essential Tools Required
When tackling the installation of a backup camera, having the right tools at your fingertips can make all the difference. Start with a Phillips screwdriver to remove screws from various panels and components. A 10mm socket wrench is essential for getting to the nuts on the taillight assembly, allowing you to access vital wiring. To avoid damaging your vehicle’s panels, keep a pry tool handy for safe removal. Wire strippers and crimpers will help you make secure connections, particularly if you’re using T-taps or creating custom connections. Finally, a multimeter can be invaluable for testing connections and ensuring you’ve got the proper voltage levels. Equip yourself with these tools, and you’re well on your way!
Necessary Wiring Components
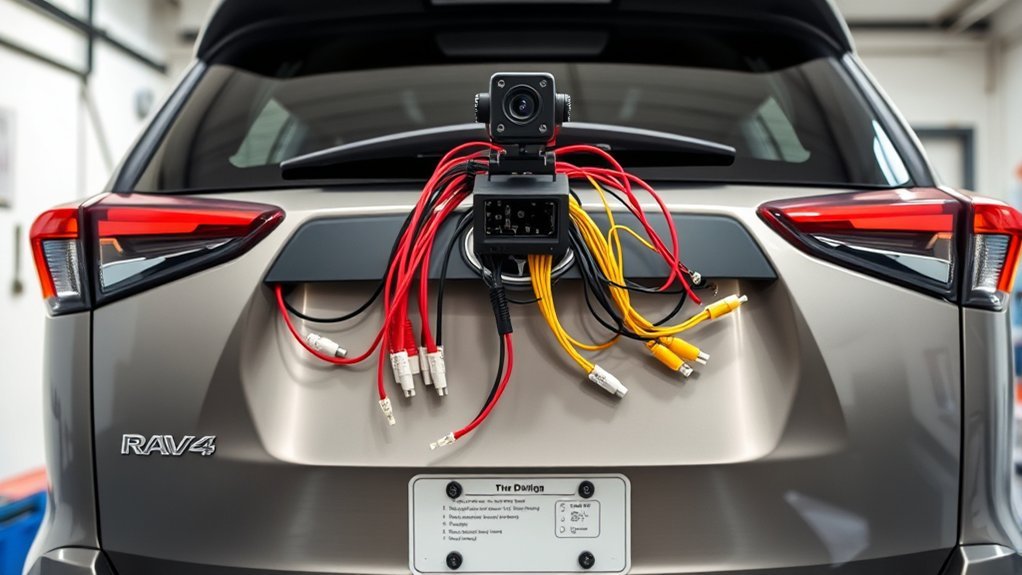
With the right tools in hand, you’re ready to tackle the necessary wiring components for your backup camera installation. Key components include T-taps for connecting to the reverse power (BLACK wire) and ground (WHITE/BLACK wire), plus a yellow RCA connector for the video feed. Don’t forget a 2-amp fuse for the power wire to protect your vehicle’s electrical system.
Here’s a quick reference table:
| Component | Purpose | Notes |
|---|---|---|
| T-taps | Connect to power/ground | Confirm secure fit |
| Yellow RCA connector | Video feed connection | Use high-quality |
| 2-amp fuse | Protect electrical system | Replace if blown |
Use split loom for protection and zip ties to organize your wiring. Happy installing!
Removing Rear Panels: Step-by-Step
Before you can install your backup camera, you’ll need to remove several rear panels to gain access to the vehicle’s interior. Start by lifting the rear floor panel near the back door. Next, pry up the rear passenger scuff plate, detaching it from the clips. Move the rear seats forward and unscrew four Phillips screws to remove the hidden storage cover. Pop the storage panel up to free it. After that, detach the lower panel by unscrewing any bolts and pulling it away from the clips. Keep track of all fasteners and clips removed during this process. This attention to detail guarantees smooth reassembly once you’ve completed the installation of your back up camera.
Installing the Camera and Routing the Wires
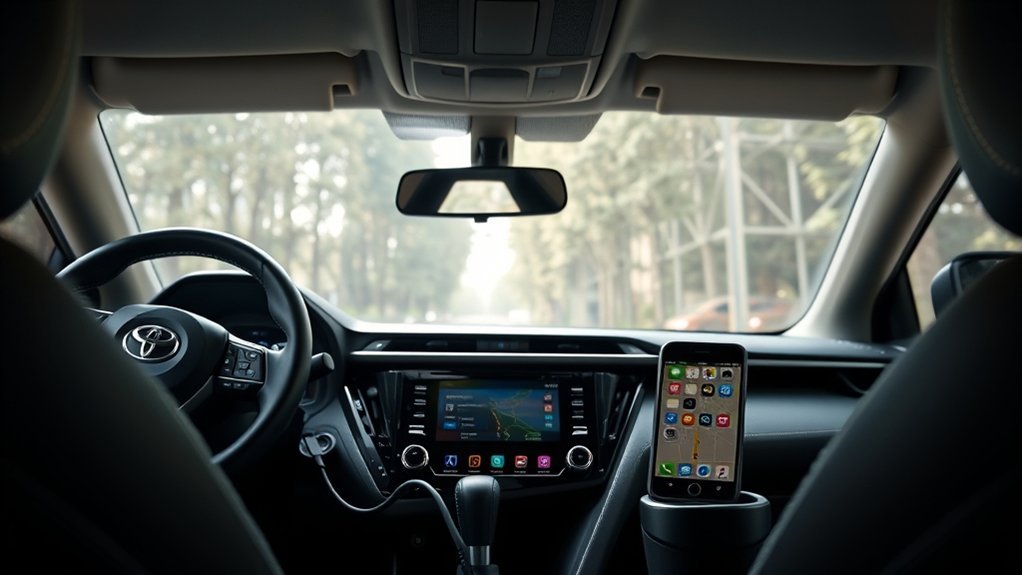
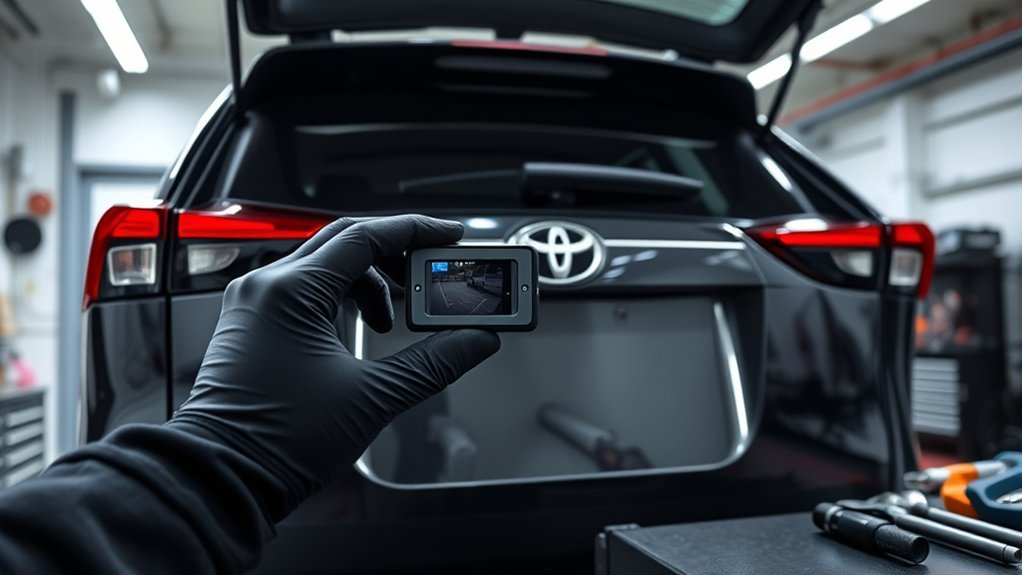
To install the backup camera effectively, position it near the license plate light, making certain you’ve enlarged the mounting hole to accommodate the camera’s threaded shaft. Next, route the camera wire through the back door, following existing wiring paths for a clean look. Use a pry tool to pop out the clips on the back panel, which should come off easily with about 12 clips. As you’re installing the camera, connect its video output to the head unit using the yellow plug, making sure the positive and negative wires are securely connected. After installing the camera, test its functionality and adjust settings on the head unit to guarantee peak performance. Enjoy your newfound visibility!
Wiring Connections for the Backup Camera: Color Codes and Instructions
Now that you’ve installed the camera and routed the wires, it’s time to tackle the wiring connections. You’ll identify color codes and follow specific connection procedures to guarantee everything links up correctly. Don’t forget to test the setup before putting everything back together, as proper functionality is vital for safety and convenience.
Color Code Identification
Connecting a backup camera correctly hinges on understanding its wiring color codes, which are essential for ensuring proper functionality. You’ll want to pay attention to these key connections:
- BLACK wire: This is your reverse +12V connection, powering the camera when you shift into reverse.
- WHITE/BLACK wire: This serves as your ground (GND) for the installation, ensuring stability in your setup.
- PURPLE wire: Specifically used for reverse functionality, it activates the camera when the vehicle is in reverse.
Connection Procedure Steps
Understanding the wiring color codes is just the beginning; the next step involves executing the connection procedure to confirm your backup camera operates correctly. Start by connecting the BLACK wire of the backup camera to the reverse +12V circuit and the WHITE/BLACK wire to ground (GND). Use T-taps for secure connections, and verify the camera video connector’s red wire is routed behind the radio for video signal transmission. Don’t forget to connect the purple wire for the reverse signal, activating the camera when you shift into reverse. Finally, protect all wiring with split loom and zip ties to prevent damage. After making these connections, test the camera functionality before reassembling any panels to confirm everything’s working smoothly.
Testing and Troubleshooting Tips
Before you wrap up your installation, it’s crucial to thoroughly test and troubleshoot your backup camera to guarantee everything’s working as intended. Follow these steps to verify solid connections and functionality:
- Check Power Connections: Verify that your BLACK wire is connected to Reverse +12V and your WHITE/BLACK wire is grounded correctly.
- Test Video Feed: Confirm the red video wire is routed behind the radio, connecting it to the head unit properly.
- Final Functionality Test: Activate the reverse gear and confirm the camera displays a clear image before reassembling any panels.
If issues arise, double-check your connections, use T-taps securely, and consider soldering for improved reliability. Your backup camera’s performance depends on these critical testing steps.
Testing Backup Camera Functionality and Adjusting Settings
Once you’ve completed the installation of your backup camera, it’s essential to test its functionality to verify everything is working as intended. Start by engaging the reverse gear; the camera should activate and display a clear video feed on your head unit. Adjust the camera’s angle as needed to guarantee you get the best view of the area behind your vehicle, with the default guidelines visible to assist with parking. If the feed isn’t displaying correctly, check all connections, especially the RCA video cable. Utilize the adjustment settings on the head unit to modify brightness and contrast for peak visibility in different lighting conditions. Finally, confirm that the reverse wiring connects properly to the purple wire and that a 2-amp fuse is in place for safety.
Troubleshooting Common Issues During Installation
While installing a backup camera can be straightforward, you might encounter various issues that could hinder its functionality. Here are some common problems and their solutions:
- Camera Malfunction: Ascertain all connections are secure, especially the T-tap connections for reverse power and ground. Poor contact can lead to malfunction.
- Video Quality Issues: If you notice poor video quality, check the RCA ground sleeve for tightness. Consider soldering connections for better contact.
- Wiring Issues: Verify the camera wire’s routing follows existing paths. Pinching or exposure can cause connectivity problems; use wiring diagrams to confirm color coding and connections.
Frequently Asked Questions
Can I Install a Backup Camera Myself?
Yes, you can absolutely handle a DIY installation of a backup camera! Just make certain the camera’s compatible with your vehicle, follow the wiring diagrams, and take your time for a successful setup.
What Is the Lawsuit Against the Toyota RAV4?
Like a shadow lurking behind your car, the Toyota RAV4 lawsuit addresses safety concerns over faulty rearview cameras. Plaintiffs seek compensation and a solution, claiming Toyota neglected multiple consumer complaints about these critical safety features.
What Year of RAV4 to Stay Away From?
You should stay away from the 2006-2008 RAV4 models due to their reliability issues. These years are prone to electrical problems, complicating installations and affecting overall performance, which can lead to frustrating experiences for owners.
How Much Does It Cost for Best Buy to Install a Backup Camera?
Best Buy’s installation costs for a backup camera typically range from $139.99 to $199.99, depending on your vehicle’s setup. Their professional services may also include additional fees for custom wiring or modifications. Check local rates for accuracy.
Conclusion
To summarize, installing a backup camera on your Toyota RAV4 can transform your driving experience, enhancing safety and convenience. By preparing properly and following the steps meticulously, you’ll seamlessly secure the setup. Once everything’s in place, you’ll bask in the bliss of better visibility and confidence while reversing. Remember, if you encounter hiccups, troubleshooting tips can guide you back on track. With a little patience and practice, you’ll be reversing like a pro in no time!