What’s in This Article
- Quick How-To: Inflate a Spare Tire
- Identify Your Spare: Full-Size, Mini/Donut, Run-Flat, or Kit
- Find the Correct Spare Tire Pressure
- Tools You Need Before You Start
- Access and Remove the Spare Safely
- Measure the Spare Tire Pressure
- Inflate the Spare Tire and Recheck Pressure
- Inspect for Damage, Age, and TPMS/Sealant Issues
- Reinstall, Driving Limits, and When to Replace the Spare
A flat tire feels worse when the spare has no air. Before you drive, identify whether your spare is full-size, donut, run-flat, or a sealant kit. Check the door placard, owner’s manual, or tire sidewall for the correct pounds per square inch (PSI). Then inspect the tire, rim, Department of Transportation (DOT) date, valve stem, Tire Pressure Monitoring System (TPMS), and sealant date before you use it.
Quick Answer
Inflate a spare tire by checking the correct PSI first, then adding air in short bursts through the valve stem. Many compact spares list 60 PSI, but your owner’s manual or the tire sidewall gives the number you should follow. Recheck pressure after inflation and again after mounting the spare.
Key Takeaways
- Check the spare tire type before you inflate or install it.
- Use the owner’s manual, tire placard, or spare sidewall for the correct PSI.
- Inflate in short bursts and confirm the reading with a separate gauge.
- Inspect the tire for cracks, bulges, punctures, rim rust, and old age.
- Drive slowly and briefly on a temporary spare, then repair the main tire soon.
Quick How-To: Inflate a Spare Tire
Estimated total time: 10 to 20 minutes if the spare and tools are easy to reach. Add more time if your vehicle stores the spare under the body or uses a crank system.
- Park safely. Move away from traffic, set the parking brake, and turn on hazard lights if you stopped roadside.
- Identify the spare. Confirm whether you have a full-size spare, compact donut, run-flat tire, or sealant kit.
- Find the correct PSI. Check the owner’s manual, door placard, or spare sidewall before you add air.
- Remove the valve cap. Press a tire pressure gauge firmly onto the valve stem and record the initial reading.
- Connect the inflator. Attach the hose straight to the valve stem so air does not leak around the fitting.
- Add air slowly. Use short bursts from the air compressor, then stop and check the gauge often.
- Stop at the target PSI. Do not inflate past the value from the manual, placard, or tire marking.
- Inspect the spare. Look for cuts, bulges, cracks, punctures, valve leaks, rim rust, and unusual wear.
- Mount it securely. Align the wheel with the studs, hand-thread the lug nuts, and tighten them in a star pattern.
- Recheck before driving. Confirm pressure one last time after the spare sits on the vehicle.
Finish by replacing the valve cap and stowing the inflator, gauge, jack, and lug wrench. If the spare loses pressure again, treat it as unsafe until a tire professional checks it.
Identify Your Spare: Full-Size, Mini/Donut, Run-Flat, or Kit
First, determine which spare system your vehicle has. Your vehicle may carry a full-size spare, a compact mini or donut spare, run-flat tires, or a temporary mobility kit. Each option uses different pressure rules and driving limits, so do not treat them the same.
Check the spare’s size, pressure marking, bolt pattern, and wheel design. Confirm that the spare matches your vehicle and wheel studs before you inflate or drive. Your owner’s manual gives the final rule for fit, pressure, speed, distance, and service limits.
Determine Spare Tire Type
You can identify most spare types by size, label, and storage location. A matching full-size spare usually looks like your regular tires. A mini or donut spare looks narrow, light, and clearly marked for temporary use.
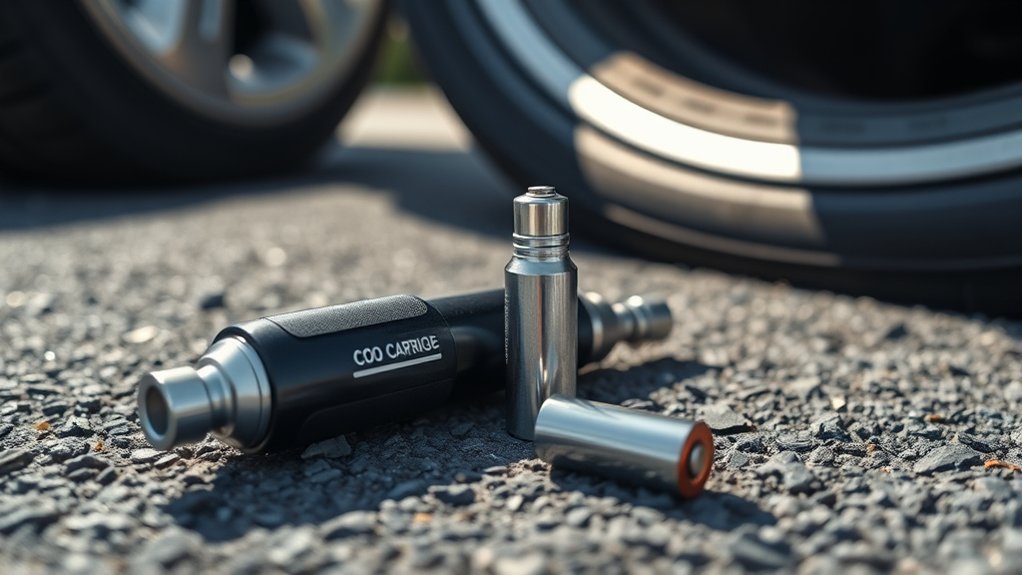
A run-flat tire does not work like a normal spare. It lets you drive a limited distance after pressure loss if the tire and vehicle maker allow it. A temporary tire mobility kit includes sealant and a compressor, not a spare wheel.
Read the label before you act. Use the listed pressure, speed limit, and distance limit, then plan to reach repair service as soon as you can.
Check Compatibility And Size
When you inspect the spare, confirm the size code on the sidewall. Check the wheel bolt pattern, center bore, and lug nut seat style if you can see them. A spare that does not fit correctly can damage studs or loosen while you drive.
A full-size spare may use the same inflation pressure as your regular tires if it matches the vehicle’s tire size and load rating. A compact spare often lists a higher pressure, commonly 60 PSI, on the sidewall. Follow the printed marking or owner’s manual instead of guessing.
Do not mix run-flat and conventional tires for normal driving unless your manual allows a short emergency move. Use mobility kits only for small tread punctures that the kit instructions cover.
Find the Correct Spare Tire Pressure
You find the correct spare tire pressure by checking the most vehicle-specific source first. Start with the driver’s door placard and owner’s manual. Then check the spare tire sidewall for compact-spare warnings and pressure markings.
Note: If the manual, placard, and spare sidewall conflict, follow the owner’s manual or contact the dealer before driving.
| Location | Checkpoint | Action |
|---|---|---|
| Placard | Vehicle PSI | Follow listed value |
| Sidewall | Max/service info | Verify compatibility |
| Gauge | Measured PSI | Inflate or deflate to spec |
Use a calibrated gauge when the tire is cold, if possible. Heat from driving can raise pressure and give you a misleading reading. If you must check a warm spare, recheck it later when the tire cools.
According to the National Highway Traffic Safety Administration (NHTSA), drivers should inspect tire inflation pressure, treadwear, and tire damage each month. Keep a reliable gauge and compact inflator in the vehicle so you can act before a flat becomes a bigger problem.
Tools You Need Before You Start
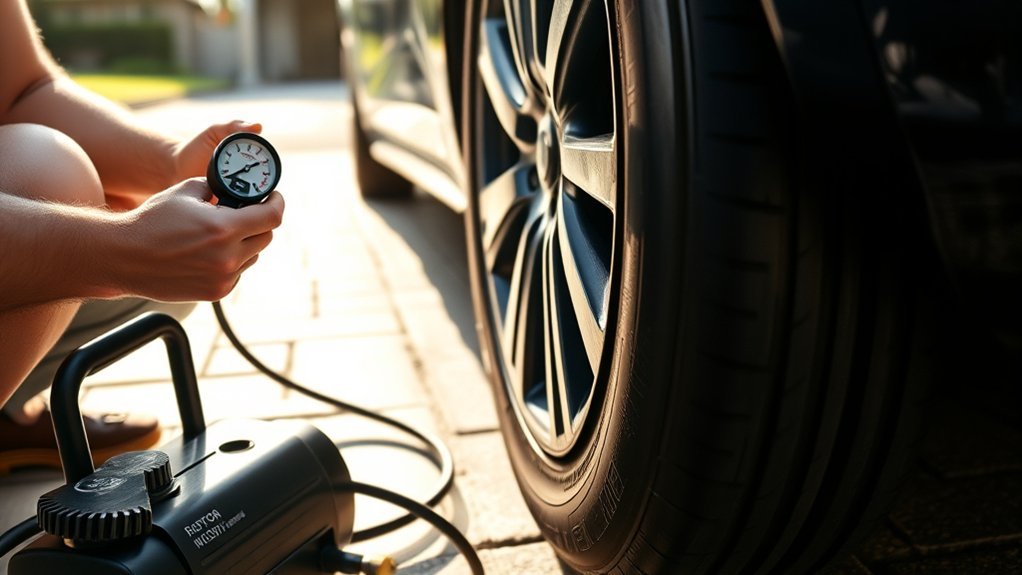
Gather your tools before you touch the spare. You need a calibrated tire pressure gauge, an air compressor or portable inflator, and your owner’s manual for the correct PSI. You may also need a jack, lug wrench, wheel chocks, gloves, and a flashlight.
Choose a reliable tire inflator that can reach the pressure your spare needs. Many compact spares need higher pressure than regular tires, so check the inflator rating before you rely on it. Carry a separate gauge because built-in inflator gauges can drift.
- Use a valve-core tool only if you know how to tighten a loose valve core.
- Use a short extension hose for hard-to-reach underbody spares.
- Check inflator cords, battery charge, and hose fittings before long trips.
- Store the kit where you can reach it without unloading the whole trunk.
Check and adjust the pressure of your spare monthly. A spare with the right tools but the wrong pressure will not help when you need it most.
Access and Remove the Spare Safely
Locate the spare tire using your owner’s manual. Your vehicle may keep it in the trunk, under the cargo floor, on the rear door, or under the vehicle. Park on a flat surface, set the parking brake, and keep people away from traffic.
If you stopped on a road shoulder, turn on hazard lights and move to a safer place if the vehicle can still roll. Do not crawl under a vehicle that rests only on a jack. Call roadside help if the ground, weather, traffic, or lighting makes the job unsafe.
Locate Spare Tire Well
Start with the owner’s manual so you know where the spare and tools sit. Many cars keep the spare under the trunk floor. Some trucks and SUVs use a cable or crank system under the rear cargo area.
Clear covers, cargo, and debris before you loosen the spare. If the spare sits under the vehicle, work on level ground and keep your hands clear of the lowering mechanism. Inspect the wheel for corrosion or damage before you install it.
| Step | Action |
|---|---|
| 1 | Consult manual |
| 2 | Remove cover |
| 3 | Inspect tire |
Use Proper Jacking
Place the vehicle on level, stable ground and engage the parking brake before you lift. Check the manual for the correct jacking points. The wrong lift point can bend body panels, damage the frame, or create an unstable lift.
Warning: Never put any part of your body under a vehicle that a jack alone supports.
Place wheel chocks on the opposite side to help prevent rollaway. Position the jack under the designated point, confirm firm contact, and raise the vehicle slowly. Watch the jack alignment as the vehicle rises.
If you must work beneath the vehicle, use rated jack stands on stable ground. After removal or access for tire inflation, lower the vehicle slowly and stow the jack, chocks, and tools.
Measure the Spare Tire Pressure
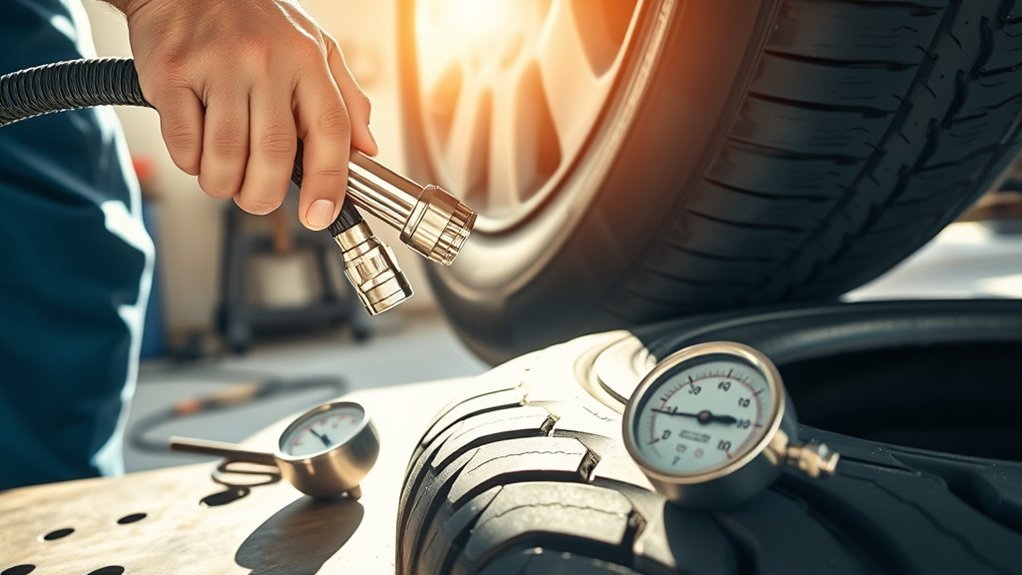
Spare tires can lose pressure while they sit unused, so measure the pressure before you install one. Remove the valve cap and press the tire pressure gauge straight onto the valve stem. A firm seal gives you a clean PSI reading.
Compare the measured pressure with the recommended value. If the reading is low, inflate the spare before driving. If the reading is high, release air in small amounts until the tire reaches spec.
Record the reading and date in your phone or maintenance log. Then set a monthly reminder. NHTSA and AAA both advise regular pressure and condition checks because an ignored spare can age, crack, leak, or fail when you need it.
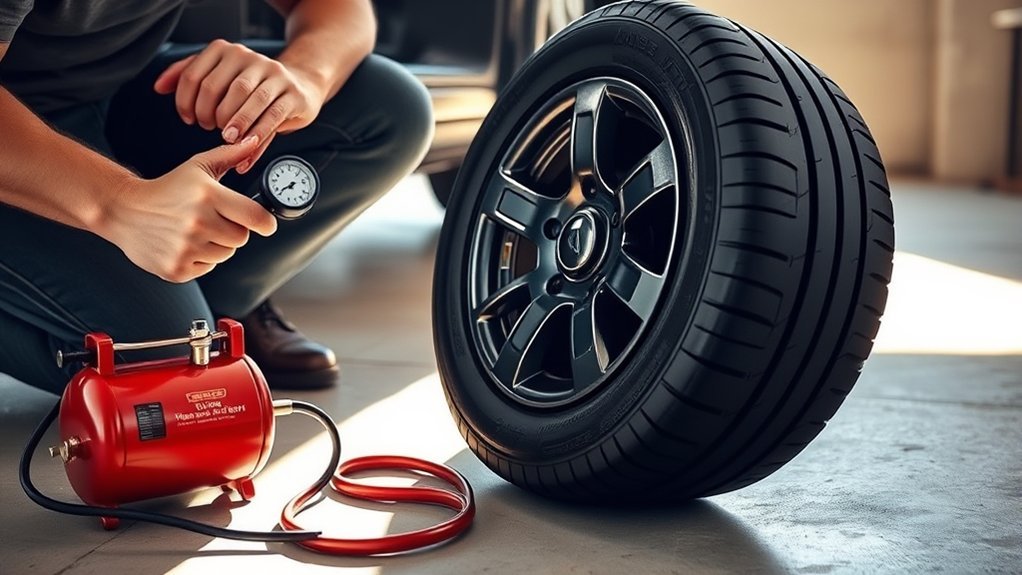
Inflate the Spare Tire and Recheck Pressure
Inflate the spare to the manufacturer’s recommended PSI. Connect the hose squarely to the valve stem, add air in short bursts, and stop often to check the gauge. This slow method helps you avoid overinflation.
For a compact spare, look for the pressure printed on the sidewall. Many compact spares list 60 PSI, but your tire may differ. For a full-size spare, use the door placard or manual if the spare matches the original tire size.
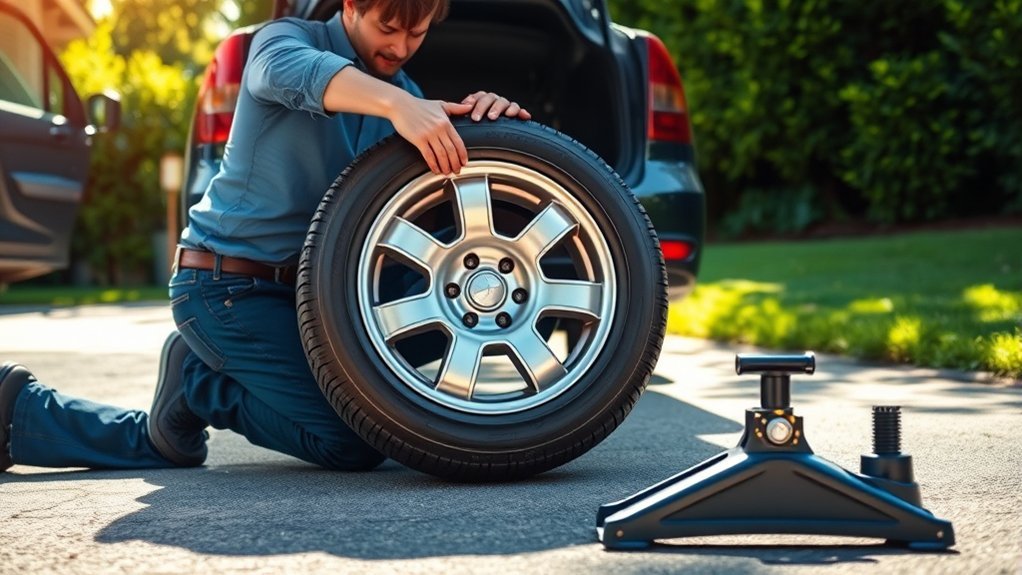
Mount the spare by aligning the holes with the wheel studs. Hand-thread the lug nuts first, then tighten them in a star pattern to the vehicle’s specification. Recheck pressure after the wheel sits on the vehicle because the valve or bead may leak under load.
If pressure drops below spec after recheck, do not assume it will hold long enough. A leak at the valve stem, bead, tread, or rim needs professional repair before you rely on the spare.
Inspect for Damage, Age, and TPMS/Sealant Issues
After you confirm pressure, inspect the spare by sight and by date. Look for cracks, bulges, cuts, punctures, exposed cords, and rim corrosion. Any sidewall damage or bulge means the tire needs professional inspection before use.
Read the DOT code to check the manufacture date. NHTSA says some vehicle and tire makers recommend replacement at six to 10 years, regardless of treadwear. Michelin recommends replacing tires at 10 years from the manufacture date, including spare tires.
Check TPMS and sealant issues next. A spare may not have a TPMS sensor, so the warning light may stay on after installation. If your vehicle uses a temporary mobility kit, inspect the sealant expiration date and confirm that the product matches your tire type.
Expired or incorrect sealant can make tire repair harder and may affect TPMS parts. Document damage, age, and sealant use so the repair shop knows what happened.
Reinstall, Driving Limits, and When to Replace the Spare
When you’ve seated the spare and tightened the lug nuts, verify that the wheel holes line up with the studs. Lower the vehicle, tighten the nuts to the listed torque, and recheck tire pressure. Stow the flat tire and tools so they do not move while you drive.
Drive cautiously on a temporary spare. AAA advises drivers not to exceed 50 mph or the lower limit printed on the tire or manual. AAA also says you should limit total distance on a temporary spare to about 50 miles.
Watch for vibration, pulling, noise, or a pressure warning. Slow down and stop in a safe place if the vehicle feels unstable. Repair or replace the main tire as soon as possible because a temporary spare only helps you reach service.
Inspect the spare after any use. Replace it if you find cuts, dry rot, tread degradation, sidewall damage, or repeated pressure loss. Follow your owner’s manual and the tire maker’s age guidance for specific replacement intervals.
Common Mistakes to Avoid
Do not inflate a spare based on memory. Check the manual, placard, or sidewall every time. A compact spare and a full-size spare can need very different pressure.
Do not use a compact spare as a long-term tire. It can reduce traction, braking, and stability. It may also trigger warning lights because its size differs from the regular tires.
Do not ignore age just because the tread looks new. Stored spare tires still age. Heat, time, and poor storage can weaken rubber even when the tire has never touched the road.
Frequently Asked Questions
How to Check Spare Tire Air Pressure?
Remove the valve cap, press a gauge firmly onto the valve stem, and read the PSI. Compare that number with the owner’s manual, door placard, or spare sidewall. Check it monthly and before long trips.
What Is the 3% Tire Rule?
The 3% tire rule usually refers to tire-size or rolling-circumference differences, not spare tire pressure. Some all-wheel-drive systems can react badly when tire sizes vary too much. Check your owner’s manual before mixing a spare with regular tires for more than an emergency drive.
What Is the 50 50 Rule on Spare Tires?
The 50 50 rule means many temporary spares should stay under 50 mph and about 50 miles. Follow the lower limit if your tire sidewall or owner’s manual lists one. Replace the temporary spare with a proper tire as soon as you can.
Why Is It Essential to Check the Tire Pressure of the Spare Before Driving?
An underinflated spare can reduce handling, overheat, wear quickly, or fail. The risk rises when the spare has sat unused for months or years. A quick pressure check helps you avoid a roadside failure after the first flat.
Safety Disclaimer: This article is for informational purposes only and does not replace your owner’s manual or professional roadside service. If traffic, weather, ground conditions, jack placement, tire damage, or pressure loss makes the job unsafe, contact a qualified tire technician or roadside assistance provider.
Conclusion
A safe spare starts with the right type, the right PSI, and a careful damage check. Reinstall it securely, tighten lug nuts in a star pattern, and recheck pressure before you drive. Treat a temporary spare as a short bridge to a repair shop, not a regular tire. Log the spare’s age, note any sealant use, and arrange a permanent fix as soon as possible.
References
- Tire Safety Ratings and Awareness, National Highway Traffic Safety Administration, accessed 2026
- What You Need to Know About Your Car’s Spare Tire, AAA, accessed 2026
- When to Replace Tires, Michelin USA, accessed 2026
- Tire Safety Practices, Discount Tire, accessed 2026