To fix your Toyota Supra’s window regulator issues, start by diagnosing symptoms like slow movement or noises. Gather tools like a socket set, multimeter, and silicone spray. Safely remove the door panel to access the regulator, disconnect electrical components, and unscrew the old unit. Install the new regulator, ensuring everything is secured. Adjust the window for proper alignment by loosening regulator bolts and adjusting bump stops. If problems persist, you might discover further insights ahead.
Common Issues With Your Toyota Supra Window Regulator
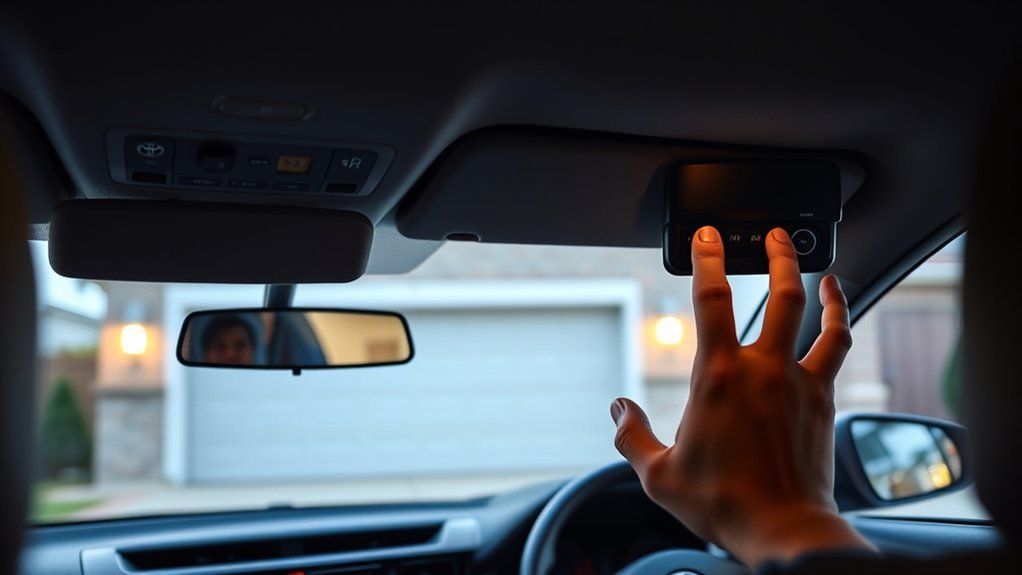
When you encounter issues with your Toyota Supra window regulator, it’s essential to identify the common problems that can arise. One major issue involves the window not staying up, often due to a damaged cable drive mechanism. If you hear high-pitched whistling noises while driving over 60 mph, it indicates improper sealing and can signal further power window problems. When fixing the power window, proper diagnosis is key; make sure the window glass is seated correctly within its channels during reassembly. After installing new regulators, you might need to tweak the bump stops to prevent the window from moving erratically or catching the frame when closed. Keep in mind, accessing the regulator often requires repeated removal of the door panel, which can be frustrating, but it’s necessary for achieving a seamless operation. Prioritize these adjustments to guarantee reliable performance from your window regulator.
Tools You’ll Need for Diagnosing and Repairing Window Regulator Issues
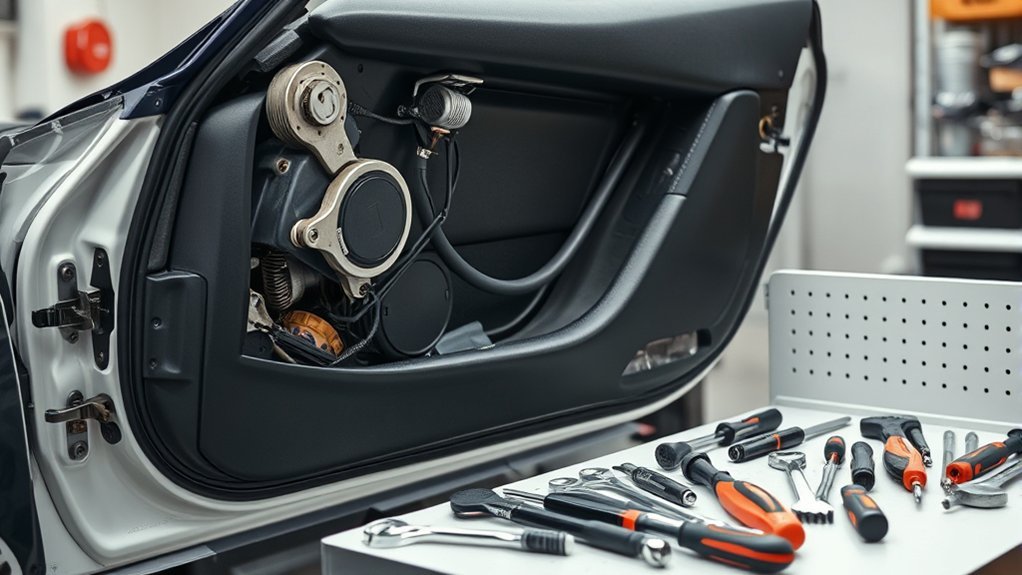
To diagnose and repair window regulator issues in your Toyota Supra, you’ll need a few essential tools. Start with a quality socket set and screwdrivers for disassembling the door panel, which grants you access to the window regulator. Pliers will also come in handy for any stubborn components. A multimeter is vital for diagnosing electrical connections, ensuring the window motor receives power effectively. For smoother operation, keep silicone spray lubricants nearby to reduce friction in the window tracks, enhancing the window regulator’s performance. A torque wrench is recommended for securing bolts tightly, adhering to manufacturer specifications during reassembly. Finally, a trim removal tool will help you detach the door panel without damaging clips or the panel itself, facilitating a safer repair process. With these tools, you’ll be well-equipped to tackle window regulator issues head-on.
How to Safely Remove the Door Panel Before Replacing Your Window Regulator
To safely remove the door panel of your Toyota Supra, gather the necessary tools and follow a step-by-step process. Start by locating and removing any hidden screws, then carefully pry the panel away while avoiding damage to the pop clips. Remember to disconnect any wiring before lifting the panel to access the window regulator assembly, keeping everything organized for reassembly.
Tools You’ll Need
Before you plunge into replacing the window regulator in your Toyota Supra, having the right tools on hand is essential for a smooth process. Start with a thorough screwdriver set to tackle screws often hidden behind blind plugs or in the armrest area. You’ll also need a trim removal tool to gently pry off the door panel without damaging the plastic clips that secure it. A socket wrench set may come in handy for accessing additional screws and clips. As you remove the door, be mindful of any connectors or wiring that might require disconnection. Always handle the door panel with care to avoid scratches and guarantee a secure fit upon reinstallation.
Step-by-Step Removal Process
Removing the door panel on your Toyota Supra requires careful attention to detail, but with the right approach, you can do it safely and effectively. Start by locating screws hidden behind blind plugs and in the armrest area, using a screwdriver or trim tool for access. Gently detach the door panel from the sheet metal by carefully pulling it away from the clips—use a trim removal tool if needed. Before fully removing the panel, disconnect any electrical connectors related to power windows or locks, handling them with care. Once free, note the positioning of clips and screws for easier reassembly. With the panel removed, you’ll have access to the window regulator assembly, allowing you to proceed with the replacement process.
Tips for Safe Handling
After you’ve successfully removed the door panel, it’s important to prioritize safe handling as you proceed with the window regulator replacement. First, disconnect the vehicle’s battery to prevent any electrical mishaps. Use a trim removal tool to detach the clips securing the door panel; be careful not to break them. Check for screws concealed behind blind plugs or within the door handle, ensuring the panel is fully released from the sheet metal. Once detached, gently lift the door panel upwards, taking care of any wiring connected to switches. Keep all screws and clips organized in a labeled container for easy reassembly. These steps will help you handle the door panel safely and efficiently during the window regulator replacement.
Step-by-Step Diagnosis of Window Problems
Start by identifying the symptoms of your window issues; listen for sounds like clicking or observe if the window moves slowly. Next, check the electrical components, including the window switch, motor, and associated wiring, as problems here often lead to dysfunction. By isolating these factors, you can pinpoint the source of the problem more effectively.
Identify Symptoms First
How can you effectively diagnose window problems in your Toyota Supra? Start by identifying symptoms that can pinpoint the issue. If your windows won’t stay up or move slowly, it could indicate failing window regulators or debris in the window tracks. Listen for unusual noises like grinding or clicking; these often suggest a failing motor. If a window doesn’t respond at all when you press the switch, check for a dead switch, blown fuse, or disconnected wiring. A high-pitched whistle at speeds above 60 mph might signal improper sealing due to regulator misalignment. Finally, if one window works while others don’t, focus on diagnosing the individual switch or motor failures in those specific windows.
Check Electrical Components
To effectively diagnose window problems in your Toyota Supra, you’ll want to systematically check the electrical components involved in the power window system. Start by verifying the 12-volt battery connection; a weak battery can hinder operation. Next, inspect the fuses tied to the power windows, as blown fuses can disrupt electrical flow. After that, test the window switch for responsiveness; a faulty switch may fail to complete the circuit needed for the window motor’s operation. Using a multimeter, check the voltage at the window motor connector when activating the switch to ascertain it’s receiving power. Finally, examine the wiring for any damage or disconnections, as broken wires can lead to intermittent or complete window failure.
Replace Your Window Regulator: A Step-by-Step Guide
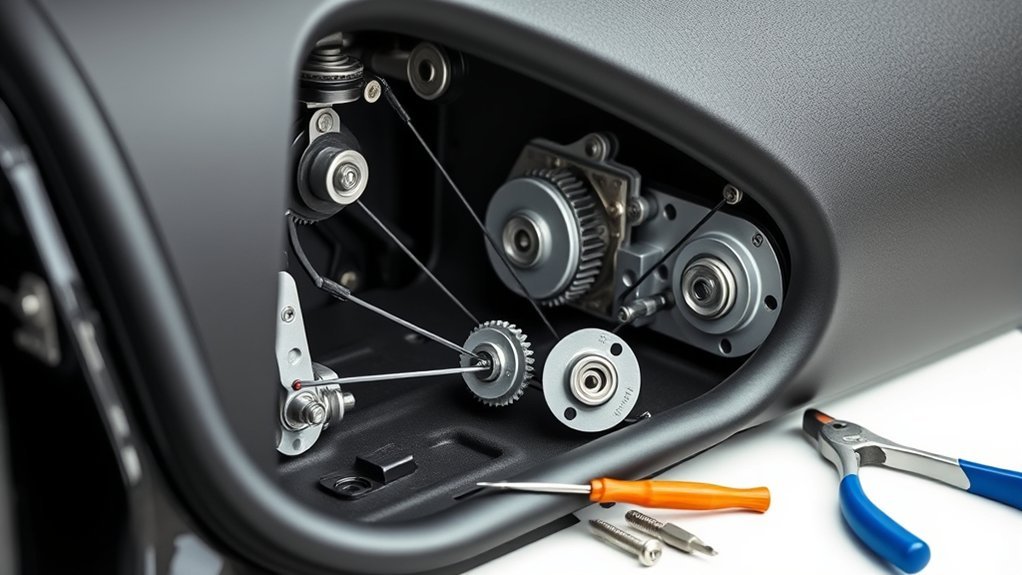
Replacing your window regulator can seem intimidating, but with the right approach, it becomes a manageable task. Start by removing the door panel; look for screws hidden behind blind plugs and pop clips. Once the panel’s off, disconnect the wiring harness from the window motor. Remove the bolts that secure the regulator assembly to the door frame.
Next, carefully detach the old window regulator from the window glass by loosening the brackets—support the glass during this process. Install the new regulator, aligning it with the motor and adjusting the glass height within the metal brackets. Secure everything with bolts.
Finally, reassemble the door panel, reattach the wiring harness, making sure of a snug fit of the panel and clips. Test the window for smooth operation before finalizing the installation.
| Step | Action | Purpose |
|---|---|---|
| 1. Remove Panel | Unscrew and unclip | Access to regulator |
| 2. Disconnect | Unplug wiring harness | Disconnect power |
| 3. Detach Regulator | Loosen brackets | Remove old component |
| 4. Install New Reg | Align and secure | Guarantee proper function |
| 5. Reassemble | Reattach panel | Complete restoration |
How to Achieve Proper Window Alignment and Adjustment
Achieving proper window alignment and adjustment is essential for ideal performance and a quiet ride in your Toyota Supra. Start by loosening the regulator bolts, allowing the glass to fit snugly against the door rubber. Next, adjust the angle of the window using the screw located under the handle, ensuring it seals correctly to minimize wind noise. For consistency, use finger measurements to compare the driver side window’s position with the passenger side.
Don’t overlook the bump stops; adjust them to the correct height to prevent the window from catching the frame when closed. This adjustment is vital for avoiding noise and misalignment. Remember, multiple adjustments and testing are often required to finalize the correct window position, as even slight shifts can greatly impact fit and function. Take your time to achieve the perfect alignment for a smooth and peaceful driving experience.
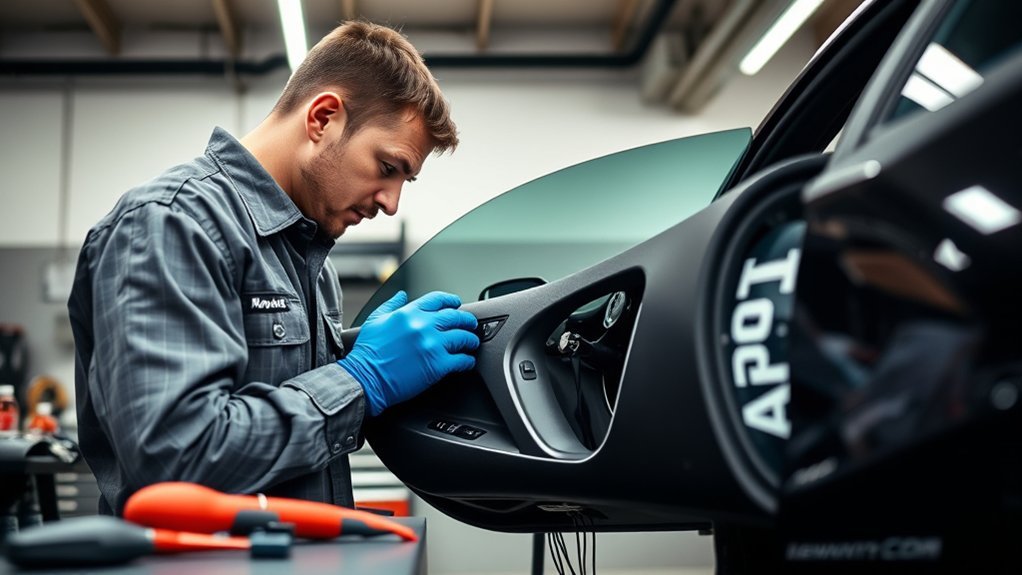
Knowing When to Call in a Pro for Your Window Problems?
Even after fine-tuning your window alignment and adjustments, there are times when the issues persist, signaling that it might be wise to call in a professional. If you hear high-pitched noises at speeds above 60 mph or your window won’t stay up despite your adjustments, professional assistance is essential. A technician can accurately diagnose underlying problems with electrical components, such as a malfunctioning master switch or faulty motors, that you might overlook. Additionally, if you’re repeatedly removing the door panel for adjustments, you risk damaging delicate parts. Professionals have access to quality tools and parts that facilitate reliable fixes compared to DIY methods. Remember, fixing Toyota power window issues can be complex; knowing when to call an expert can save you time, effort, and potential future repairs, ensuring your window systems function smoothly and safely.
Frequently Asked Questions
How to Reset Toyota Window Regulator?
To reset your Toyota window regulator, hold the switch up for 5-10 seconds after reaching the top. If that fails, disconnect the battery briefly, check for blown fuses, and address any Supra electrical issues.
Can You Fix a Window Regulator Yourself?
Yes, you can fix a window regulator yourself. With the right repair tools, you’ll tackle DIY repairs effectively. Guarantee proper alignment during installation for smooth window mechanism operation, enhancing your Supra maintenance and automotive troubleshooting skills.
Why Is My Supra Window Not Working?
Your Supra window might not work due to window motor failure, faulty wiring, a damaged switch, a misaligned track, or a glass obstruction. Diagnosing these issues can restore functionality and enhance your driving experience.
How to Force Window Regulator Up?
To force the window regulator up, engage the electrical window systems with the ignition on. If unresponsive, manually operate the window while troubleshooting the window motor. Verify proper glass alignment by clearing obstructions in the tracks.
Conclusion
To sum up, tackling window regulator issues in your Toyota Supra can be straightforward with the right tools and guidance. For instance, consider a case where a driver experienced intermittent window malfunctions due to a faulty regulator. After following the steps in this guide, they successfully replaced the regulator and restored full functionality. If you’re ever unsure or the problem persists, don’t hesitate to consult a professional for assistance. Your Supra deserves the best care to keep it on the road.