What’s in This Article
- Before You Begin: Tools and Time
- Steps to Get a Leak-Free Inflator Seal
- Prepare the Valve: Clean, Inspect, and Identify Schrader, Presta, or TPMS
- Attach the Inflator: Align, Push, Twist, and Lock
- Use the Correct Tire Pressure, Not the Sidewall Maximum
- Confirm the Seal: 15-Second Pressure Test and Soap Bubble Check
- Fix Common Failures: Chuck Fit, Worn O-rings, and Tight Stems
- Use Adapters and Extensions Safely
- Pack a Fast-Fix Tire Kit
- When to Stop and Call a Tire Technician
- Frequently Asked Questions
A leaking inflator connection can waste air, distort the gauge reading, and make a simple tire top-off feel harder than it should. You can usually stop the hiss by cleaning the valve stem, seating the chuck straight, and checking the seal before you add full pressure. This guide shows you how to connect an inflator, find leaks with soapy water, and know when a tire technician should handle the repair.
Quick Answer
Clean the valve stem first, then press the inflator chuck on straight so the seal sits flat. Twist or lock the chuck only after it sits squarely on the stem. Hold it steady for 15 seconds and use soapy water around the connection if you hear air. If bubbles keep forming, reseat the chuck, replace worn O-rings, or replace the valve core or stem.
Key Takeaways
- Clean dirt from the valve before you attach the inflator chuck.
- Align the chuck straight with the valve stem before you push or twist.
- Use soapy water to find leaks at the chuck, valve core, bead, or stem base.
- Check the pressure listed on the vehicle placard or owner manual, not the tire sidewall maximum.
- Stop and call a technician if the stem cracks, the base leaks, or the TPMS warning stays on.
Before You Begin: Tools and Time
Estimated total time: 5 to 10 minutes for a basic check, or longer if you need to replace a valve core or chuck seal. Work on a parked vehicle or a stable bike, keep your hands clear of the wheel, and use an accurate pressure gauge.
Gather these items before you start:
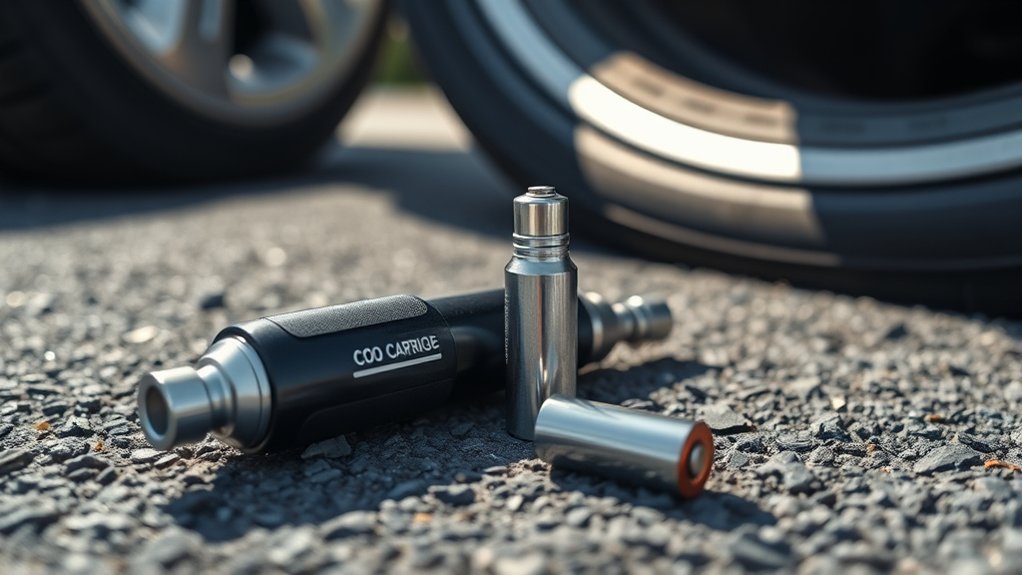
- A tire inflator with a clean chuck
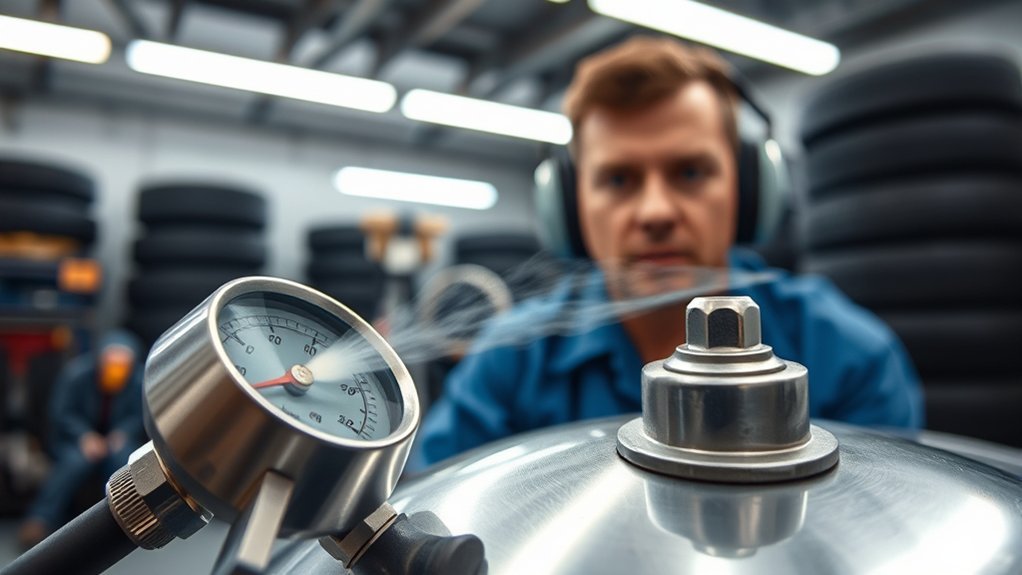
- An accurate tire pressure gauge
- A dry cloth or small brush
- Soapy water in a spray bottle
- Spare O-rings or chuck seals
- A right-angle chuck or short hose for tight stems
- A valve core tool if you plan to tighten or replace the core
Steps to Get a Leak-Free Inflator Seal
- Park safely and let vehicle tires cool before you check pressure when possible.
- Find the correct pressure on the driver-side placard, fuel door label, or owner manual.
- Remove the valve cap and keep it where dirt cannot stick to the threads.
- Clean the valve stem with a dry cloth so grit cannot break the seal.
- Inspect the stem for cracks, corrosion, bent threads, loose cores, or TPMS hardware issues.
- Align the chuck straight with the stem and press firmly until the rubber seal seats.
- Lock or twist the chuck only after it sits squarely and no longer rocks.
- Check the seal for 15 seconds, then spray soapy water if you hear or feel a leak.
- Fix any leak by reseating the chuck, changing the seal, tightening the core, or replacing damaged parts.
- Recheck pressure and reinstall the valve cap once the connection holds air.
Prepare the Valve: Clean, Inspect, and Identify Schrader, Presta, or TPMS

Before you attach the inflator, wipe the valve stem with a dry cloth and check it for cracks, bent threads, loose cores, or corrosion. Dirt, moisture, and road grime can stop the valve core or chuck seal from closing cleanly, so a quick cleaning step can prevent a false leak.
Next, identify the valve type. Most vehicle tires use a Schrader valve, while many bikes use a Presta valve that needs a different adapter and lighter hand pressure. Automotive Schrader valves commonly use 8V1, or .305-32, external threads, so mismatched adapters can leak or damage threads.
Check for tire pressure monitoring system (TPMS) hardware before you force any fitting. According to the National Highway Traffic Safety Administration (NHTSA), direct TPMS sensors often sit inside the tire at the inner end of the valve stem. Rough handling, corrosion, or the wrong parts can create costly sensor problems.
If the stem looks cracked, the core feels loose, or the TPMS nut moves, fix that issue before you inflate the tire. A damaged valve can leak even when your chuck fits perfectly.
Attach the Inflator: Align, Push, Twist, and Lock
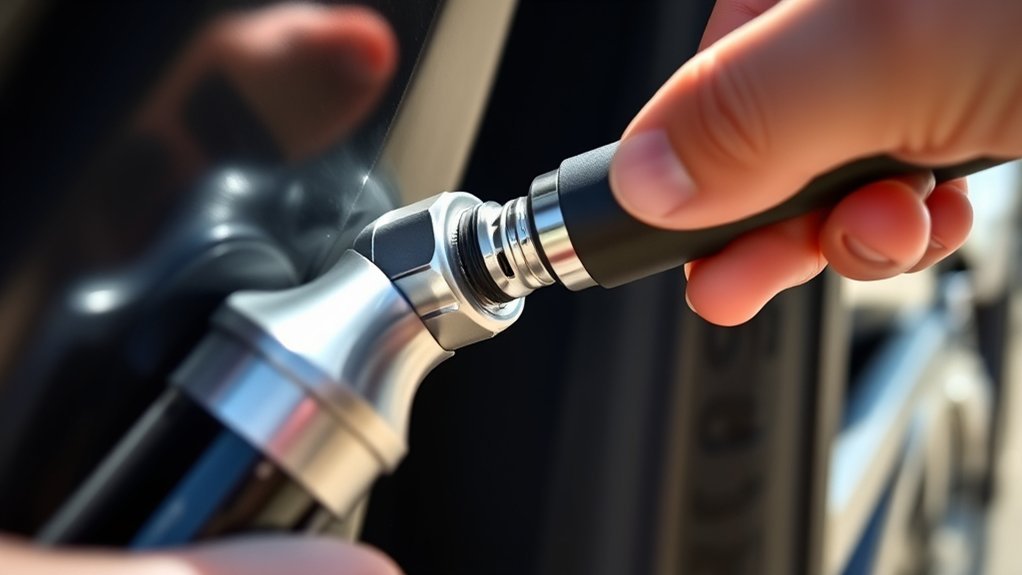
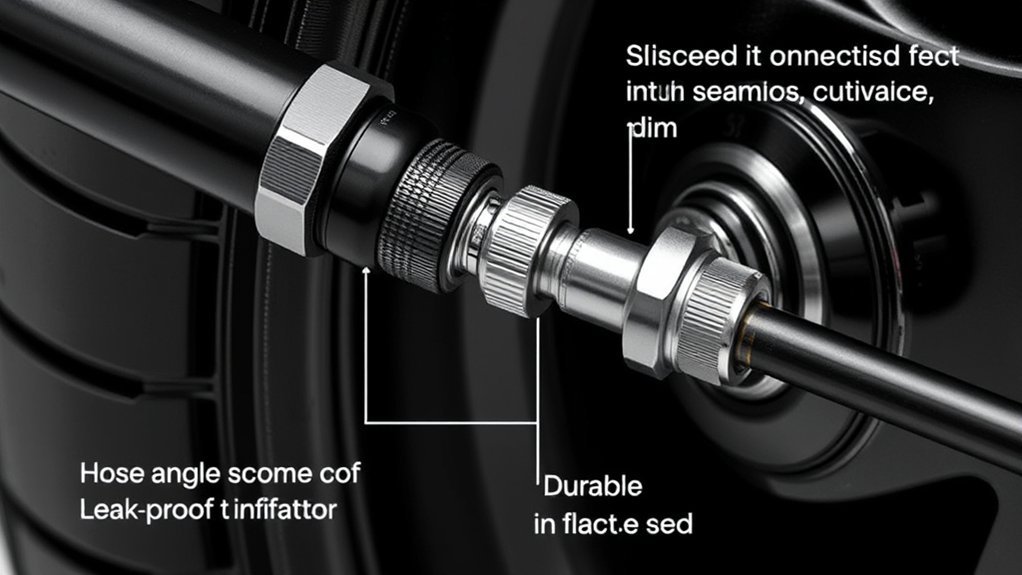
Place the chuck straight onto the valve stem so it lines up with the stem axis. Push firmly while you keep the hose relaxed, then twist or lock the chuck once the seal sits flat. If the chuck rocks, hisses, or slides, remove it and start again instead of forcing the connection.
Use a locking chuck or right-angle head when wheel covers, spokes, or dually stems block a straight approach. Check the chuck O-ring before each use because a flat or cracked seal can leak even with perfect alignment.
Align Chuck With Stem
Line the inflator’s chuck squarely with the valve stem before you apply pressure. Push in one steady motion so the rubber seal compresses evenly around the stem. Avoid side pressure because it can bend the stem, open the valve at an angle, and let air escape.
Keep the air hose straight behind the valve when space allows. If the hose pulls sideways, support it with one hand or switch to a short extension. A stable hose helps the gauge read more accurately while you inflate.
Twist and Lock Tight
After the chuck seats, push firmly and engage the lock or twist the collar until it stops. You should feel the connector settle, and the sound of escaping air should stop. Tug gently on the inflator to confirm the chuck holds without sliding.
If the connector shifts, release it and reseat it from the start. Do not keep inflating through a noisy or unstable connection because the gauge may show the wrong pressure. Replace cracked or flattened chuck seals before you try again.
Use the Correct Tire Pressure, Not the Sidewall Maximum
Use the pressure listed by the vehicle maker, not the maximum pressure molded into the tire sidewall. NHTSA tells drivers to find the correct pressure on the tire and loading information label or in the owner manual, and to check pressure when tires are cold for the most accurate reading.
TPMS can warn you when a vehicle tire gets significantly underinflated, but it does not replace routine pressure checks. NHTSA still recommends monthly tire pressure checks with a gauge. Keep a gauge in the vehicle so you can confirm the reading after you fix the inflator seal.
Warning: Never rely on a leaking chuck, a hissing stem, or a TPMS light alone to judge safe tire pressure.
Confirm the Seal: 15-Second Pressure Test and Soap Bubble Check
A tight connection often seals right away, but you should still run a quick pressure check before you inflate fully. Attach the inflator, hold the chuck steady, and watch the pressure gauge for 15 seconds. If the gauge fails to build pressure or drops quickly, stop and reseat the chuck.
Next, add a short burst of air and spray a soap solution around the chuck, valve core, valve stem base, tire bead, and nearby tread. Tires Plus explains that bubbles show escaping air, and groups of bubbles often form around the leak source. Large bubbles point to a strong leak, while small steady bubbles point to a slow leak.
Mark the leak area if you need to show it to a tire shop. Release pressure from the hose before you adjust fittings, and do not twist a valve stem aggressively while the tire holds high pressure.
Fix Common Failures: Chuck Fit, Worn O-rings, and Tight Stems
Start with the parts outside the tire because you can check them fast. A crooked chuck, stiff hose, dirty valve, or worn O-ring can cause a leak that looks like a bad tire. Recheck the connection with soapy water after each change so you know what fixed the problem.
If the valve base bubbles, the rubber stem cracks, or the tire loses air after the chuck comes off, the stem or core may need service. Many vehicles with direct TPMS use sensors at the valve stem, so ask a tire technician for help when you see corrosion, loose sensor hardware, or a warning light that stays on.
Chuck Seating and Alignment
If the chuck doesn’t seat squarely, you will lose air and waste time. Position the air hose straight behind the valve stem and avoid an approach that pulls the chuck off-center. Press the chuck onto the valve until it sits firm, then engage the lock if your chuck has one.
For inward-facing or dually stems, use a right-angle chuck, extended chuck, or short hose that lets you reach the stem without bending it. Spray soapy water around the connection after you seat the chuck. If bubbles appear, reseat the chuck, relax the hose angle, or use a different chuck.
Replace Worn O-rings
Inspect the O-ring at the chuck base and on each quick-connect fitting. Look for cracks, flat spots, glazing, swelling, or dirt stuck in the rubber. Replace damaged O-rings right away because they cannot hold a clean seal.
Use the correct size replacement and add a light film of silicone grease when the part maker allows it. Reattach the chuck, test it on the valve stem, and run the soap-bubble check again. If bubbles remain, replace the chuck seal, adapter, or valve core before you keep inflating.
Use Adapters and Extensions Safely: When to Use Them
Use screw-on Schrader adapters, right-angle chucks, or flexible extensions when you need better access to a recessed or blocked valve stem. Fit the adapter by hand, tighten it only until snug, and attach the inflator hose without cross-threading. If pressure drops as soon as you connect the adapter, remove it, check the threads, and try again.
Do not leave temporary extensions attached while you drive unless the product maker and vehicle setup allow that use. Extra weight or a poorly supported extension can stress the valve stem, affect balance, or create a leak point. Use parts that match the valve type, and replace corroded fittings instead of forcing them.
Choose plastic valve caps for most TPMS stems unless your owner manual recommends another cap type. Les Schwab notes that metal caps can corrode and fuse to the valve stem, which can make adding air difficult.
Pack a Fast-Fix Tire Kit: Spare O-rings, Right-Angle Chuck, Short Hose
Keep the right spare parts in your vehicle, garage, or bike bag so you can fix a stubborn connection quickly. Pack spare O-rings in several sizes and inspect them during routine tire pressure checks. Swap brittle rings as soon as you find them.
Carry a right-angle chuck to reach tight stems without bending the hose or pulling on the valve. Add a short hose to reduce strain and lower the number of leak points during inflation.
- Spare O-rings: carry assorted sizes and replace brittle seals
- Right-angle chuck: improve access and reduce side pressure
- Short hose: keep the connection stable and easier to hold
- Valve core tool: tighten or replace a removable core when you know how to use it
- Plastic valve caps: protect the valve core from dirt and moisture
Test the chuck and hose before you need them on the roadside. A small practice run helps you fix leaks faster when light, traffic, or weather makes the job harder.
When to Stop and Call a Tire Technician
Stop the DIY repair if bubbles come from the valve base, the stem cracks, the tire bead leaks, or the tire keeps losing pressure after you remove the chuck. These signs can point to a damaged stem, corroded wheel, bead leak, puncture, or TPMS issue.
Call a technician if your TPMS warning light flashes for 60 to 90 seconds and then stays on. NHTSA says that pattern can signal a TPMS malfunction. You should also get help when you need to remove a tire, replace a TPMS stem, or work near a damaged wheel.
Frequently Asked Questions
How do you stop air from leaking around a valve stem?
Clean the valve stem, tighten a loose removable core with the proper tool, and check the stem with soapy water. If bubbles come from the stem base or cracked rubber, replace the valve stem or ask a tire technician to do it.
How do you fix air leaking around a tubeless tire valve stem?
Spray soapy water around the valve core, stem base, tire bead, and tread to find the exact leak. A loose core may need tightening, but a leaking base usually needs a new valve stem and tire service.
Why did my valve stem start leaking?
Valve stems can leak because rubber ages, caps go missing, corrosion forms, dirt reaches the core, or the core loosens. TPMS stems can also leak when sensor hardware corrodes or someone uses the wrong cap or service parts.
Can a tire hold air without a valve stem?
No. A tire needs a valve stem and valve core to let air in and hold pressure after inflation. Without a working stem, the tire cannot keep safe pressure.
Should you use tire sealant on a leaking valve stem?
A tire sealant may not fix a leaking valve stem, and some sealants can create problems for TPMS sensors. Fix the valve core, stem, bead, or puncture source instead of covering up the leak.
Safety Disclaimer: This article is for informational purposes only and does not replace advice from a qualified tire technician. Always follow your vehicle owner manual, tire maker guidance, and local safety rules before you inflate, repair, or drive on a tire.
Conclusion
A leak-free inflator seal starts with a clean valve, a straight chuck, and a quick bubble check. Use the correct pressure, keep spare seals handy, and replace worn parts before they waste air or damage the valve. If bubbles keep forming after you reseat the chuck, stop and let a tire technician inspect the stem, bead, wheel, or TPMS hardware. A few careful checks can help you inflate faster and drive with more confidence.
References
- Tire Safety Ratings and Awareness: TireWise: National Highway Traffic Safety Administration, accessed 2026.
- Evaluation of the Effectiveness of TPMS in Proper Tire Pressure Maintenance: National Highway Traffic Safety Administration, 2012.
- How to Diagnose and Fix a Slow Tire Leak: Tires Plus, accessed 2026.
- Tire Valve Stems: Maintenance and Safety: Les Schwab, accessed 2026.
- Schrader Valve: Wikipedia, accessed 2026.