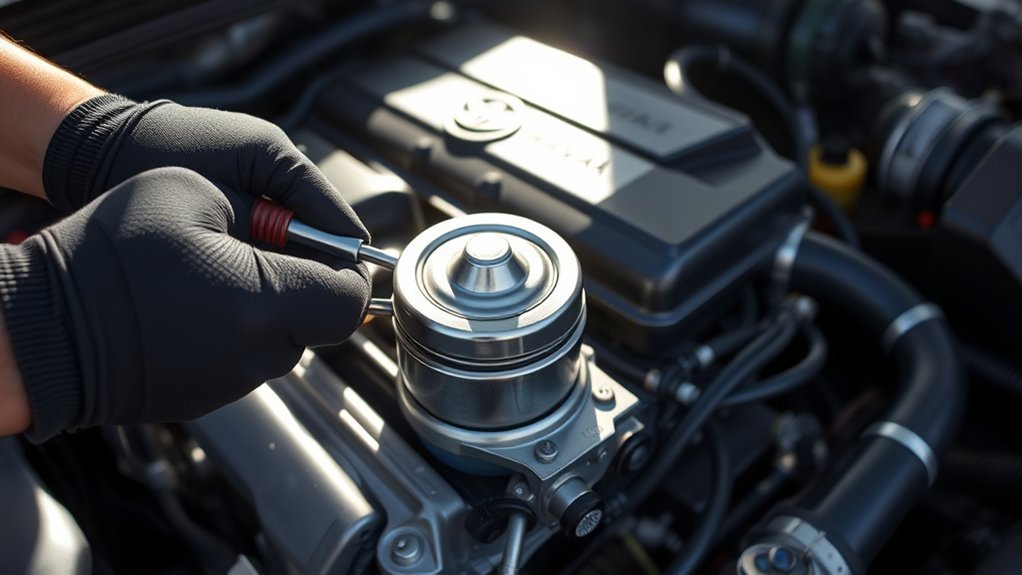
To change the thermostat in your Toyota RAV4, start by draining the coolant and disconnecting the negative battery terminal. Remove the alternator for better access to the thermostat. Use a socket to unbolt the thermostat housing, clean the surfaces, and install the new thermostat with the spring facing the engine. Tighten the bolts, reattach the alternator, and secure the serpentine belt. Finally, refill the coolant and check for leaks. Follow along for detailed steps and tips for a successful job.
Why You Need to Change the Thermostat in Your RAV4

When your Toyota RAV4’s thermostat malfunctions, it can lead to serious issues, including engine overheating that may result in costly repairs. A faulty thermostat disrupts coolant flow, causing fluctuating temperature readings and triggering the check engine light. To prevent these problems, you need to replace it promptly. Check your owner’s manual for specific recommendations on thermostat maintenance. By replacing it with a new one, you guarantee your engine reaches ideal operating temperature quickly, which can improve fuel efficiency. This proactive step helps maintain consistent engine temperatures and prevents coolant leaks. Regular checks and timely replacements extend your engine’s lifespan and enhance overall vehicle performance. Don’t wait for symptoms to worsen; make certain you address thermostat issues immediately to safeguard your RAV4’s health and your wallet.
Tools and Parts Required for the Job
To successfully change the thermostat in your Toyota RAV4, you’ll need a specific set of tools and parts to guarantee a smooth process. Gathering the right equipment not only saves time but also assures you complete the job effectively.
- 10mm socket and ratchet
- 14mm socket and ratchet
- Belt tensioner tool
- Torque wrench
- Drain bucket
You’ll also need a new thermostat and gasket to ensure proper installation, with the spring side facing the engine. A trim tool is essential for removing push pins and accessing necessary panels. Finally, don’t forget to have coolant on hand to refill the system after replacing the thermostat. For detailed steps on the process, please click here. Preparing your workspace with these tools and parts will streamline your experience and help you maintain your Toyota RAV4 efficiently.
Drain Coolant and Disconnect Battery Before Thermostat Replacement
Before you replace the thermostat, you’ll need to drain the coolant by loosening the radiator drain and positioning a bucket underneath to capture it. It’s essential to disconnect the negative terminal of the battery with a 10mm wrench to avoid any electrical issues during the process. Taking these steps guarantees a safe and efficient repair environment.
Proper Coolant Drainage
Proper coolant drainage is essential for a successful thermostat replacement in your Toyota RAV4. Start by positioning a drain bucket beneath your vehicle to catch the coolant. Then, loosen the radiator drain located below the radiator hose to facilitate proper drainage. Here are some maintenance tips to keep in mind:
- Use the correct coolant types for your RAV4.
- Confirm the drain bucket is large enough to hold all the coolant.
- Remove coolant carefully to prevent spills.
- Check the coolant level after draining, confirming it’s adequate before reassembly.
- Always verify the thermostat function after completing the replacement.
Battery Disconnection Importance
Once you’ve successfully drained the coolant, the next critical step is disconnecting the battery. This is vital to prevent electrical shorts and guarantee your safety while working on the cooling system. Grab a 10mm wrench and remove the negative terminal—this simple action is a key part of battery maintenance tips and essential for following electrical safety practices. By disconnecting the battery, you protect your vehicle’s electrical components, allowing for a smooth thermostat replacement. Make sure to check your vehicle maintenance checklist to verify you’re not missing any other critical steps. Proper handling of both battery disconnection and coolant drainage promotes a safer working environment, keeping you liberated from potential hazards during your maintenance tasks.
Remove the Alternator for Access to the Thermostat
To remove the alternator for access to the thermostat, you’ll need a 10mm wrench and socket. Start by disconnecting the electrical connections carefully to avoid damage, and remember to tighten all bolts to the manufacturer’s specifications when reassembling. This guarantees a secure fit and prevents future issues with the alternator and thermostat operation.
Tools Required For Removal
When tackling the removal of the alternator to access the thermostat in your 2010 Toyota RAV4, having the right tools at your disposal is crucial for a smooth process. The thermostat functions in your cooling system are critical for preventing engine overheating, so make sure you’re prepared.
Here’s a list of tools you’ll need:
- 10mm socket and ratchet (for alternator bolts)
- 14mm socket and ratchet (for lower alternator bolt)
- 10mm wrench (to disconnect the negative battery terminal)
- Belt tensioner tool or 14mm socket (to remove the serpentine belt)
- Drain bucket (to catch coolant when loosening the thermostat housing bolts)
With these tools, you’re set to proceed with the alternator removal and gain access to the thermostat.
Disconnecting Electrical Connections
Before you begin disconnecting the electrical connections for the alternator, it’s essential to confirm your safety by first disconnecting the negative terminal on the battery with a 10mm wrench. This step guarantees electrical safety throughout the process. Next, remove the cover from the alternator to expose the wiring. Use a 10mm socket to take off the bolt and nut securing the alternator wiring. Carefully disconnect the wiring harness connector by pressing the lock button to free the electrical connections. Once disconnected, use a 10mm socket to loosen and remove the two bolts securing the alternator, allowing for easy tilting if full removal isn’t necessary. Keep track of all removed components for efficient reinstallation, referencing wiring diagrams if needed.
Proper Bolt Tightening Techniques
After disconnecting the electrical connections and removing the alternator, you can focus on the proper techniques for tightening bolts during reinstallation. Adhering to bolt torque specifications is essential for ensuring a secure fit and avoiding leaks. Follow these guidelines:
- Use a torque wrench to tighten bolts to 84 inch pounds for the thermostat housing.
- Maintain the correct tightening sequence to distribute pressure evenly, reducing the risk of warping.
- Start with the center bolts and work your way outwards.
- Apply a small amount of lubricant to threads to minimize friction and prevent stripping.
- Double-check each bolt after initial tightening to confirm proper fit.
Properly Remove and Install the New Thermostat
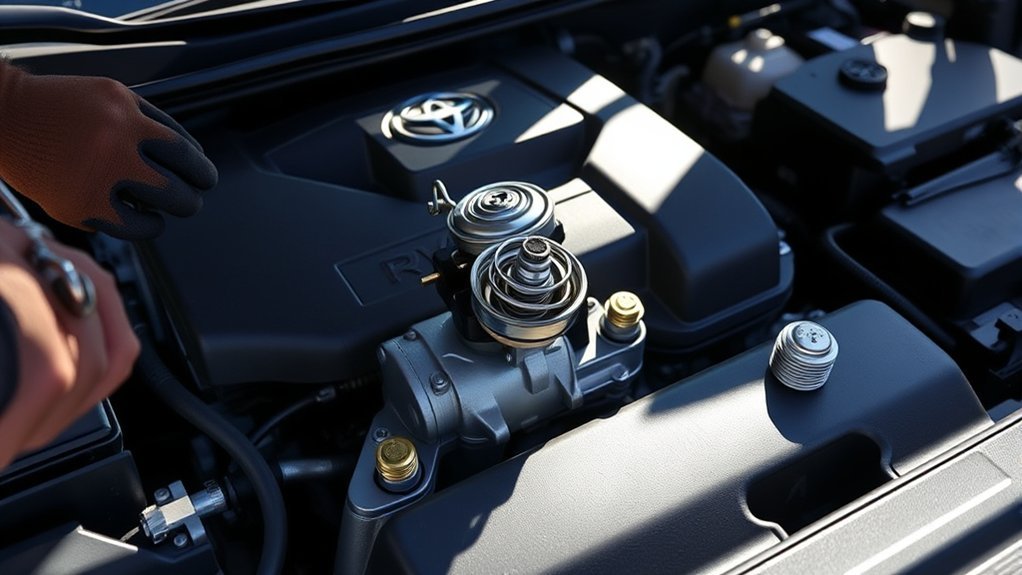
Begin by loosening the thermostat housing bolts with a 10mm socket, while placing a drain bucket underneath to catch any coolant that may spill out during the process. Carefully remove the old thermostat, ensuring to clean the housing and engine surfaces of any gasket material for a proper seal.
Next, install the new thermostat, making sure the spring side is facing the engine for correct thermostat orientation. Attach a new gasket and position the thermostat in the housing. Reattach the thermostat housing and tighten the bolts to a torque specification of 84 inch-pounds using a torque wrench.
Finally, double-check the coolant level after the installation. Air pockets may need to be bled from the system by squeezing the radiator hose during filling.
| Step | Action | Tool Required |
|---|---|---|
| 1 | Remove old thermostat | 10mm socket |
| 2 | Clean surfaces | Scraper or cloth |
| 3 | Install new thermostat | None |
| 4 | Torque the housing | Torque wrench |
Reassemble: Alternator and Serpentine Belt Installation
Once you’ve completed the thermostat installation, it’s essential to reassemble the alternator and serpentine belt to make certain your Toyota RAV4 operates smoothly. Begin by reattaching the thermostat housing, tightening the bolts to 84 inch-pounds with a 10mm socket. Next, reinstall the alternator, verifying proper alternator alignment by fitting the top ears first and securing the lower bolt with a 14mm socket.
- Connect all wiring connections, including the electrical connector and positive terminal.
- Confirm the serpentine belt is routed around the crank pulley and AC compressor correctly.
- Use a tensioner tool for precise belt tensioning.
- Double-check all connections before lowering the vehicle.
- Inspect to verify the belt is aligned properly on the pulleys.
Check Your Coolant Level and Test for Leaks
Before you hit the road, it’s essential to check your coolant level and test for any leaks after replacing the thermostat. Start by verifying the coolant drain is securely closed to prevent any leaks during the refill. Use a coolant funnel to fill the system with the appropriate coolant, carefully monitoring the level to avoid overfilling. As you fill, squeeze the radiator hose periodically; this helps bleed air pockets and guarantees effective coolant circulation.
Once filled, start your vehicle and keep an eye on the temperature gauge—it should reach the normal operating range without overheating. After the engine cools down, recheck the coolant level to confirm it’s at the proper mark. Inspect for signs of leaks around the thermostat housing and throughout the cooling system. This thorough coolant maintenance and leak detection will help maintain system pressure and keep your RAV4 running smoothly.
Frequently Asked Questions
How Much Does It Cost to Replace a Thermostat in a Toyota RAV4?
Replacing a thermostat in your Toyota RAV4 typically costs between $150 and $300. Labor charges break down to about $100-$150. Consider DIY thermostat tips to save on costs and access parts online for competitive pricing.
Can I Replace My Car Thermostat Myself?
Yes, you can replace your car’s thermostat yourself. Use a thermostat replacement guide for DIY car maintenance, and troubleshoot overheating issues effectively. Just make sure you’re prepared with tools and safety precautions before starting the process.
What Is the Most Common Problem With the Toyota RAV4?
Nearly 30% of Toyota RAV4 owners report engine overheating issues, often due to coolant leaks. Ignoring dashboard warnings can exacerbate these problems, leading to costly repairs and potential engine damage if not addressed promptly.
What Year of RAV4 to Stay Away From?
You should avoid the 2001-2003 and 2006-2007 RAV4 models due to reliability issues, including transmission failures and excessive oil consumption. Model year comparisons reveal significant common engine problems affecting these versions’ performance and longevity.
Conclusion
You’ve bravely ventured into the domain of thermostat replacement in your RAV4, proving that you can conquer more than just the local drive-thru. With your newfound skills, you’re now the proud owner of a car that won’t overheat—unless it’s summer and you forgot to roll down the windows. Just remember, if you hear strange gurgling sounds, it’s not the car talking back; it’s just your coolant reminding you to check for leaks.
