A weak parking brake can let your Toyota RAV4 move when you expect it to stay still. That risk matters most on hills, driveways, and service ramps. This guide explains how to inspect, adjust, test, and maintain the RAV4 parking brake in plain steps.
Quick Answer
To adjust a Toyota RAV4 parking brake, park on level ground, chock the wheels, release the brake, and safely lift the rear wheel. Adjust the rear parking brake shoe star wheel through the access hole until the rotor locks, then back it off until the wheel turns freely. Fine-tune cable tension only after the rear shoe adjustment. Stop and call a mechanic if the brake still will not hold.
Key Takeaways
- Adjust the rear parking brake shoes before you fine-tune the cable.
- Work only on level ground, with wheel chocks and proper jack stands.
- A firm parking brake should hold the RAV4 on a safe incline during testing.
- Loose cable feel, excess lever travel, or rolling on hills means the system needs attention.
- Call a qualified mechanic if you see damaged cables, seized parts, or weak brake hold after adjustment.
What’s in This Article
- How to Properly Adjust Your Toyota RAV4 Parking Brake
- Before You Begin: Safety Checks and Estimated Time
- Identifying Common Symptoms of a Faulty Handbrake
- Troubleshooting Common Handbrake Issues
- Tools You’ll Need for the Adjustment Process
- Step-by-Step Parking Brake Adjustment Guide
- How to Inspect the Handbrake Components
- Top Maintenance Tips for Your Handbrake
- Tips for Testing Handbrake Effectiveness
- When Should You Call a Pro for Handbrake Help?
- Frequently Asked Questions
- Conclusion
How to Properly Adjust Your Toyota RAV4 Parking Brake
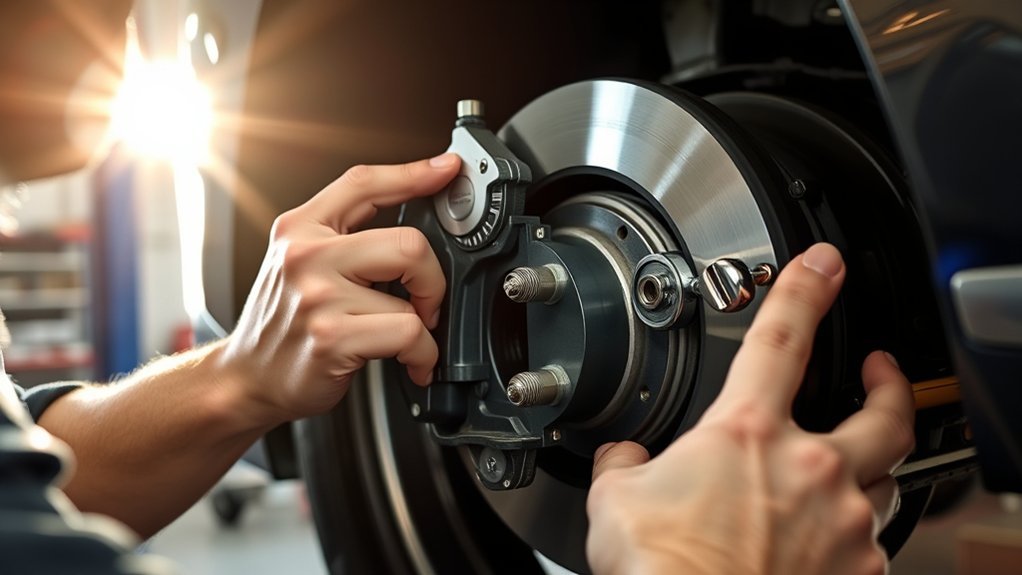
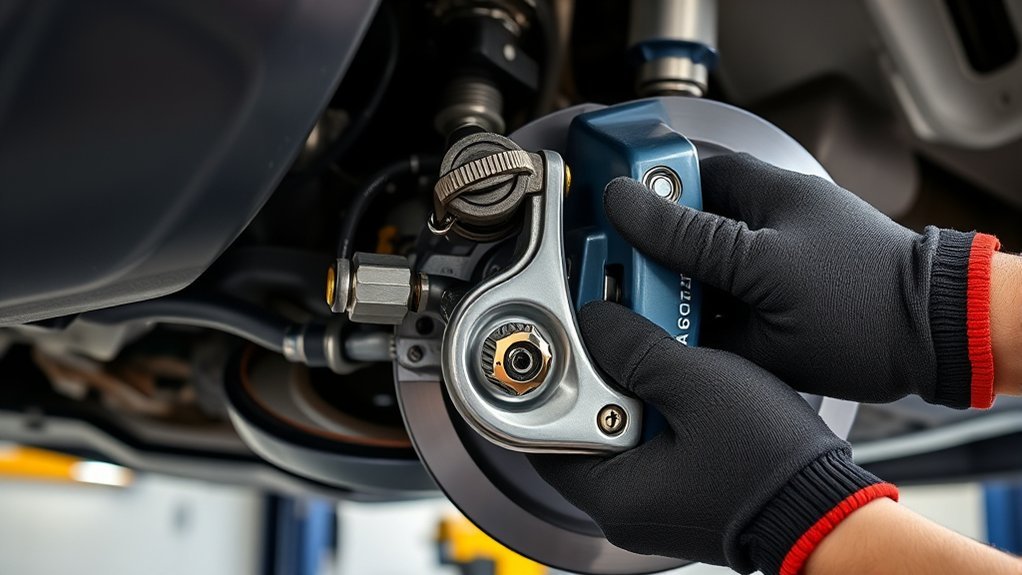
To adjust the parking brake on your Toyota RAV4, start with the vehicle on level ground. Chock the front wheels, release the parking brake, and safely lift one rear wheel. Support the vehicle with a jack stand before you place any part of your body near the wheel area.
Remove the rubber access plug from the rear disc to reach the parking brake shoe adjuster. Turn the star wheel adjuster until the disc locks, then back it off until the disc turns freely with slight or no drag. Turn the disc by hand to check for tight spots.
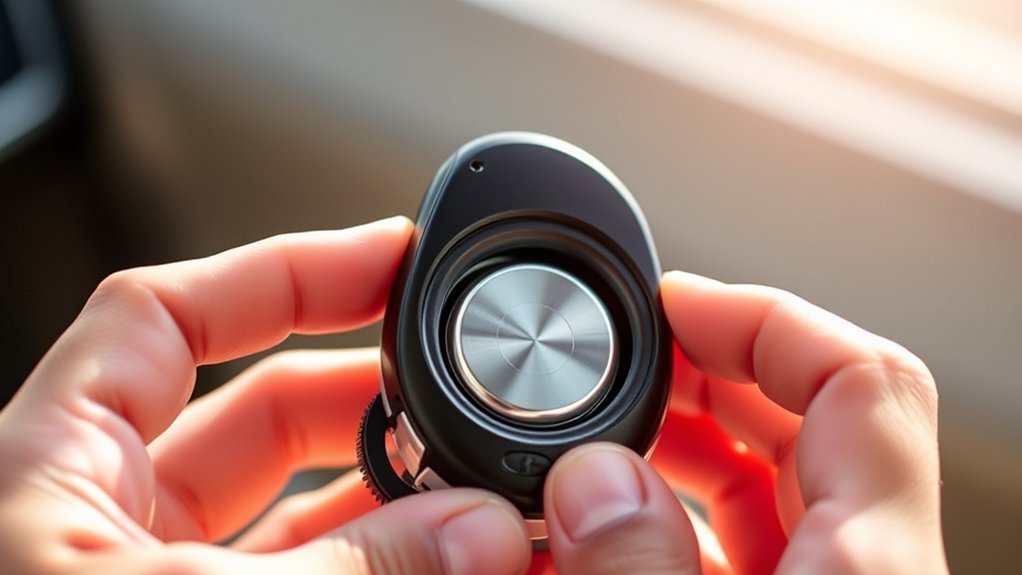
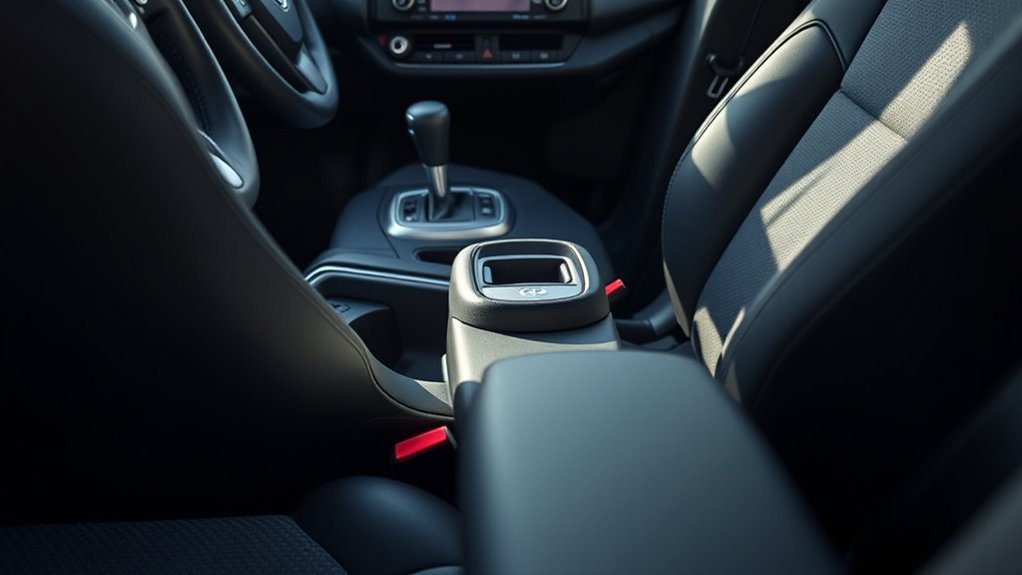
After you adjust the rear shoes, check the lever travel inside the cabin. Many older RAV4 parking brake levers should feel firm within about 7 to 9 clicks, but you should confirm the exact range in your owner’s manual or repair manual. If you need cable adjustment, remove the gear stick gaiter and center console, then use two 10mm spanners to set the cable tension.
After each adjustment, make sure the wheel turns freely. Then test the parking brake on a safe incline. The parking brake should hold the vehicle without excess lever travel or wheel drag.
Before You Begin: Safety Checks and Estimated Time
Plan about 30 to 60 minutes if you have basic tools and safe lifting equipment. Add more time if the adjuster, cable, or rear brake parts have rust or damage. Never rush brake work.
Warning: Never rely on a jack alone while working near a raised wheel. Use jack stands on a solid surface.
Before you start, set the transmission to Park for an automatic or first gear for a manual. Place wheel chocks in front of and behind the front tires. Wear eye protection, gloves, and clothing that will not catch on moving parts.
Identifying Common Symptoms of a Faulty Handbrake
When you pull the handbrake, you should feel steady resistance. If the lever feels loose or pulls too high, the cable may have stretched or the rear shoes may need adjustment. If your RAV4 moves on an incline with the brake applied, treat it as a safety issue and fix it before normal driving.
Insufficient Resistance While Engaged
Weak resistance while engaging the parking brake can point to several common issues. Check the system soon if you notice any of these signs:
- Stretched or corroded cables that reduce parking brake force.
- Excess lever play before the parking brake starts to bite.
- Poor holding power on inclines due to worn or misadjusted shoes.
These problems can reduce parking safety. Test the parking brake often, especially if you park on hills or leave the vehicle unused for long periods. A firm lever should build resistance smoothly without feeling loose or gritty.
Vehicle Rolling On Inclines
If your Toyota RAV4 rolls backward on an incline, the parking brake may not be engaging enough. A stretched cable, worn parking brake shoes, seized adjuster, or poor shoe adjustment can cause this issue. Do not ignore rollback, even if it happens only once.
Pull the lever and count the clicks only as a rough guide. The more important test is whether the parking brake holds the vehicle safely. If the brake fails this test after adjustment, get professional help.
Troubleshooting Common Handbrake Issues
Start troubleshooting by matching the symptom to the most likely cause. This helps you avoid tightening the cable when the rear shoes need adjustment first.
- A loose lever can mean the cable has stretched or the shoes sit too far from the drum surface.
- A brake that will not hold on a hill can point to worn shoes, poor adjustment, or damaged hardware.
- A wheel that drags after adjustment can mean the star wheel sits too tight or a part has seized.
Inspect the cable for rust, fraying, and damaged ends. Check the rear parking brake parts for wear before you adjust cable tension. After any repair, test the system in a safe area before you rely on it.
Tools You’ll Need for the Adjustment Process
Gather your tools before you lift the vehicle. The right setup helps you work safely and avoid damage to trim, fasteners, and brake parts.
Essential Tools Checklist
Use these basic tools to adjust and inspect the parking brake system:
- Jack and wheel brace for lifting and wheel removal.
- Jack stands and wheel chocks for safe support.
- Flat blade screwdriver for the star wheel adjuster.
- Phillips No. 2 screwdriver for trim or fasteners.
- 10mm socket, driver, and two 10mm spanners for cable access.
- Trim tool for removing console pieces without scratching them.
Keep a flashlight nearby so you can see the adjuster and brake parts clearly. If any fastener feels seized, use care and avoid forcing it.
Recommended Safety Equipment
Use gloves to protect your hands from sharp edges and brake dust. Wear safety glasses when you work around wheels, brake hardware, and underbody parts. A dust mask can also help if you clean brake areas, but avoid blowing brake dust with compressed air.
A sturdy jack and jack stands are the most important safety tools. Place them only on approved lift and support points for your RAV4. Check your owner’s manual if you are not sure where those points are.
Step-by-Step Parking Brake Adjustment Guide
Follow the steps in order. Rear shoe adjustment comes first because cable tension cannot fix worn or poorly set parking brake shoes.
- Park safely. Set the RAV4 on level ground, place the transmission in Park, and chock the front wheels.
- Release the parking brake. Make sure the lever sits fully down before you adjust the rear brake shoes.
- Lift and support the rear wheel. Use a jack, then support the vehicle with a jack stand before working.
- Remove the access plug. Find the rubber bung on the rear disc and remove it to reach the star wheel adjuster.
- Tighten the star wheel. Turn the adjuster until the disc locks and will not rotate by hand.
- Back off the adjuster. Loosen the star wheel until the disc turns freely with slight or no drag.
- Repeat on the other side. Adjust both rear wheels so the parking brake applies evenly.
- Set cable tension only if needed. Access the cable adjuster near the lever and tighten it in small steps.
- Test the brake. Pull the lever, check for firm engagement, and confirm the rear wheels do not drag when released.
Pro tip: Adjust both rear sides evenly so the parking brake holds straight and releases cleanly.
Do not over-tighten the cable to hide poor shoe adjustment. Over-tightening can cause drag, heat, and early brake wear. If the parking brake still feels weak, inspect the shoes, cable, and hardware again.
How to Inspect the Handbrake Components
Inspect the handbrake components before you finish the adjustment. Start with the cable, then check the parking brake shoes, rear discs, and adjusters. Replace worn or damaged parts instead of trying to adjust around them.
| Component | Inspection Criteria |
|---|---|
| Handbrake Cable | Look for rust, fraying, sticking, or stretching. |
| Parking Brake Shoes | Check that enough lining remains and wear looks even. |
| Rear Discs | Check the drum surface inside the disc for wear or damage. |
| Star Wheel Adjusters | Confirm they turn freely and stay in position. |
Lubricate only the correct moving contact points with suitable brake lubricant. Keep grease and oil away from the brake shoe lining and drum surface. Contaminated friction surfaces can reduce holding power.
Top Maintenance Tips for Your Handbrake
Good parking brake care helps prevent stuck cables, weak hold, and uneven rear brake wear. Add these checks to your normal maintenance routine:
- Inspect the parking brake cable for corrosion, damage, or sticking.
- Adjust the parking brake when lever travel feels too high or too loose.
- Clean and lubricate the correct moving points during rear brake service.
- Test the brake after long storage or repeated hill parking.
- Record any adjustments or repairs so you can track repeat problems.
Use the parking brake regularly to keep parts moving. Long periods without use can let cables and adjusters seize. If the lever feel changes suddenly, inspect the system right away.
Tips for Testing Handbrake Effectiveness
Test the parking brake in a clear, safe area. Engage the brake, keep your foot near the service brake, and check whether the vehicle stays still. Do not test on a steep hill or near traffic.
A well-adjusted parking brake should hold the RAV4 securely on a safe incline. It should also release fully without rear wheel drag. If the brake light stays on, the lever may not have returned fully or the system may need inspection.
Note: Lever click count can vary by model year, so use the service manual range for your exact RAV4.
When Should You Call a Pro for Handbrake Help?

Call a professional if the parking brake still feels weak after careful adjustment. You should also get help if you find damaged cables, seized adjusters, worn shoes, or heavy rust. Brake work affects your safety, so do not guess.
- The lever has excess play or needs too many clicks to hold.
- The vehicle rolls on an incline with the parking brake engaged.
- The rear wheels drag after you release the parking brake.
- The parking brake cable looks frayed, rusted, kinked, or stuck.
- You do not have safe lifting tools or service information.
A qualified mechanic can inspect the full parking brake system and rear brake assembly. They can also confirm whether the issue comes from adjustment, worn parts, or cable damage.
Frequently Asked Questions
How to Reset Parking Brake on Toyota RAV4?
Most RAV4 parking brake problems need adjustment, not a simple reset. For a manual lever system, adjust the rear shoes first, then set the cable tension if needed. If your RAV4 has an electronic parking brake, follow the service procedure for that model year or contact a mechanic.
How Do I Adjust My Parking Brake?
Start by parking on level ground, chocking the wheels, and safely lifting the rear of the vehicle. Adjust the rear parking brake shoe star wheels until the disc locks, then back them off until the wheels turn freely. Fine-tune the lever cable only after the rear shoe adjustment feels correct.
How Many Clicks Should a RAV4 Parking Brake Have?
Many older RAV4 handbrake levers feel firm within about 7 to 9 clicks. The correct range can vary by year and system type, so check the owner’s manual or repair manual for your exact model. Holding power matters more than click count alone.
Why Does My RAV4 Parking Brake Not Hold on a Hill?
A parking brake that does not hold can have worn shoes, poor shoe adjustment, cable stretch, or seized hardware. Start with inspection and rear shoe adjustment before tightening the cable. If it still fails, stop using it on hills until a mechanic checks it.
Can I Drive With a Weak Parking Brake?
You should fix a weak parking brake as soon as possible. It may not affect normal braking in every case, but it can let the vehicle move while parked. This becomes more dangerous on hills, driveways, ferries, and service ramps.
Safety Disclaimer
Safety Disclaimer: This article is for general information only and does not replace your Toyota owner’s manual, factory repair manual, or advice from a qualified mechanic. Brake work can affect vehicle safety. If you are unsure, stop and get professional help.
Conclusion
A properly adjusted Toyota RAV4 parking brake should hold the vehicle firmly and release without wheel drag. Start with safe setup, inspect the parts, adjust the rear shoes, and fine-tune cable tension only when needed. Test the brake in a safe area before you rely on it every day. If the brake still feels weak, let a qualified mechanic inspect it so your RAV4 stays safe when parked.